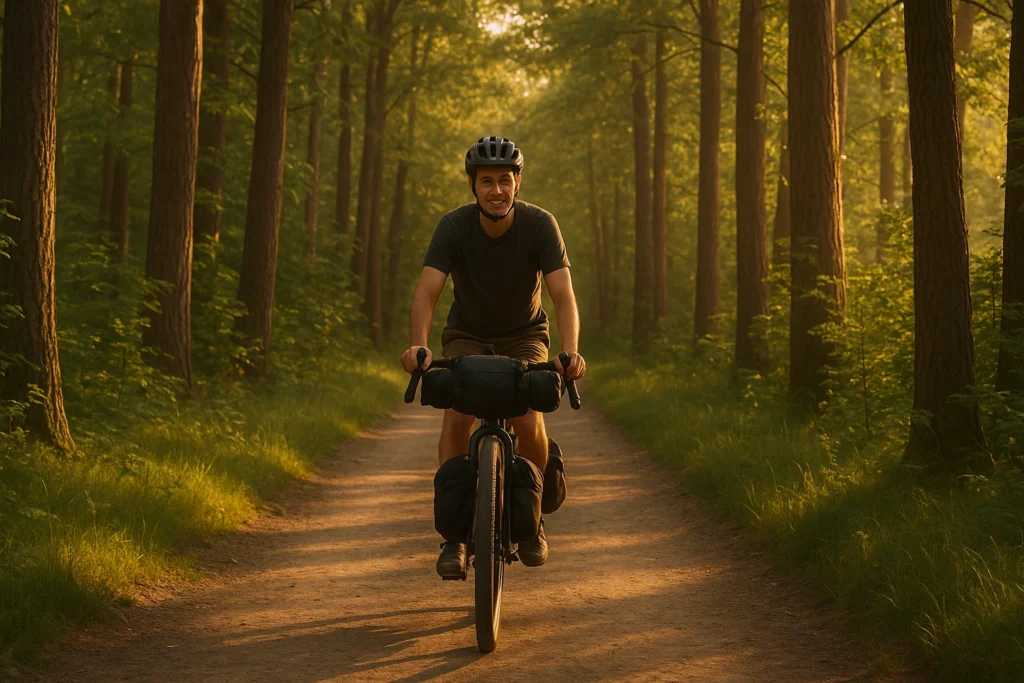
I used to pack way too much camera gear. Not because I needed it—but because I was afraid I’d miss the shot. The result? A heavy pack, slower miles, and a camera I pulled out less than I wanted. The goal of bikepacking photography gear isn’t “ultralight at all costs”—it’s a lightweight kit you’ll actually carry, protect, and use when something good happens fast. I learned this the hard way on a rainy Colorado ride — now I keep my bikepacking camera kit simple and protected. Below are safe, well-reviewed defaults I’d buy today for a lightweight trail camera setup — padded protection, quick-access sleeves, cards, power, and more — so you can shop confidently and stay light on the trail. For a broader overview of essential bikepacking gear and proven setups, check my complete bikepacking gear guide.
If you’re mixing in bike days, start with my Bikepacking Guide. Then use this post to dial in camera protection and backups. For my exact Sony RX100 + DJI Action setup (including batteries, cards, mounts), see my exact ultralight bikepacking camera setup.
Quick definition: “Lightweight” means your setup is small enough that you’ll carry it all day and still want to pull it out often. This guide starts with a minimal kit overview, then bikepacking protection, then a simple workflow so your photos survive dust, rain, and vibration—without turning your pack into a rolling camera store.
Gear Check: Find Your #1 Priority Fix in 30 Seconds
Want one clear fix before you buy anything? Run this quick audit — it takes 30 seconds and tells you your #1 priority.
Next step: Do the #1 fix from your result before buying anything new. It’s the single change that protects your photos most.
If the audit flags rain or dust risk, a simple rain/dust shell can be the lightest ‘covers everything’ fix (example below).
This page contains affiliate links and may include sponsored content. As an Amazon Associate, I earn from qualifying purchases at no extra cost to you. Amazon links are labeled #ad; other affiliate links may be marked as “affiliate link,” “Sponsored,” or “(paid link).” Learn more.
Safest minimal add: Peak Design Shell (form-fitting rain + dust cover; lightweight quick-protection layer).
Table of Contents
- Why Bikepacking Photography Gear Matters
- Minimal Camera Kit for Bikepacking (5-7 Essential Items)
- Quick Picks: Safe, Lightweight Defaults to Buy
- Choosing a Trail-Friendly Camera Setup
- How to Protect Camera While Bikepacking
- Workflow & Backup Tips on the Trail
- AI Workflow Add-On for Post-Trip
- Quick Lens Choices (Without Overthinking)
- Accessories for a Lightweight Bikepacking Photography Kit
- Quick Shooting Wins (3 Minutes)
- Wildlife Photography with a Lightweight Kit
- Frequently Asked Questions
- Conclusion: Capture Your Adventure with Bikepacking Photography Gear
Why Bikepacking Photography Gear Matters
Heavy gear drains energy, slows you down, and gets used less. You know the moment: you spot great light, then you think, “Ugh, my camera is buried,” and you keep riding. A lighter setup removes friction so you shoot more often—and enjoy the miles instead of managing gear.
Micro-action: Time how long it takes to access your camera. If it’s more than 15 seconds, change how you carry it today.
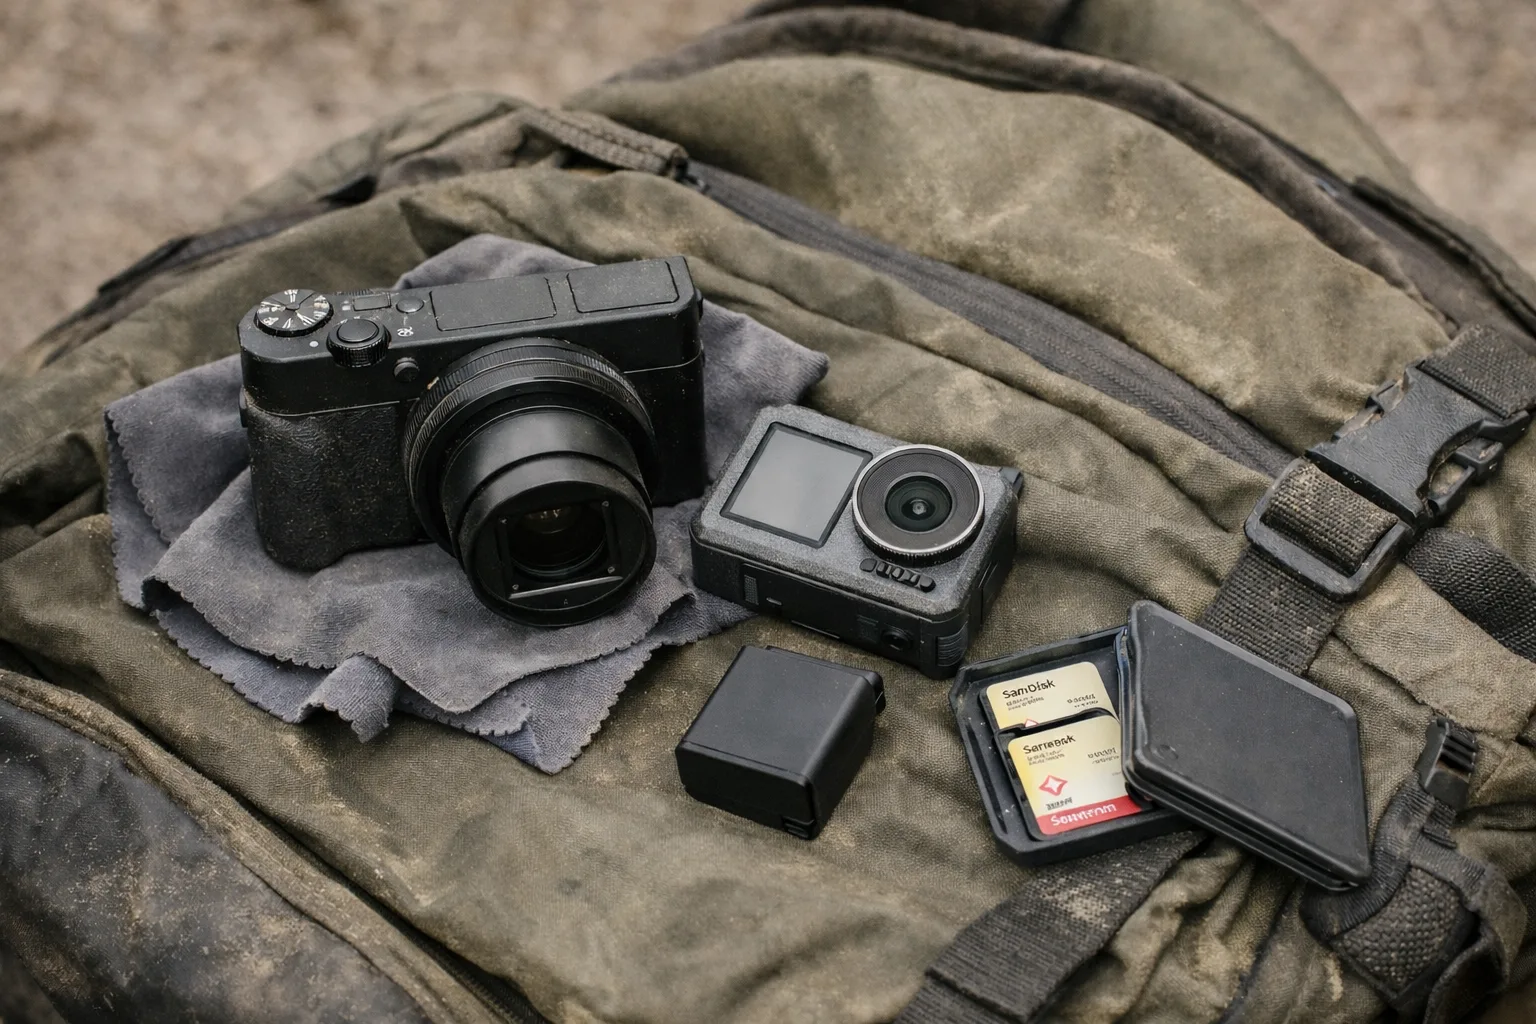
Minimal Camera Kit for Bikepacking (5-7 Essential Items)
This is your “carry it every day” baseline: capture, protect, power, and keep your photos safe. If your camera setup for bikepacking feels like a puzzle, start here and rebuild simpler.
Minimal camera kit for bikepacking (strategy-first)
| Item | What it does | Keep it lightweight by… | Typical weight (approx.) |
|---|---|---|---|
| Camera (any type you’ll actually carry) | Your main storyteller | Choosing a body you enjoy using (small beats “best on paper”) | 150–600g+ |
| One main lens (or built-in lens) | Covers most of your shots | Picking one versatile option instead of “just in case” lenses | 0–400g |
| Padded protection (insert/wrap) | Absorbs bumps + vibration | Using a slim insert instead of a full camera bag | 150–300g |
| Weather plan (rain cover or dry bag) | Prevents water disasters | Keeping it pocket-accessible (so you actually use it) | 40–120g |
| Power (extra battery or power bank) | Keeps you shooting past sunset | Carrying one spare battery + a simple charging routine | 40–250g |
| Storage (2 memory cards) | Reduces total-loss risk | Two smaller cards instead of one huge card | 5–15g |
| Cleaning (cloth + small blower) | Saves shots in dust/rain | Carrying tiny tools that prevent big problems | 20–60g |
Micro-action: Lay out your kit and remove one “just in case” item you didn’t use last trip. Put that saved weight toward better protection instead.
Quick Picks: Safe, Lightweight Defaults to Buy
These are safe, well-reviewed defaults for your trail camera setup — any similar padded insert, dry bag, card set, or power bank works fine, but these are the ones I’d buy right now for real trail use.
| Item | Why It Matters | Approx. Weight | Default Option |
|---|---|---|---|
| Pocket camera sleeve (premium compacts / RX100) | Quick-access padded protection | ~100–150g |
Lacdo RX100 Camera Case |
| Padded insert (mirrorless / bigger cameras) | Absorbs vibration and bumps | 250–350g |
Tenba BYOB 9 DSLR Backpack Insert |
| Rain Layer / Dry Bag | Quick protection from weather | 40–100g |
Sea to Summit Dry Bag (2–4L) |
| SD Cards (2 cards) | Rotate to reduce loss risk | ~10g total |
SanDisk Extreme SDXC — 2 cards (256GB each) |
| Portable Power Bank | Keeps gear charged on long days | ~150g |
Nitecore NB10000 Gen 2 |
Lighter option for padded insert: Tenba BYOB 9 Standard (~250g) for smaller kits. If you prefer more structure: Peak Design Camera Cube Small (~350g).
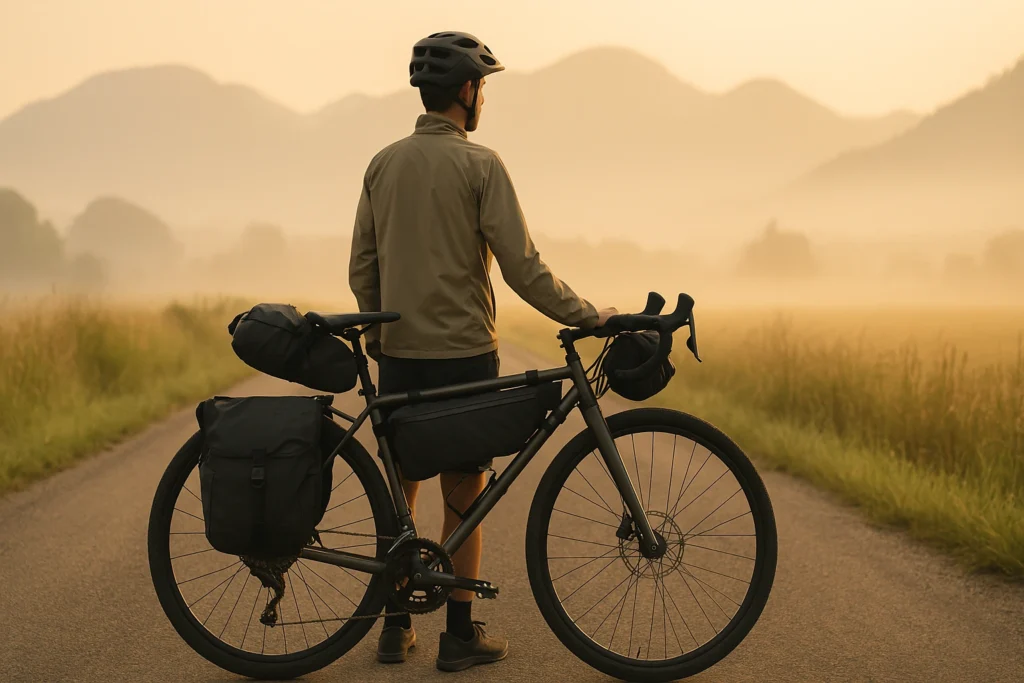
Choosing a Trail-Friendly Camera Setup
Pick the simplest setup that matches your goals. If you won’t use it when you’re tired, cold, or racing sunset light, it’s not the right setup.
Mirrorless
A compact mirrorless body is a strong balance of weight and image quality. It’s great when you want real controls and lens flexibility without a huge system.
Premium compact
Premium compacts are “pull it out and shoot” cameras. If you’re prone to leaving gear packed because it feels like work, this is often the most realistic choice. For max pocketable quality, the Sony RX100 VII is excellent.
Smartphone
Your phone is the best zero-extra-weight option. It’s fast for quick edits and backups, but expect limits in deep dusk/dawn and true telephoto reach. Recent iPhone models (like iPhone 14 or newer) perform well for adventure snapshots.
Action camera
Action cameras handle vibration and wet conditions well, especially on bikepacking days. They’re ideal for POV and “hands-busy” moments. Popular models like the DJI Osmo Action 6 are great for trail use—especially if you want hands-free POV and don’t want to baby your gear.
Quick camera type comparison for bikepackers
| Camera Type | Weight (Approx.) | Image Quality | Portability | Durability | Best For |
|---|---|---|---|---|---|
| Mirrorless | 300–600g | Excellent | Good | Moderate | Landscapes, people, flexible shooting |
| Premium Compact | 200–400g | Good | Excellent | Moderate | Simple travel + quick access |
| Smartphone | 150–250g | Decent | Excellent | Moderate | Everyday moments + video |
| Action Camera | 100–150g | Good (action) | Excellent | Excellent | POV + rough weather riding |
Decision rule: Pick based on access speed—phone/action if you hate digging in packs.
Do this next: Choose one camera type for your next trip and stop researching. Your goal is a kit you’ll actually use, not a perfect spec sheet.
How to Protect Camera While Bikepacking
If you’re searching how to protect camera while bikepacking, it’s usually because you’ve felt that relentless vibration (or watched dust creep into everything). Bikepacking is harder on camera gear than hiking: constant micro-impacts, grit, and surprise weather.
New to riding loaded? Start with my complete beginner bikepacking guide.
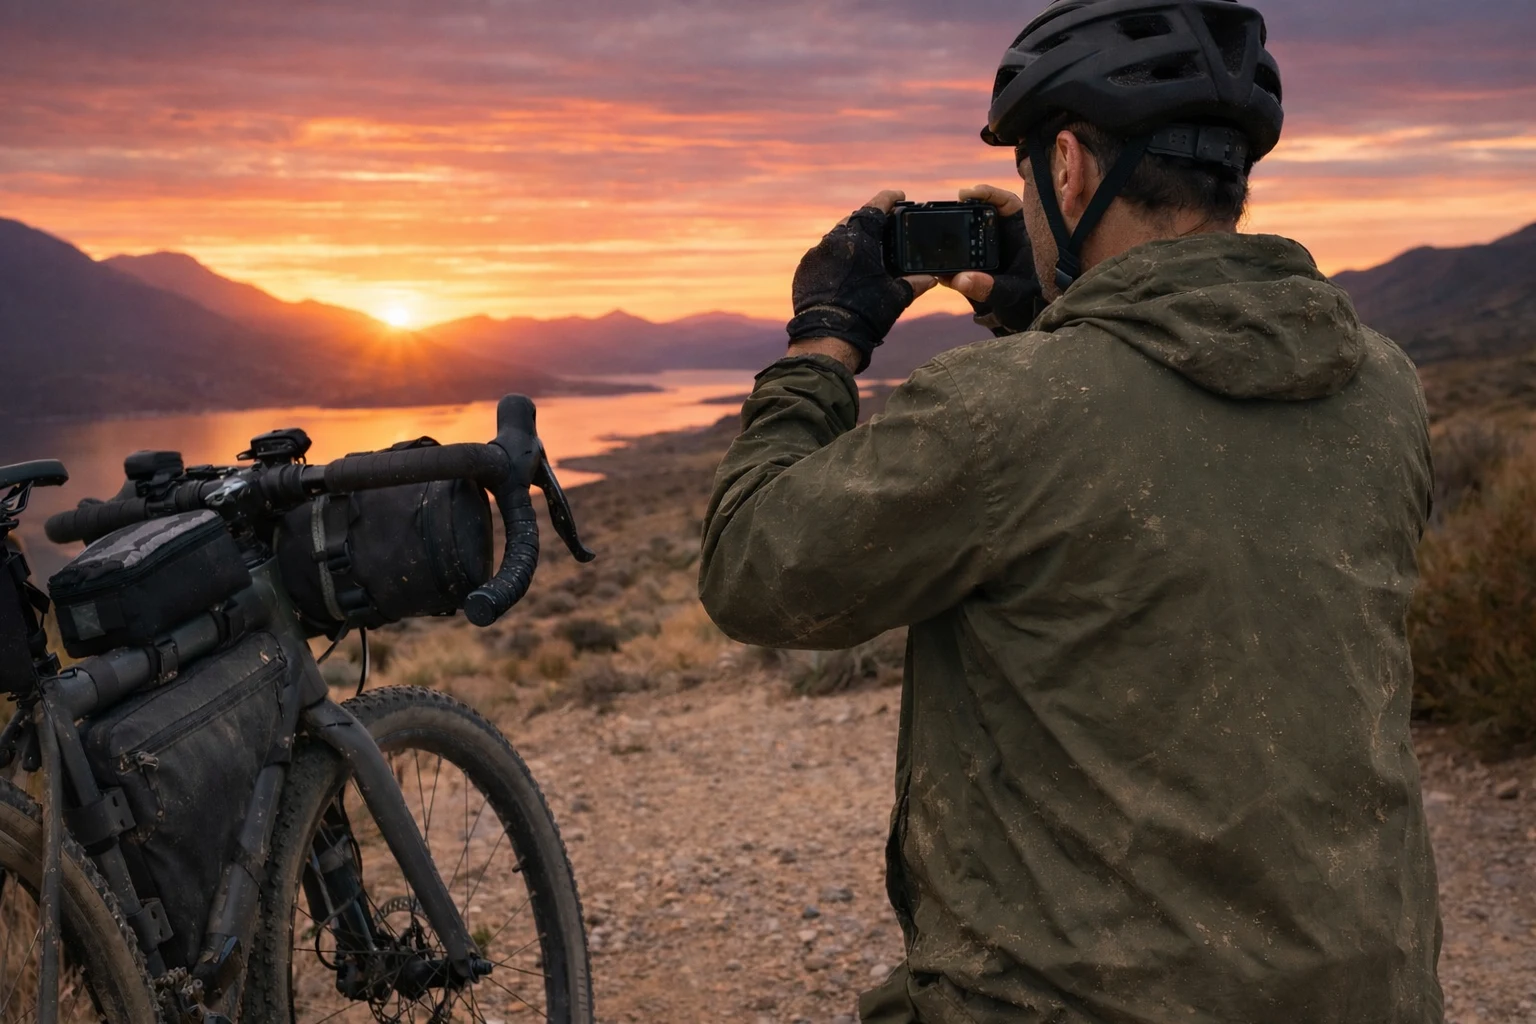
Carry placement (on you vs on the bike)
When the trail gets rough, the safest “quick access” spot is often on your body (hip pack or chest area) rather than bolted to the bike—because your body naturally absorbs bumps. On my rougher rides, vibration was the #1 reason I changed how I carried the camera, not rain. For action cameras, a stable quick-release handlebar mount can work if you want hands-free POV shots without extra vibration. If your setup bounces too much, tighten with a stable frame/seat/handlebar bag setup from my bikepacking bags guide.
Vibration checklist (the #1 bikepacking issue)
- Pad the camera: Use a slim padded insert/wrap. Damage often starts when gear bounces against hard items.
- Pack “middle of the sandwich”: Keep the camera surrounded by soft items, not against tools or metal hardware.
- Reduce bounce: Tighten your carry system; if the bag sways, the gear takes repeated hits.
Dust checklist (the silent quality killer)
- Minimize lens swaps: Swapping lenses in wind and dust is the fastest way to dirty sensors and lenses.
- Keep the kit closed: Use a simple zip bag or dry bag layer on dusty days.
- Clean fast: A small blower and microfiber cloth fixes most issues before they ruin shots.
Rain checklist (what to do before you’re soaked)
- Fast access rain layer: If it’s buried, you won’t use it in time.
- Layer protection: Padding inside a waterproof bag is boring—and that’s the point.
- Dry at camp: Air things out; don’t seal damp gear overnight.
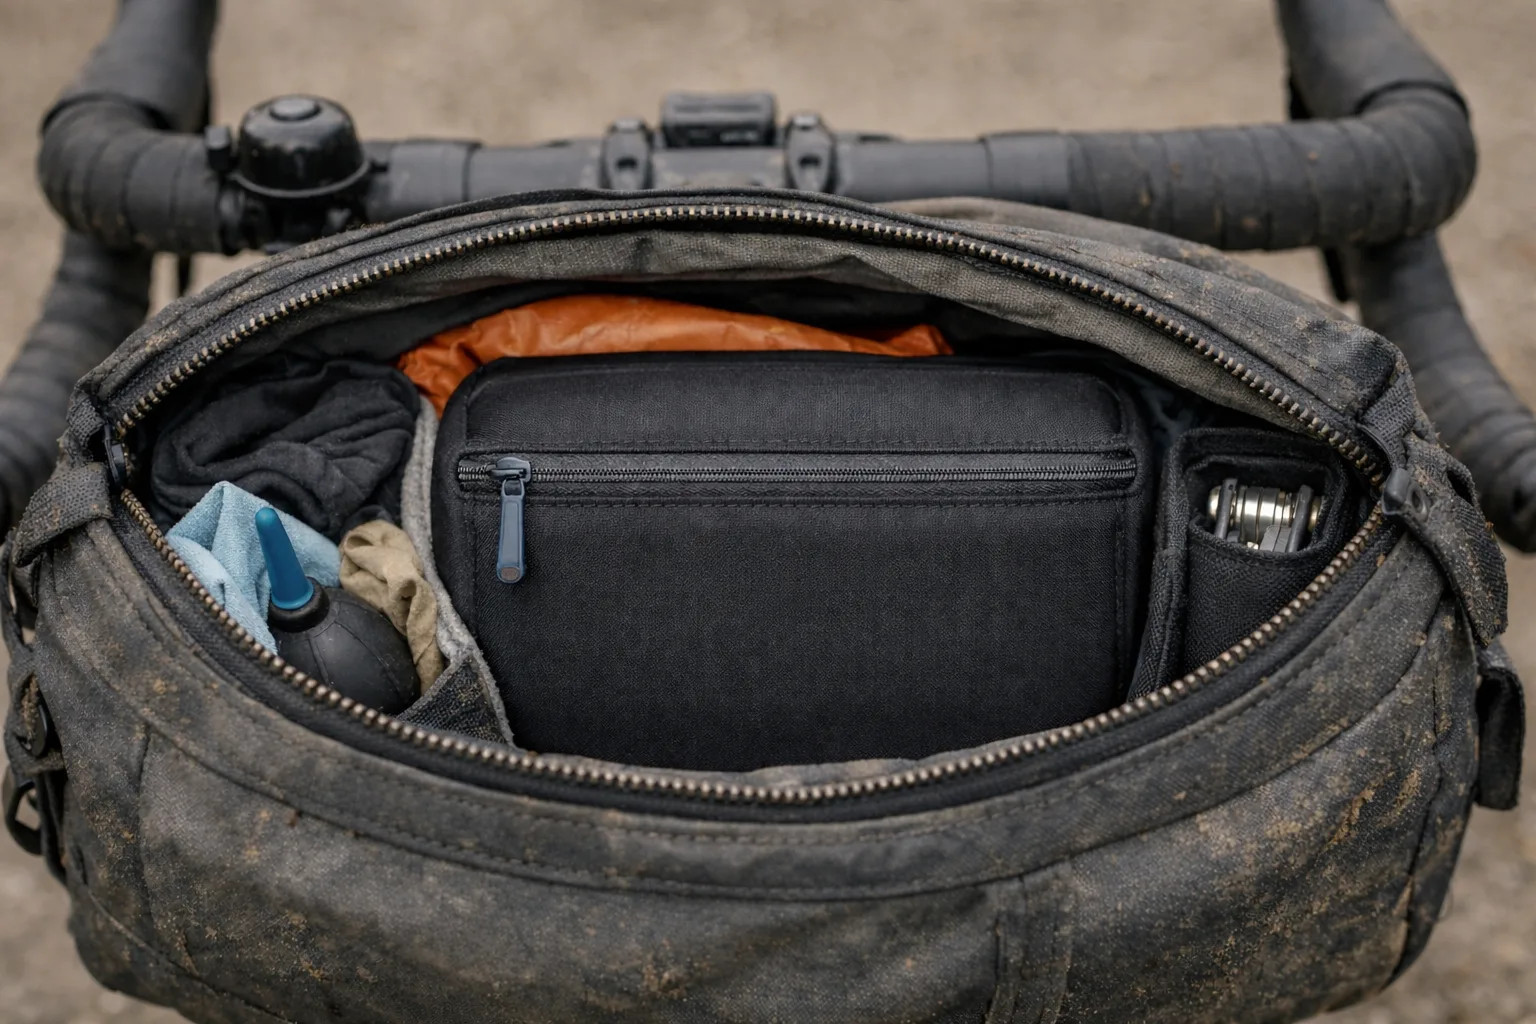
My setup: I keep the camera in a padded pouch I can reach quickly, with cleaning and a battery in the same pocket. Anything heavier goes deeper in the bag to reduce bouncing.
If you want more riding lessons, here’s my western US desert riding lessons.
Micro-action: Repack so your camera sits “middle of the sandwich” (soft on both sides). Then shake your bag—if it rattles, add padding or move hard items.
Workflow & Backup Tips on the Trail
This is where most “I lost my photos” stories begin: not the camera—your routine. It’s late, you’re tired, you tell yourself “I’ll deal with backups tomorrow,” and then tomorrow gets messy. A simple workflow keeps you out of that hole.
On-trail workflow (simple and repeatable)
- Start clean: quick lens wipe, check battery, confirm card space.
- Use two smaller cards: swap mid-trip (or every couple days) so one failure doesn’t wipe everything.
- Protect keepers: if you got a once-in-a-lifetime shot, back it up sooner.
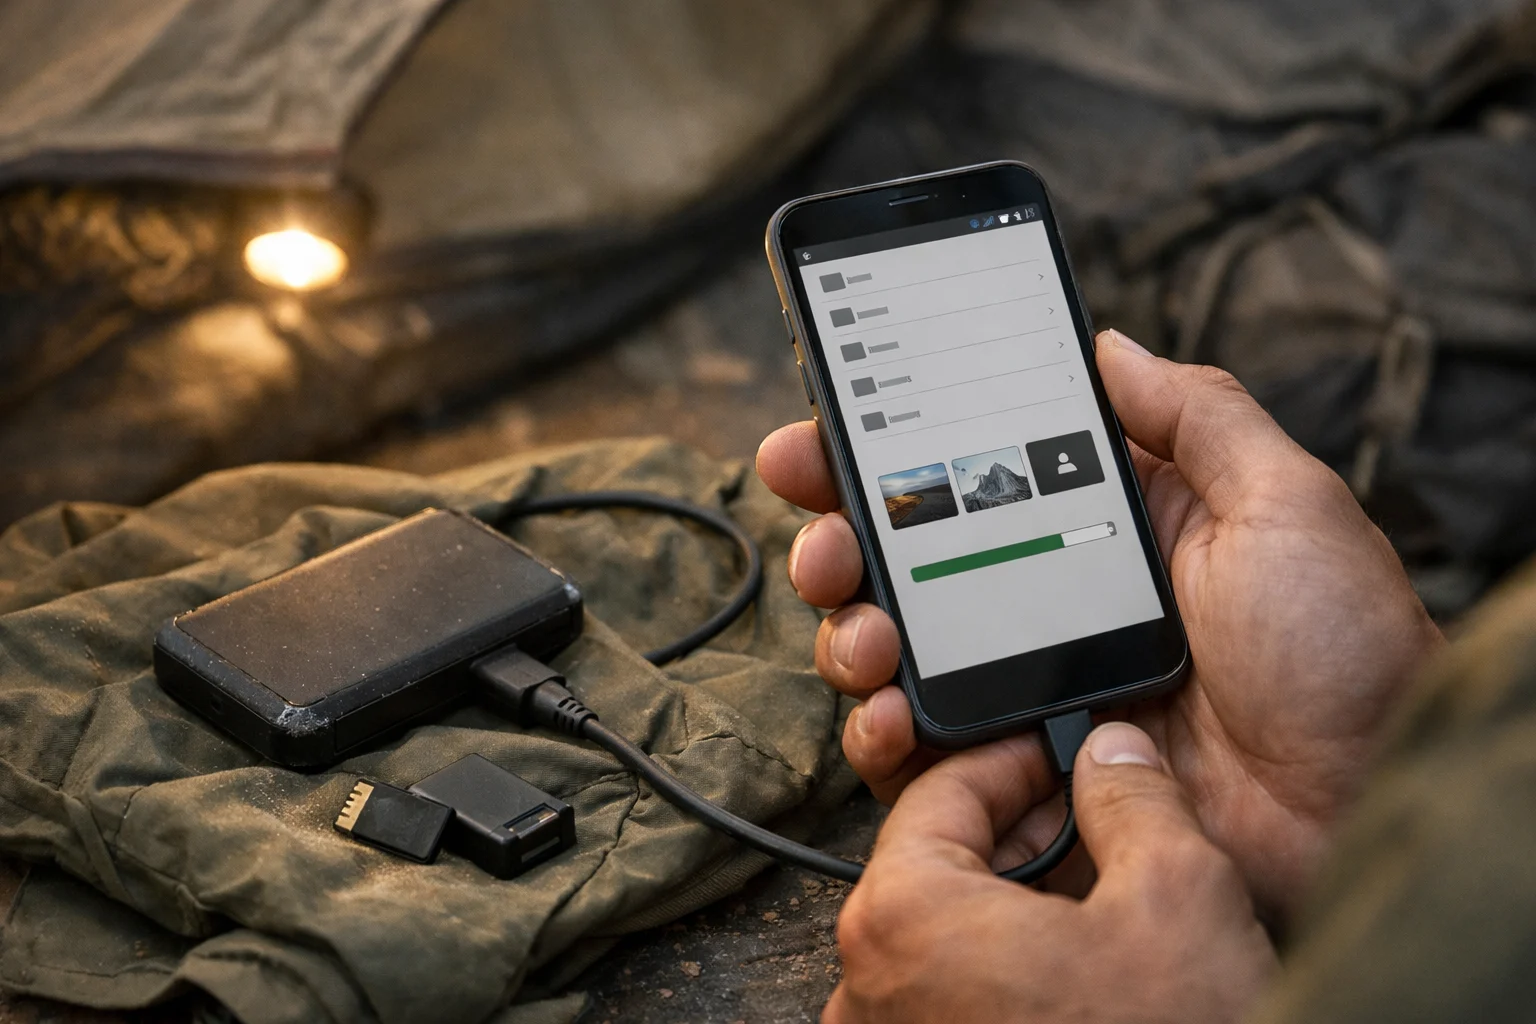
Backup options (choose what matches your style)
- Minimalist: rotate cards and keep them protected from water and dust.
- Lightweight: copy to a phone/tablet (if you already carry one) and store cards separately.
- More secure: bring a small SSD for longer trips when you want extra peace of mind.
Power habits that keep you shooting
- Cold trick: keep the spare battery close to your body during the day.
- Charging order: camera battery first, then phone, then everything else. For a full bikepacking power and charging setup, including lights and GPS strategies, see my dedicated guide.
- Pack reset: put batteries and cards back in the same spot every night.
Card Size Guide: 128GB vs 256GB for Photos & 4K Video
Choosing card size depends on your shooting style. Here’s a quick estimate based on typical file sizes (adjust for your specific camera model):
| Media Type | Approx. File Size | On 128GB | On 256GB |
|---|---|---|---|
| RAW Photos (24-33MP mirrorless) | ~30MB each | ~4,000–4,300 shots | ~8,000–8,700 shots |
| JPEG Photos (high quality) | ~5–7MB each | ~18,000–25,000 shots | ~36,000–50,000 shots |
| 4K Video (100Mbps bitrate, e.g., action cam) | ~7.5GB per 10 min | ~2.8–3 hours total | ~5.7–6 hours total |
| 4K Video (high bitrate, 400Mbps) | ~30GB per 10 min | ~0.7 hours total | ~1.4 hours total |
Use 128GB for shorter trips or photo-heavy shooting (minimum for photos-only). Go 256GB for video/4K or longer adventures to avoid frequent swapping. Always rotate two cards for safety.
Storage + Power Picks
| Item | Why | Default Option |
|---|---|---|
| SD Cards | Rotate two to avoid loss |
SanDisk Extreme SDXC — 2 cards (256GB each) |
| Portable SSD | For longer trips/phone copies |
Samsung T7 Shield 1TB |
| Power Bank | Charge priority: camera first |
Nitecore NB10000 Gen 2 |
Other solid options:
- Longer trips: Nitecore NB20000 Gen 3 (~10 oz, double capacity)
- Wet-weather priority: Nitecore NB Plus (IPX7 waterproof)
- Faster charging (if weight isn’t critical): Anker Nano 10K (30W built-in cable)
Spare batteries: Carry 1–2 extras — Sony NP-BX1 official for reliability, or the budget Newmowa 3-pack + charger.
Micro-action: Copy this into a phone note: “Wipe lens → check battery → swap/label card → charge → store cards.” Use it tonight at camp.
AI Workflow Add-On for Post-Trip
After backups, AI tools can save hours of editing when you’re back from a long trip. I use Aftershoot for fast auto-culling (it intelligently picks keepers and flags duplicates), Lightroom’s AI-powered denoise for cleaning up high-ISO shots taken in low light at dawn or dusk, and occasionally Luminar Neo for quick sky replacements or subject enhancements. These can run on a phone or tablet for lighter tasks, though some may perform better on a laptop.
Quick Lens Choices (Without Overthinking)
Lens choice matters, but the “perfect lens” rabbit hole is how packs get heavy. If you’ve ever opened a dozen tabs and ended up more confused, keep it simple.
If you want one lens
- Landscapes + travel: a versatile wide-to-standard zoom (or a compact built-in lens camera).
- People + camp life: a small prime for low light and natural-looking scenes.
If you want two lenses (still reasonable)
- Landscape + everyday: wide zoom + small prime.
- Everyday + occasional wildlife: standard zoom + lightweight telephoto only if you truly use it.
Pro tip: Not sure? Try before you buy—rent from a reputable photo rental service.
Pick one lens for your next trip and commit. You’ll learn more from using it than from reading another review.
Accessories for a Lightweight Bikepacking Photography Kit
Accessories should prevent missed shots, not add chores. You know the moment: wind picks up, dust hits your hands, and you still want a quick photo. That’s when a tiny cloth and blower earns its place.
The few accessories that usually earn their weight
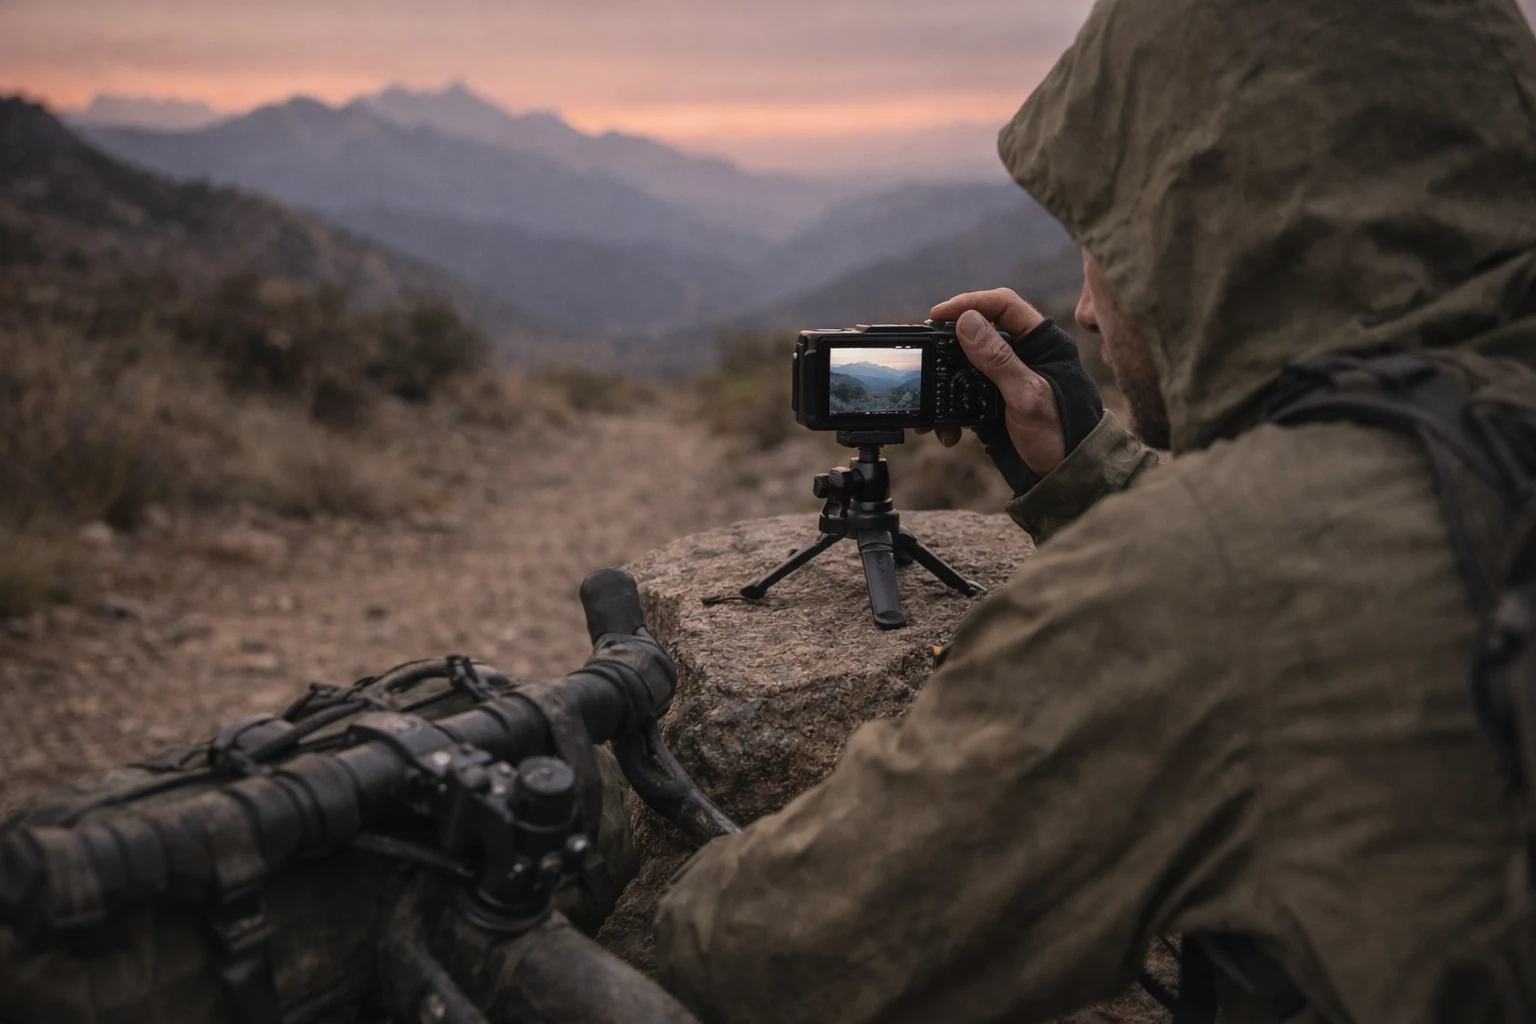
- Support: a small travel tripod or mini tripod for sunrise/sunset and low light.
- Filters: a circular polarizer cuts glare; an neutral density filter helps for longer exposures in bright light.
- Power: one extra battery (and a small bank if your trip needs it).
- Protection: padded insert/wrap + a compact rain layer.
- Cleaning: microfiber cloth + tiny blower.
- Bag organization: Tailfin Packing Cubes (designed to fit Tailfin packs perfectly and compress bulky items) — View on Tailfin.
Put your cloth and blower somewhere you can reach in 10 seconds. If it’s buried, you won’t use it when it matters.
Quick Shooting Wins (3 Minutes)
This is for the real moment: it’s windy, your hands are cold, and the light is changing fast. You don’t need fancy—just a few defaults you can repeat.
- Get the safe shot first: one clean frame before you experiment.
- Fix the two silent killers: wipe the lens + level the horizon.
- Use a “3-shot story”: wide scene → tighter subject → small detail.
- Protect highlights: if the sky is bright, expose a bit darker and lift shadows later.
- Beat motion blur: raise shutter speed for wind, moving water, and walking shots.
- Brace on trail: pack strap, trekking pole, rock, tree—anything stable beats “handheld hope.”
- Keep edits simple: white balance → highlights down → shadows up → stop.
Quick next step: On your next stop, shoot the 3-shot story (wide, tight, detail). It takes 30 seconds and makes your trip photos feel “complete.”
For more on ethical shooting around wildlife and landscapes, see the Leave No Trace principles (especially ‘Respect Wildlife’ and ‘Be Considerate of Others’).
Wildlife Photography with a Lightweight Kit
A light telephoto helps you keep distance and still fill the frame. Start with continuous autofocus and a fast shutter speed for movement, then aim for the eyes. If an animal looks stressed—or you feel unsure—back off. The photo isn’t worth the risk.
Learn more in the Leave No Trace wildlife guidelines.
Decide your “back off” rule before you see an animal (distance, behavior cues, or your own comfort). Then stick to it.
Frequently Asked Questions
Start with the simplest kit you’ll actually carry: one camera you enjoy using, one versatile lens (or a premium compact), a padded insert, and a basic rain plan. That combo covers most trail situations without turning your pack into a gear bin. If you want more safety, add a second memory card and a tiny cleaning kit.
Focus on three things: vibration, dust, and rain. Add padding (insert or wrap), keep the camera away from hard items, and tighten bags so they don’t bounce. On dusty days, keep the kit closed and clean quickly with a blower and cloth. If rain hits, use a waterproof layer and dry gear at camp instead of sealing moisture overnight.
If you want to stay light, one lens you know well usually wins. For landscapes and travel, a wide-to-standard zoom is a safe choice. For people and camp life, a small prime is fast and compact. Add a telephoto only if you truly plan to shoot wildlife—otherwise it’s easy weight that often stays packed.
For many trips, yes—especially if you care about convenience, quick edits, and easy backups. Phones can struggle with true zoom reach and low-light detail at dawn and dusk, but they’re hard to beat for “always ready” moments. If a phone makes you shoot more, it’s doing its job.
Keep it repeatable: shoot in softer light when you can, practice clean composition (horizon, foreground, leading lines), and learn enough exposure control to avoid blur and heavy noise. Then use a simple routine: one safe shot, one creative shot, one detail shot. Consistency beats complexity on the trail.
Two 256GB rotated (or 128GB minimum for photos-only); see picks above.
Use Lightroom AI denoise for low-light fixes and Aftershoot for fast culling (see AI Workflow section above).
Conclusion: Capture Your Adventure with Bikepacking Photography Gear
Bikepacking photography isn’t about carrying more—it’s about carrying the right few things in a way that makes shooting easy. When your camera is protected, quick to access, and your backups are simple, you stop “managing gear” and start actually taking the photos you came for.
Do this next: Pack your setup and run a 60-second access test: pull the camera out, take one photo, and pack it back—three times. If it feels annoying or takes more than 15 seconds, change one thing today (carry location, padding, or where your rain layer lives). One small change beats buying more gear.
If you want a ready-made solution instead of trial-and-error, you can copy my exact bikepacking camera kit I landed on after testing a few setups on real trips (carry method, protection, batteries, cards, mounts): my exact bikepacking camera kit after real trips.
This article is general education, not personalized advice. Conditions, gear choices, and risk tolerance vary—follow local regulations and your manufacturers’ guidance, and use your judgment in real weather and terrain. If you want trip- or setup-specific help, consider a qualified outdoor guide, bike mechanic, or camera technician.