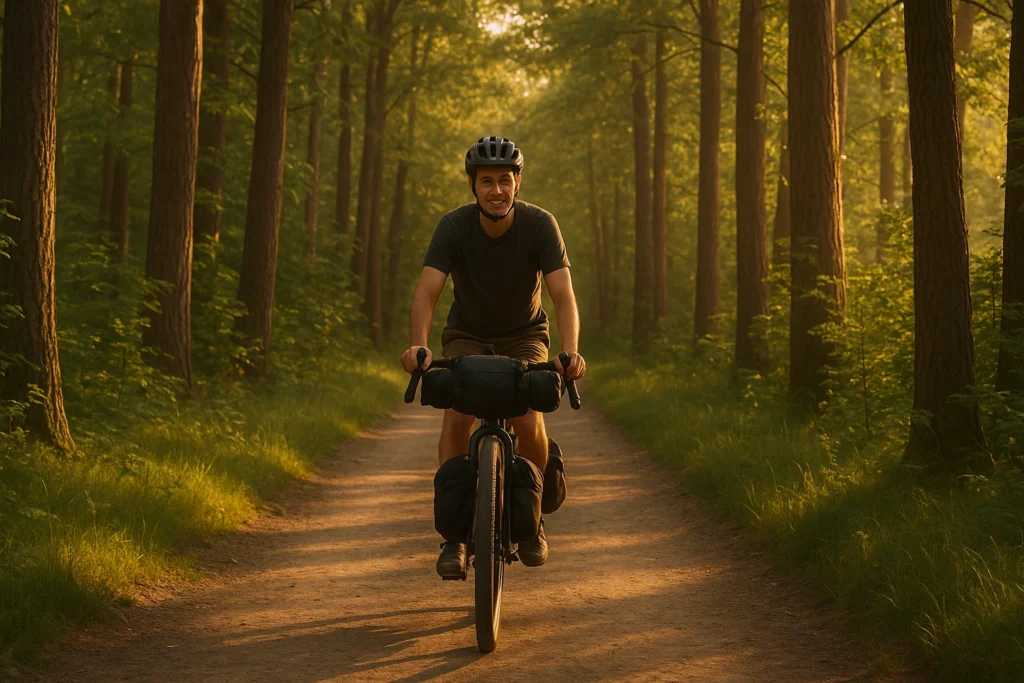
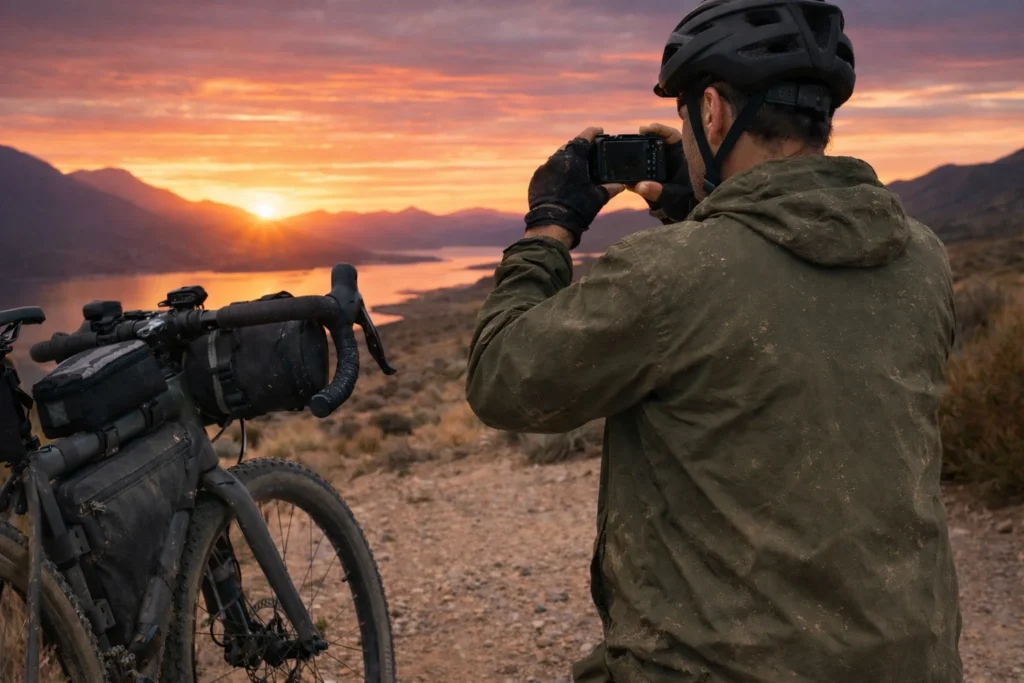
Shopping for a first bike tour gets expensive fast because nearly everything looks essential. It isn’t. Start with the trip-stoppers: a stable way to carry gear, a flat-fix kit, and rain protection. This guide shows what to buy first, what can wait, and how to build a practical setup for traditional touring or light bikepacking without paying for upgrades before you know you need them.
Touring or bikepacking? The core starter kit overlaps. The main difference is how you carry it: panniers suit paved touring, while narrower rack-free bags make more sense on rougher routes.
Planning a lighter, rack-free setup? The bikepacking gear guide compares three complete packing systems.
Last updated: July 2026
This page contains affiliate links and may include sponsored content. As an Amazon Associate, I earn from qualifying purchases at no extra cost to you. Amazon links are labeled #ad; other affiliate links may be marked as “affiliate link,” “Sponsored,” or “(paid link).” Learn more.
Table of Contents
- Starter kit: budget touring gear first
- Exact under-$500 starter basket
- Tailoring Budget Gear to Your Trip
- Touring Gear Checklist (2-Minute Planner)
- Best Budget Bikepacking Bags (That Also Work for Touring)
- Why Budget Touring Gear Matters for Beginners
- Sleep System Picks That Don’t Break the Bank
- Budget Tools and Repair
- Cooking with Budget Gear
- Clothing & Personal Essentials on the Cheap
- Works for Bikepacking Too (Small Differences)
- What NOT to Buy Yet
- Upgrade Path After Your First Trip
- Frequently Asked Questions
- Final Thoughts
Bike Touring Gear for Beginners: Starter Kit
If you only read one part of this article, make it this section. You want a kit that’s shakedown-ready—not a perfect, expensive “someday” setup.
- Start with the trip-stoppers: carry system + flat-fix + rain basics.
- Think in tiers, not price tags: “Value” = cheapest that still works; “Mid” = nicer comfort/durability.
- Budget trade-offs are usually bulk/weight: not “unsafe,” just less sleek.
Minimum viable kit (most beginners): a carry system, a reliable flat-fix setup, and a rain layer. Add shelter/sleep if you’re camping.
Before you scroll the table: this is a menu of solid starter options by category—not a “buy everything” list. For the simplest budget route, jump to the Under-$500 path and ignore the “nice-to-haves” until after your first overnight.
Premium = “buy-once” upgrades: if you have extra budget, spend it where it prevents the most common re-buy regret (sleep comfort + packed size).
Starter picks that usually work: weights and specs vary by size/version, but these are solid beginner defaults.
| Item | Approx. Weight | Tier | Why I chose it (trade-off) | Where to look |
|---|---|---|---|---|
| Carry system: ROCKBROS Waterproof Panniers (30L) | Varies | Value | Stable + roomy + waterproof for the money (needs a rack; wider profile than bikepacking bags). | View on Amazon |
| Carry system: Blackburn Outpost Frame Bag | Varies by size | Mid | Keeps weight centered + easy access (can reduce bottle-cage space; fit depends on your frame triangle). | View on Amazon |
| Carry system: Topeak BackLoader Saddle Bag (10L) | ~459–480 g (16.2–16.9 oz), by color | Mid | Good rack-free option for bulky/light gear (can sway if overpacked; packing technique matters). | View on Amazon |
| Shelter: ALPS Mountaineering Lynx 1 | ~1,860 g (4.1 lb) (listed) | Value | Reliable solo tent value (heavier/bulkier than true UL tents, but solid for the price). | View on Amazon |
| Sleeping bag: REI Co-op Trailmade 25 | Varies | Value | Beginner-proof warmth for the money (synthetic is more forgiving in damp; bulkier/heavier than down). | View at REI |
| Sleeping bag (upgrade pick): Big Agnes Sidewinder SL (older 35° listing) | Varies | Premium | Side-sleeper-focused design, but availability may be limited; the current Sidewinder SL line centers on 20° models. | View on Amazon |
| Sleeping pad: Therm-a-Rest Z Lite Sol (Small) | ~290 g (10 oz) (listed) | Value | Simple + nearly indestructible (bulky; less plush than inflatable pads). | View on Amazon |
| Sleeping pad (premium upgrade): Therm-a-Rest NeoAir XLite NXT | ~370 g (13.0 oz) (listed) | Premium | Packs tiny + warmer for 3-season use (pricey; some find it a bit “crinkly”). | View on Amazon |
| Repair: Crankbrothers M19 Multi-Tool | ~175 g (6.2 oz) (listed) | Mid | More “trip-saving” coverage because it includes a chain tool (heavier than tiny multi-tools). | View on Amazon |
| Repair (tubes): Park Tool TL-1.2 Tire Levers | Negligible | Value | Gets the tire off reliably so you can actually fix the flat (super-tight tires can still take patience). | View on Amazon |
| Repair (tubes): Park Tool GP-2 Patch Kit | Negligible | Value | Fast, beginner-friendly tube patches (less reliable if the tube is wet/dirty/cold; longer tours may prefer glue patches). | View on Amazon |
| Repair (tubeless): PRO Bike Tool Tubeless Plug Kit | Negligible | Value | For tubeless tires when sealant can’t handle the hole (not for tube punctures). | View on Amazon |
| Pump (compact): PRO Bike Tool Mini Pump | ~115 g (4.1 oz) (listed) | Mid | Compact + lightweight (more pumping effort than larger pumps). | View on Amazon |
| Cooking: MSR PocketRocket 2 | ~73 g (2.6 oz) (listed) | Mid | Classic first stove: tiny + fast boil (not great in wind; upgrade later if you ride cold/windy a lot). | View on Amazon |
| Cook pot: TOAKS Titanium 750ml Pot (Bail Handle) | ~110 g (3.9 oz) (listed) | Mid | Best all-around solo pot size (enough room to cook without spilling; still packs small). | View on Amazon |
| Lighting (headlamp): Nitecore NU20 Classic | ~38 g (1.3 oz) (listed) | Value | Huge “camp + emergency” value for almost no weight (rechargeable, so remember a charging plan). | View on Amazon |
| Safety (bike lights): USB-Rechargeable Front/Rear Light Set | ~77 g (2.7 oz) (listed) | Value | Easy to mount + remove + recharge (confirm mount security + real-world brightness for your riding). | View on Amazon |
| Clothing: Frogg Toggs Ultra-Lite2 | Varies | Value | Cheap rain insurance that works (bulkier fit; durability depends on abuse). | View on Amazon |
| Safety (compact): Adventure Medical Kits Ultralight/Watertight .3 | Varies | Value | Small baseline first-aid for short trips (still add personal meds + must-haves). | View on Amazon |
I get it—right after that table, most beginners are still in “keep it cheap” mode. The value picks above will absolutely get you out the door. But if you’re planning more than 1–2 trips a year, there’s one place where spending a bit more early often saves a re-buy later: your sleeping pad (packed size + cold-ground comfort).
If I could only splurge on one thing early: Therm-a-Rest NeoAir XLite NXT
This is the “buy-once” upgrade most likely to reduce packed bulk and improve cold-ground comfort. If you only do one trip a year, the Z Lite is totally fine—upgrade when bulk or cold becomes your #1 annoyance.
Quick rule of thumb (so you don’t overbuy):
- Absolute minimum for almost everyone: carry system + repair kit + pump + rain layer.
- If you’re camping: add shelter + sleep system (bag + pad).
- Everything else: cooking, extra first-aid, and comfort upgrades can wait until after your first overnight or two.
Once you’ve picked your core items, set a rough cap for each category so you can judge sales and used deals quickly. Before the real trip, ride 10–20 km fully loaded, practise fixing a flat at home, and adjust the packing until nothing rubs, rattles, or sways. That shakedown is what turns a shopping list into gear you trust.
A Real Under-$500 Starter Basket
This is one honest core setup using reproducible planning prices checked on July 27, 2026. It is a bike-touring add-on kit, not a complete life-from-scratch list: it assumes you already own a suitable bike, a compatible rear rack, helmet, lights, bottles, basic riding clothes, one correctly sized spare tube, first-aid basics, phone/navigation, food, and toiletries. When an Amazon item did not expose a stable public price, I used a comparable current manufacturer listing rather than guess.
| Layer | Item | Price used | Why it earns a place | Where to check |
|---|---|---|---|---|
| Core | ROCKBROS Waterproof Panniers (30L) | $94.99 | One forgiving carry system for paved or mixed touring; requires a compatible rear rack. | View on Amazon |
| Core | Park Tool TL-1.2 Tire Levers | $6.95 | Gets a tube out without improvising with tools that can damage the rim or tire. | View on Amazon |
| Core | Park Tool GP-2 Patch Kit (2-pack) | $13.90 | Twelve pre-glued patches across two kits; still carry a correctly sized spare tube. | View on Amazon |
| Core | Topeak Peakini II Mini Pump | $20.95 | A current-price stand-in for the compact Presta/Schrader pump category, with a frame mount included. | View at Topeak |
| Core | Frogg Toggs Ultra-Lite2 | $32.99 | Low-cost rain protection; the entry price varies by size and color. | View on Amazon |
| Camping add-on | ALPS Mountaineering Lynx 1 | $149.99 | A complete solo shelter at a value price, accepting extra bulk and weight. | View on Amazon |
| Camping add-on | REI Co-op Trailmade 25 (Medium) | $129.00 | A current synthetic 25°F option; short sizes cost less and long sizes cost more. | View at REI |
| Camping add-on | Therm-a-Rest Z Lite Sol | $49.95 | Durable insulation with no puncture risk, traded for packed bulk. | View on Amazon |
| Hotel / credit-card touring subtotal | $169.78 | Core rows only; no shelter or sleep system. | ||
| Camping starter subtotal | $498.72 | Core rows plus the three camping additions. | ||
How the math works: the prices above were checked against current manufacturer or major-retailer listings on July 27, 2026; the linked shop may show a different live price. Tax and shipping are excluded, so the $498.72 camping subtotal can cross $500 at checkout. The basket is also incomplete if you still need any assumed item above. If you already own a serviceable line, subtract it instead of upgrading sideways; if checkout breaks the cap, buy one item used or wait for a sale rather than deleting a trip-stopper.
Tailoring Budget Gear to Your Trip
The fastest way to waste money is buying gear for the wrong tour. If you’ve ever bought something “just in case” and then never used it… yeah, touring can do that.
- Hotel / credit-card touring (mostly paved): prioritize comfort and simplicity. You can skip the full camp sleep system and cooking gear.
- Mixed touring (some camping): you’ll want shelter + sleep, but you can go simple and upgrade later.
- Rougher bikepacking routes: prioritize a narrower profile (frame + saddle + handlebar) and keep loads lighter.
Beginner rule: pick your carry system first (panniers vs. rack-free bags). That single choice decides your packing, handling, and what “fits.”
Before using the planner: write down whether your route is mostly paved, mixed, or rough. For rough routes, choose a narrower bag setup before buying anything else.
Touring Gear Checklist (2-Minute Planner)
This quick planner turns the article into a simple action plan. Pick your trip style, check what you already have, and it’ll generate a prioritized “buy next” list (with links to the right sections). On mobile, it’s designed to tap-through cleanly—no tiny targets.
Check what you already have:
Tip: your selections are saved on this device so you can come back later.
Best Budget Bikepacking Bags (That Also Work for Touring)
If there’s one purchase that changes how confident you feel on day one, it’s your carry system. A wobbling load can make you feel “bad at touring” when it’s really just bad packing. If you’re trying to decide between panniers and bags, this section will help.
Best budget bikepacking bags: compatibility checks (read this first)
- Panniers: you’ll need a rack, and you should check heel clearance (your foot shouldn’t hit the bag while pedaling).
- Frame bags: triangle size matters; you may lose a bottle-cage spot.
- Saddle bags: overloading causes sway—keep heavy items low/center when possible.
- Handlebar bags: watch cable rub and steering feel; keep the front load compact.
Quick micro-scenario: if you’ve ever stood up to climb and felt the bike “wag” underneath you, your load is probably too high or too far back. That’s fixable.
ROCKBROS Waterproof Panniers
Best for: paved touring, heavier loads, and “I just want this to be stable.” Watch for: heel clearance and rack compatibility. Spacious and weather-resistant for the money, with a wider profile than bikepacking bags.
Blackburn Outpost Frame Bag
Best for: keeping weight centered (snacks/tools feel easy to reach). Watch for: bottle-cage space and triangle fit. A frame bag often makes the bike feel calmer on climbs and rougher patches.
Topeak BackLoader Saddle Bag
Best for: rack-free setups and lighter packing. Watch for: sway when overloaded. If it wobbles, pull out bulky/light items first and keep dense gear lower and more centered.
| Bag Type | Brand/Model | Budget tier | Weight | Capacity |
|---|---|---|---|---|
| Panniers | ROCKBROS Waterproof | Value | Varies / not listed | 30L |
| Frame Bag | Blackburn Outpost | Mid | Varies by size | Expandable; size-specific |
| Saddle Bag | Topeak BackLoader | Mid | 0.9–1.2 lbs (size/color) | 6L / 10L / 15L |
If you’re specifically shopping for the best budget bikepacking bags, prioritize fit first and price second. A slightly pricier bag that fits your bike cleanly often saves you money in “replacement regret.” For the full frame/seat/handlebar breakdown, see the bikepacking bags system guide.
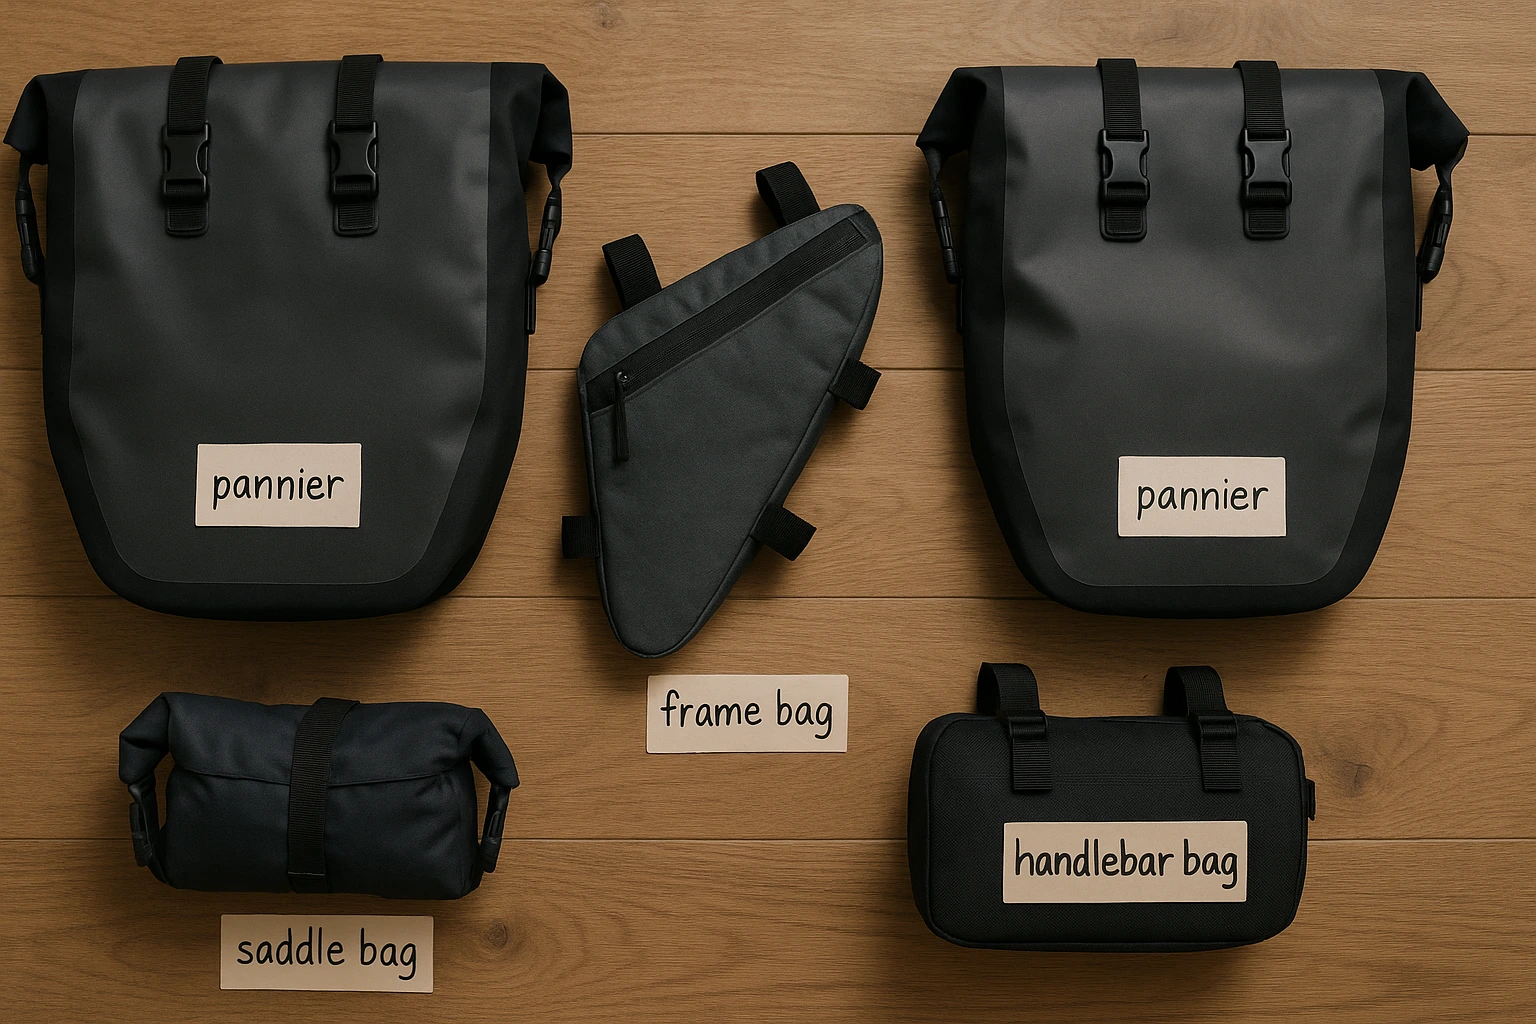
Do this now: Measure your frame triangle and check heel clearance on your rack. Two minutes of measuring prevents the most annoying “why doesn’t this fit?” problems.
Why Budget Touring Gear Matters for Beginners
Budget gear helps you start sooner—and starting sooner is how you learn what you actually want. Many beginners overbuy before their first trip because it feels safer. The truth is: one overnight teaches more than ten hours of shopping.
- Shop smarter: last-season gear, used marketplaces, and local bike forums can cut costs fast.
- Upgrade with evidence: change one pain point at a time after a shakedown night.
- Go new for “trip-stoppers”: patches/levers, worn rain gear, anything safety-critical.
If you want a neutral, beginner-friendly overview from a reputable touring org, this Adventure Cycling Association guide is a solid reference: The gear you need to get started bike touring.
Pick one “no-regrets” buy for your next trip—usually carry, flat-fix, or rain protection. Ignore everything else until after your shakedown.
Sleep System Picks That Don’t Break the Bank
Sleep is where a budget tour can go sideways fast. If you’re cold, uncomfortable, or damp, it’s hard to enjoy day two. When a chilly overnight goes badly, the useful upgrade is often the sleep setup—not a fancier stove.
Beginner reality checks (this prevents regret buys)
- Temperature ratings vary (often “survival,” not comfort): if you sleep cold, choose a warmer rating or plan warm layers.
- Bulk matters: budget sleep gear often packs larger—make sure your bag system can handle it.
- Ground insulation is not optional: your pad affects warmth as much as comfort.
ALPS Mountaineering Lynx 1
Reliable starter protection and easy setup for the price. Trade-off: heavier/bulkier than true UL tents.
REI Co-op Trailmade 25
A current synthetic starter option with inclusive sizing and insulation that continues working in damp conditions. Trade-off: it is bulkier and heavier than down, and the 25°F label is a comparison rating—not a guarantee of comfort for every sleeper.
Therm-a-Rest Z Lite Sol
Tough, simple, and nearly indestructible. Trade-off: bulky, and less plush than an inflatable.
If you want a smaller packed size later:
- Most packable + warmer: Therm-a-Rest NeoAir XLite NXT
- Budget inflatable alternative: Klymit Static V2 (choose insulated if nights are cool)
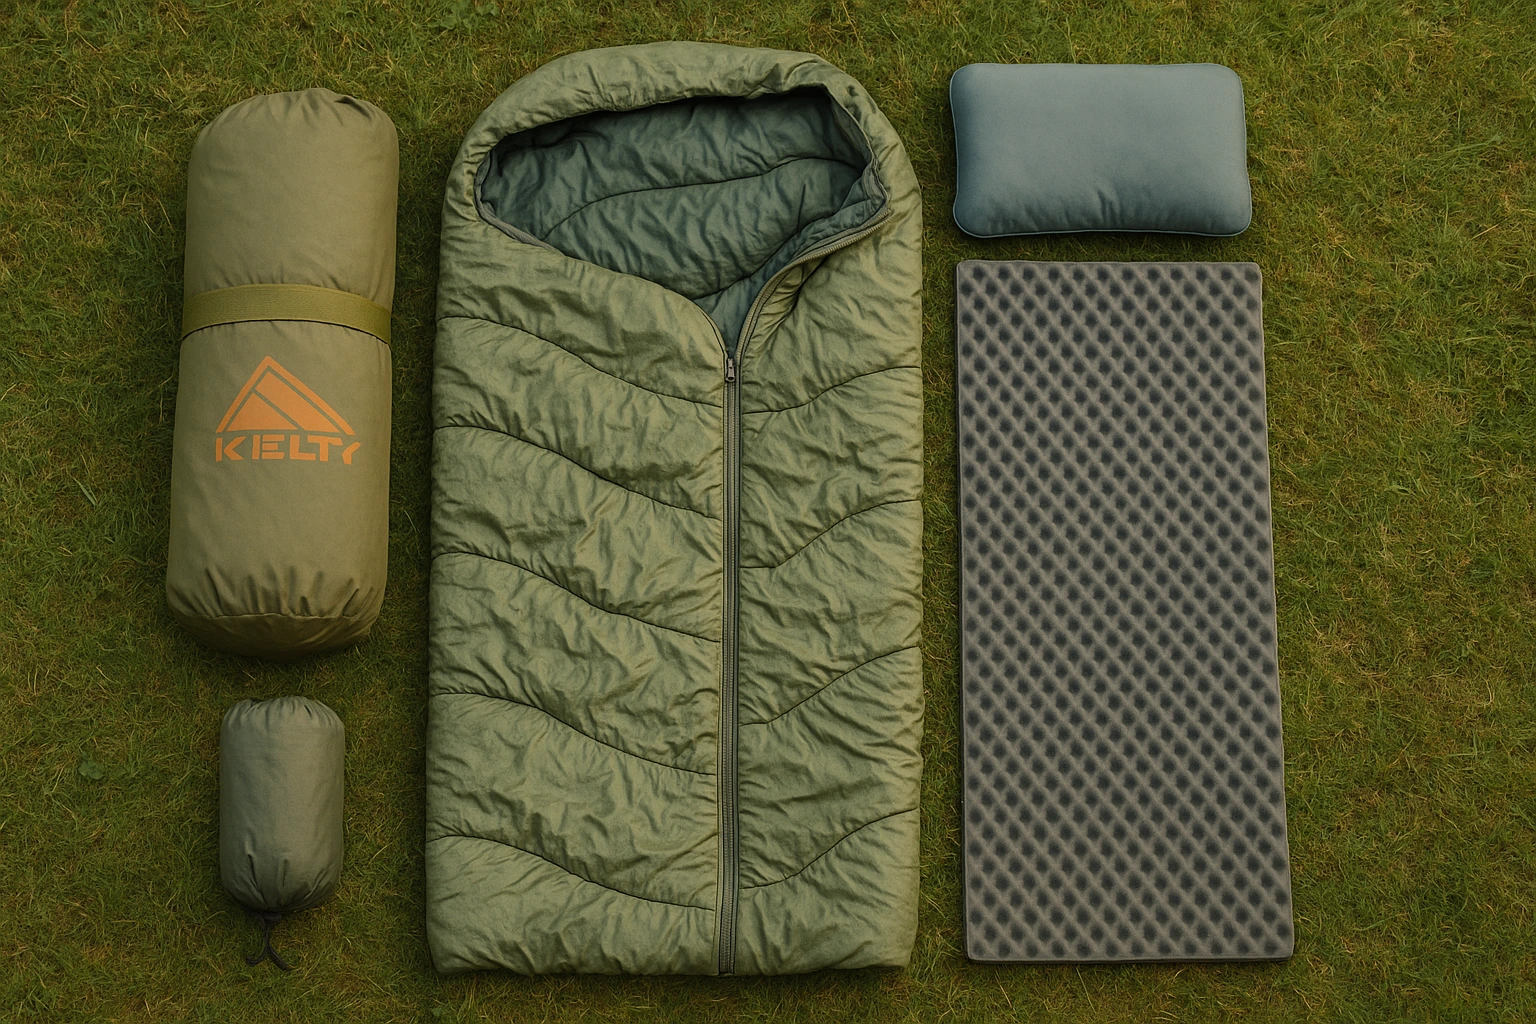
Do this now: Do one backyard (or living-room) test night. If you’re cold or miserable at home, it won’t get better outside.
Budget Tools and Repair
Flats happen. The scary part isn’t the flat—it’s the moment you realize you’ve never actually used your patch kit. If it’s 2 p.m. and sunny, you’ll be fine. If it’s 6 p.m. and you’re tired… you’ll want muscle memory.
Must-do before you leave: practice fixing a flat at home once. A patch kit is only “cheap” if you know how to use it.
Crankbrothers M19 Multi-Tool
A compact “mini shop” for common adjustments. Trade-off: it won’t replace a full workshop for complex fixes, but it covers the stuff that ends trips.
Tubes vs. tubeless: choose the right repair kit
- If you run tubes: levers + patches (and ideally a spare tube). This is the most common beginner setup.
- If you run tubeless: carry a plug kit for punctures too big for sealant (and top up sealant before longer trips).
Park Tool TL-1.2 Tire Levers
Rim-safe levers that handle stubborn tires without drama. Trade-off: super-tight beads still take patience.
Park Tool GP-2 Patch Kit
Fast, glue-free patches that are easy to learn. Trade-off: for repeated heavy use on longer tours, many riders later upgrade to glue-style patches.
PRO Bike Tool Tubeless Plug Kit (for tubeless riders)
Quick puncture plugs when sealant can’t handle it. Trade-off: only useful for tubeless tires (doesn’t replace tube patches).
Pump (compact): PRO Bike Tool Mini Pump
Compact and easy to stash in a bag. Trade-off: you’ll work harder to reach higher pressures than with a larger pump.

Time one flat fix at home. If it takes 25 minutes today, that’s normal—do it once more and you’ll cut it in half.
These are the basics. For the exact items I carry on longer tours and how to pack them efficiently, see the full repair kit checklist.
Cooking with Budget Gear
Cooking is optional, but it can save money and make the trip feel calmer. A simple “boil water” setup can feel like a tiny luxury at the end of a long day.
Budget reality: the cheapest “cooking system” is no cooking. Many beginners do great with supermarket meals + sandwiches. If you do cook, start with “boil water” gear first.
MSR PocketRocket 2
Tiny, fast-boiling stove for coffee and simple meals. Trade-off: not great at simmering, and you’ll need canister fuel.
TOAKS Titanium 750ml Pot
Light and easy to clean. Trade-off: best for simple meals (solo portions).
Decide whether you’re cooking or only boiling water. If it’s “boil water,” don’t buy a full kitchen.
Clothing & Personal Essentials on the Cheap
Comfort issues sneak up on long rides. It’s usually not dramatic—it’s small friction that builds: chafing, damp socks, a rain jacket that turns into a sauna. Budget gear is fine here as long as it’s functional.
Frogg Toggs Ultra-Lite2 (budget rain layer)
Light, waterproof “emergency armor.” Trade-off: bulkier fit, and durability depends on how hard you ride in it.
Adventure Medical Kits Ultralight/Watertight .3 (small first-aid baseline)
Covers common scrapes in a compact package. Trade-off: you’ll still want to add personal meds or extras you like.

Do this now: Pack one riding set + one dry set. If you’re adding a third “just in case” outfit, pause and ask what problem it solves.
Works for Bikepacking Too (Small Differences)
Most beginner touring gear overlaps with beginner bikepacking gear. The main differences are about profile (how wide your setup is) and handling on rough surfaces. The bike you’re on matters here, too—if you’re still deciding what to ride, start with the bikepacking bikes guide so your bag choices match your setup.
- If you’ll ride rougher trails: favor frame + saddle + handlebar and keep heavy items centered.
- If you’ll ride mostly paved: panniers + rack are stable and beginner-friendly for bigger loads.
- What stays the same: sleep basics, rain gear, repair essentials, and the need for a shakedown ride.
Do this now: If your route is rough, commit to keeping your load narrower than your handlebars. It makes the bike feel dramatically more stable.
What NOT to Buy Yet
If you’re on a budget, the smartest move is avoiding “nice-to-have” gear until you’ve done at least one overnight shakedown. This is where most beginner overspending happens.
- Ultralight premium upgrades: great later, but the starter gear gets you outside now.
- Complicated cooking systems: boil water first; optimize after you learn your habits.
- Extra gadgets: buy what solves a real problem you experienced on the bike.
Make a “Not Yet” list. Cheap gear is fine for nice-to-haves, but do not gamble on carry stability, rain protection, or flat-fix essentials. If an item is not required for safety, sleep, or fixing a flat, it goes on the list.
Upgrade Path After Your First Trip
After one overnight, upgrades become obvious. You’ll know what annoyed you most—because you’ll still be thinking about it in the shower the next morning.
- After 1 trip: upgrade the single biggest comfort issue (often sleeping pad or rain protection).
- After 3 trips: upgrade durability (bags/rack points, tent stakes, better pump).
- After a season: optimize weight/packability if you’re riding rougher routes or longer distances.
After your first trip, write down the top three annoyances. Upgrade only the one that cost you the most sleep, time, or safety. That keeps you from buying fixes for problems you do not actually have.
Frequently Asked Questions
Final Thoughts
Bike touring doesn’t need to break the bank. If you’re building bike touring gear for beginners, start with the essentials, run one shakedown ride, and let your first trip teach you what’s worth upgrading. If you want, use the planner above, copy your list, and treat it like a simple “buy next” plan—one item at a time.
Pick a date for your shakedown ride this week. That’s the step that turns planning into a real trip.
New to bikepacking entirely? Our beginner bikepacking guide walks you through your first overnighter from scratch.
This guide is general educational information, not personalized advice. Gear needs vary by route, weather, and rider, so results will differ. If you’re unsure about safety, fit, or setup, consider checking with a qualified bike shop or other professional before your trip.