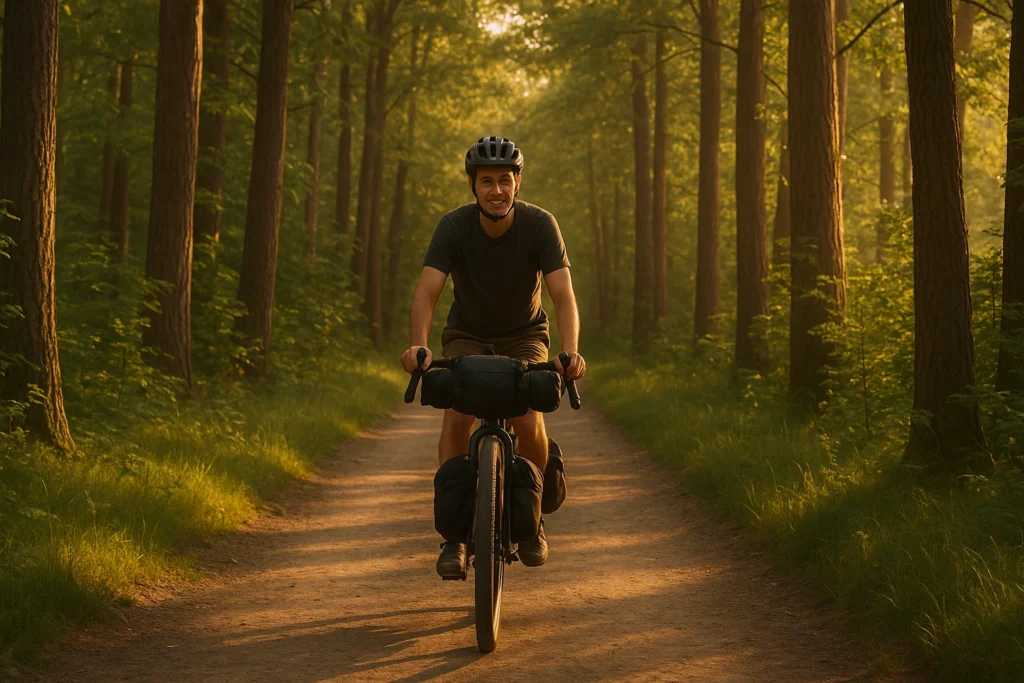
My first bikepacking trip was a total mess. I hauled 40 pounds of gear for two days, forgot my sleeping pad, ran out of water on day one, and ended up pushing my bike up hills. If you’re trying to dodge the same beginner bikepacking mistakes, you’re in the right place.
Most first bikepacking trip mistakes come down to packing too much, misjudging water, and choosing a route that’s harder than it looks.
Planning your first 1–3 night trip on gravel, forest roads, or easy singletrack? This is for you. I’ll flag what changes in heat, remote stretches, or heavier bikes, so you’re not guessing. I’ll walk through the 21 mistakes I see most—and what I’d fix first if I were packing your bike tonight. For a full start-to-finish setup, see our beginner bikepacking guide.
Beginner Bikepacking Fix Finder
Answer a few questions—then jump to the fixes that matter most.
Answer 4 quick questions to get a start-here shortlist. This covers the biggest trip-ruiners (packing, fit, water, route, time, comms, weight, sleep)—the full list of 21 is below.
If you’re short on time: start with the bikepacking mistakes to avoid first (water stress, simple mechanicals, and getting stuck riding in the dark). The full list below covers everything else.
Key Takeaways
Sound familiar? Pick one mistake to fix today—your next trip improves fast.
- Pack weight hits harder than fitness on climbs — extra pounds show up fast
- Water planning can make or break your trip — carry more capacity than you think you need
- Loaded bike fit changes everything — small tweaks prevent big pain
- Plan for terrain, not mileage — distance lies when the route gets rough
- Shakedown rides prevent big surprises — test your full setup before you go remote
Rules like “20% of body weight” and “6–10 mph averages” are starting points. Heat, sand, steep hike-a-bike, and a loaded bike can change the math fast—leave buffer time and adjust after a shakedown ride.
This page contains affiliate links and may include sponsored content. As an Amazon Associate, I earn from qualifying purchases at no extra cost to you. Amazon links are labeled #ad; other affiliate links may be marked as “affiliate link,” “Sponsored,” or “(paid link).” Learn more.
Table of Contents
- Beginner Bikepacking Fix Finder
- Key Takeaways
- 1. Overpacking Everything “Just in Case”
- 2. Ignoring Bike Fit When Loaded
- 3. Poor Water Planning and Management
- 4. Choosing the Wrong Route Difficulty
- 5. Inadequate Sleep System Testing
- 6. Bringing the Wrong Bike for the Terrain
- 7. Neglecting Bike Maintenance Before Departure
- 8. Inadequate Tool and Repair Kit
- 9. Poor Food Planning and Nutrition
- 10. Ignoring Weather Forecasts and Seasonal Conditions
- 11. Improper Bag Placement and Weight Distribution
- 12. Not Having a Backup Communication Plan
- 13. Underestimating Time and Distance
- 14. Forgetting About Resupply Strategy
- 15. Inadequate Lighting for Early/Late Riding
- 16. Poor Campsite Selection Skills
- 17. Overcomplicating Gear Choices
- 18. Ignoring Personal Safety and Risk Management
- 19. Not Testing Gear Combinations
- 20. Underestimating Recovery and Comfort Needs
- 21. Failing to Document and Learn from Each Trip
- Bonus Tips for Avoiding Common Beginner Bikepacking Mistakes
- Frequently Asked Questions
- Wrap-Up
Skim the list, then tap into the ones that match your last ride—each section ends with a fast, do-now fix.
1. Overpacking Everything “Just in Case”
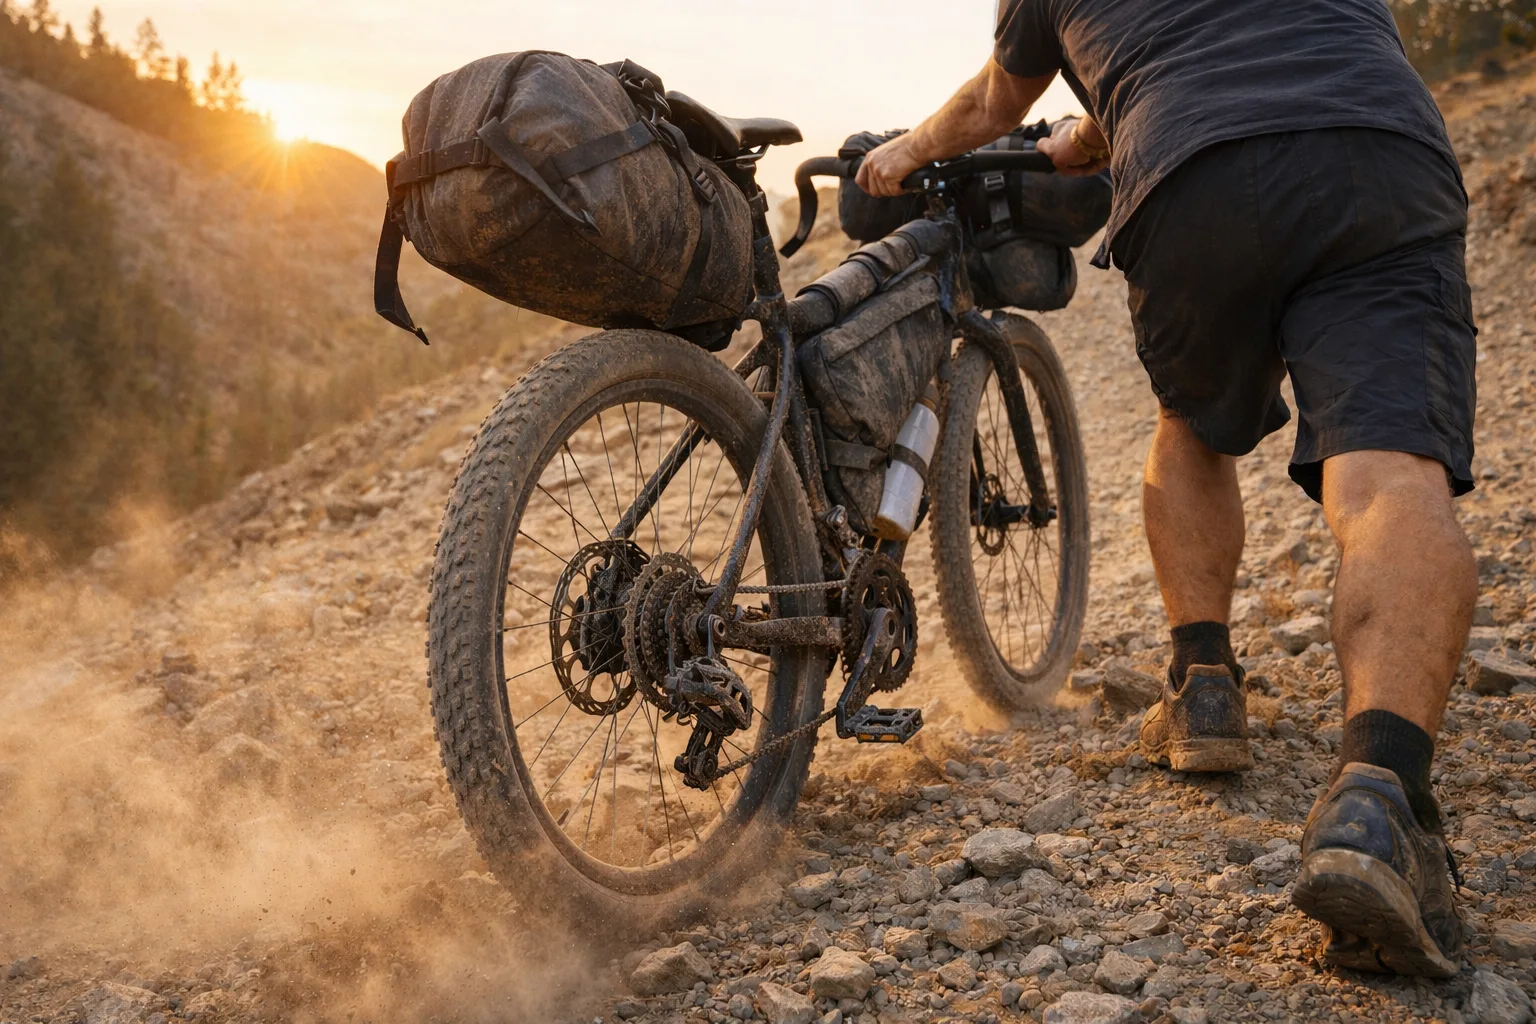
You’re two miles into day one and the bike feels like an anchor on every little rise—that’s usually pack weight, not fitness.
This is the granddaddy of all beginner bikepacking mistakes. I see new riders pack backup tools for their backup tools and enough extras to outfit a second rider.
The result? A bike so heavy it’s miserable to ride.
If it feels “fine” in the garage, test it on a hill—weight shows up fast.
Why it happens: Fear. You’re heading into the unknown, so you pack for every possible scenario.
How to avoid it:
- Use the “one week rule” — if you wouldn’t wear/use it in a normal week at home, leave it behind
- Some riders use a rough ceiling like ~20% of body weight as a sanity check
- Choose multi-use items (phone = camera + GPS + entertainment)
- Pack for the forecast and your route, not every possible weather outcome
Start here: Lay everything out before packing and remove 25% of what you initially planned to bring. You probably won’t miss it.
2. Ignoring Bike Fit When Loaded
It’s day one, your hands go numb, and suddenly your “comfortable bike” feels wrong—loaded fit is a different beast.
Your bike handles differently with 15–25 pounds of gear attached, and many beginners don’t account for it, leading to discomfort and sketchy handling.
Why it happens: Most people test their setup in their driveway, not on varied terrain with a full load.
How to avoid it:
- Do a fully loaded test ride before your trip
- Adjust your saddle position — you may need to lower it slightly
- Check that bags don’t interfere with steering or pedaling
- Ensure you can still reach your brakes and shifters comfortably
Quick fix: Do one loaded test ride that includes a hill and a descent. Your bike will “tell you” what needs adjusting.
3. Poor Water Planning and Management
You take the last sip, check your bottles… and realize the “reliable creek” is still hours away.
Running out of water is dangerous, and carrying too much is exhausting. Bad bikepacking water planning turns a fun overnight into a stressful (or unsafe) one—beginners often wing it.
Why it happens: Water sources look abundant on maps, but reality is different. Springs dry up, taps get turned off, and that “reliable” creek might be a trickle.
How to avoid it:
- Research water sources using recent trip reports, not just maps
- Carry purification methods (tablets, filter, or UV sterilizer)
- Start with a simple baseline (many riders begin around 1 liter per 2–3 hours) and adjust for heat/effort
- Carry extra capacity for the longest dry stretch, plus a buffer
My go-to fix: A squeeze-style filter makes it easy to stop stressing about every “maybe” creek. The Sawyer Squeeze (full-size) is one of the most common “default” filters in bikepacking kits because it’s light, simple, and proven on long trips.
How it works: Scoop water into a dirty pouch/bag, screw the filter on, then squeeze (or gravity-hang) clean water into your bottle—no pumping, no batteries, and it packs small in a frame bag.
Why bikepackers choose it:
- Reliable + simple on trail: quick stop, filter, keep rolling
- Works with common setups: fits standard 28mm bottle threads (Smartwater-style, etc.)
- Better real-world flow than tiny minis: less waiting, less frustration
- Versatile: squeeze, gravity, or inline-style setups
What you’re really buying: the filter itself plus whatever pouches/adapters come in your bundle (extras vary).
Replacement filters? Usually no. It’s reusable—when flow slows, backflush it. Most people only replace it if it’s damaged, frozen when wet, or neglected/clogged beyond recovery.
My go-to: Sawyer Squeeze (full-size) — simple, reliable, and trail-proven.
It stops water planning from becoming a constant mental tax, especially when sources don’t match the map.
Skip it only if your route is guaranteed treated tap water. Otherwise, it’s one of the highest-value “stress reducers” you can pack.
Optional upgrade (not required): Not required—this just makes scooping easier in shallow sources. If your water is often trickles/puddles or you’ll filter a lot, add a CNOC Vecto (28mm) as your “dirty water bag.” The wide opening helps, and it pairs cleanly with Sawyer’s 28mm threads.
Personal note: Don’t let filters freeze when wet—that’s how most people ruin them.
Fix it fast: Before you leave, list your longest “no water” segment and pack enough capacity to cover it comfortably.
4. Choosing the Wrong Route Difficulty
Online photos don’t show the hike-a-bike—and discovering that mid-day can feel demoralizing fast.
I’ve seen beginners tackle advanced routes because they looked “cool” on Instagram, only to end up walking their bikes for miles. Route selection is a skill that builds over time.
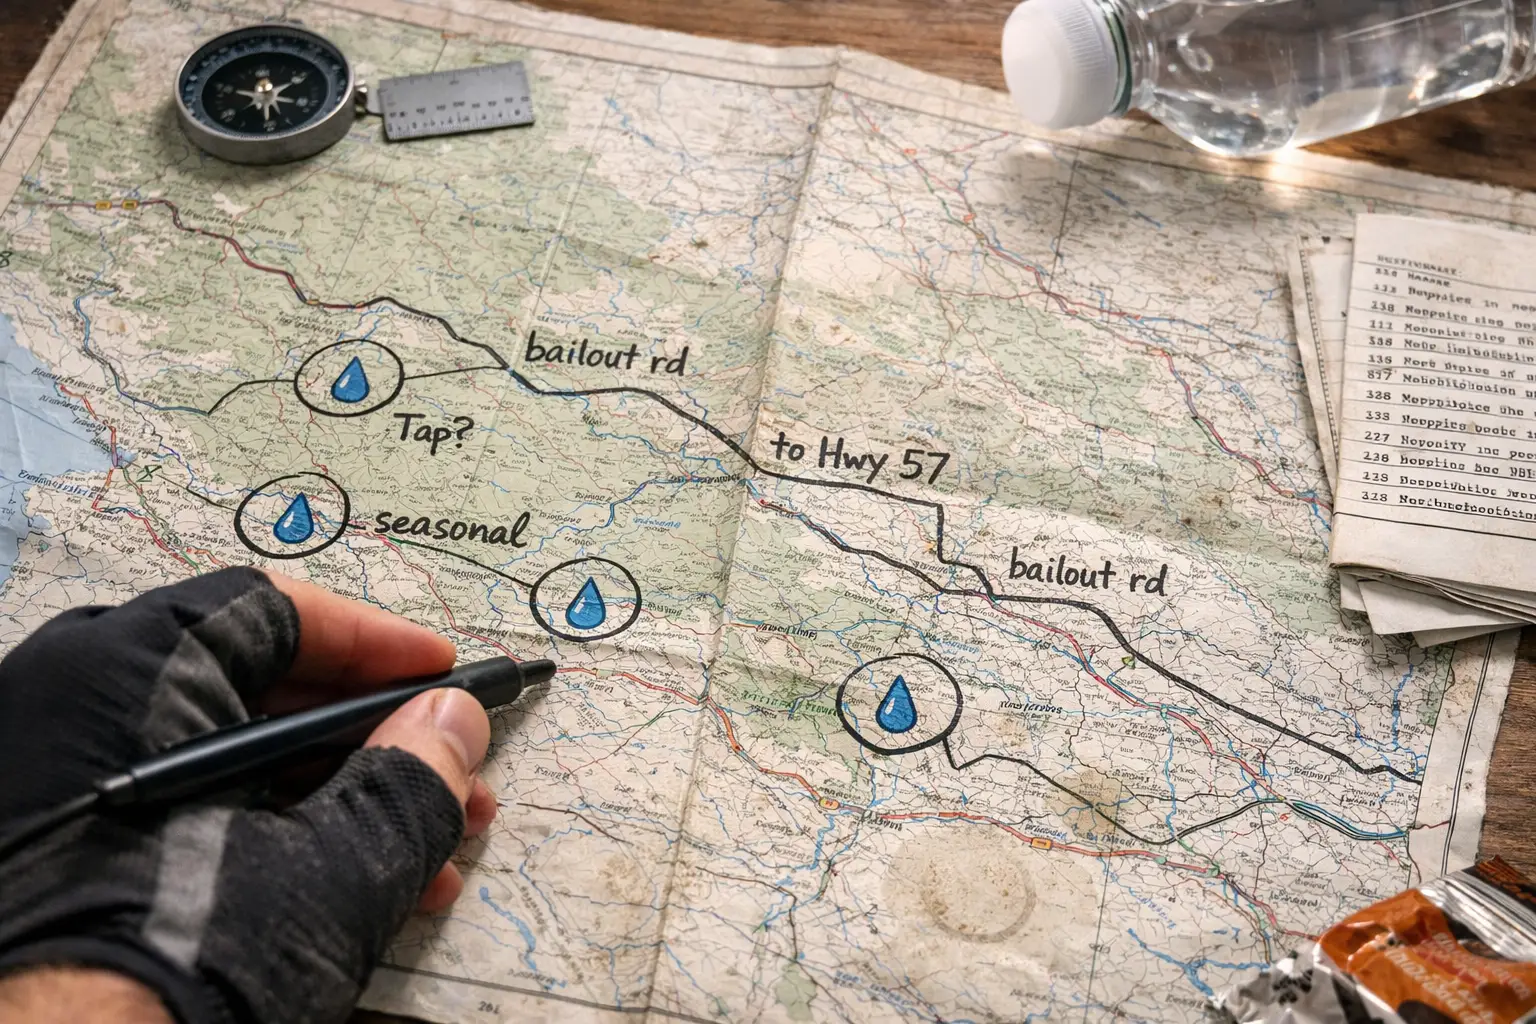
Mark water stops and bailout roads on your map—it can save your whole day.
How to avoid it:
- Start with rail-trails or fire roads for your first few trips
- Research elevation profiles, not just distance
- Read recent trip reports and comments
- Choose routes with bail-out options and road access
- If you want inspiration, browse route notes on Bikepacking.com routes (the comments often reveal the “gotchas”)
Fast win: For your first few trips, pick a route that feels “almost too easy.” Confidence beats suffering.
5. Inadequate Sleep System Testing
It’s 2 a.m., the wind picks up, and suddenly your “good enough” sleep kit doesn’t feel good enough.
Many beginners don’t test their sleep system or underestimate how much colder it feels when you’re tired and depleted.
How to avoid it:
- Test your sleep system in your backyard first
- Build a warmth buffer instead of trusting temperature ratings blindly
- Remember you may feel colder when you’re exhausted
- Don’t forget a pillow solution — your jersey in a stuff sack works
Do this before you roll: Do one “backyard night” with your exact setup. If you wake up cold at home, you’ll be colder on trail.
6. Bringing the Wrong Bike for the Terrain
Halfway into rough trail, your tires are pinging off rocks and you’re white-knuckling every descent—that’s often a bike/route mismatch. Not every bike is suitable for every route.
How to avoid it:
- Match your bike to the terrain: gravel bikes for smoother surfaces, mountain bikes for technical trails
- Consider tire width and tread for your route
- Ensure your bike can carry bags securely
- Check gearing for loaded climbing
The simplest upgrade: If the bike you have is “borderline,” downgrade the route difficulty before you buy new gear.
7. Neglecting Bike Maintenance Before Departure
Nothing kills the vibe like a squealing brake or skipping chain… and it usually shows up the moment you’re far from help. Mechanical failures range from annoying to dangerous, yet many beginners skip basic pre-trip checks.
How to avoid it:
- Get a tune-up if your bike hasn’t been serviced in 6+ months
- Check tire wear and replace if needed
- Lubricate your chain and check shifting
- Inspect brake pads and cables
- Ensure all bolts are properly torqued
Do this today: Before you roll out: brakes, tires, chain. Those three checks prevent many common trip-ruiners.
8. Inadequate Tool and Repair Kit
You hear the hiss, watch your tire deflate, and realize your kit is missing the one thing you need.
Carrying too few tools can leave you stranded. Carrying too many adds weight. Balance matters.
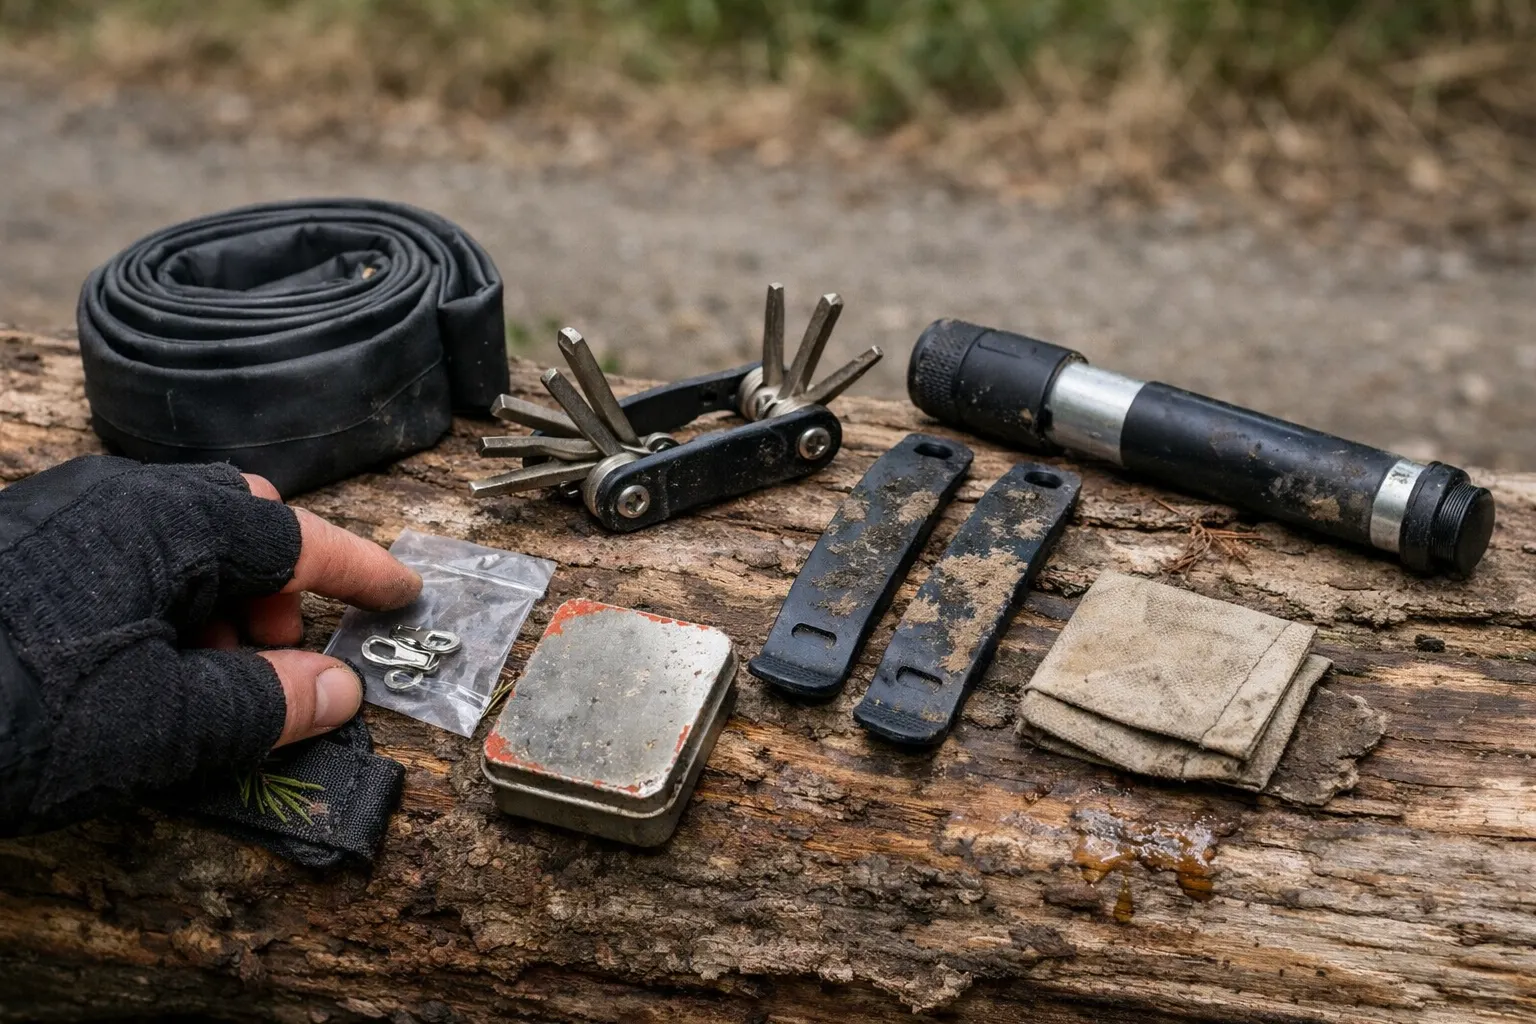
If you can fix a flat fast, you’ll save hours (and stress).
How to avoid it:
- Carry tools for common issues: flats, loose bolts, chain problems
- Learn basic repairs before you need them
- Include: multi-tool, tire levers, spare tube, patch kit, quick link, a compact mini pump
- Consider a lightweight tire boot for sidewall cuts
My pick (because it just works): If you’re only going to “upgrade” one repair item, make it a solid multitool with a chain tool. This prevents the dumb little issues from turning into a long walk.
My go-to repair tool: Crankbrothers M19 — compact, tough, and includes a chain tool.
It’s the “I can handle this” tool: loose bolts, small adjustments, and the annoying stuff that shows up once your bike is loaded.
If you already own a multitool with a chain tool, you’re covered—no need to upgrade.
If you ride tubeless, add plugs + a tiny sealant top-up. Otherwise, a tube + levers is the simplest insurance.
Do this today: Time yourself fixing a flat once at home. If it’s slow there, it’ll feel endless in the dirt.
9. Poor Food Planning and Nutrition
You stop to eat, open the bag… and nothing sounds good. That’s how people end up under-fueled. Food is fuel, but it’s also weight. Beginners often bring the wrong foods or underestimate calories.
How to avoid it:
- Plan roughly by effort and appetite, not a perfect number
- Prioritize calorie-dense foods you already tolerate well
- Include salty snacks and electrolytes, especially in heat
- Plan resupply points in advance
Start here: Pick 3 foods you can eat when you’re tired and stressed—and pack those first.
10. Ignoring Weather Forecasts and Seasonal Conditions
It’s sunny at the trailhead… and then the wind shifts and the sky turns weird. Weather can change quickly, and beginners often check once and assume it won’t change.
How to avoid it:
- Check forecasts leading up to the trip and again right before you leave
- Understand route-specific risks (exposure, heat, flash flood zones)
- Pack a minimal rain/warm layer even with a clean forecast
- Know when to postpone or bail out
Do this today: Choose one “decision point” (town/resupply) where you’ll reassess weather and adjust plans if needed.
11. Improper Bag Placement and Weight Distribution
If your front wheel feels light on climbs or the bars feel twitchy on descents, that’s often packing—not “bad handling.” Where you put gear affects handling more than how much you carry.
How to avoid it:
- Keep heavy items low and close to the bike’s center
- Use frame bags for dense items (tools, food, batteries)
- Avoid overloading handlebar bags — they affect steering
- Balance weight between front and rear
What it looks like on trail: If you’re zig-zagging on climbs, fighting the bars on descents, or your front wheel feels “light,” your weight distribution is probably off. Fix that before you assume your skills are the problem.
Quick fix: Re-pack once mid-ride. Move one dense item into the frame bag and see how the bike calms down.
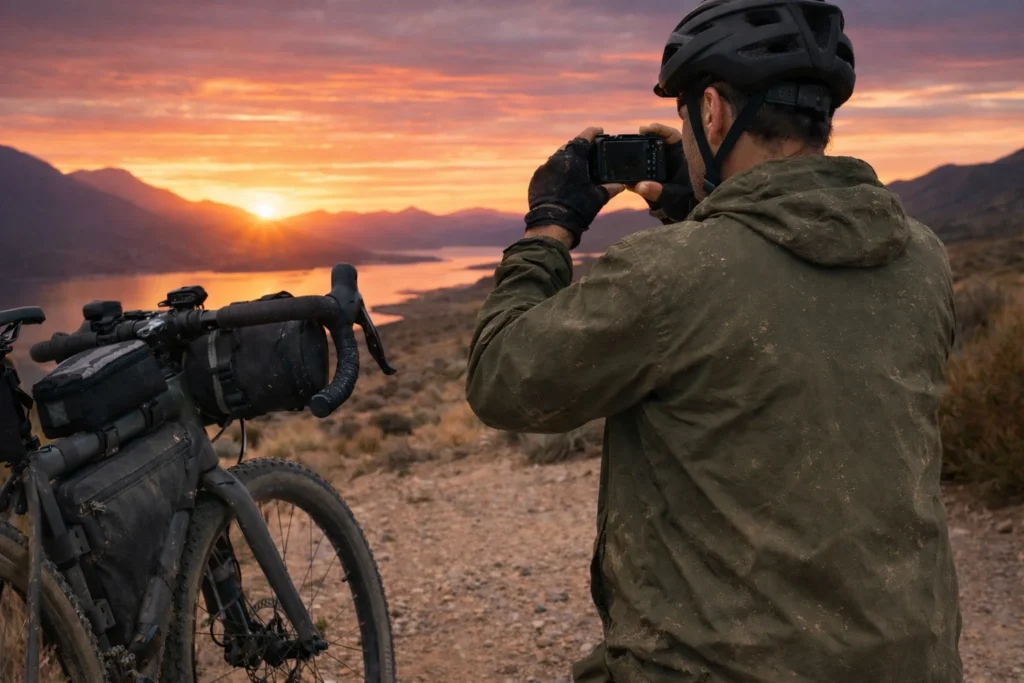
12. Not Having a Backup Communication Plan
You lose service, your ETA slips, and you realize nobody knows exactly where you are—this is how small issues become big ones. Cell coverage is spotty in many bikepacking destinations.

Plan for “no bars” as the default, not the exception.
How to avoid it:
- Tell someone your route and expected return window
- Consider a satellite communicator for remote areas
- Download offline maps
- Know where ranger stations or emergency services are located
Fix it fast: Send one message before you roll: route + return window + who to call if you miss it.
13. Underestimating Time and Distance
You planned “50 miles,” but the gravel is chunky, the climbs are steep, and your average speed isn’t what the app predicted. On my early overnighters, I got humbled fast by how much terrain slows you down when the bike is loaded.
How to avoid it:
- Plan for slower averages off-road than you ride on pavement
- Add buffer time for breaks, photos, and mechanical issues
- Factor in slower speeds when climbing with gear
- Build flexibility into your schedule
Fast win: Plan day one like it’s “practice.” If you finish early, you win.
14. Forgetting About Resupply Strategy
You roll into town hungry, only to find the store closed—that “simple” oversight can wreck your plan. Resupply is part of route planning, not an afterthought.
How to avoid it:
- Research grocery stores, gas stations, and water sources along your route
- Plan resupply points every 2–3 days maximum
- Know store hours (small-town shops often close early)
- Have backup options
Do this today: Screenshot store hours and pin your resupply stops in your map app.
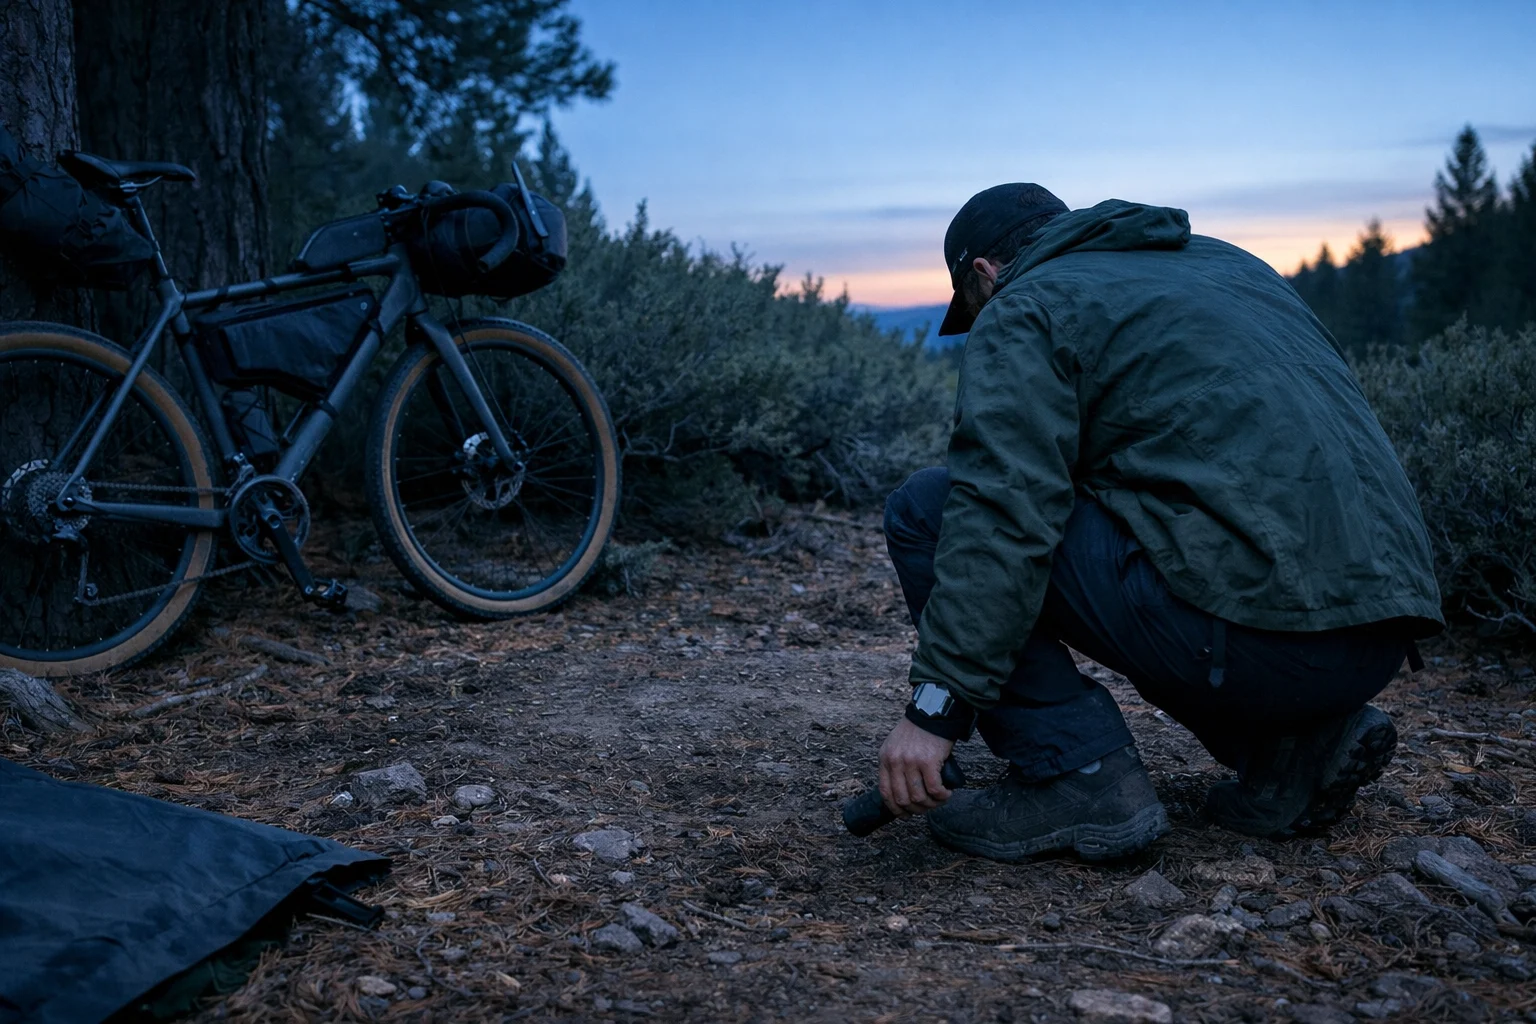
15. Inadequate Lighting for Early/Late Riding
That “quick extra mile” turns into riding at dusk, and suddenly you’re squinting at shadows. Beginners often underestimate how much light they need—or forget backups.
How to avoid it:
- Bring a front light you can actually ride by
- Use a rear light for visibility
- Pack a backup light source for “it got dark early” moments
- Bring a headlamp for camp tasks (repairs, cooking, bathroom breaks)
Quick clarity: Your bike light is what you ride by. Your headlamp is for camp + repairs—and as an “oh crap” backup if you’re stuck doing something in the dark.
Reality check: If you plan real night trail riding on unlit singletrack, you’ll want a stronger headlight with a better beam and a stable bar mount. For most beginners, the goal is being seen + getting home safely when the day runs long.
A simple lighting setup that covers both jobs: One bike light set for visibility + “got dark early” moments, plus one headlamp for camp and repairs.
| What it’s for | Recommended option | Link |
|---|---|---|
| Bike lights (front + rear) Visibility + getting home at dusk |
Cuvccn front + rear light set Tool-free silicone straps fit most bars/seatposts, angle is adjustable, and it’s plenty for road/gravel visibility and unexpected dusk. Long runtimes are typically on low/flash modes. |
|
| Headlamp Camp + repairs + backup light |
Nitecore NU20 Classic Lightweight, USB-C rechargeable, with simple controls—hands-free light for camp tasks and repairs, and a solid backup if your bike light dies. |
Skip the headlamp only if you already have a camping headlamp you trust.
Start here: Charge everything the night before, and keep a tiny backup (or small power bank) where you can reach it fast.
16. Poor Campsite Selection Skills
It’s getting dark, you’re tired, and the first “flat-ish” spot starts to look perfect—until wind, puddles, or dead branches show up. I’ve moved camp more than once because I rushed this decision.
Arrive with daylight and you’ll avoid the sketchy “good enough” spot.
How to avoid it:
- Look for flat, elevated ground away from water sources
- Avoid low spots where cold air and moisture collect
- Check for overhead hazards (dead branches, loose rocks)
- Consider wind direction and natural windbreaks
- Follow Leave No Trace principles (7 principles)
Do this before you roll: Set a hard “camp by” time so you’re choosing spots with your brain, not panic.
17. Overcomplicating Gear Choices
Gear paralysis is real. Beginners often chase the “perfect” setup instead of getting out with good-enough gear.
- Start with borrowed or budget gear to learn preferences
- Focus on the big basics: shelter, sleep, bike, bags
- Upgrade based on real experience, not hypothetical needs
- Remember: expensive isn’t automatically better for your route
The fast win: Pick one “good enough” option and commit. The ride teaches you more than reviews do.
18. Ignoring Personal Safety and Risk Management
Bikepacking involves real risks, and preparation matters—especially when you’re solo or far from help.
- Carry a basic first aid kit and know how to use it
- Understand wildlife risks in your area and proper food storage
- Know your limits and don’t exceed them when you’re tired
- Have a simple emergency action plan
Fix it fast: Write your bailouts + emergency contacts in one offline note you can open without service.
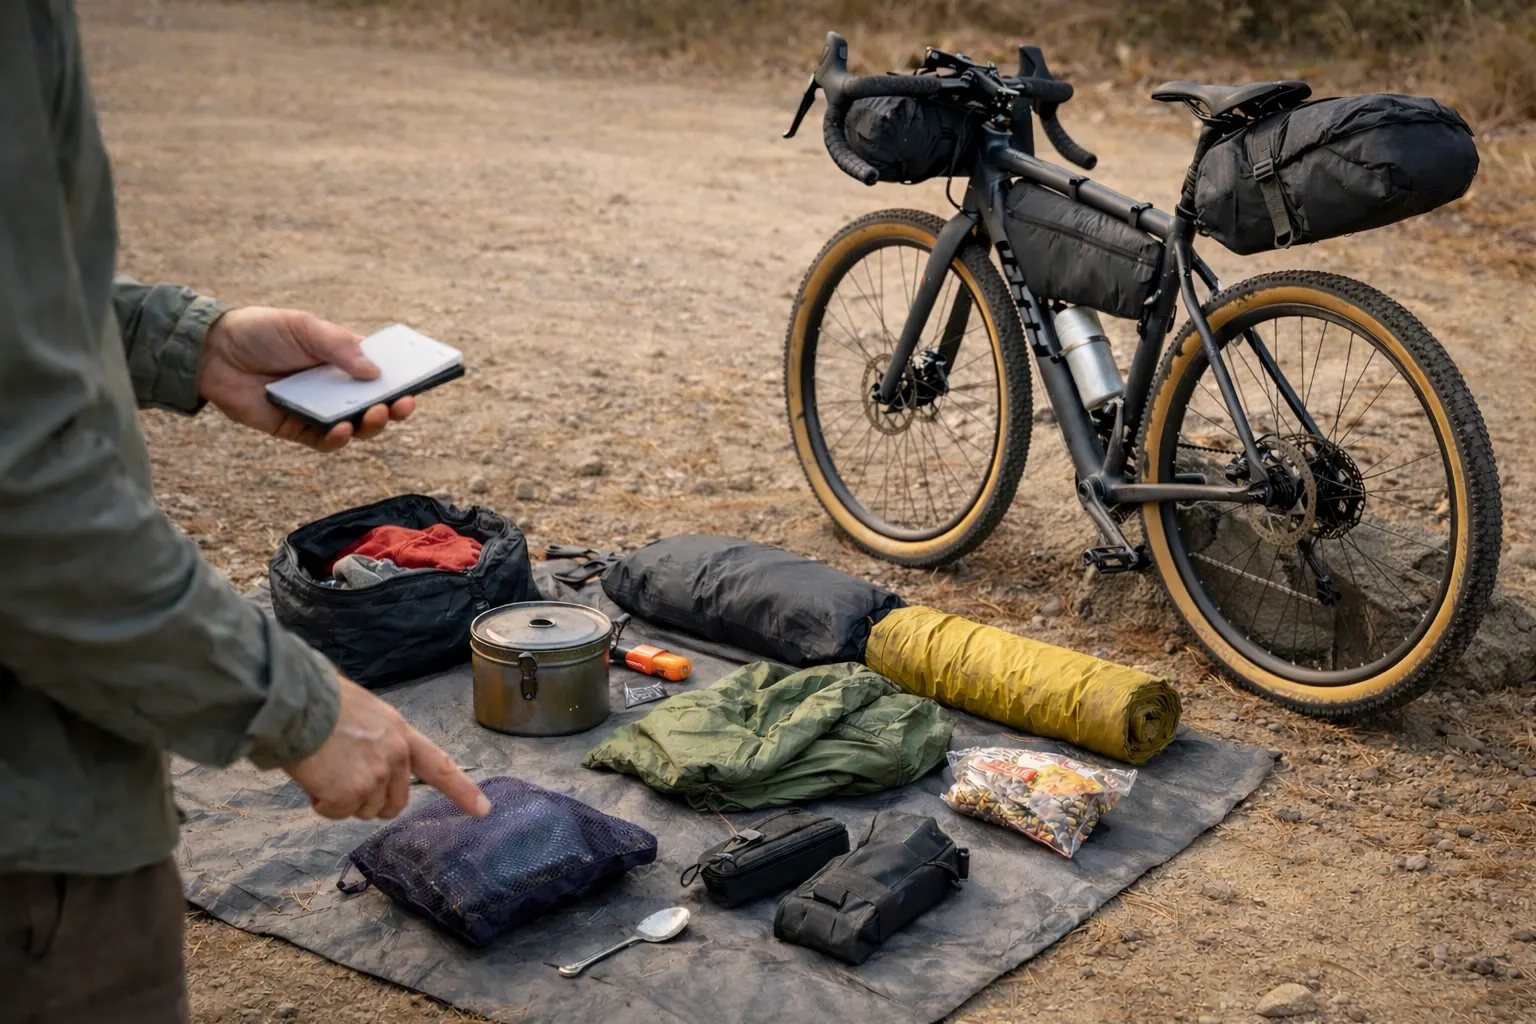
19. Not Testing Gear Combinations
Gear can work individually but fail as a system (stove/pot mismatch, bags that rub, things that don’t fit where you thought they would).
- Do an overnight test run with your complete setup
- Check compatibility: shelter + sleep + stove + cookware
- Verify everything actually fits in your bags
Start here: Pack everything as if you’re leaving tomorrow. Fix the “doesn’t fit” problems at home.
20. Underestimating Recovery and Comfort Needs
A few comfort choices can dramatically improve your experience—especially after a long day.
- Include basic comfort items: camp shoes, pillow, warm layer
- Pack enough food to actually recover
- Don’t skimp on sleep comfort
- Bring electrolytes for longer/hotter days if you know your needs
The simplest upgrade: Pick one comfort item you’ll never regret (mine: warm socks) and always pack it.
21. Failing to Document and Learn from Each Trip
Every trip is a learning opportunity—but details fade fast once you’re home and tired.
- Keep a simple trip journal or voice notes
- Note what worked and what didn’t
- Record actual vs. planned times and distances
- Document water sources, campsites, and route conditions
Fast win: After each trip, write 3 wins + 3 changes. That’s your upgrade path.
Bonus Tips for Avoiding Common Beginner Bikepacking Mistakes
Beyond the 21, here are a few extra lessons that don’t fit neatly into the numbered list—but can save you real frustration.
Think of these as beginner bikepacking tips that prevent the most common trip-ruiners.
- Start small: Make your first trip a confidence builder, not an epic sufferfest. Choose routes close to home with easy bail-outs.
- Don’t rely on your phone alone: Cold temps drain batteries, service disappears, and “3% left” shows up fast. Download offline maps, carry a power bank, and keep a low-tech backup (even a written turn list).
- Embrace the learning curve: Fix one thing, then stack small wins. The second trip usually feels twice as smooth.
- Practice makes progress: Packing, navigation, and campsite selection get easier with reps. Treat early trips as training, not tests.
Frequently Asked Questions
Conclusion: How Not to Fail Your First Bikepacking Trip
The best part about the classic bikepacking mistakes new riders make is that they’re fixable. Start with pack weight or water planning, and bikepacking turns from stressful to addictive fast. Then stack the big hitters—route difficulty and sleep—and the whole experience gets calmer, safer, and way more fun.
Ready for your next adventure? For the full start-to-finish walkthrough, use our full beginner bikepacking walkthrough.
This beginner bikepacking mistakes guide is general education, not personalized advice. Conditions change fast outdoors—weather, terrain, and your bike setup all affect what’s safe and realistic. If you’re unsure about route risk, medical concerns, or bike fit/mechanics, consider speaking with a qualified professional. Your situation may vary.