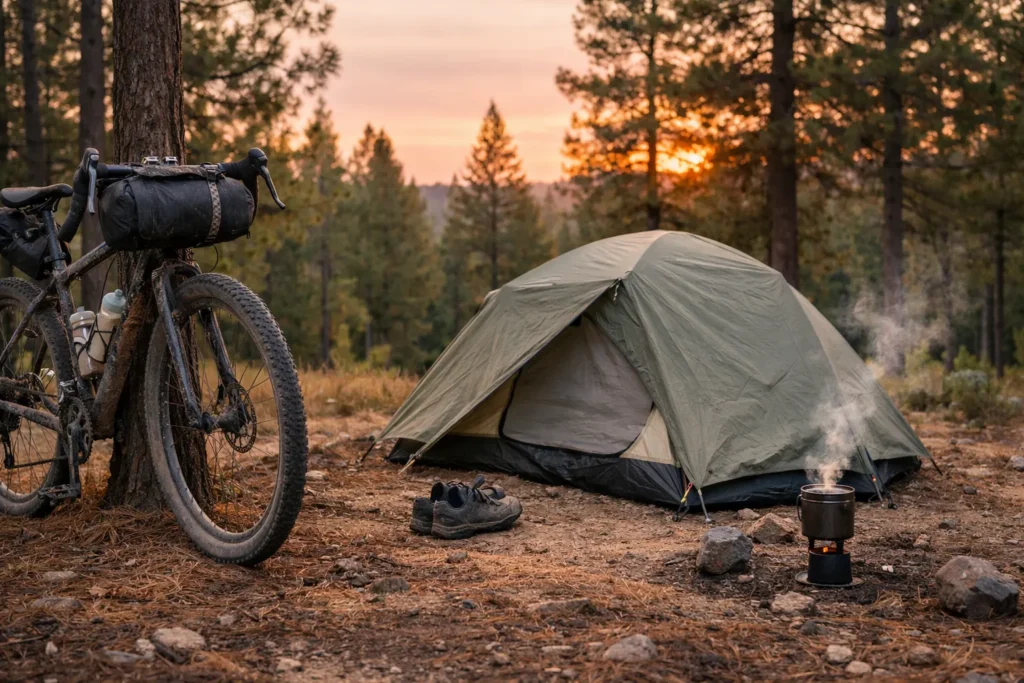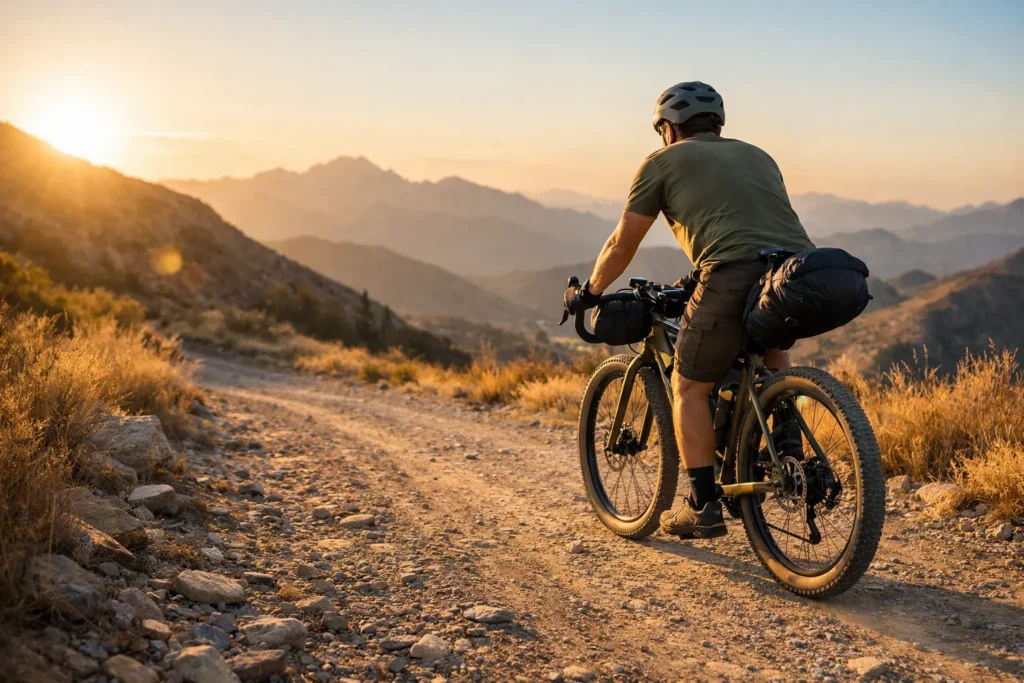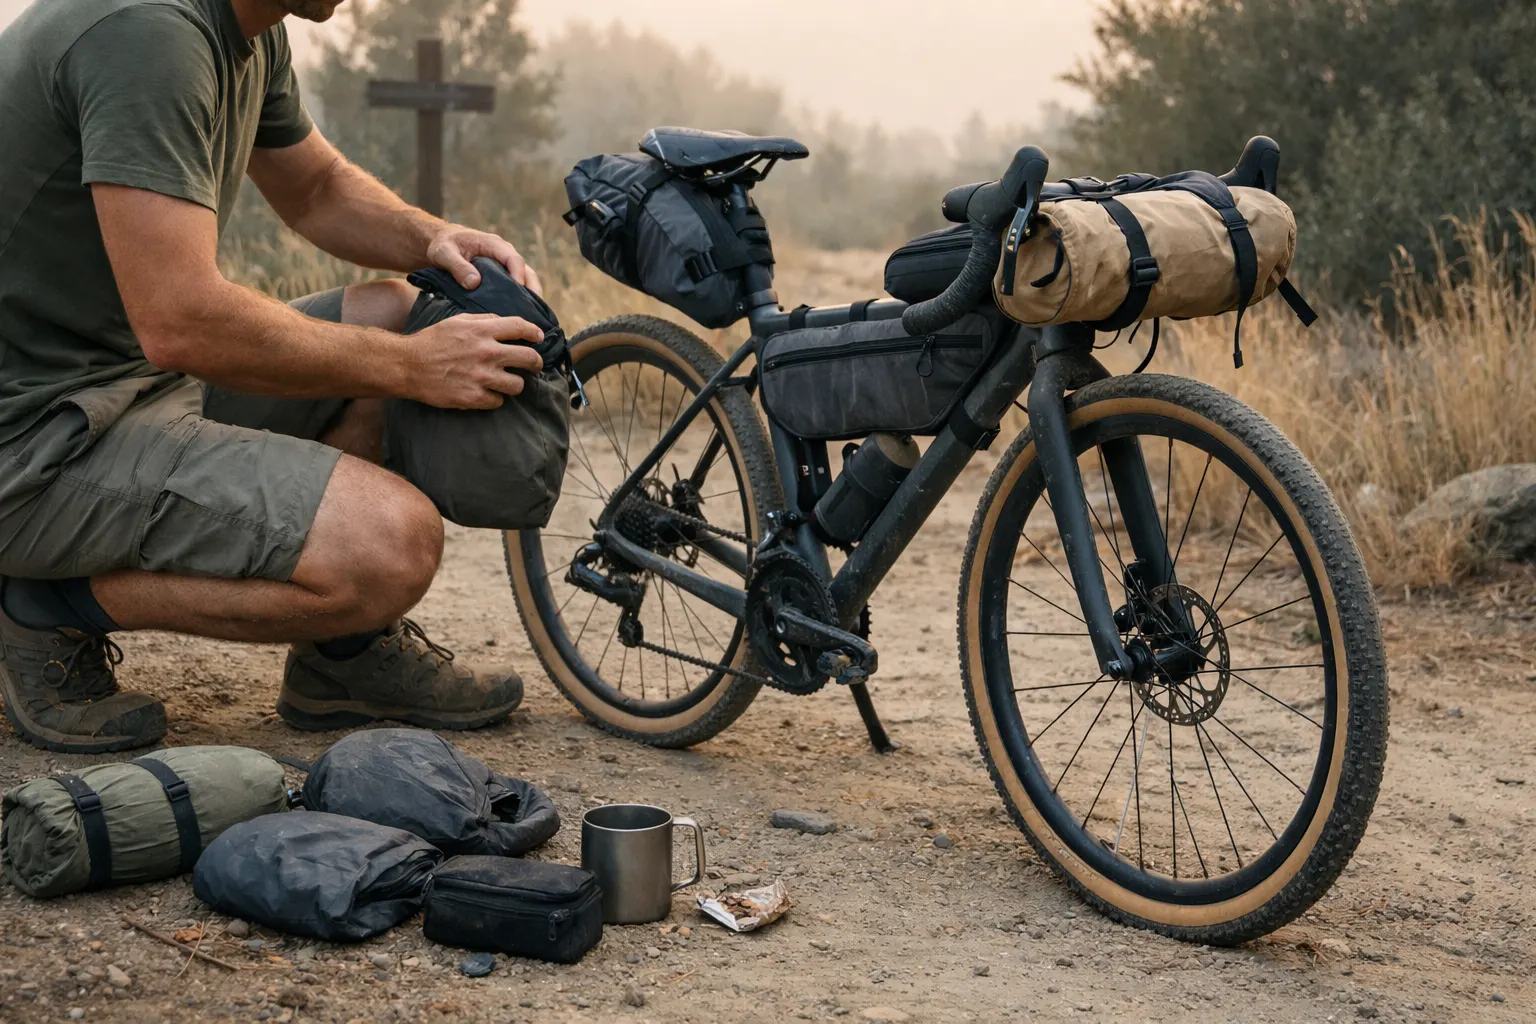
Fastest way to start: use the Gear System Builder below, then scroll down for the complete gear list and three practical setups. A good bikepacking setup should keep you warm, dry, and self-sufficient without burying your bike under a pile of “just in case” gear.
This bikepacking gear guide gives you a practical system: start with a dependable baseline, then swap the right modules for your route, season, and riding style. You’ll also find a complete bikepacking gear list organized by category. If you’re completely new to overnight riding, begin with our beginner bikepacking guide, then return here to build your full setup.
The same basic structure works for a gravel overnight, a long-distance tour, or an MTB-heavy route with rough sections. What changes is not the entire kit—just the shelter, warmth, water, repair equipment, and carrying capacity your route demands. Only need the checklist? Jump directly to the Bikepacking Gear List by Category.
I’ve watched riders turn an exciting trip into a slow grind by packing for every possible problem. The answer is not carrying more. It is choosing equipment that works together, testing it before the trip, and making deliberate swaps when conditions change.
Last updated: July 2026.
Field-guide mindset: your kit starts feeling easy when the routine becomes automatic. Keep sleep insulation sealed and dry, isolate wet equipment, and pack each bag the same way every morning.
Table of Contents
- Gear System Builder
- Four Rules That Matter
- Bikepacking Essentials & Core Principles
- Bikepacking Gear List by Category
- Low-Bulk Core Module Example
- Three Practical Setups
- Seasonal Adaptations
- Weight and Volume Breakdowns
- Common Packing Mistakes to Avoid
- Maintenance and Longevity
- Build Your Gear Setup (in 30 minutes)
- Advanced Strategies
- Real-World Testing Results
- Future-Proofing Your Setup
- Frequently Asked Questions
- Conclusion
Gear System Builder
Choose one answer in each row to get a starting setup and the swaps that matter for weather and food style. Only need the checklist? Jump to the full gear list.
1) Your approach
2) Conditions
3) Food style
Your result will show here
Choose one option in each row to see your tailored “core + swaps” plan. Detailed gear recommendations are in the full gear list below.
If you’re cold at night, change “Conditions” first, then re-check sleep and insulation.
Before You Pack: Four Rules That Matter
Most bikepacking gear problems come from breaking one of these rules:
- Never trade away your safety margin. Save weight elsewhere before cutting sleep insulation, rain protection, lights, navigation, or repair basics.
- Keep the core; swap the modules. Adjust warmth, shelter, water capacity, and cooking gear for the route instead of rebuilding the entire setup.
- Pack for a moving bike. Center dense items, place bulky light gear up front, and keep daily-use items reachable without unloading every bag.
- Make your mistakes close to home. A short shakedown exposes cold spots, loose bags, missing repair items, and equipment you never touch.
Bikepacking Essentials & Core Principles
If this is your first overnight, don’t try to “perfect” everything. Focus on the bikepacking gear essentials that prevent the common failures: cold sleep, wet insulation, no water plan, or a small mechanical turning into a walk.
| Priority | What to get right | What beginners overdo |
|---|---|---|
| Sleep | Warm enough bag/quilt + pad insulation | Extra blankets and duplicate “just in case” layers |
| Shelter | One shelter you can pitch fast (practice once) | Bringing a “backup shelter” instead of mastering one |
| Water + repair | Water capacity + treatment + flat/chain fix | Overpacking tools but not knowing how to use them |
Bags + Carry: What Matters Most
- Stability first: choose bags that don’t sway when you stand or climb—handling matters more than saving an ounce.
- Clearance check: confirm frame bag fit, bottle access, and tire clearance (especially on smaller frames or full-suspension rigs).
- One grab-it-now pocket: top tube/feed bag for snacks + phone + sunscreen so you stop unpacking mid-ride.
- Wet/dry separation: keep sleep insulation sealed; wet layers get their own “wet pocket.”
For a full breakdown of frame, seat, and handlebar placement, use the bikepacking bags system guide.
Tires + Flats: Choose Your Baseline
Whether you run tubeless or tubes, the “right” answer is the one you can fix calmly on the side of the trail.
- Tubeless: lower pinch-flat risk and great ride feel, but you must carry plugs (and know how to use them).
- Tubes: simple and universal, but more pinch-flat risk if pressure drops on rocky routes.
- Non-negotiable: a way to inflate, a way to seal/patch, and a plan for a torn tire (boot).
Still deciding between setups? The tubeless vs tubes guide compares failure modes, repair needs, and what to carry.
Repair + Spares That Prevent a Walk
| Problem | Carry | Why it matters |
|---|---|---|
| Chain break | Quick link + chain tool (or multi-tool with breaker) | A 2-minute fix that saves a long hike-a-bike |
| Flat / torn tire | Tube (even if tubeless) + patches/plugs + tire boot | Redundancy here is worth it—flats are among the most common trip-stoppers |
| Brake fade / worn pads | Spare brake pads on long/remote routes | Cheap, light, and can prevent a worn set from turning a descent into a walk |
| Loose bolts / rattles | Mini multi-tool + a few zip ties | Prevents bag rub, cable snags, and “mystery noise” slowdowns |
Use the bikepacking repair kit checklist to turn this short list into a packable, item-by-item kit.
Lighting + Power: The Safety Floor
- Front + rear light: even if you “don’t plan” to ride at night—delays happen.
- One headlamp: camp + repairs; it turns a stressful fix into a calm one.
- Power plan: small power bank + short cable (and keep it accessible, not buried).
- Offline navigation: download maps before you leave; battery + GPS + signal is not guaranteed.
For a deeper comparison of beam pattern, runtime, and charging, use the bike lights for bikepacking guide.
Core rules (so your kit stays simple)
The Multi-Purpose Rule
Every item in your kit should serve at least two functions. Your rain jacket becomes a pillow. Your bike can serve as a tarp support (or you can carry one lightweight pole if you prefer). Your phone handles navigation, entertainment, and emergency communication.
- Merino wool base layer = sleepwear + hiking shirt + emergency warmth
- Lightweight tarp = shelter + ground sheet + gear cover
Weight Distribution Hierarchy
Not all weight is created equal. I prioritize weight savings in this order:
- Shelter system (biggest impact on handling)
- Sleep system (easy wins with modern materials)
- Clothing (layers beat duplicates)
- Cooking gear (simple food plans save serious weight)
- Tools/repair (knowledge weighs nothing)
Carry System: Bags + Dry Strategy
A “simple” kit only feels simple if it packs clean. Most setups work best with the classic trio (frame/seat/handlebar), plus a small place for grab-it-now items.
- Frame bag: dense items (tools, food, stove fuel) for stable handling
- Handlebar roll: bulky/light (sleep kit) to keep steering calm
- Seat pack: compressible (clothing) to reduce sway
- Top tube/feed bags: snacks, sunscreen, phone, mini trash bag
Dry strategy (the simple version): keep your quilt/bag and puffy in a sealed dry bag. Wet stuff goes in its own “wet pocket” or plastic bag so it can’t contaminate insulation.
Rain Management: Keep Your Sleep Kit Dry
- Pack order: sleep insulation packed first (deep), rain layer packed last (easy access)
- Wet separation: dedicate one bag/pocket for wet jacket, wet gloves, wet socks
- Ground rule: keep insulation off bare ground whenever possible—use a groundsheet, tarp, or clean bag as a work surface
- Morning rule: if it’s still raining, pack shelter last so your sleep kit stays covered while you work
Gear by Trip Length (quick swap guide)
- Overnight: one shelter, one sleep kit, easy food plan; bring a stove only if hot drinks help you sleep.
- 2–4 days: same modules, better layering; add spare brake pads/tire plugs if remote.
- Week+: durability and repeatability; more charging capacity + consumable spares.
The 48-Hour Test
Before a major tour, spend a weekend using only your planned kit. You’ll catch the annoying stuff early (cold feet, leaky shelter, missing patch kit) without paying the price 200 miles from town.
Bikepacking Gear List by Category
Use this as your essential bikepacking gear list, then swap modules by season and route. If you prefer a simple checklist format, treat this section as your bikepacking packing list and customize by season below.
Bike + Bags (Carry System)
This is the part of bikepacking gear that most affects handling. A stable load feels faster, safer, and less tiring—especially off pavement.
- Core bags: frame bag + handlebar roll + seat pack (or saddle bag) as your default baseline
- Optional add-ons: top tube bag + feed bags for snacks/water access
- Dry strategy: sleep insulation sealed; wet layers isolated
- Contact protection: a little frame tape where bags rub prevents long-term wear
Bike Repair Kit + Spares
Keep this in one pouch so you can fix problems quickly (and without dumping your whole setup on the ground).
- Flat kit: tire levers, patches, one spare tube, and an inflation method
- For tubeless: plugs + a way to re-seat (CO₂ or reliable pump); a tube as backup
- Chain + bolts: quick link, small multi-tool, and a few zip ties
- Remote add-ons: spare brake pads and a tire boot for longer routes
Shelter Systems
| Type | Packed-weight tendency | Pros | Cons | Best For |
|---|---|---|---|---|
| Lightweight Tent | Low to moderate, depending on fabric and pole system | Full enclosure and straightforward setup | More structure to pack; lightweight fabrics need care | Variable weather and riders who value simplicity |
| Tarp + Bivy | Lowest potential, but only when the full system stays simple | Flexible pitch and small packed volume | More site-selection and pitching skill | Riders who already understand condensation and exposure |
| Single-Wall or Trekking-Pole Shelter | Often low, with trade-offs in condensation or pole needs | Efficient use of materials and pack space | Pitch can depend on ground, weather, and available poles | Riders comfortable practicing the setup before a trip |
The tent vs bivy vs tarp comparison explains how weather protection, setup effort, and packed bulk change between the three shelter styles.
Sleep Systems
The sleep system makes or breaks your recovery. I learned this the hard way on a 1,200-mile tour where my bargain bag left me waking up wrecked.
| System | Weight and bulk | Moisture and draft trade-off | Best fit |
|---|---|---|---|
| Down Sleeping Bag | Usually compresses well for its warmth | Needs dependable dry storage; full enclosure helps control drafts | Cold sleepers and riders who want a familiar, contained system |
| Synthetic Bag or Quilt | Usually bulkier for comparable warmth | More forgiving around damp conditions, but still needs protection | Wet climates, tighter budgets, and riders prioritizing simple care |
| Down Quilt | Can reduce bulk by removing insulation compressed beneath you | Pad attachment and draft control matter more as temperatures drop | Riders willing to learn the setup and pair it with an appropriate pad |
Sleep warmth rule of thumb: check the pad and the bag or quilt as one system. Cold ground can be the hidden problem, so compare pad insulation with expected lows before assuming the top insulation alone needs replacing.
The minimal sleep system guide compares three 3-season combinations when you want a more specific shelter-and-sleep starting point.
Cooking and Hydration
This is where weight can quietly creep up—so a simple food plan goes a long way. I’ve gone from a 3-pound cooking setup to something that barely registers on the scale.
Ultralight approach:
- No-cook meals 80% of the time
- Single titanium cup for hot drinks
- Lightweight alcohol stove for emergencies
Balanced approach:
- Integrated canister stove system — Fast boils, simple workflow, reliable in wind
- Titanium spork and lightweight bowl
- Mix of hot and cold meals
The bikepacking cooking system guide compares no-cook, canister, and lightweight stove approaches in more detail.
For multi-day planning beyond the stove itself, use the bikepacking food and resupply guide to match meals, town stops, and carry capacity.
Food Storage & Camp Kitchen Workflow
This is small, but it’s what makes camp feel calm instead of chaotic.
- Smellables rule: keep food + toothpaste + trash together (one “smellables” bag)
- Critters: don’t sleep with food near your head—store it away from your shelter and follow local guidance (hang, canister, or secured storage where required)
- Simple kitchen flow: water first → eat → pack trash immediately → quick wipe → stash smellables
- Morning habit: pre-pack the kitchen before breaking shelter if weather looks sketchy
When you want recipes rather than gear theory, these one-pot bikepacking meals keep the ingredient list and cleanup manageable.
Clothing: The Layering System
Forget cotton everything. Modern ride-and-camp clothing is about layers that dry fast, pack small, and cover a wide temperature range.
Base Layer (worn while riding):
- Merino wool long-sleeve shirt
- Lightweight merino boxer briefs
- Moisture-wicking socks
Insulation Layer:
- Lightweight down or synthetic puffy (choose durability + warmth-per-weight for your conditions)
- Merino wool beanie
Weather Protection:
- Packable wind shell (small, fast access for descents and exposed ridgelines)
- Lightweight rain shell (a true waterproof shell for sustained rain)
- Rain pants (only for extended wet weather)
Navigation & Electronics
This category is easy to ignore—until you’re tired, it’s getting dark, and your phone is at 7%.
- Primary navigation: phone app or GPS (plus offline maps)
- Backup navigation: route notes / paper map / second device option
- Power: small power bank + short cable + (optional) wall plug for towns
- Communication: optional satellite messenger for remote routes
- Lighting: front light + rear light + one small headlamp (camp + fixes) + a tiny backup if you routinely finish late
For the charging side, my bikepacking power setup covers lights, phone, GPS, batteries, and backup planning. If you carry a camera, the bikepacking photography gear guide focuses on protection, access, and a minimal kit.
Hygiene, Chafe & Foot Care
This is the “proper backpacking gear” stuff people forget until it hurts.
- Chafe prevention: small chamois cream or anti-chafe stick
- Quick clean: a few wipes + tiny sanitizer (small daily resets beat big showers)
- Teeth + hands: mini toothbrush/toothpaste + a tiny soap option (use away from water sources)
- Feet: blister care (tape + small dressing) + one dry sleep sock option if you run cold
- Camp comfort: tiny pack towel or bandana for face/hands
First Aid (Small but Real)
You don’t need a big kit—you need the right few items where you can find them fast.
- 2–4 adhesive bandages + 1–2 larger dressings
- Blister tape or moleskin + a small antiseptic wipe
- Ibuprofen/acetaminophen (whatever you tolerate) + any personal meds
- Small roll of athletic tape (also works for gear fixes)
- Nitrile gloves (optional, but useful)
- Any allergy med / antihistamine if you have sensitivities
Low-Bulk Core Module Example
This worked example shows how a low-bulk system can stay protective without turning into a fragile “leave everything behind” exercise. The detailed category framework is above; these weights are approximate and will vary by size and version.
Example Core Modules (~4.8–5.1 lb listed)
- 1-person ultralight shelter — ~14 oz
- 20°F quilt (or equivalent) — ~19–20 oz
- Light insulated inflatable pad — ~12 oz
- Inflatable pillow — ~2–3 oz
- Lightweight puffy insulation — ~10–12 oz
- Packable wind layer — ~3–4 oz
- 550ml titanium cup + minimal stove + spoon — ~3–4 oz total
- Repair/first aid/misc (combined) — ~12 oz
Listed core modules: roughly 4.8–5.1 lb. A complete base weight will be higher once you add clothing, water treatment, electronics, hygiene, and trip-specific items.
For riders documenting trips, the compact camera setup for bike travel compares lightweight mirrorless approaches without turning this pillar into another product list.
Three Practical Setups
These are copyable examples you can adapt with the swap rules above. Think of them as “starter baselines,” not rigid shopping lists.
Quick Comparison: Three Practical Setups
| Component | Budget | Balanced | Ultralight |
|---|---|---|---|
| Shelter | Reliable entry-level tent or a practiced tarp | Light shelter with a comfort and durability margin | Low-bulk shelter matched to your pitching skill |
| Sleep | Comfort-rated bag or quilt + durable insulated pad | Warmth, comfort, and pack size kept in balance | High warmth-to-weight system without cutting the pad margin |
| Insulation / Rain | Simple fleece or puffy + dependable shell | Versatile insulation + weatherproof shell | One efficient insulation layer + dependable shell |
| Cooking | Small canister stove + basic pot, or no-cook | Compact stove system matched to actual meal plans | Minimal cup/stove or mostly no-cook |
| Packing goal | Forgiving and inexpensive to replace | Moderate bulk with fewer compromises | Lowest practical bulk while protecting sleep and weather |
| Cost approach | Reuse first; upgrade the weakest module | Spend selectively on sleep, shelter, and bags | Pay only where the weight or volume saving is meaningful |
Use this as a starting point—swap based on your conditions and priorities.
Budget Setup
If you’re new (or you just hate wasting money), this approach gets you riding sooner—without buying “temporary” gear you’ll regret later. The bike touring gear for beginners post breaks down a full under-$500 setup if you want a starting point.
- Best for: first overnighters, local routes, and learning what you actually use
- Prioritize upgrades: sleep warmth (pad) + dependable rain shell, then bags that reduce sway
- Swap rules: colder nights → warmer sleep; remote routes → add plugs/patches + quick link + spare pads
Bags are the biggest budget variable—here are budget bikepacking bags that last, with the real trade-offs.
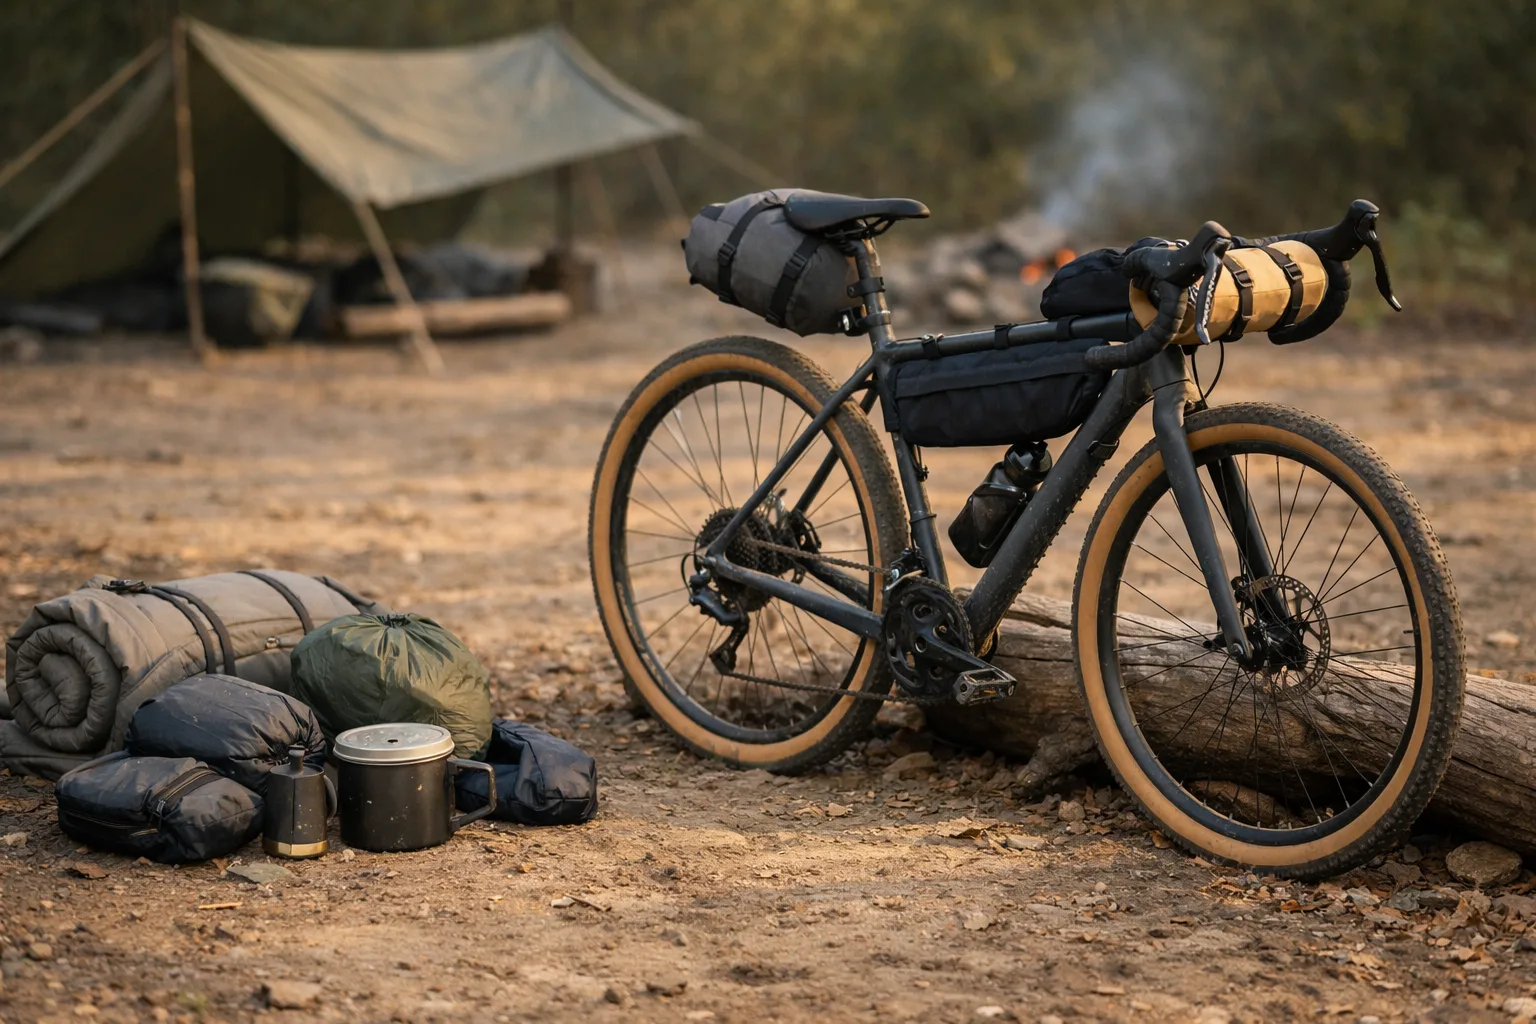
- Shelter/Sleep (starter): a reliable entry-level shelter + a comfort-rated bag or quilt + a durable insulated pad
- Clothing (starter): simple base layers + fleece + basic rain jacket + 2 pairs of socks
- Cooking (starter): tiny canister stove + small pot + spork
Budget rule: reuse what already works, then spend first on sleep warmth, rain protection, and any bag that creates handling problems.
Balanced Setup
If you want gear that lasts (and you ride in mixed conditions), this is the “buy once, cry once” zone—without going full boutique.
- Best for: mixed conditions, multi-day trips, and riders who want fewer surprises
- Prioritize upgrades: durable shelter + reliable rain/wind layer + stable carry system
- Swap rules: shoulder season → warmer sleep + insulation; long descents → keep wind protection accessible
Balanced rule: pay for durability and repeatable comfort, not the smallest possible number on a product page.
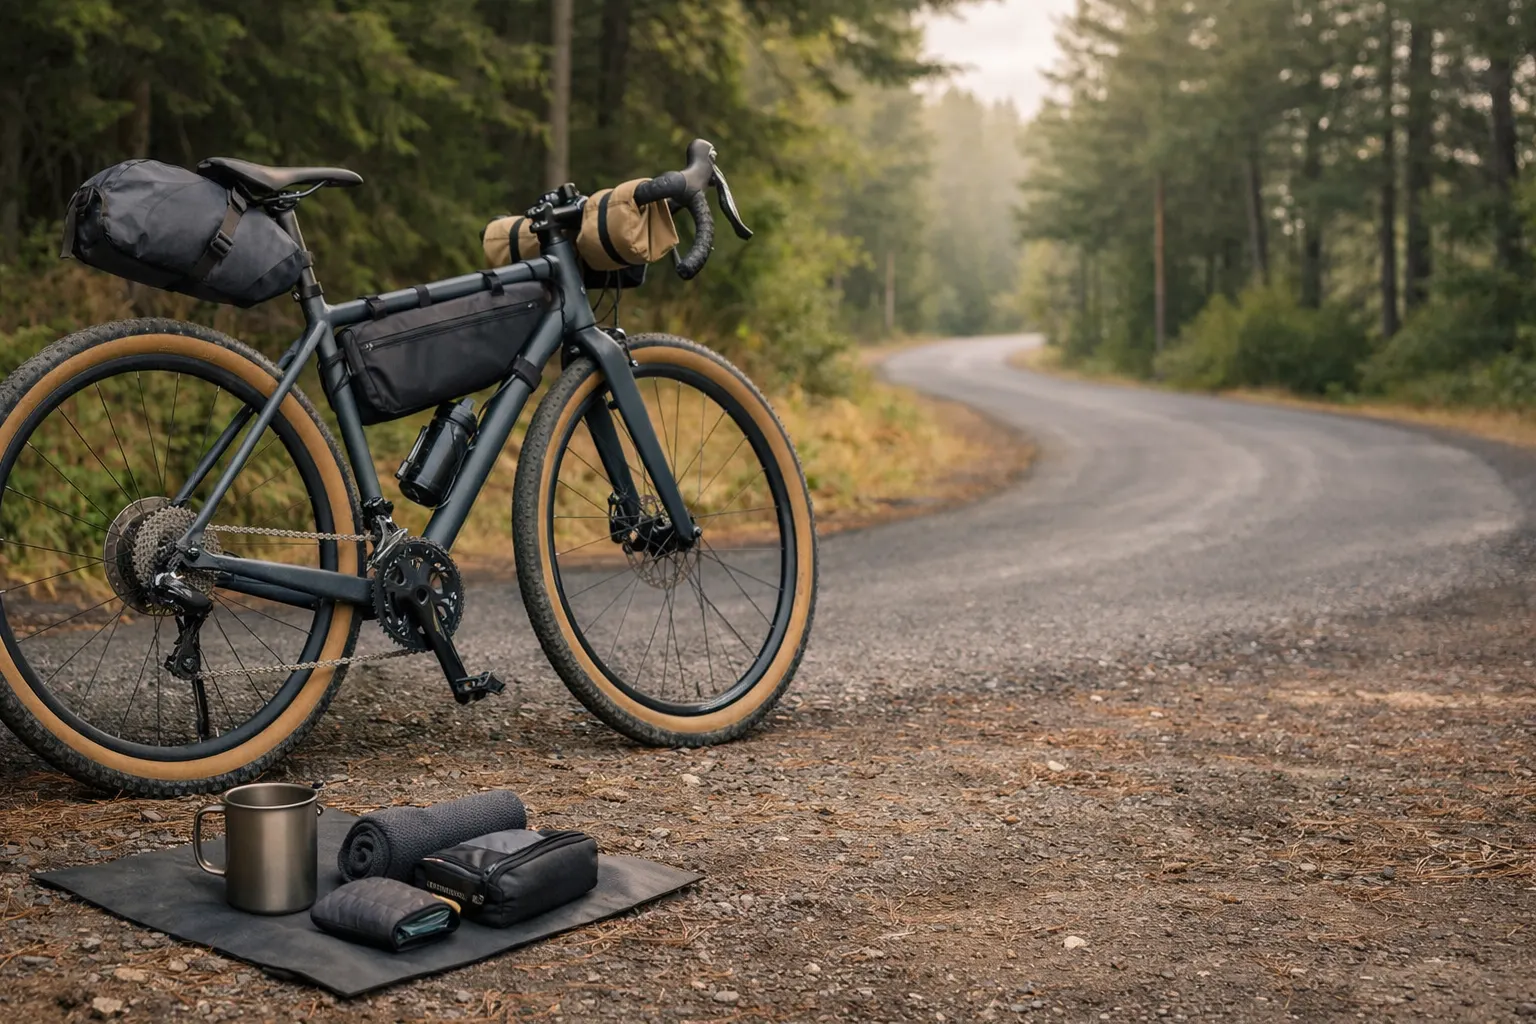
Ultralight Bikepacking Setup
If you’re chasing pack volume and long-day comfort, ultralight can feel like a superpower—as long as you protect your sleep and weather margin.
- Best for: riders who enjoy dialing systems in and keeping camp simple
- Prioritize upgrades: sleep warmth per ounce + stable carry + dependable rain protection
- Swap rules: if conditions worsen, add warmth before you add “extra stuff”
My ultralight camera kit for bikepacking shows how I keep the photography module small without burying the camera.
- Shelter/Sleep (example): a low-bulk shelter + a high warmth-to-weight bag or quilt + an insulated pad matched to expected lows
- Clothing (example): one true insulation piece + minimal layers (no duplicates)
- Cooking (example): titanium cup + minimal stove (or mostly no-cook)
Ultralight rule: spend only where the change removes meaningful bulk or improves function; expensive does not automatically mean better for your route.
Seasonal Adaptations for Your Bikepacking Gear
Quick example: you’re riding shoulder-season mountains with cold nights and surprise rain. Keep the same core modules, then swap two things—sleep rating and insulation. Everything else stays put.
Spring/Summer Modifications
- Reassess insulation — Use expected overnight lows, elevation, exposure, and how cold you sleep; “summer” alone is not enough
- Lighten the sleep system only with margin — Match the rating and pad insulation to the coldest plausible night, not the warmest forecast
- Keep a real weather plan — A wind layer is useful, but carry a rain shell when sustained rain or exposed terrain is plausible
- Reduce clothing — One spare set is often enough; add more only when weather or laundry access makes it necessary
Fall/Winter Additions
For colder trips, the winter bikepacking gear guide covers layering, sleep-system changes, and the extra weather margin that low temperatures demand.
- Upgrade insulation — Heavier down jacket or synthetic puffy
- Add base layer bottoms — Merino wool long underwear
- Warmer sleep system — Match both the bag or quilt and the pad to the lowest expected temperature with a personal comfort margin
- Emergency bivy — Extra protection for unexpected weather
Desert Touring
- Maximize sun protection — Long sleeves, hat with neck protection
- Increase water capacity — Extra bottles or hydration reservoir
- Choose sleep insulation from forecast lows and elevation — Desert nights can be much colder than daytime conditions suggest
- Plan fluids, salt, and food deliberately — Heat, effort, acclimatization, and personal needs change what works
Mountain/Alpine Touring
- Redundant warmth — Backup insulation layer
- Shelter matched to exposure — Use a wind- and snow-capable setup when the route and forecast require it; do not assume every alpine trip needs the same shelter
- Emergency gear — Whistle, emergency shelter, first aid expansion
- Navigation backup — Paper maps as phone backup
Weight and Volume Breakdowns
Where Weight Usually Hides
- Shelter and sleep: the biggest opportunities, but also the worst places to cut safety margin blindly
- Clothing: duplicates add up faster than one well-chosen layering system
- Cooking: meal complexity often creates more weight than the stove itself
- Tools and safety: trim redundancy only after confirming you can handle the likely failures
Use the scale to find the bulky category, then fix the system rather than chasing tiny savings item by item.
Volume Considerations
Weight isn’t everything — bulk matters too. I prioritize compressible items because they make packing simpler and your bags more stable.
High priority for compression:
- Down insulation (sleeping bag/jacket)
- Shelter (modern tents pack incredibly small)
- Extra clothing
Accept the bulk:
- Sleeping pad (don’t compromise comfort for pack size)
- Food (you’ll eat it anyway)
- Water (safety first)
If bag volume—not bike-specific gear—is the constraint, the 40L minimalist packing list for long-term travel shows where clothing and personal-item bulk can be reduced.
The goal isn’t suffering—it’s choosing lightweight bikepacking gear where it noticeably improves handling, then keeping real safety margins for sleep and weather.
A Practical Upgrade Rule
Replace gear when the new item removes meaningful weight or bulk, solves a repeated problem, or improves reliability. A tiny spreadsheet gain is rarely worth the cost and complexity if it adds more “fuss” in the field.
Bike Bag Placement: Quick Packing Flow
A pack-light setup feels “light” when your bags are stable and predictable—not just when the scale number is lower.
- Frame bag: dense/heavy items (tools, food, stove fuel) for best handling
- Handlebar bag: bulky/light items (sleep kit) to keep steering calm
- Seat bag: soft, compressible items (clothing) to reduce sway
- Top tube/feed bags: snacks + phone + sunscreen—anything you’ll grab while rolling
Quick bags note: most riders do well with the classic trio (frame/seat/handlebar). Match volumes to your bike and route, and keep heavy items centered so handling stays calm on rough sections. A stable bikepacking setup is more about placement than perfection.
Still choosing the bike itself? The best bikepacking bikes guide compares gravel, hardtail, rigid, and touring options before you commit to bag volumes.
Micro-action: Put your heaviest 3 items in the frame bag tonight and see how much calmer the bike feels.
Common Packing Mistakes to Avoid
The “Just in Case” Trap
I used to carry backup everything. Now I carry knowledge instead. Learn basic repairs, weather reading, and route planning. Skills weigh nothing.
Cutting Safety Margins Too Thin
There’s pack-light, and there’s dangerous. Always carry:
- An emergency shelter appropriate to the route and expected exposure
- First aid basics
- Navigation backup
- Emergency food/water
- Lights + a small power bank if you’re riding long days or using your phone for navigation
For longer or international tours where medical care, evacuation, or trip interruption could be expensive, review the bikepacking travel insurance guide separately from your gear checklist.
Ignoring Comfort Items
Some comfort items earn their weight. My camp pillow adds 2.75 oz but protects my sleep. That’s a trade I’ll make every time.
Small Habits That Prevent Big Problems
- Night routine: put tomorrow’s layers somewhere dry and reachable
- Keep insulation clean: don’t cook or spill food near your quilt/bag
- One “tiny pouch” rule: put your repair odds-and-ends (tape, patch glue, a couple zip ties, spare valve core) in one small pouch so you can find it fast
- Protect contact points: add a little frame protection where bags rub before it becomes a worn spot
Not Testing the Complete System
One weekend with your bags packed will reveal the real problems—before you’re committed to a long remote stretch. (If you do one “test,” make it the 48-hour shakedown from the Core Rules section.)
Micro-action: Plan one overnight this month where you use only the gear you’ll take on your next big ride.
Maintenance and Longevity
Daily Care
- Dry everything possible each evening
- Inspect high-wear items (tent floor, pack contact points)
- Clean and lubricate moving parts
Long-term Strategies
- Rotate gear — Don’t use the same sleeping bag year-round
- Proactive repairs — Fix small issues before they become big problems
- Upgrade gradually — Replace worn items with lighter/better versions
Tiny Field Fixes Worth Practicing Once
- Patch a tube (or plug a tubeless tire) before you need to do it in the dark
- Use a quick strap or tape wrap to stop bag sway/rub
- Pitch your shelter in wind at least once so you know the order
Build Your Gear Setup (in 30 minutes)
Start with the Big Three
Focus your initial investment on shelter, sleep, and pack. These drive comfort, warmth, and bike handling more than anything else.
Test Incrementally
Don’t overhaul everything at once. Replace one category at a time, then run a quick overnight or weekend shakedown so you know it actually works for you.
Consider Your Riding Style
- Credit card touring — Ultra-minimalist approach works
- Remote wilderness — Build in more redundancy
- Multi-week expeditions — Durability trumps ultimate weight savings
Budget Over Time
Quality gear is an investment. I’d rather own one piece I trust than three “almost good” items that create problems when conditions get real.
Micro-action: Set a timer for 30 minutes, pick your approach in the Builder, then write your “big three” choices in a notes app.
Advanced Strategies
The Modular Approach
Same core idea as above—your kit is a set of modules you can mix and match. If you ride in very different seasons, many riders keep two versions of one key module (usually sleep or insulation) so swaps stay simple.
- Module 1: Core camping (shelter + sleep)
- Module 2: Weather protection (rain gear + insulation)
- Module 3: Cooking system (stove + cookware)
- Module 4: Repair/safety (tools + first aid)
This lets you customize for specific trips without rebuilding your entire kit.
Real-World Testing Results
800-Mile Desert Tour (Arizona Trail)
System weight: 9.2 lbs
Key learnings:
- Alcohol stove struggled in wind
- Merino wool was game-changing in temperature swings
- Ultralight tent handled surprising weather
2,100-Mile Mountain Tour (Continental Divide)
System weight: 11.4 lbs
Key learnings:
- Extra insulation layer was essential
- Redundant navigation saved the trip
- Quality rain gear earned its weight
800-Mile Coastal Tour (Pacific Coast)
System weight: 7.8 lbs
Key learnings:
- Minimal cooking worked perfectly
- Salt air demanded better gear care
- Comfort items mattered more on long days
These are personal trip logs—your numbers will change with season, food/water carries, and route conditions.
Future-Proofing Your Setup
What to Prioritize Without Chasing Hype
New materials and model names change constantly. The useful questions stay the same, so judge upgrades by the problems they solve.
- Weather protection: prioritize fit, ventilation, repairability, and performance in the conditions you actually ride
- Durability: look for reinforcement at floors, straps, seams, and frame-contact points
- Sleep warmth: evaluate the pad, top insulation, fit, drafts, and moisture as one system
- Power: size lights and charging capacity to navigation hours, darkness, temperature, and resupply gaps
Sustainable Choices
Pack-light thinking aligns with environmental consciousness: you buy fewer items, keep them longer, and repair instead of replacing.
- Buy less, use longer — Quality over quantity
- Repair over replace — Extend gear lifespan
- Multi-season versatility — Reduce total consumption
Frequently Asked Questions
Conclusion
Pack-light bikepacking gear isn’t about suffering with less—it’s about choosing better.
The key is finding your personal balance between weight, comfort, and safety. Start with the principles above, do a quick shakedown, then refine based on real trail feedback.
Gear evolves fast — revisit this guide or your own notes after each season to keep your setup dialed.
Your next steps:
- Choose your approach — Budget, Balanced, or Ultralight
- Start with shelter and sleep — The biggest impact items
- Test everything before your next major tour
- Refine based on experience — Every trip teaches something new
Less chaos, more riding—that’s the whole point.
New to bikepacking entirely?
If you’re still figuring out your first overnighter—routes, packing, what to expect—the beginner bikepacking guide walks you through everything before you spend a dollar on gear.
This guide is general education only, not personalized advice. Conditions, bodies, bikes, and routes vary—so treat these setups as starting points and adapt them to your terrain and comfort needs. For medical concerns or safety-critical decisions, consider speaking with a qualified professional or an experienced local shop/guide.