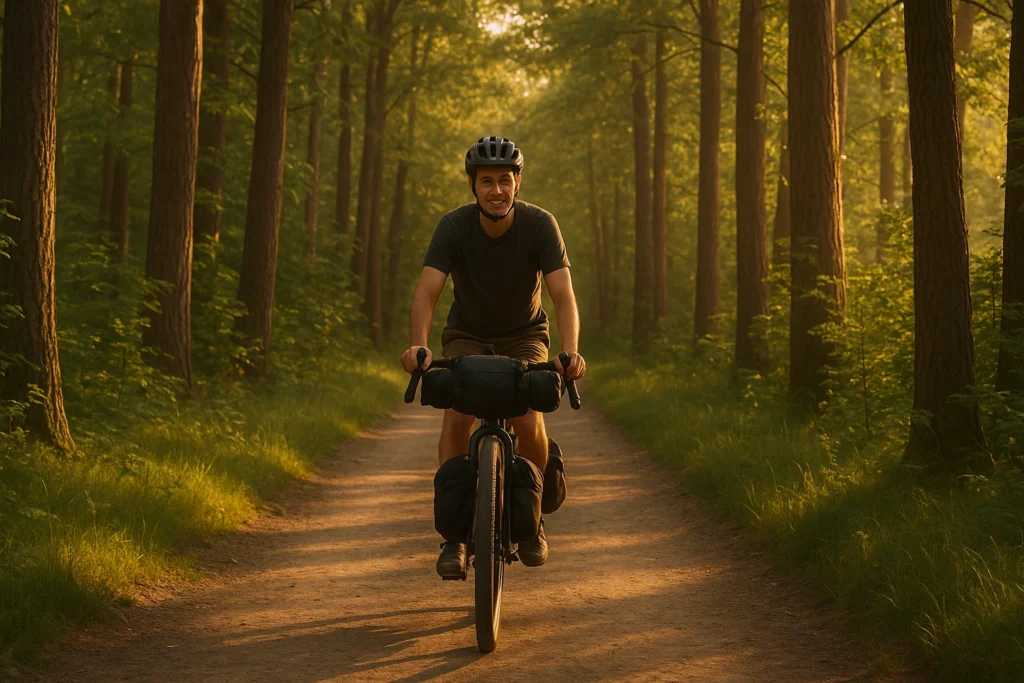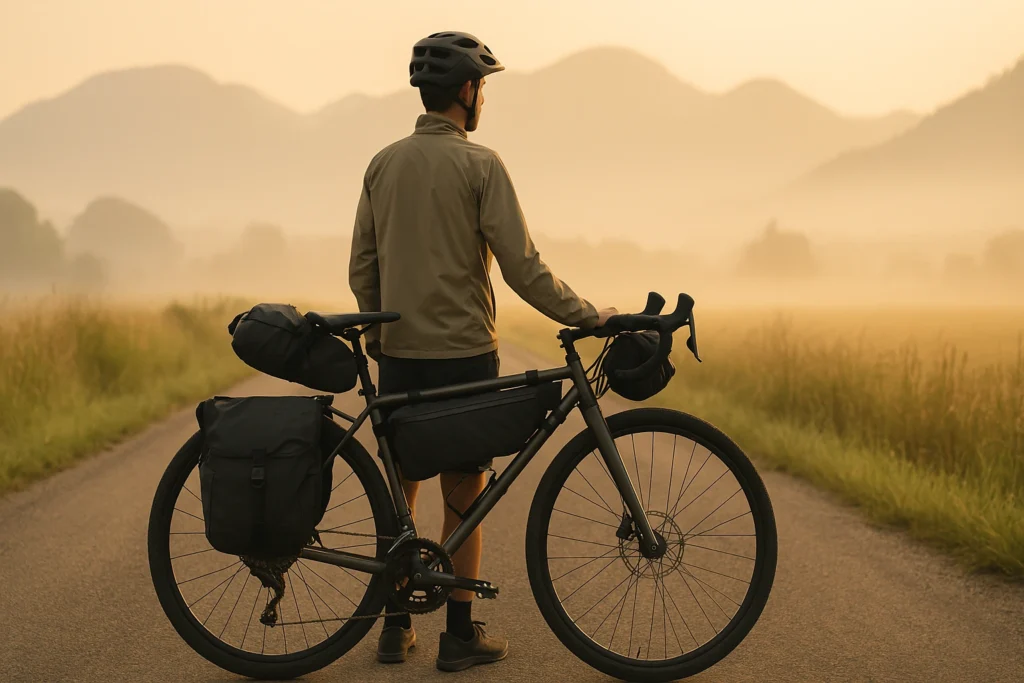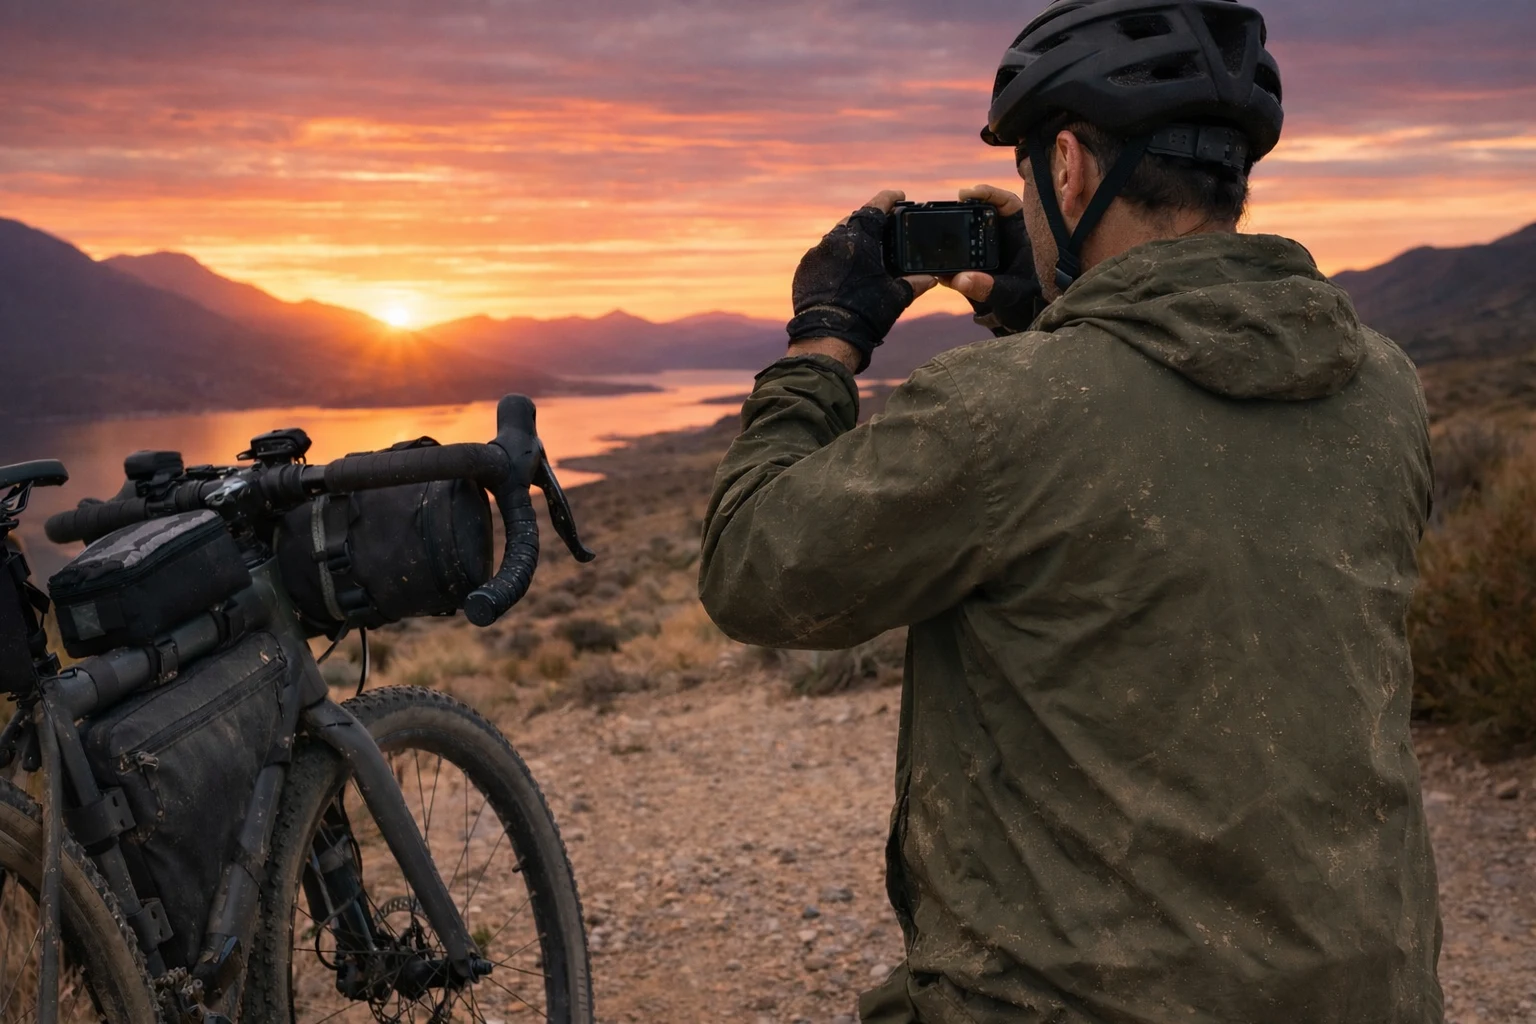
Bikepacking photography gear works best when it helps you take more photos without giving you more equipment to manage. I used to pack far more camera gear than I needed because I was afraid I’d miss the shot. Instead, the extra weight slowed me down, and the harder my camera was to reach, the less I used it. A rainy ride through Colorado finally made the lesson obvious: the best trail camera kit is the one you can protect, reach, and use without breaking your rhythm.
This guide helps you build that kind of setup. You’ll start with the essential protection, access, and backup decisions, then compare practical options for sleeves, dry bags, memory cards, and power. For the rest of your riding setup, see my complete bikepacking gear guide. My Sony RX100 and DJI Action setup—including its batteries, cards, protection, and mounts—is covered in my ultralight bikepacking camera setup.
Quick definition: A lightweight setup is small enough to carry all day, protected enough for rough conditions, and quick enough to reach before the moment disappears. The goal is not to own the fewest items possible. It is to carry the right few things without turning your bike into a rolling camera store.
Last updated: July 2026.
This page contains affiliate links. As an Amazon Associate, I earn from qualifying purchases at no extra cost to you. Amazon buttons are labeled #ad. Learn more.
Table of Contents
- Find Your Priority Fix in 30 Seconds
- Minimal Camera Kit for Bikepacking: 7 Essentials
- Quick Picks for Protection, Storage, and Power
- Choosing a Trail-Friendly Camera Setup
- How to Protect Camera While Bikepacking
- Backup, Storage, and Power on the Trail
- Quick Lens Choices (Without Overthinking)
- Accessories for a Lightweight Bikepacking Photography Kit
- Quick Shooting Wins on the Trail
- Bikepacking Camera Gear Questions
- Build a Camera Kit You’ll Actually Reach For
Find Your Priority Fix in 30 Seconds
If your result points to rain or dust, the shell below is a low-bulk weather layer. If backup is the priority, skip it and go straight to the trail backup workflow.
Low-bulk weather layer: Peak Design Shell (form-fitting rain and dust cover for quick protection).
Minimal Camera Kit for Bikepacking: 7 Essentials
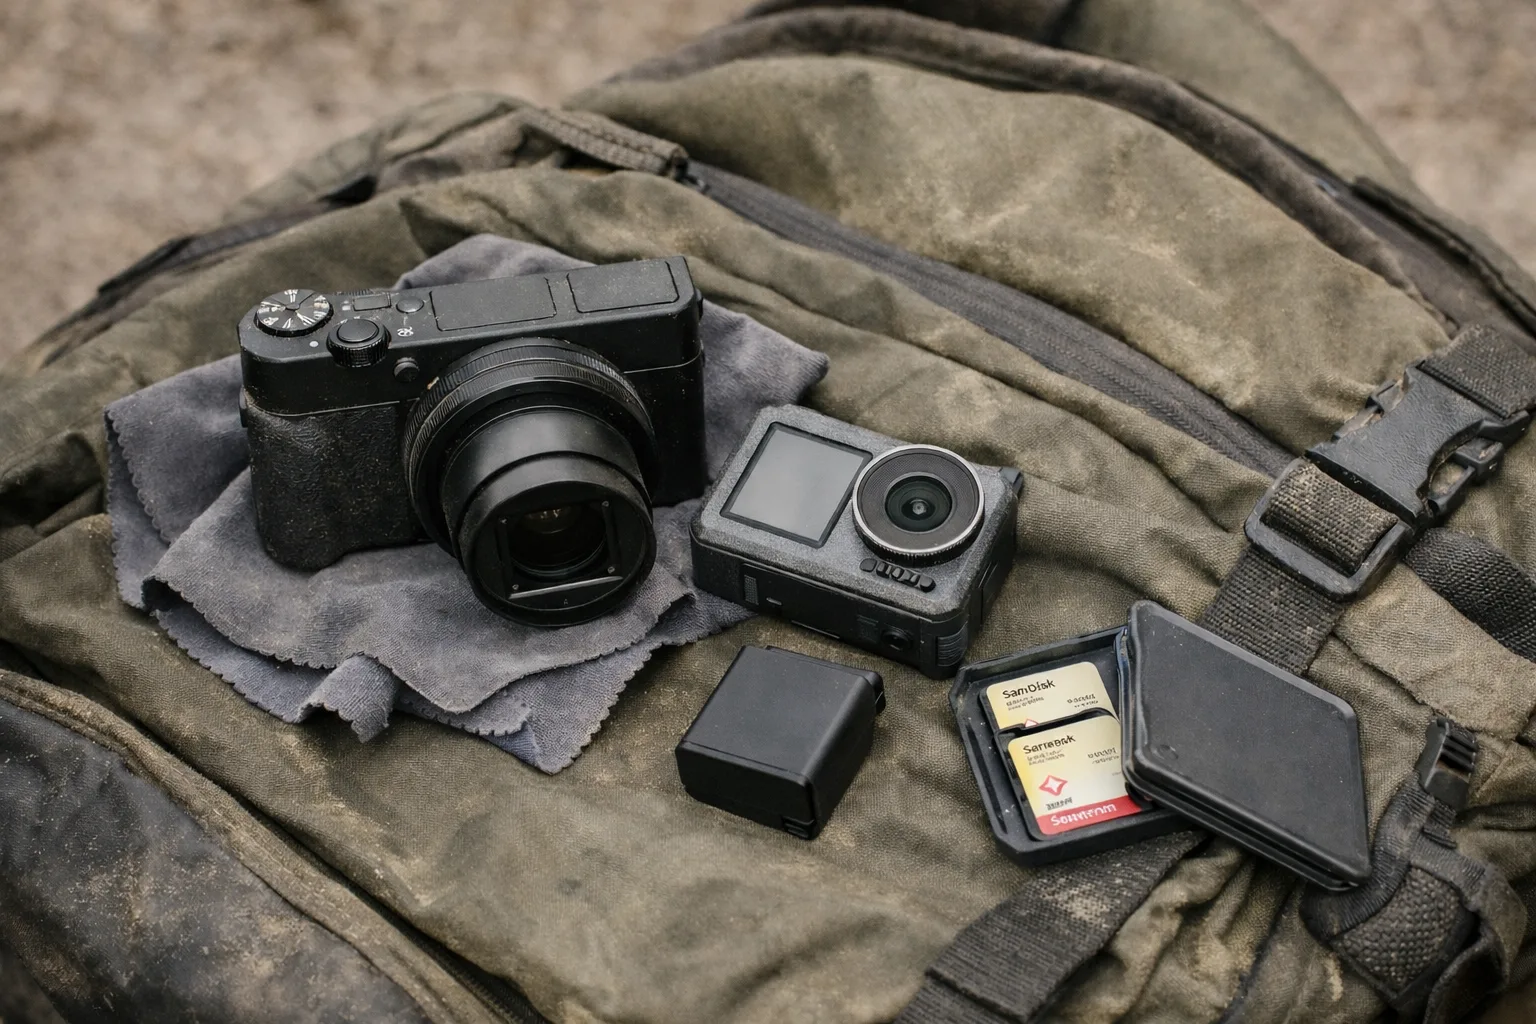
This is your “carry it every day” baseline: capture, protect, power, and keep your photos safe. If your camera setup for bikepacking feels like a puzzle, start here and rebuild simpler.
| Item | What it does | Keep it lightweight by… | Typical weight (approx.) |
|---|---|---|---|
| Camera (any type you’ll actually carry) | Your main storyteller | Choosing a body you enjoy using (small beats “best on paper”) | 150–600g+ |
| One main lens (or built-in lens) | Covers most of your shots | Picking one versatile option instead of “just in case” lenses | 0–400g |
| Padded protection (insert/wrap) | Absorbs bumps + vibration | Using a slim insert instead of a full camera bag | 150–350g |
| Weather plan (rain cover or dry bag) | Prevents water disasters | Keeping it pocket-accessible (so you actually use it) | 40–140g |
| Power (extra battery or power bank) | Keeps you shooting past sunset | Carrying one spare battery + a simple charging routine | 40–250g |
| Storage (2 memory cards) | Reduces total-loss risk | Two smaller cards instead of one huge card | 4–15g |
| Cleaning (cloth + small blower) | Saves shots in dust/rain | Carrying tiny tools that prevent big problems | 20–60g |
Micro-action: Lay out your kit and remove one “just in case” item you didn’t use last trip. Put that saved weight toward better protection instead.
Quick Picks for Protection, Storage, and Power
These are practical starting points for a trail camera setup. Similar padded inserts, dry bags, card sets, and power banks can work just as well when their size and protection match your kit.
| Gear Need | Why It Earns Space | Suggested Product | Price & Availability |
|---|---|---|---|
| Pocket camera sleeve Premium compacts / RX100 · approx. 70g |
Quick-access padded protection | Lacdo RX100 Camera Case | |
| Padded camera insert Mirrorless / larger cameras · approx. 320g |
Absorbs vibration and bumps | Tenba BYOB 9 DSLR Backpack Insert | |
| Rain layer / dry bag 5L · approx. 135g |
Quick protection from weather | Sea to Summit Big River Dry Bag | |
| SD cards Two 256GB cards · approx. 4g total |
Rotate cards to reduce total-loss risk | SanDisk Extreme SDXC | |
| Portable power bank 10,000mAh class · approx. 150g |
Keeps gear charged on long days | Nitecore NB10000 Gen 2 |
For a smaller, lighter insert, the Tenba BYOB 9 Camera Insert is about 250g. If you prefer more structure, compare the Peak Design Camera Cube Small.
Choosing a Trail-Friendly Camera Setup
Choose by access first, then by the shots you care about. Use a phone for zero extra camera weight, an action camera for rough-weather POV, a premium compact for pocketable stills, or mirrorless for lens choice and manual control. The Sony RX100 VII and DJI Osmo Action 6 are examples of the compact and action-camera routes below.
Camera type comparison
| Camera Type | Weight (Approx.) | Image Quality | Portability | Durability | Best For |
|---|---|---|---|---|---|
| Mirrorless | 300–600g | Excellent | Good | Moderate | Landscapes, people, flexible shooting |
| Premium Compact | 200–400g | Good | Excellent | Moderate | Simple travel + quick access |
| Smartphone | 150–250g | Decent | Excellent | Moderate | Everyday moments + video |
| Action Camera | 100–150g | Good (action) | Excellent | Excellent | POV + rough weather riding |
If two options seem close, choose the one you can reach in under 15 seconds when you are tired or the light changes. The camera you use beats the technically better one that stays buried.
How to Protect Camera While Bikepacking
Bikepacking is harder on camera gear than hiking: constant micro-impacts, grit, and surprise weather. To protect a camera while bikepacking, deal with vibration first, then dust and rain.
Carry placement (on you vs on the bike)
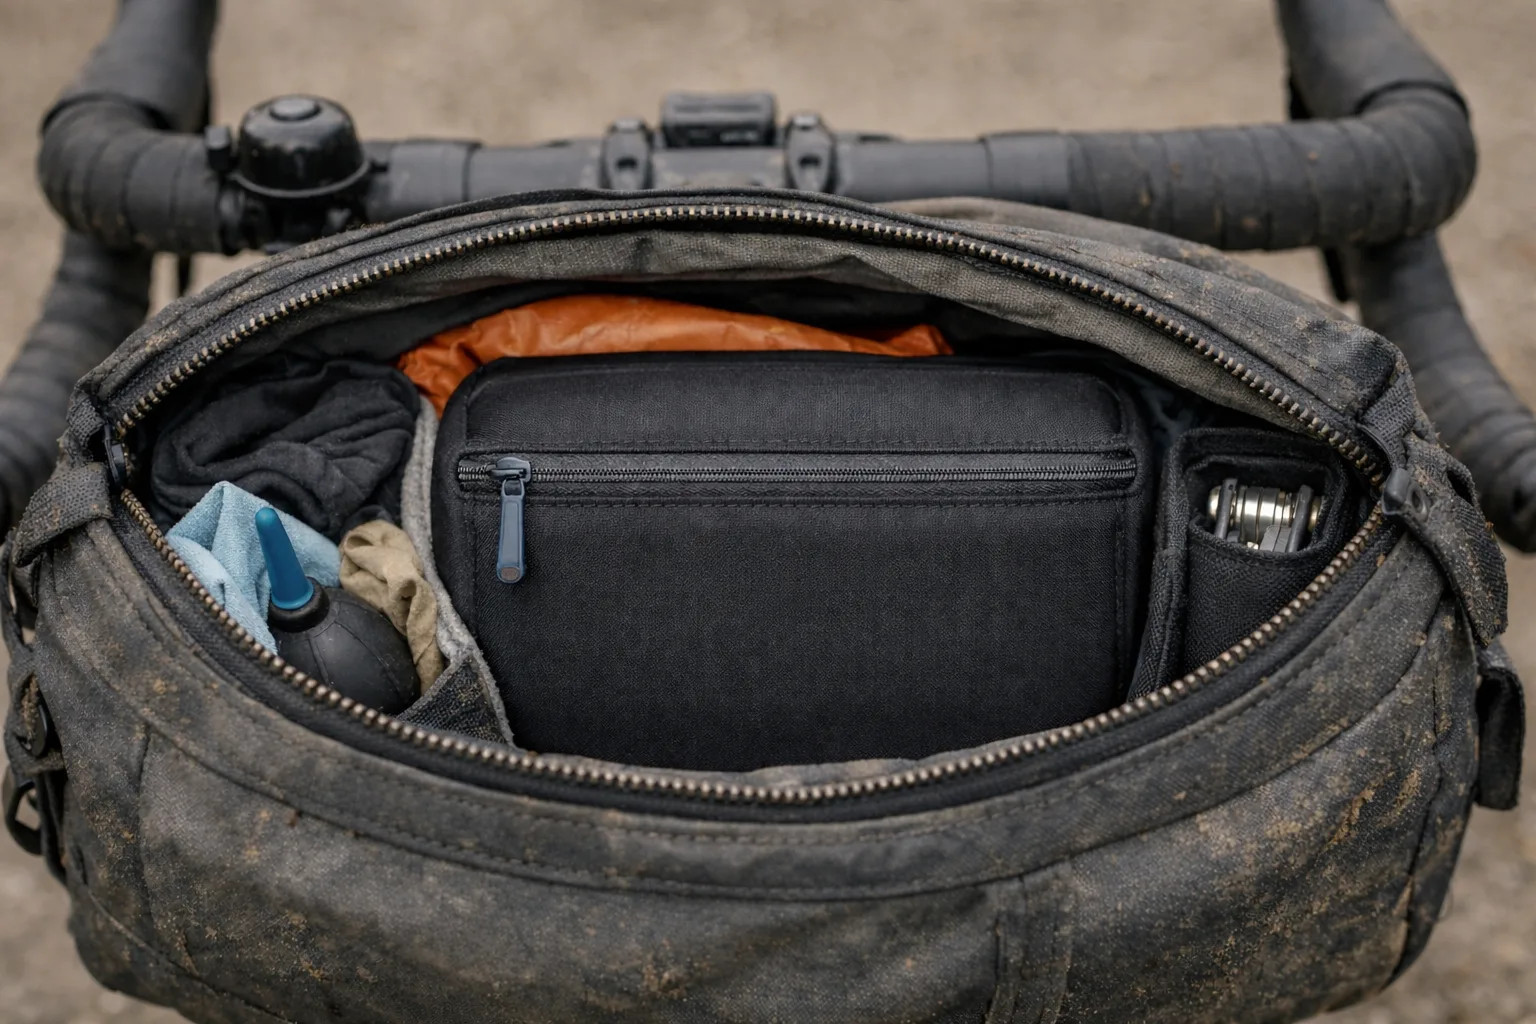
On rougher trails, I prefer carrying the camera on my body—at my hip or chest—instead of mounting it to the bike. In my experience, that reduces the direct vibration reaching the camera. Vibration, not rain, was the main reason I changed my carry method. A stable quick-release handlebar mount can still work for an action camera when you want hands-free POV, but check the mount and footage after rough sections. If the bag itself is bouncing, start with a stable frame, seat, and handlebar bag setup.
Vibration checklist for rough trails
- Pad the camera: Use a slim padded insert/wrap. Damage often starts when gear bounces against hard items.
- Pack “middle of the sandwich”: Keep the camera surrounded by soft items, not against tools or metal hardware.
- Reduce bounce: Tighten your carry system; if the bag sways, the gear takes repeated hits.
Dust checklist for windy or sandy conditions
- Minimize lens swaps: Swapping lenses in wind and dust is the fastest way to dirty sensors and lenses.
- Keep the kit closed: Use a simple zip bag or dry bag layer on dusty days.
- Clean fast: A small blower and microfiber cloth fixes most issues before they ruin shots.
Rain checklist (what to do before you’re soaked)
- Fast access rain layer: If it’s buried, you won’t use it in time.
- Layer protection: Padding inside a waterproof bag is boring—and that’s the point.
- Dry at camp: Air things out; don’t seal damp gear overnight.
My setup: I keep the camera in a padded pouch I can reach quickly, with cleaning and a battery in the same pocket. Anything heavier goes deeper in the bag to reduce bouncing.
Micro-action: Repack so your camera sits “middle of the sandwich” (soft on both sides). Then shake your bag—if it rattles, add padding or move hard items.
Backup, Storage, and Power on the Trail
Most photo-loss problems start when you are tired at camp, not while you are shooting. A short reset each evening protects the day’s images and makes the next morning easier.
Your five-minute camp reset
- Start clean: wipe the lens, check battery level, and confirm card space.
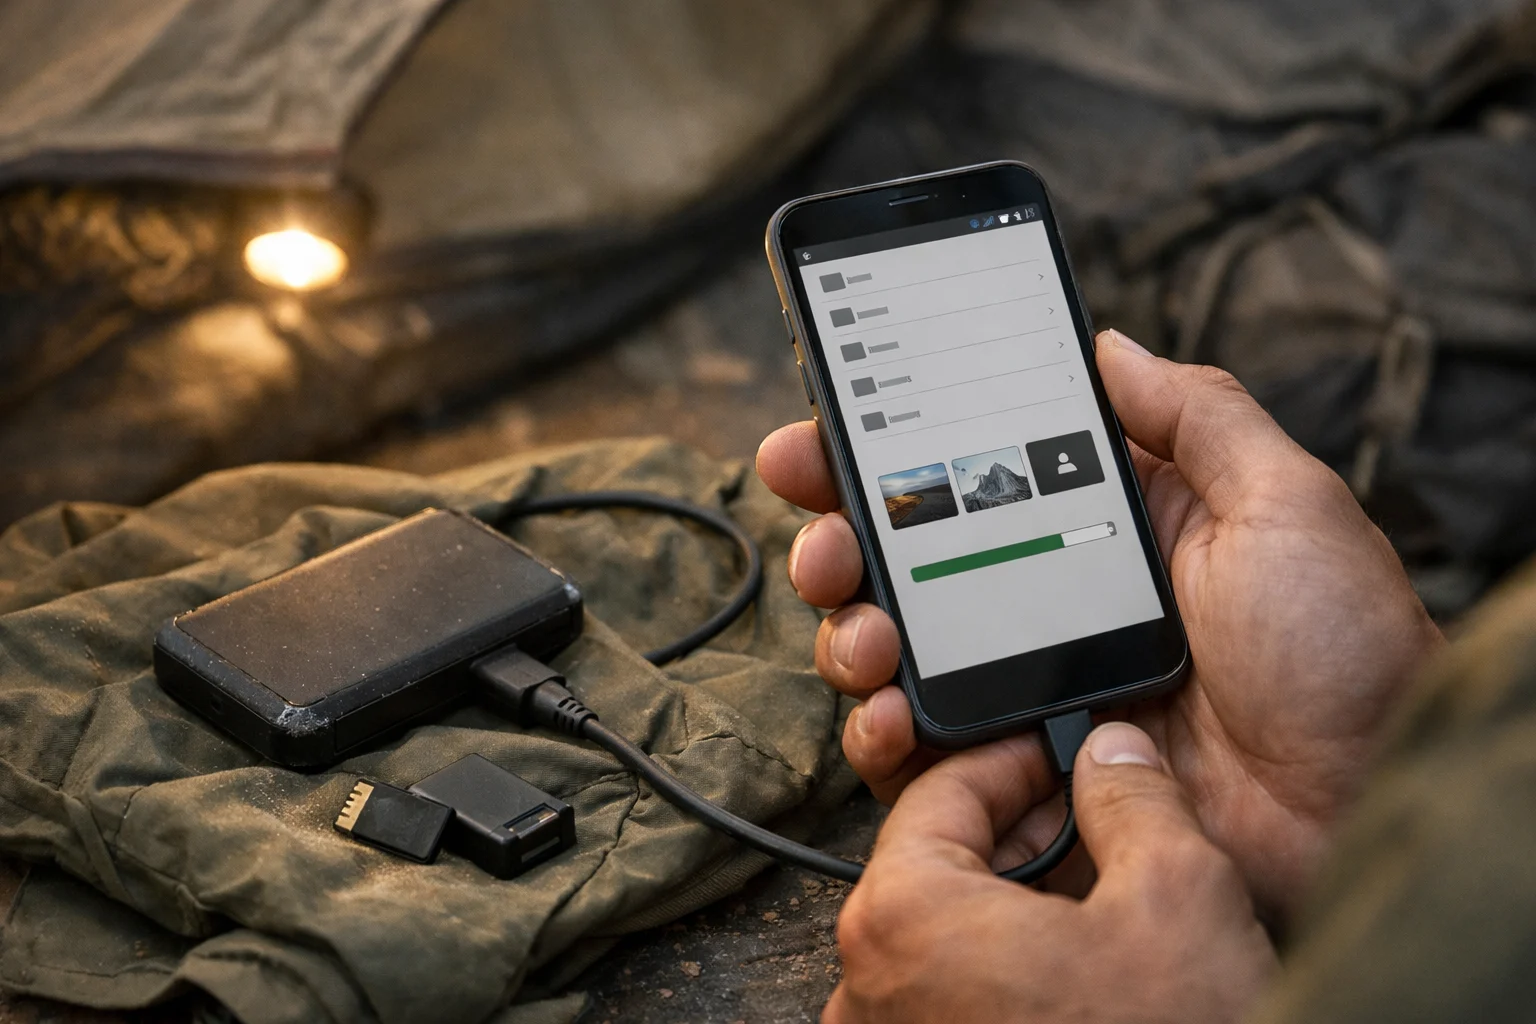
- Protect the day’s keepers: rotate to a second card or copy the files, then store the full card somewhere separate.
- Charge in order: camera battery first, then phone, then lower-priority devices. Keep a spare battery close to your body in cold weather. For lights, GPS, and longer charging plans, see the full bikepacking power setup.
- Reset the kit: return batteries, cards, cloth, and blower to the same places every night.
Choose your backup level
- Card rotation: use two cards and keep the full one protected in a separate pocket.
- Phone or tablet copy: add a second copy without carrying another storage device.
- Portable SSD: add another layer for longer trips or heavy video use.
Card Size Guide: 128GB vs 256GB for Photos & 4K Video
Card size depends on your camera and shooting style. These are planning estimates, so check your camera’s actual file sizes before a long trip.
| Media Type | Approx. File Size | On 128GB | On 256GB |
|---|---|---|---|
| RAW Photos (24-33MP mirrorless) | ~30MB each | ~4,000–4,300 shots | ~8,000–8,700 shots |
| JPEG Photos (high quality) | ~5–7MB each | ~18,000–25,000 shots | ~36,000–50,000 shots |
| 4K Video (100Mbps bitrate, e.g., action cam) | ~7.5GB per 10 min | ~2.8–3 hours total | ~5.7–6 hours total |
| 4K Video (high bitrate, 400Mbps) | ~30GB per 10 min | ~0.7 hours total | ~1.4 hours total |
A 128GB card is a practical starting point for shorter, photo-heavy trips. Choose 256GB for frequent 4K video or longer adventures, and rotate two cards so one failure does not take the whole trip.
Storage and Power Starting Points
| Gear Need | Why It Helps | Suggested Product | Next Step |
|---|---|---|---|
| SD cards | Rotate two to reduce total-loss risk | SanDisk Extreme SDXC — two 256GB cards | See the SanDisk Quick Pick above |
| Portable SSD | Adds a second copy on longer trips | Samsung T7 Shield 1TB | |
| Power bank | Prioritizes camera charging before lower-priority devices | Nitecore NB10000 Gen 2 | See the Nitecore Quick Pick above |
Other solid options:
- Longer trips: Nitecore NB20000 Gen 3 (~10 oz, double capacity)
- Wet-weather priority: Nitecore NB Plus (IPX7 water resistance)
- Faster charging (if weight isn’t critical): Anker Nano 10K (30W built-in cable)
Spare batteries: Carry 1–2 extras — Sony NP-BX1 battery for reliability, or the budget Newmowa battery 3-pack + charger.
Micro-action: Save the four-step camp reset in a phone note and use it tonight: clean, protect, charge, reset.
AI Workflow Add-On for Post-Trip
After backups, AI tools can save time when you’re back from a long trip. I use Aftershoot for assisted or automated culling, including duplicate grouping and image scoring; Lightroom’s AI-powered Denoise for high-ISO shots from dawn or dusk; and occasionally Luminar Neo for sky replacement or targeted enhancements. Aftershoot is a Windows/macOS workflow, while Lightroom offers desktop and mobile options, so check current platform support before building your process around one device.
Quick Lens Choices (Without Overthinking)
Lens choice matters, but the “perfect lens” rabbit hole is how packs get heavy. If you’ve ever opened a dozen tabs and ended up more confused, keep it simple.
If you want one lens
- Landscapes + travel: a versatile wide-to-standard zoom (or a compact built-in lens camera).
- People + camp life: a small prime for low light and natural-looking scenes.
If you want two lenses (still reasonable)
- Landscape + everyday: wide zoom + small prime.
- Everyday + occasional wildlife: standard zoom + lightweight telephoto only if you truly use it.
Not sure? Try before you buy—rent from a reputable photo rental service.
Pick one lens for your next trip and commit. You’ll learn more from using it than from reading another review.
Accessories for a Lightweight Bikepacking Photography Kit
Accessories should prevent missed shots, not add chores. You know the moment: wind picks up, dust hits your hands, and you still want a quick photo. That’s when a tiny cloth and blower earn their place.
The few accessories that usually earn their weight
- Support: a small travel tripod or mini tripod for sunrise/sunset and low light.
- Filters: a circular polarizer cuts glare; a neutral density filter helps for longer exposures in bright light.
- Power: one extra battery (and a small bank if your trip needs it).
- Protection: padded insert/wrap + a compact rain layer.
- Cleaning: microfiber cloth + tiny blower.
- Bag organization: Tailfin Packing Cubes (designed around Tailfin packing systems and quick-access organization) — View on Tailfin.
Put your cloth and blower somewhere you can reach in 10 seconds. If it’s buried, you won’t use it when it matters.
Quick Shooting Wins on the Trail
This is for the real moment: it’s windy, your hands are cold, and the light is changing fast. You don’t need fancy—just a few defaults you can repeat.
- Start with one clean frame: get the straightforward shot before you experiment.
- Check the lens and horizon: wipe away dust or rain, then make sure the frame is level.
- Build a three-frame story: photograph the wide scene, a closer subject, and one small detail.
- Protect bright skies: expose a little darker when highlights are close to clipping, then lift shadows later.
- Use a faster shutter: increase shutter speed for wind, moving water, riding, and walking shots.
- Brace against something solid: use a pack, pole, rock, or tree when a tripod is not practical.
- Keep edits simple: correct white balance, recover highlights, lift shadows, and stop.
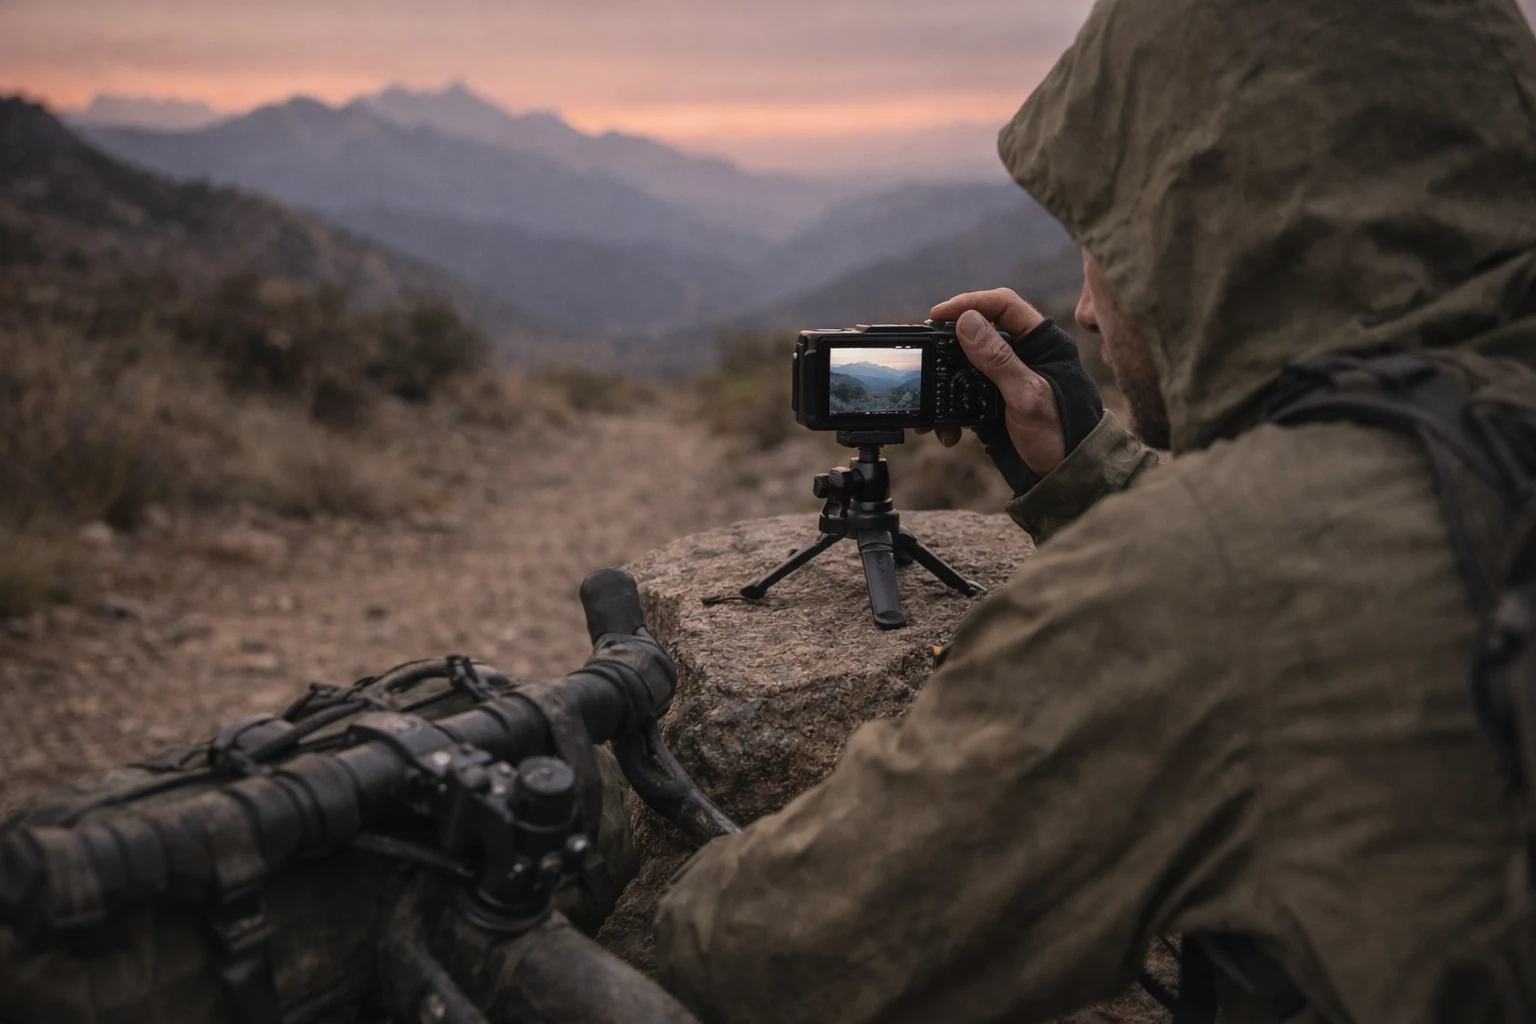
At your next stop, try the three-frame story: wide scene, closer subject, small detail. It takes about 30 seconds and gives you a more complete record of the moment.
For more on ethical shooting around wildlife and landscapes, see the Leave No Trace principles (especially ‘Respect Wildlife’ and ‘Be Considerate of Others’).
Wildlife Photography with a Lightweight Kit
A light telephoto helps you keep distance and still fill the frame. Start with continuous autofocus and a fast shutter speed for movement, then aim for the eyes. If an animal looks stressed—or you feel unsure—back off. The photo isn’t worth the risk.
Learn more in the Leave No Trace wildlife guidelines.
Decide your “back off” rule before you see an animal (distance, behavior cues, or your own comfort). Then stick to it.
Bikepacking Camera Gear Questions
Build a Camera Kit You’ll Actually Reach For
Bikepacking photography is not about carrying more equipment. It is about building a small system that makes taking a photo feel easy: the camera is protected, the essentials are within reach, and your backup routine is simple enough to repeat at the end of a long day.
Before buying anything else, test the setup you already have. Pack it normally, pull out the camera, take one photo, and put it away three times. If the process takes more than 15 seconds or feels annoying by the third attempt, change one thing—your carry position, padding, bag organization, or access to the rain layer.
For the Sony RX100 and DJI Action system I settled on after trying several combinations on real trips—including protection, batteries, cards, and mounts—see my exact bikepacking camera setup.
This article is general education, not personalized advice. Conditions, gear choices, and risk tolerance vary—follow local regulations and your manufacturers’ guidance, and use your judgment in real weather and terrain. If you want trip- or setup-specific help, consider a qualified outdoor guide, bike mechanic, or camera technician.