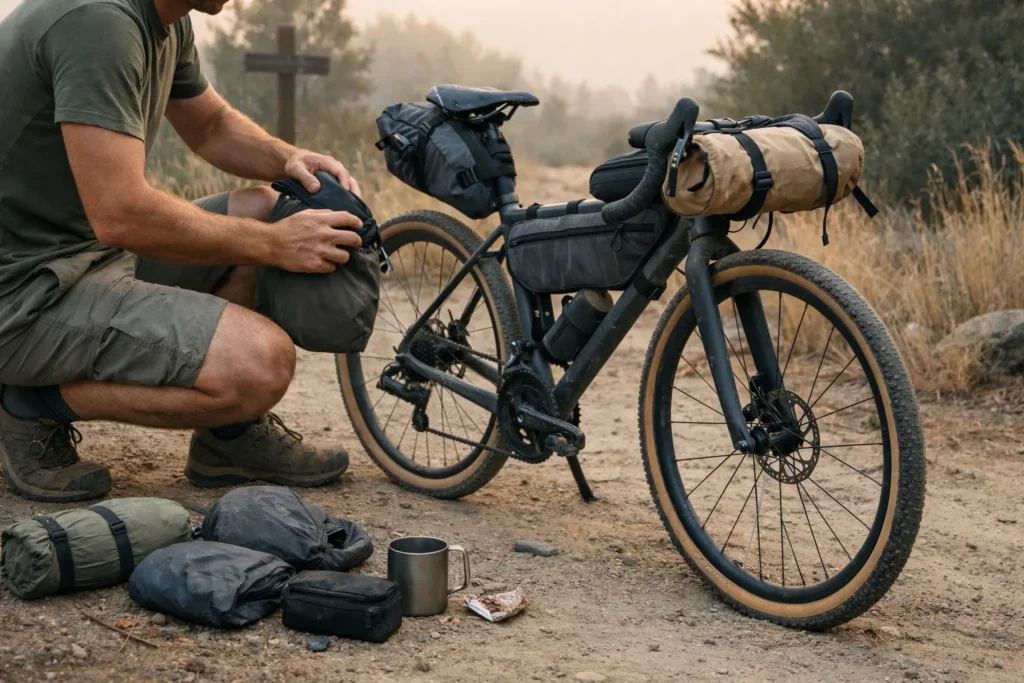
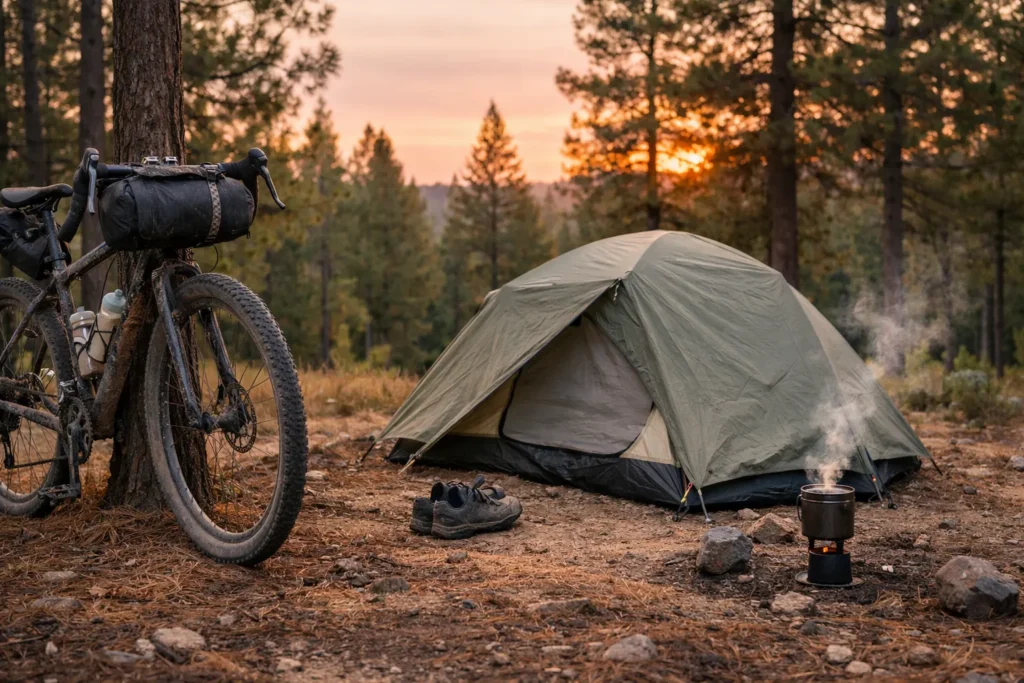
I was three nights into a solo bikepacking loop in the Balkans when I made a classic mistake. I’d found a perfect stealth spot the first night — tucked behind a stone wall, invisible from the road, flat ground, stream nearby. So I stayed a second night. Same spot. Same bike, same orange frame bag propped against the same tree. On the third morning I came back from refilling water to find a car idling ten metres from my tent. Not a threat. Just a local farmer who’d driven the same track for thirty years and noticed something new. My heart was in my throat for a solid minute before he waved and drove off.
That moment — the fear, then the relief, then the lesson — is what this whole guide to solo female bikepacking safety is about. The fear was real. The situation was manageable. And there was a fix: a simple rule I hadn’t followed. Don’t turn an unauthorized stealth spot into a repeated pattern.
If you’re planning your first serious solo female bikepacking trip — or your first wild-camping nights alone — this guide gives you the practical framework I wish I’d had. Not to make you paranoid. To give you enough of a system that you can stop replaying worst-case scenarios and start packing.
Last updated July 2026.
This page contains affiliate links and may include sponsored content. As an Amazon Associate, I earn from qualifying purchases at no extra cost to you. Amazon links are labeled #ad; other affiliate links may be marked as “affiliate link,” “Sponsored,” or “(paid link).” Learn more.
Table of Contents
- The Fear Is Real — and It’s Not the Enemy
- A Low-Profile Camping System for a Loaded Bike
- The Campsite Screening Matrix
- When Someone Approaches: Boundaries and Useful Scripts
- Fear vs Intuition: How to Tell the Difference at 2am
- The Communication System That Works Off-Grid
- 5 Safety Items Worth the Weight
- Day-Before Checklist
- Frequently Asked Questions
- Turn Fear Into a Plan
The Fear Is Real — and It’s Not the Enemy
Fear before a solo trip isn’t a character flaw. It’s a threat assessment running with incomplete data. The problem isn’t that you’re scared — it’s that fear without a plan can loop through the same scenarios without producing a next step.
Solo female bikepacking safety comes down to three systems:
- Where and how you camp
- How you communicate when there’s no cell signal
- How you read and respond to people on the road
A framework turns “what if something goes wrong” into “here’s what I’ll do if X happens.” It doesn’t remove uncertainty; it gives you a useful next action.
Your plan also needs to cover ordinary trip problems such as mechanical failure, weather, and fatigue. If you haven’t sorted your repair kit yet, the bikepacking repair kit checklist covers what to carry and how to pack it.
In my experience, the first three nights are the hardest — after that, the calibration kicks in and unfamiliar sounds start making more sense. That doesn’t mean ignoring a real warning; it means giving ordinary noise a fair reading before fear fills in the blanks.
For the longer mental side of solo travel, the mental resilience guide for long bike tours goes deeper into preparation, anxiety, and staying steady over time.

A Low-Profile Camping System for a Loaded Bike
Stealth camping with a bike means setting up discreetly and leaving no trace. Use these mechanics only where overnight or dispersed camping is lawful; when access is uncertain, choose a legal campground or ask permission. Most advice stops at “find a hidden spot and arrive late.” That’s incomplete when you’re riding a loaded bike with a bright frame bag and reflective tyres. These bikepacking safety tips focus on the practical mechanics of managing that larger, more visible setup. The Leave No Trace Seven Principles are useful grounding for any wild-camping route.
Timing your arrival
Aim to reach your campsite during the last 30–40 minutes of daylight — not after dark. You need enough light to assess the spot properly, but arriving in full daylight gives passing cars time to clock you. The sweet spot is golden hour: you can see, they can’t easily identify you as someone setting up for the night.
Bike colour and visibility
Bright orange frame bags, silver bar bags, reflective tyre sidewalls — these all glow in headlights far more than your tent does. Before dark, face your bike away from the road, cover reflective surfaces with a dark stuff sack or rain jacket sleeve, and if possible tuck it behind natural cover rather than leaning it against something obvious. Your bike is the biggest visible object in your camp. Treat it that way.
Approach without leaving a clear track
Pushing a loaded bike through long grass or soft ground leaves a clear track. Approach your spot from the least visible angle, and if you’re pushing through vegetation, do it once — not back and forth. Look behind you as you leave in the morning. If you’ve made a track, you’ve made a sign.
The water-source problem
Good water sources and good stealth spots often don’t overlap. If your nearest water is 300m from the only flat ground, carry an extra 1–1.5 litres into camp and treat it there. Don’t make multiple trips to the stream after dark. One trip in, one trip out in the morning.
The no-pattern rule
Don’t turn an unauthorized stealth site into a repeated pattern. If you need to stay in one area for several nights, use a legal campsite or get permission; otherwise move on. For a wider approach to reading terrain and staying safe on the road, the wild camping safety tips for solo travellers covers day-to-day decision-making.
The Campsite Screening Matrix
Before you commit to a site, run it through this practical screening framework. It is not a validated risk model or a guarantee; the five scores help you identify weak points that deserve another look.
| Factor | 1 (High concern) | 3 (Mixed) | 5 (Stronger) |
|---|---|---|---|
| Road visibility | Visible from a road or track | Partially screened | No direct sightline |
| Vehicle access | A vehicle can reach the site | A rough track is nearby | No direct vehicle access |
| Natural cover | Exposed | Some trees or scrub | Screened on several sides |
| Exit options | One constrained route | Two workable options | Several clear ways out |
| Access to help | No communication and help is difficult to reach | Some communication or a known help point | Reliable communication or reachable help nearby |
Score 20–25: Stronger site. Do a final check for weather, terrain hazards, land rules, and anything the score cannot capture.
Score 13–19: Needs adjustment. Improve the weakest factor before you unpack, then run the check again.
Score below 13: Keep looking while you still have daylight. If continuing would create more immediate risk, improve the two weakest factors, share your location, and reassess.
Use the tool below as a 90-second screening prompt. It helps you name weak points before you unpack.
Campsite Risk Check
Review all five factors before you unpack. The result identifies the weakest point and suggests what to change first.
Planning screen only: weather, land access, wildlife, terrain, and changing local conditions still require your own judgement.
When Someone Approaches: Boundaries and Useful Scripts
You don't need to decide whether someone is "good" or "bad" before setting a boundary. Use a simple four-step ladder: watch the approach, deflect personal questions, close the conversation, and leave if the boundary is not respected.
1. Watch the approach
Start with one question: is this person respecting my space? Ordinary curiosity usually looks like someone stopping at a distance, calling out hello, and waiting before coming closer. Walking directly into your space without pause is different. You don't need to label the person; you only need to notice whether the boundary is being respected.
2. Deflect “Are you alone?”
You don't owe anyone a truthful answer. Keep the response short: "My partner's just catching up — we got separated a few miles back." Or: "I'm meeting friends tonight." Deliver it flatly and don't add details. The more you explain, the less convincing it sounds.
3. Close the conversation clearly
If someone is friendly but persistent, end the interaction instead of waiting for them to take the hint: "I've got to get sorted before dark — thanks for chatting." Then stand up and turn to a real task with your bike or kit. The words set the boundary; the physical transition shows the conversation is over.
4. Leave when the boundary stays wrong
Your gut is useful but imprecise. Often it is picking up a pattern mismatch: the person ignores distance, keeps pressing after a clear answer, or does not accept the end of the conversation. You don't have to diagnose the reason. Move your camp, ride on, or head toward a busier place. You don't owe anyone an explanation for leaving.
Fear vs Intuition: How to Tell the Difference at 2am
Night anxiety is common on solo trips, especially during the first few nights. It doesn't mean you're bad at this. An unfamiliar environment gives your brain very little context, so an unclassified sound can feel more threatening than it would at home.
Use three steps: name the sound, check the context, and choose one action.
- Name the sound. What are you actually hearing? "Footsteps," "a car," or "something moving in the bushes" is easier to assess than an unnamed noise.
- Check the context. Does the sound fit where you are? Animals, wind through trees, and distant traffic may fit the setting. A human sound getting closer without stopping deserves a different response.
- Choose one action. Don't solve every scenario at once. Pick the next useful step: unzip the tent and look, check your phone, switch on your light, or prepare to move.
If the sound still doesn't resolve and the situation continues to feel wrong, act on that. Get up. Look. Move if needed. The point of the three-step check isn't to talk yourself out of concern; it is to turn a vague alarm into a specific signal and a next action.
Exhaustion is a safety issue
This doesn't get said enough: tired = worse decisions. If you're pushing big mileage days and running on four hours of sleep, your threat assessment gets noisy. You either under-respond (too exhausted to care) or over-respond (everything feels like a risk). This is where the burnout layer matters — if you've been on the road for more than a week and the fear voice has gotten noticeably louder, that's often your body telling you it needs a rest day, not that the road has gotten more dangerous. The travel burnout recovery post covers that pattern in more detail. For the longer-term mental side of solo touring — loneliness, motivation dips, anxiety that builds over weeks — the mental health on long bike tours guide goes deeper.
The Communication System That Works Off-Grid
Cell service can be intermittent or absent on remote routes. "I'll text when I can" leaves your contact without a clear overdue trigger, so the communication plan needs to work before the signal disappears.
Social media: post later, not live
Before your trip, review your activity and map-visibility settings on Strava, plus the audience and location settings on any social app you use. Avoid public live tracking or same-day posts that reveal your route or campsite; share them after you've moved on.
Set this up before you leave:
- One designated contact who knows the plan in detail — your route, your daily mileage range, your expected camp zones. Not everyone you know. One person who will actually act if something's wrong.
- A check-in schedule with an agreed overdue trigger. Set a time and method, note known dead zones, and tell your contact exactly when you expect them to escalate if you miss the check-in. Include the relevant local emergency, park, or search-and-rescue contact in the trip plan rather than relying on one universal delay.
- A satellite messenger for remote routes where cell service may disappear. It can send check-ins and trigger SOS beyond cell coverage, but satellite features require an active service plan.
- A shared route document — even a simple Google Maps link with your planned waypoints — that your contact has access to. You don't need to share your live location publicly. You need one person to have it.
Choose the device by how much you want it to do without your phone. If on-device navigation matters, the inReach Mini 2 is the compact step-up. If you already use your phone for maps, the main choice is the Garmin inReach Messenger or the more phone-centered ZOLEO. ZOLEO states 200+ hours of standby battery life, and its U.S. plans currently start at $20 per month.
Garmin inReach Messenger — a compact communicator for two-way messaging and SOS beyond cell coverage.
Choose it if you already carry a phone and want a compact check-in and SOS device; Garmin states up to 28 days under a 10-minute send interval with full sky view, and an active service plan is required.
One more thing worth sorting before you leave: insurance. Coverage for bike theft, remote evacuation, cycling activities, and longer trips varies widely, so read the exclusions rather than assuming a standard policy covers the route. The best travel insurance options for bikepacking breaks down what to check.
5 Safety Items Worth the Weight
You don't need to turn your bike into a mobile panic room. This list stays focused on five lightweight items that cover communication, visibility, weather protection, and basic medical problems. For remote routes, start with the first item: it supports the communication plan beyond cell coverage.
| Item | Why it matters | Listed weight |
|---|---|---|
| Garmin inReach Messenger | Off-grid check-ins, two-way messaging, and SOS with an active service plan. | ~114g |
| Emergency whistle (pealless, 120dB) | Loud, weatherproof, and battery-free. Attach one where you can reach it quickly. | <20g |
| Headtorch with red-light mode | Red light helps preserve night vision and is less conspicuous than a bright white beam when you're setting up camp. | ~47g |
| Dry bag for phone + documents | Your phone is a map and contact point, so keep it dry and reachable at night. | ~135g |
| Basic first aid + blister kit | A compact kit covers common minor injuries and blister care when you're travelling alone. | ~74g |
About 390g total using the listed product weights. No weapons or sprays here; laws and transport rules vary by country, and this list stays focused on communication, visibility, weather protection, and first aid. For a broader gear overview and common setup mistakes, the bikepacking gear essentials and beginner bikepacking mistakes posts are worth bookmarking.

Day-Before Checklist
This is the exact pre-departure system I run before every solo trip. Copy into your notes app and work through it the evening before you leave:
BIKE
- Tyres inflated, checked for cuts or embedded debris
- Brakes tested front and rear — full stop from speed
- Drivetrain clean and lubed
- All bags secured — no straps catching wheel or chain
- Lights working (front + rear)
- Satellite messenger charged and synced with contact
BODY
- Good sleep last night (if not, consider a gentle first day)
- Food for at least one full day packed before first resupply
- Water capacity full + filter/treatment accessible
- Any meds packed and accessible (not buried at the bottom)
- Chamois cream packed, spare in jersey pocket for day 1
MIND
- Contact briefed: route, check-in schedule, trigger for concern
- Route document shared with contact
- First two nights' camp zones identified (rough area, not exact)
- You've accepted that day 1 might be hard — that's normal
ROUTE
- First day's route loaded on device + paper backup of key waypoints
- First bailout town noted with distance
- Weather checked for first 48 hours
- Any permit or land access requirements confirmed
Frequently Asked Questions
Turn Fear Into a Plan
Fear may not disappear on day one, but it can get quieter as the trip becomes familiar. The first night in your tent alone, listening to the dark, can be the hardest part. Not because something is wrong with you — because the terrain, sounds, and routine are all new. After that, they become easier to read. Eventually, the quiet that kept you awake may become part of what you miss when you're home.
A solid system — low-profile camping habits, a campsite you have checked, and one contact who knows the plan — doesn't eliminate risk. It gives you clear decisions when fear starts looping. Text your contact. Share the route. Book the time off. Start packing.
This solo female bikepacking safety guide is for general education and planning purposes. Trail conditions, land access rules, and local safety considerations vary by region — always research the specific area you're riding and consult local resources where available.