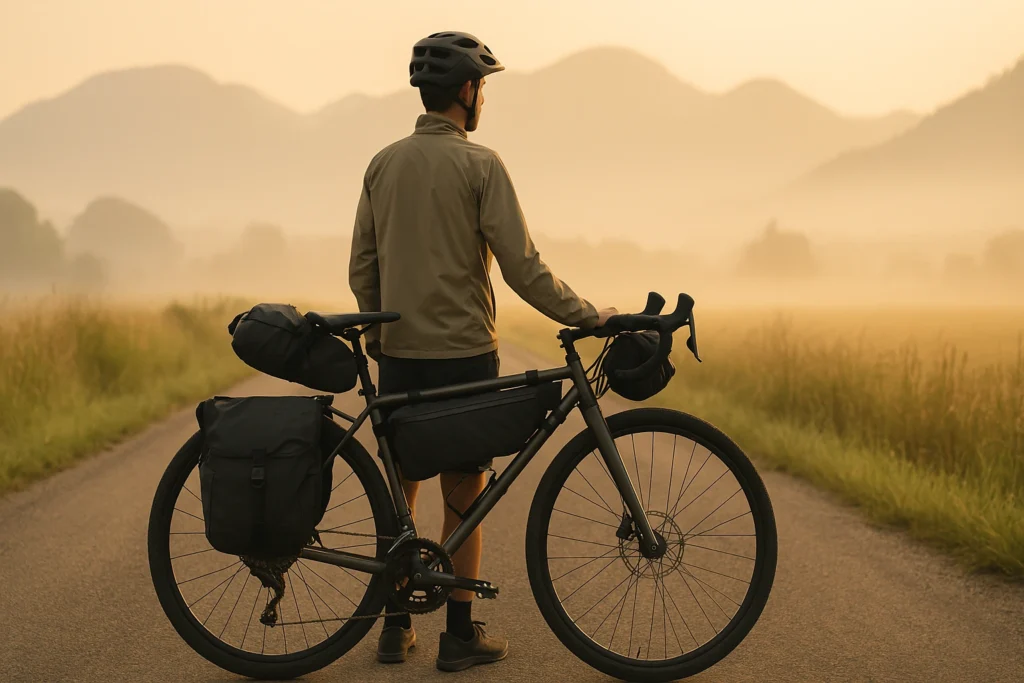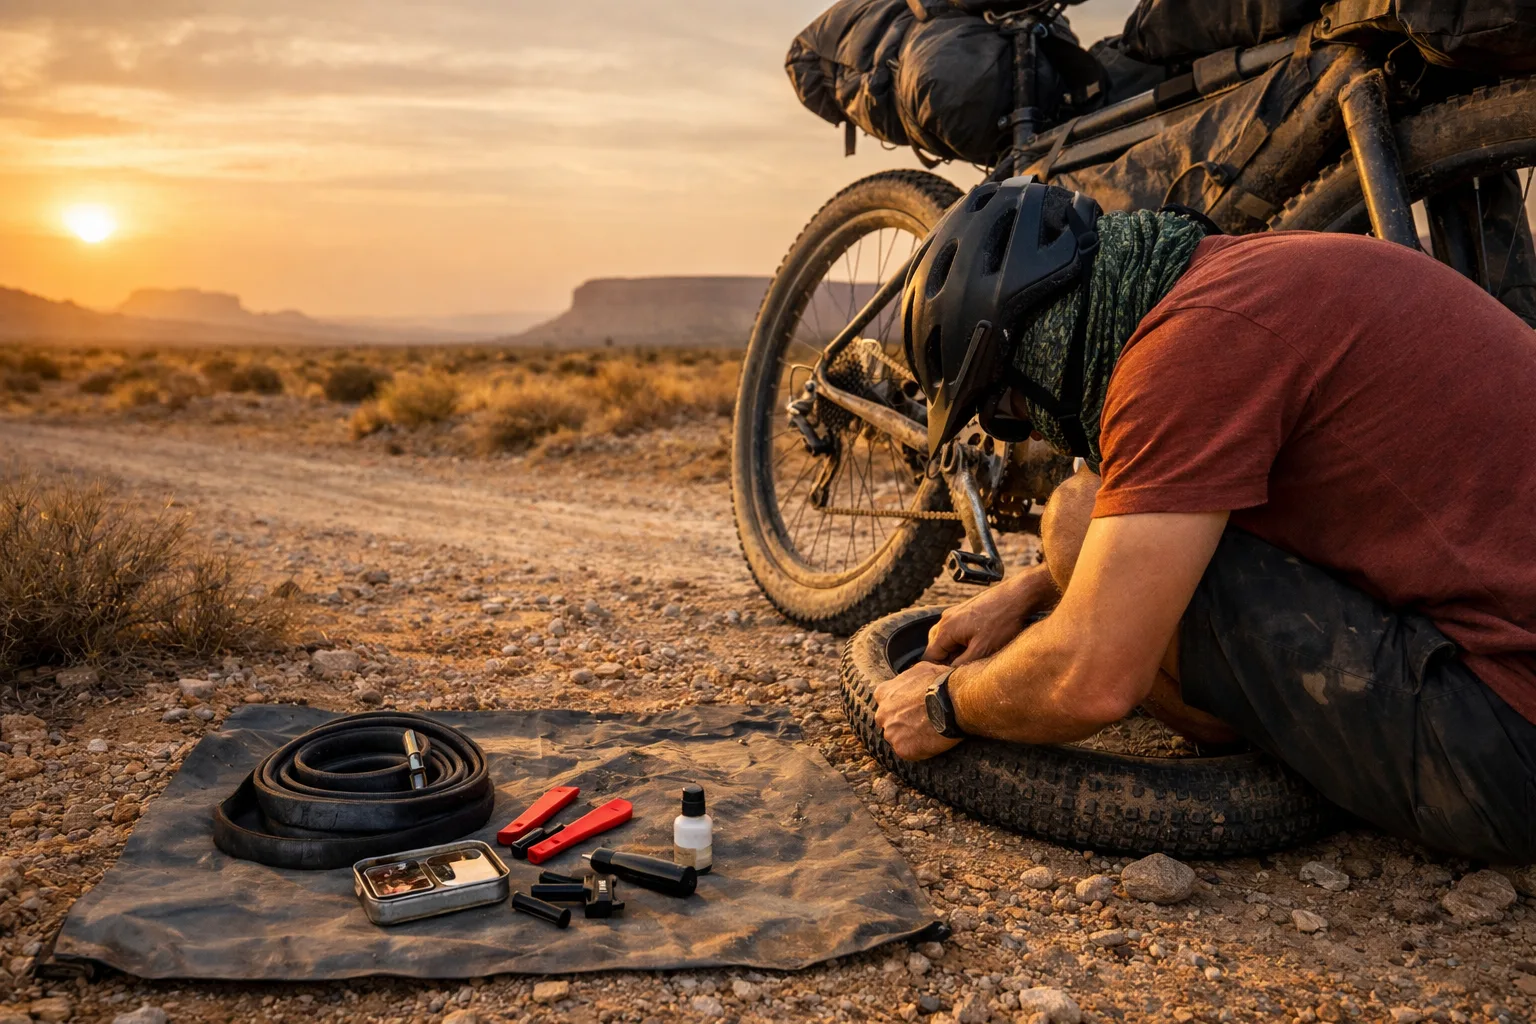
One flat tire in the middle of nowhere can turn a 10-minute stop into a two-hour mess. I learned that the hard way in Utah’s desert—wrong tube size, snapped levers, and a lot of walking. This bikepacking repair kit checklist is what I pack now so a small failure stays small.
It’s built for real bikepacking—tubes or tubeless, weekend trips to remote expeditions, and routes where you can’t count on a shop. The goal is simple: pack the handful of things that actually stop rides (flats, chain issues, loose bolts, and a few “weird problem” fixes) without hauling a workshop.
Choose your path: 2-minute checklist · Build your repair kit (tailored list)
Compatibility snapshot (save this in your phone):
- Tire size + valve type (example: 29 x 2.35, Presta)
- Chain speed (10/11/12)
- Derailleur hanger model (bike-specific, if you carry one)
- Tool bits you actually need (hex/Torx sizes for stem, cages, racks, crank)
If you want the full bikepacking gear setup (bags, layers, what’s worth the weight), see our bikepacking gear guide.
This page contains affiliate links and may include sponsored content. As an Amazon Associate, I earn from qualifying purchases at no extra cost to you. Amazon links are labeled #ad; other affiliate links may be marked as “affiliate link,” “Sponsored,” or “(paid link).” Learn more.
Table of Contents
- Build Your Bikepacking Repair Kit
- The 2-Minute Bikepacking Repair Kit Checklist
- Bikepacking Failure Map: First Fixes and Bail Triggers
- The 5 Repair Kit Mistakes That Turn Small Problems Into Long Days
- How Your Repair Kit Changes by Trip Length
- Tubeless vs. Tubes: How Your Repair Kit Changes
- My Baseline Week-Long Kit (No Brands—Just What Works)
- Bikepacking Repair Tools and Spares by Category
- Four Trailside Repair Scenarios (What to Do First)
- How to Pack and Organize Your Repair Kit
- When to Call for Help vs. Field Repair
- Quick Pre-Trip Bike Check
- Adjust Your Repair Kit for the Terrain
- Frequently Asked Questions
- Build the Smallest Kit You Can Actually Use
- Download the Printable Repair Kit Checklist
Not sure what your route actually requires? Answer four quick questions to build a prioritized packing list.
Build Your Bikepacking Repair Kit
How long is your trip?
Your repair kit priorities
Next: Review the matching checklist section
- Screenshot your results.
- Save them with your route notes.
- Pack the kit in the same pouch every time.
- Run the tool again if you change bikes, tires, or route style.
The 2-Minute Bikepacking Repair Kit Checklist
Here’s the fast answer. Pack the starter kit below, then add upgrades based on remoteness and tire setup.
Starter kit (Default)
This is the smallest kit that reliably solves the most common “we’re stopped” failures.
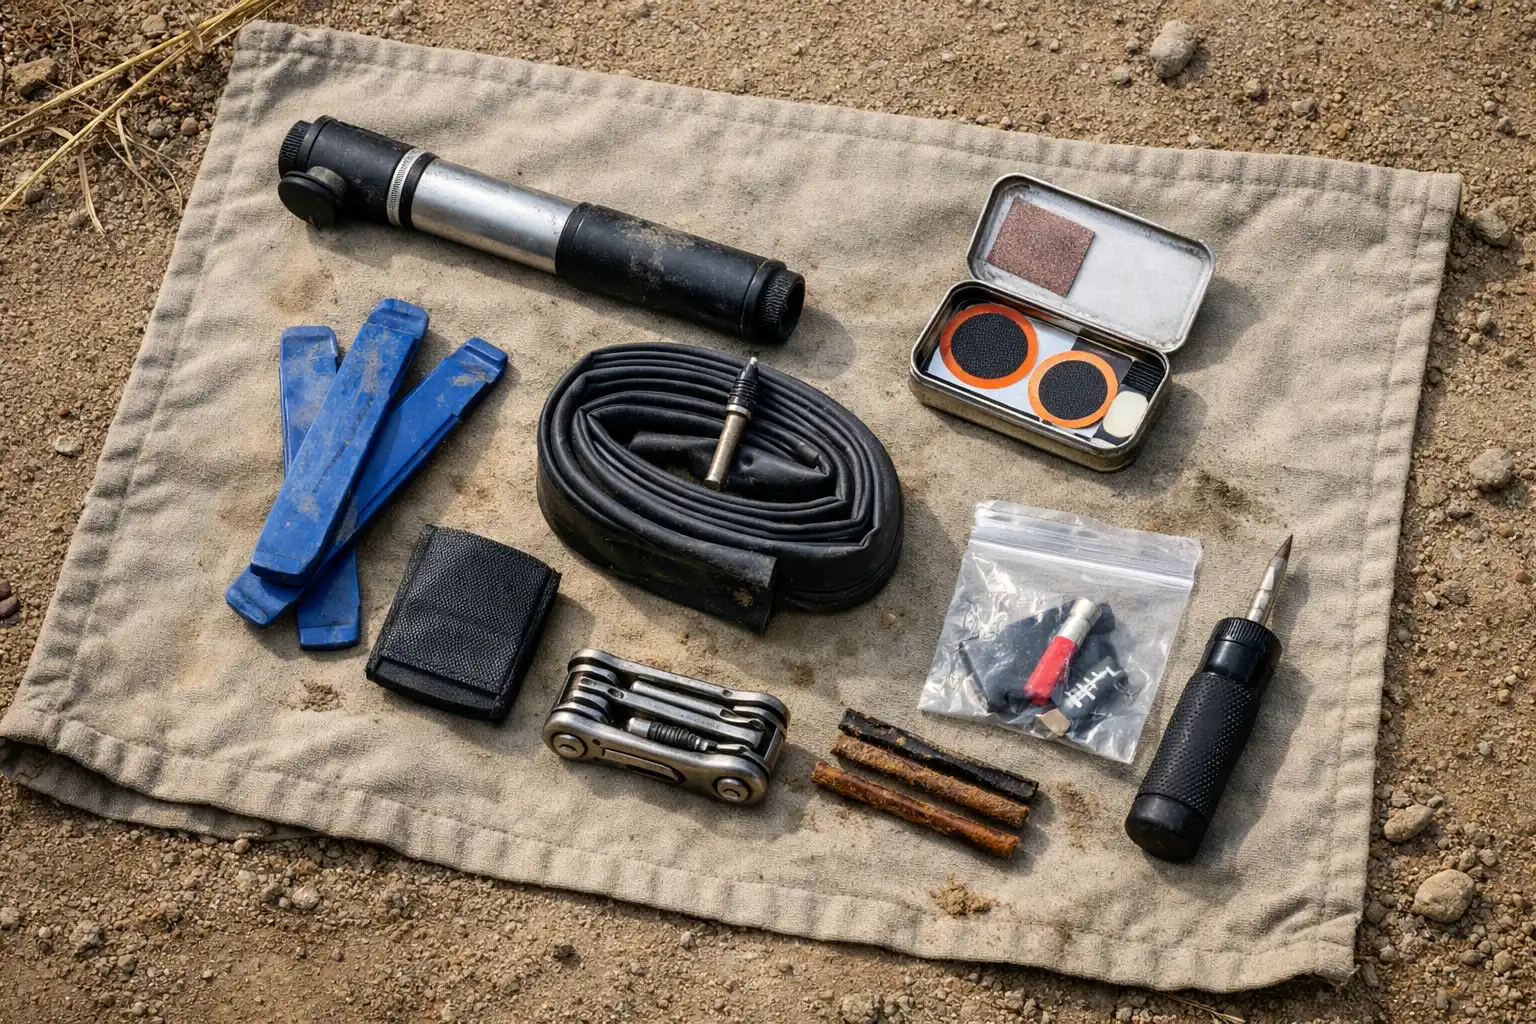
- Multi-tool (fits your bike) + chain breaker
- Quick links (match your chain speed) — 2 minimum
- 2 tubes (correct size + correct valve)
- Tire levers (2–3 that won’t snap)
- Mini pump (reliable beats tiny)
- Tire boot (or an old tube section)
- Zip ties (a few sizes)
- Tape (wrapped on pump)
- Tiny baggie for small parts (so links/cores don’t vanish in dirt)
If you could only bring one: a compact multi-tool with a real chain breaker (Crankbrothers M19 or similar).
Covers the bolts your bike uses plus a chain breaker you can trust. Test-fit every bolt at home once.
What to do next: if your route is remote (or you’re out for a week+), the upgrades below are the “worth the weight” adds that prevent repeat failures.
Remote upgrades (what changes)
If your route is remote (or you’re out for a week+), you’re optimizing for first-time success and redundancy.
- Spare derailleur hanger (bike-specific)
- More quick links (total 4–6)
- Patch kit (backup to tubes)
- Spoke option (spoke wrench + emergency spoke or 1–2 spares)
- Chain lube (small bottle)
- Spare brake pads (especially mountains/wet)
- One spare cable (shift or brake) if you run mechanical systems
- Extra tape + extra zip ties (remote is where “weird problems” happen)
Hanger tip: if you don’t know your exact hanger model, search: “[your bike model] derailleur hanger” and order an exact match before the trip.
Tubeless riders: add a plug tool + plugs, valve core tool, and a small sealant top-up. Still carry at least one tube for cuts or rim issues.
Quick actions (60 seconds at home):
- Confirm chain speed (10/11/12) and pack matching quick links.
- Note valve type + derailleur hanger model in your phone.
- Do one practice repair (tube swap or a tubeless plug + reinflate).
Bikepacking Failure Map: First Fixes and Bail Triggers
Most “we’re stopped” moments aren’t mysterious. The same failures show up repeatedly—especially after rough roads, bad weather, or several days of vibration. Use this map for the first useful response and the point where continuing stops being sensible.
| Failure | First fix | Bail when |
|---|---|---|
| Puncture, slow leak, or sidewall cut | Plug or patch it; install a tube and tire boot for a cut | The cut keeps spreading or the tire will not hold safe pressure |
| Broken chain or damaged link | Remove the damaged link with a chain breaker and reconnect with a matching quick link | Drivetrain damage prevents safe movement or the repair will not hold |
| Loose rack, cage, stem, or crank bolt | Tighten it with the exact hex or Torx bit, then recheck after riding | The mount, frame attachment, or fastener is visibly damaged |
| Brake or wheel problem | Reduce rubbing or secure a loose spoke only enough to ride gently | Braking is unsafe, the wheel will not clear, or frame/fork damage is visible |
The failures are predictable. What turns them into long days is usually a missing compatibility detail, a tiny enabling part, or a repair the rider has never practiced.
The 5 Repair Kit Mistakes That Turn Small Problems Into Long Days
These are the five gaps to catch before you leave.
1) Packing the wrong tube (or the “right” tube with the wrong valve)
It’s one of the most common trip-ruiners: the tube is the wrong diameter, the wrong width range, or it doesn’t match your valve type.
- Fix: write your exact tire size and valve type in your phone notes (ex: “29 x 2.35, Presta”).
- Reality: even tubeless riders should pack at least one tube for big cuts or rim issues.
2) Carrying a multi-tool that doesn’t fit your bike
Some bikes need Torx for rotors, some use larger hex sizes for axles/bolts, and some setups require specific bits you won’t know you’re missing until you’re stuck.
- Fix: at home, touch every bolt you might need to tighten with your tool.
- Shortcut: if your bike uses Torx a lot, include a Torx bit that matches your common bolts.
3) Forgetting the “tiny enablers” (valve cores, quick links, tape)
They weigh almost nothing, but they’re often the difference between a working fix and a long day.
- Fix: pack quick links that match your chain speed, plus a small amount of tape and zip ties.
- Why: tape + zip ties solve weird problems that no “perfect tool” can solve.
4) Overpacking parts you can’t realistically use on the trail
It’s easy to pack “more stuff” and still be unprepared—because the stuff you added is hard to use when you’re cold, tired, and racing daylight.
- Fix: prioritize repairs you can actually do: flats, chain fixes, bolt tightening, basic adjustments.
- Reality: a kit you can’t use is just extra weight.
5) Not practicing a single repair before you need it
The first time you try a repair shouldn’t be at 9 p.m. with numb fingers.
- Fix: do one practice run at home: a tube swap or a tubeless plug + reinflate.
- Bonus: you’ll discover what doesn’t fit and what’s missing.
How Your Repair Kit Changes by Trip Length
Trip length does not replace the core kit—it changes how much redundancy you carry and how many failures you need to survive before reaching help.
| Ride type | What to optimize for | What usually changes |
|---|---|---|
| Weekend | Fast fixes | Starter kit coverage + correct compatibility |
| Week-long | Second chances | Add patches, lube, a wheel option, and a wear-item spare |
| Remote / expedition | First-time success | Add bike-specific parts (hanger), redundancy, and more “weird-problem” tools |
Tubeless vs. Tubes: How Your Repair Kit Changes
Tubeless: the “seal it fast” workflow
With tubeless, the goal is “rolling again,” not “perfect.” Most punctures seal with sealant; when they don’t, plugs are the hero. If it’s a longer cut (or the sidewall is torn), skip the wrestling match and go straight to a tube + boot. Not sure yet whether tubeless makes sense for your tour? The tubeless vs tubes breakdown covers what actually fails on the road and what each system needs in a repair kit.
Tubeless-specific additions:
- Plug tool + plugs (your primary roadside fix)
- Valve core tool (clogs happen, and cores can loosen)
- Spare Presta valve cores (2–3 total) — tiny item, big save when inflation fails
- Small sealant top-up (helpful on longer trips)
- 1–2 backup tubes (for sidewall cuts or rim damage)
What to look for in a plug kit: glove-friendly grip, plugs that don’t shred on insertion, and storage that’s reachable fast (top-tube bag beats “buried”).
Compact plug-kit option: the PRO Bike Tool Tubeless Repair Kit.
It keeps the insertion tool, reamer, and two plug sizes together in one capsule. Store it where you can reach it before the tire loses all its air.
If you’re new to tubeless, here’s a quick refresher before you need it on the trail: How to set up and check your tubeless tires.
Tubes: the “swap and go” workflow
Tubes are simple and predictable—especially if you don’t want sealant mess at 2 a.m. in a headlamp beam.
- Simpler variables: fewer failure points
- Cleaner fixes: especially in cold weather
- Easy bailout plan: swap, inflate, ride
My Baseline Week-Long Kit (No Brands—Just What Works)
This is a practical “default” kit for a typical week-long route. It’s not the lightest possible. It’s what keeps failures from spiraling when walking feels expensive.
| Category | Baseline items | Notes (the part people miss) |
|---|---|---|
| Tires | 2 tubes (correct size + correct valve), levers, mini pump, tire boot | Pack at least one tube even if tubeless; boots save sidewall cuts. |
| (Tubeless only) | Plug tool + plugs, valve core tool, spare cores, small sealant top-up | Valve cores must be removable; plugs fix what sealant won’t. |
| Drivetrain | Multi-tool with chain breaker, quick links (matching speed) | Quick links must match chain speed; bring more for remote routes. |
| Brakes | Spare pads (if long descents/wet), small rotor rub know-how | Worn pads are common on big mountain days; carry if it’s realistic. |
| Wheels | Spoke wrench + emergency spoke option (or 1–2 spare spokes) | If your bike uses odd spoke lengths, note them before you leave. |
| Fasteners | Zip ties + tape (wrapped on pump) | These solve 10 weird problems a “perfect tool kit” can’t. |
| Bike-specific | Derailleur hanger (remote routes) | If you don’t know your hanger model, find it before the trip. |
Bikepacking Repair Tools and Spares by Category
Tire Repair Essentials
| Item | Quantity | Why it earns a spot |
|---|---|---|
| Tubes | 2 | Correct size + valve matters more than brand. Pack what fits your rims. |
| Tire levers | 2–3 | Cheap levers snap at the worst time. Carry ones you trust. |
| Pump | 1 | A reliable pump means unlimited air—especially when you’re out for days. |
| Tire boot | 1 | Sidewall cut? A boot can turn “walk out” into “limp to town.” |
Pump features that matter on tour: doesn’t leak at the valve, works with your valve type without fiddly adapters, doesn’t flex like crazy as pressure climbs, and packs easily so it’s always with you.
Compact pump pick: the Pro Bike Tool Mini Bike Pump works with Presta and Schrader valves and includes a frame mount, so it can stay with the bike instead of disappearing in a bag. The trade-off is slower inflation than a larger pump.
The 60-Second Flat Fix (what I do on the trail)
Tubes: wheel out → find the culprit → pull one bead → swap tube → inflate just enough to seat → full pressure and go.
Tubeless: rotate the hole down so sealant pools → add a plug if it still hisses → reinflate with the mini pump.
Drivetrain Components
| Item | Quantity | Critical notes |
|---|---|---|
| Quick links | 2–6 | Match your chain speed (10/11/12-speed). Remote routes: bring more. |
| Chain tool | 1 | Test it once at home so you know it works with your chain. |
| Derailleur hanger | 0–1+ | Bike-specific part. If you go remote, this is worth the tiny weight. |
If your chain snaps
Find the damaged link, remove it with your chain breaker, then reconnect with a matching quick link. If you had to shorten the chain, avoid big-big and spin easier gears until you reach help.
Quick links stuck (or impossible with cold fingers)?
In mud, grit, or cold hands, a quick link can be stubborn. If you’ve ever fought one on the trail, master link pliers can turn a 10-minute wrestling match into a 30-second fix. If you’ve never struggled, skip them—they’re optional. (See optional add-ons.)
Cable Backup (optional, but useful on some builds)
If you run mechanical shifting or brakes and you’re going remote, one spare cable can be a trip-saver. If you’re running fully hydraulic brakes, cable spares won’t help—but pads still might.
| Item | Purpose | Pro tip |
|---|---|---|
| Brake cable | Safety critical (mechanical) | Pre-cut at home if you know your routing. |
| Shift cable | Convenience | If it fails, choose one workable gear and limp to help. |
| Cutting option | Clean cuts | A sharp blade works in emergencies, but it’s not ideal. |
Optional Add-Ons (Only If You Need Them)
These aren’t “must-pack.” They’re situational tools that earn their spot only when your route, hands, or gear history makes them worth it.
| Optional add-on | Only worth it if… | Why it helps |
|---|---|---|
| Master link pliers | You’ve fought quick links before (mud, cold hands, stiff links). | Turns a frustrating chain fix into a fast one when fingers can’t do it. |
| Gear repair patches (fabric tape/patch kit) | You’ve had bags/straps start ripping on rough routes—or you’re carrying soft luggage. | Stops small tears from becoming “bag is failing” problems mid-trip. |
Four Trailside Repair Scenarios (What to Do First)
These aren’t “perfect workshop” repairs. This is the simple decision tree when you’re tired, cold, and short on daylight.
Scenario 1: Tubeless won’t seal (it keeps hissing)
- Rotate the hole down so sealant pools at the puncture; hold it there for 20–30 seconds.
- Add a plug if it still hisses.
- Reinflate with the mini pump.
- If it still fails: install your backup tube and ride out.
Scenario 2: Sidewall cut (tube bulges or plug won’t hold)
- Install a tire boot (or an old tube section) between tire and tube.
- Lower pressure slightly and ride carefully.
- Bail early if the cut keeps spreading.
Boots that actually work: thin + stiff (won’t bunch), big enough to cover the cut with margin, and paired with slightly reduced pressure to limp out.
Worth its weight: emergency tire boots (Park Tool TB-2 or similar).
Tiny, flat, and simple to use. Pair it with a tube and lower pressure slightly while you limp out.
Scenario 3: Chain snaps (or you have a mangled link)
- Remove the damaged link with your chain breaker.
- Reconnect with a quick link (correct chain speed).
- Shift gently and avoid big-big.
- If shifting is damaged too: choose one workable gear and limp to town.
Scenario 4: A spoke breaks and the wheel starts rubbing
- Stop the loose spoke moving by securing it to a neighboring spoke with a zip tie or tape.
- Reduce the rubbing only enough to let the wheel turn; avoid chasing a perfect trail-side true.
- Ride gently and bail early if another spoke fails or the wheel will not stay clear of the frame.
Multi-use items that earn their weight: tape for boots and straps, zip ties for temporary mounts and cables, and an old tube section for a tire boot, rubber strap, or protective padding.
How to Pack and Organize Your Repair Kit
Organization is what makes your kit usable when you’re cold, rushed, and annoyed. Here’s the simple system that works.
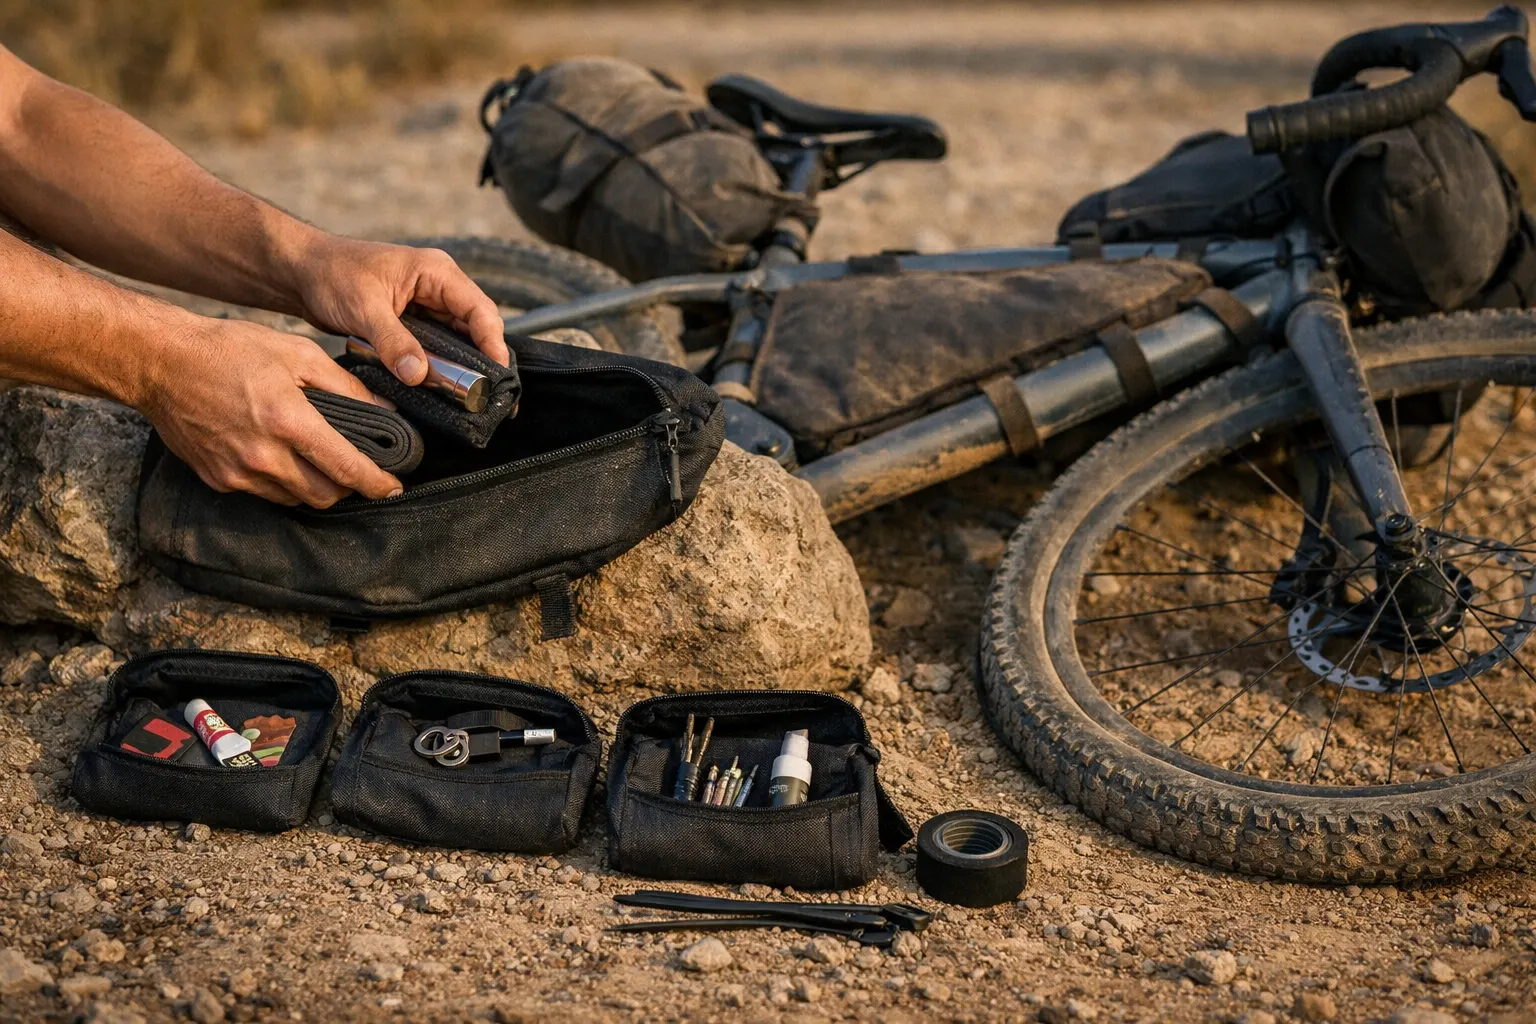
Container Strategy
- One main pouch/roll for tools + consumables (so it’s always one grab).
- One tiny container for small parts (quick links, valve cores) so nothing vanishes in dirt.
- Waterproof it if you ride wet climates (patches and lube hate water).
Packing Priority (what goes on top)
| Layer | Keep it here | Why |
|---|---|---|
| Layer 1 | Tube/plug kit, levers, pump, multi-tool | Fastest access = fastest fixes |
| Layer 2 | Quick links, tape, zip ties | Most common “weird problem” solutions |
| Layer 3 | Hanger, spoke option, spare pads, cables (if carried) | Emergency-only spares |
Weight Distribution
Frame bag: heavier items (pump, multi-tool)
Top tube bag: quick-access items (tube/plug kit, levers, quick links)
Seat pack: “rarely needed” spares (hanger, pads, cables)
Once you know which items need fast access, the bikepacking bag setup guide shows how frame, top-tube, handlebar, and seat-pack storage trade off against each other.
When to Call for Help vs. Field Repair
Not every mechanical issue has a trail-side solution. Knowing when to attempt a fix versus when to bail can save your trip—and your safety.
Attempt field repair
- Punctures - Usually fixable with the right kit
- Chain breaks - Quick links work reliably
- Loose bolts - Tighten and recheck later
- Minor wheel rub - Secure a loose spoke and ride gently only if the wheel clears safely
Seek professional help
- Cracked frame - Safety critical, no true field fix
- Hydraulic brake failure - Bleeding usually requires tools and fluid
- Multiple broken spokes - Wheel rebuild or serious truing needed
- Seized bottom bracket / major bearing failure - Specialized tools required
- Brakes don’t work safely on descents.
- A tire sidewall is failing repeatedly.
- A frame or fork shows visible damage.
- You’re fixing the same problem twice in one day (it’s escalating).
Quick Pre-Trip Bike Check
This post stays focused on repair kits. Here’s the quick pre-trip check that prevents predictable failures.
- 1 week before: inspect tires, check chain wear, check pad thickness, bolt scan.
- 1 day before: test brakes + shifting, lube chain, quick tire check.
- On tour (daily): visual inspection + quick bolt check + lube if dusty/wet.
Adjust Your Repair Kit for the Terrain
Terrain changes what you’ll actually use. These quick notes help you tighten the kit to match reality.
Desert riding
Sharp rock + dust = more cuts and faster drivetrain wear. Bring an extra tire boot and a bit more lube.
Mountain terrain
Long descents eat pads and impacts bend parts—pads (and a hanger if remote) are often worth the tiny weight.
Coastal routes
Salt + humidity are slow killers. Keep consumables in a waterproof bag and plan to wipe + re-lube more often.
Frequently Asked Questions
Build the Smallest Kit You Can Actually Use
A well-built kit turns “disaster” into “annoying.” Cover flats and chain problems first, then add only what your bike and route demand. Practice the repairs your setup depends on at home—the best kit is the one you can use when you’re tired and short on daylight.
Download the Printable Repair Kit Checklist
If you want a quick pre-trip sanity check, grab the printable field checklist and keep it with your route notes.
Download the printable checklist (PDF)
This article is general education, not personalized mechanical advice. Bikes, components, and routes vary, and what works for one setup may not fit another. If you’re unsure about safety-critical parts (brakes, frame damage, wheel issues), get help from a qualified bike mechanic.