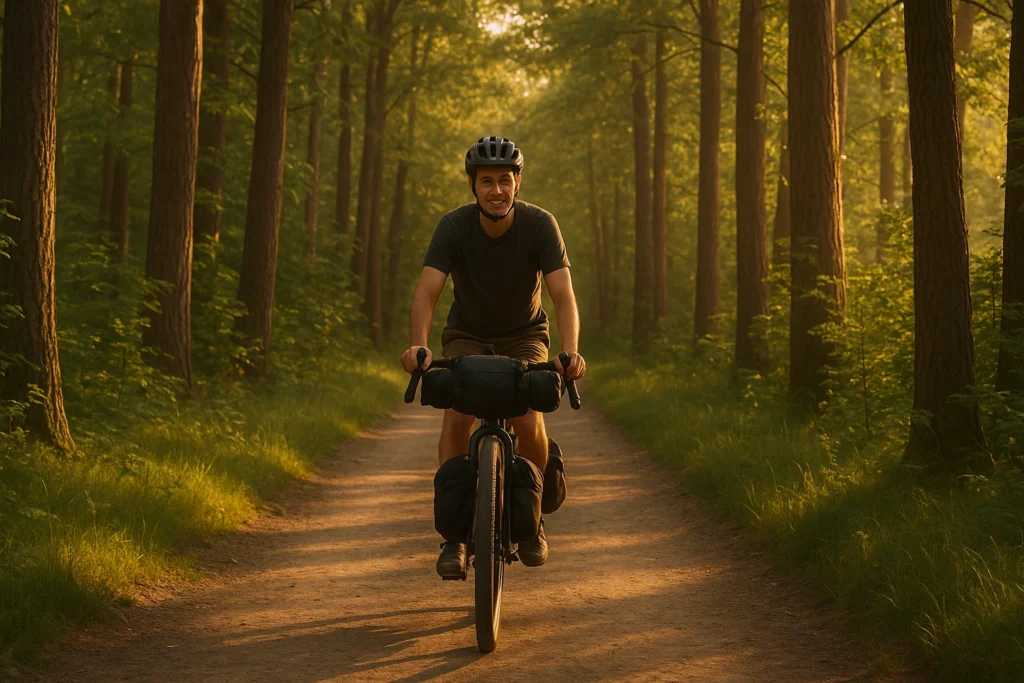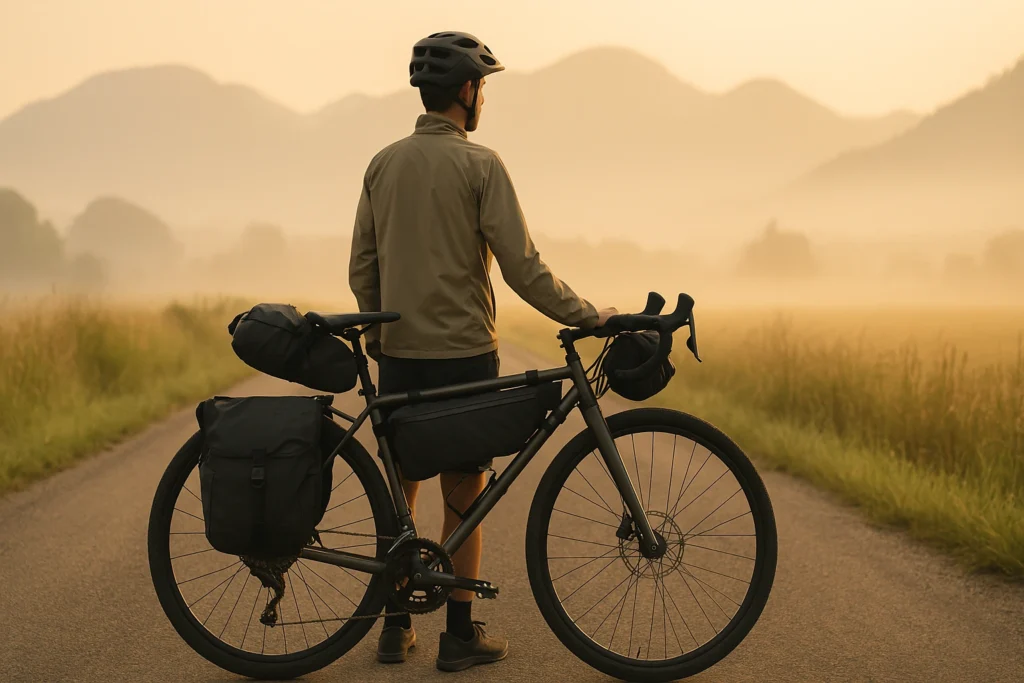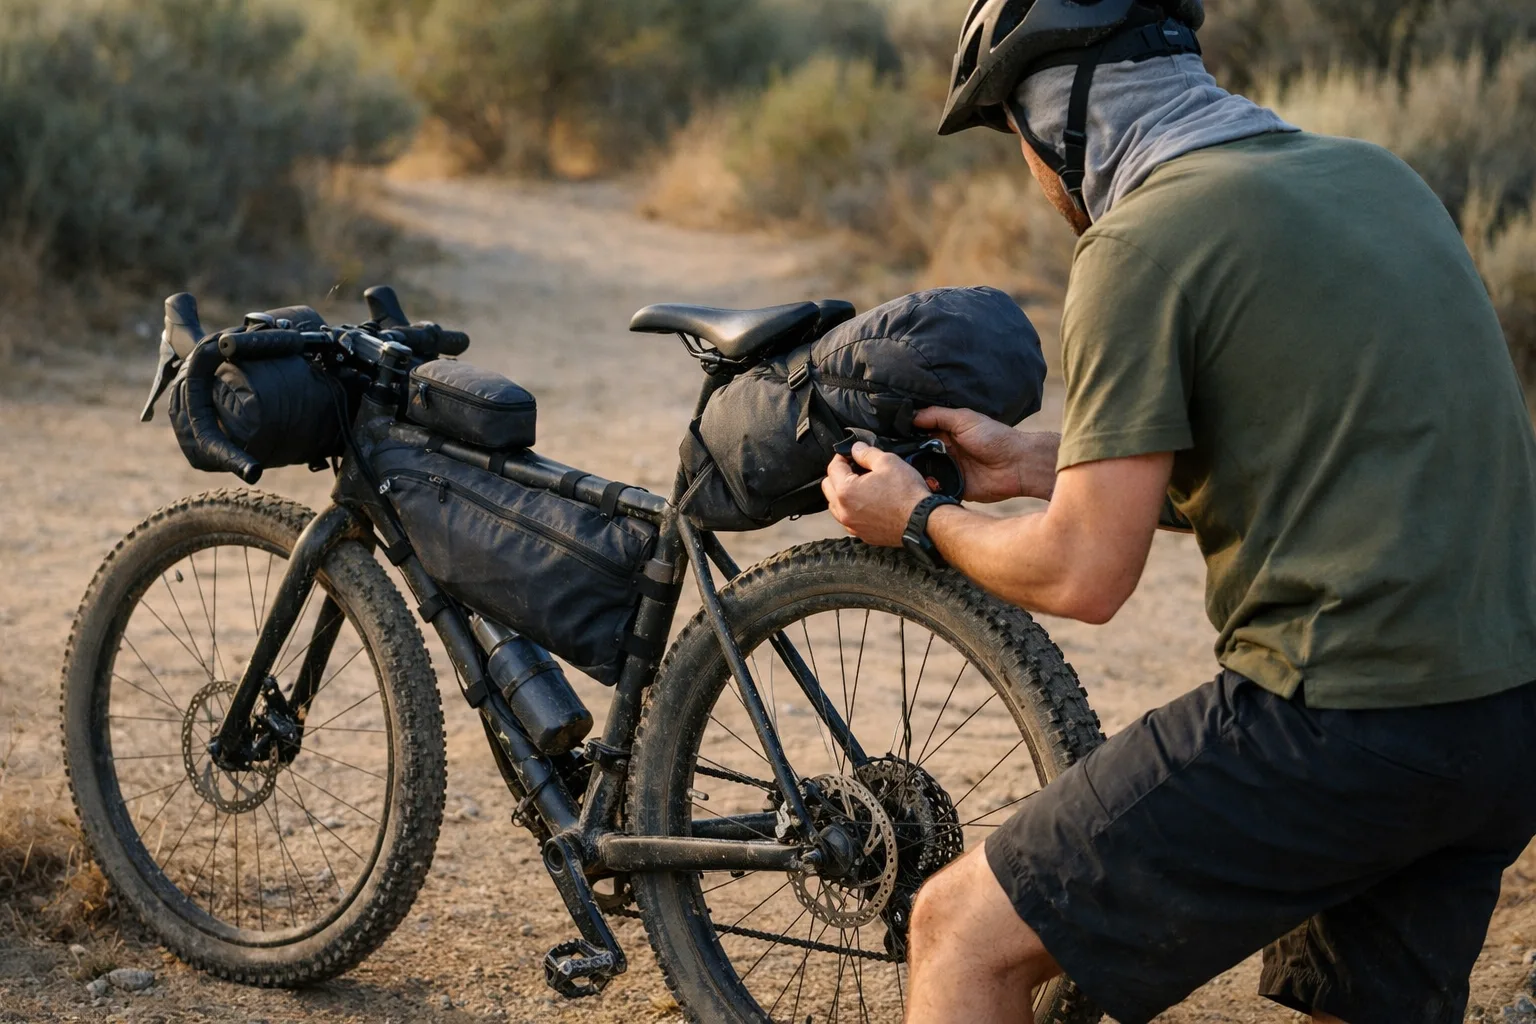
If your bike starts to feel wobbly the second the trail gets chunky, it’s usually not your legs—it’s your bikepacking bags system. Put dense weight close to the frame, bulky/light items in the seat pack, and quick-grab gear up front. The bike stays calm and predictable even when the terrain gets messy.
Fast shortcut: Start with the quick-picks table, then use the setup tool directly below it when bike fit, terrain, or trip length changes the answer. Building the whole kit—not just the bags? The complete bikepacking gear guide covers shelter, sleep, cooking, navigation, repair, and the rest of your loadout.
60-second blueprint: Before you shop, load dense/heavy items (tools, food, batteries) in the frame bag first, bulky/light gear (sleep kit, layers) in the seat pack, and light/quick-access items (rain layer, snacks) up front. If the rear “wags” on descents, remove weight from the seat pack before buying bigger bags.
Last updated: July 2026 — key product identities and capacity details rechecked against current manufacturer information.
This page contains affiliate links and may include sponsored content. As an Amazon Associate, I earn from qualifying purchases at no extra cost to you. Amazon links are labeled #ad; other affiliate links may be marked as “affiliate link,” “Sponsored,” or “(paid link).” Learn more.
Table of Contents
- How I Picked These
- Quick Picks by Bag Position
- Find Your Stable Bag Setup
- Choose a stable bag setup (terrain + frame)
- Why frame + seat + handlebar bags work (centered weight)
- Best bikepacking bags by position
- Optional upgrades (quick access + low mount storage)
- Example stability-first setup
- Capacity planning + mounting tips
- Troubleshoot sway, rub, strap wear, and wet gear
- Keep your bags alive (quick care)
- Budget-conscious setup building
- Frequently Asked Questions
- Final bikepacking bag setup checklist
How I Picked These
I judge each bag on five things: how securely it mounts under braking and trail chatter, whether the strap anchors and rub points are reinforced, how well it handles dust and real rain, how easy it is to access while riding, and whether it fits common bike shapes. A slightly smaller bag that stays planted beats a huge one that sways. These picks favor stability on rough descents over maximum liters.
Quick Picks by Bag Position
| Bag position | Default pick | Alternative if fit or budget changes |
|---|---|---|
| Frame |
WOTOW Triangle Bag (2L) — cheap fit tester when you are still learning frame clearance
|
|
| Seat |
Topeak BackLoader — lower-cost weekend option with a familiar roll-top layout
|
|
| Front storage |
Blackburn Outpost Elite Cargo Bag (6.5L) — use only when compatible fork/frame cargo mounts replace bar space
|
Default stable trio: Blackburn frame bag + Revelate Terrapin 8L seat bag + Ortlieb 9L handlebar pack. Use the alternative column when budget, frame space, or cargo mounts change the job.
Use the tool when the default trio does not fit: full-suspension bikes lose frame space, drop bars need cable and hand clearance, and rough terrain punishes rear-heavy loads.
Find Your Stable Bag Setup
Choose your bike, terrain, and trip length to get a stable capacity range and see where extra cargo belongs.
Choose all three options to see your capacity map.
Use the result as a starting capacity map; the next section explains the clearance and fit checks for each bike type.
Choose Your Bag Setup by Terrain and Bike Frame
Your ideal bag setup depends on two things: frame space (what fits) and terrain (how stable it must be). Use this as your quick compatibility check.
Hardtail Mountain Bikes
Best for: Rough terrain, big frame triangles, stability-focused builds
Recommended setup: Large frame bag + medium seat bag + compact handlebar bag
- Compatibility note: You can usually run a larger full-frame bag without clearance headaches.
- Don’t buy if: your triangle is very small/tight (high knee rub risk).
Full-Suspension Mountain Bikes
Best for: Aggressive terrain and comfort—if you plan around frame space
Recommended setup: Half-frame bag + large seat bag + medium handlebar bag
- Compatibility note: Measure around the shock/linkage and check seat pack clearance at full compression.
- Don’t buy if: you need lots of dropper travel (clearance issues).
Drop-Bar/Gravel Bikes
Best for: Long days, smoother surfaces, efficient front loads
Recommended setup: Medium frame bag + compact seat bag + large handlebar bag
- Compatibility note: Handlebar loads must clear cables, hands, and (if used) lights/computers.
- Don’t buy if: cable routing is tight or you stack big lights/computer (hand clearance issues).
Garage test: Pack your front roll, then turn the bars fully left/right. If anything binds or rubs (cables, brake hoses, tire), fix it now.
Why Frame, Seat, and Handlebar Bags Form the Core Setup
Panniers can be great for smoother touring, but on rough routes they often feel wide and “swingy.” A modern three-bag setup keeps weight close to your bike’s center of gravity so handling stays predictable.
What you gain (in real riding)
- Calmer handling: less rear wag and less steering wobble at speed
- Better clearance: fewer snags on tight singletrack and fewer heel-strike issues
- Easy scaling: run smaller for overnights, add capacity only when you need it
Best Bikepacking Bags by Position
Choose the position first, then the product: put dense gear in the frame bag, bulky/light gear in the seat pack, and light quick-access items up front. The goal isn’t maximum liters—it’s a setup that stays stable when you stand, descend, and grind washboard.
Frame Bag Pick: Blackburn Outpost Frame Bag
Frame bags carry your heaviest gear in the most stable position. Fit matters as much as capacity—especially width.
- Why it wins: strong performance, widely available, great price-to-stability ratio
- Best for: most riders building or upgrading a stable setup
- Don’t buy if: your triangle is very small/tight (high knee rub risk).
Verdict: The smartest all-rounder that “just works” for the majority of bikes and terrain.
Why it still works: This position is about fit + strap stability more than chasing the newest model. A frame bag that stays tight under braking remains the better choice.
If you’re still dialing in sizing and strap routing, use the WOTOW option in the quick table as a cheap fit tester. If the main triangle is already full, the downtube option below keeps dense spares low.
Seat Bag Pick: Revelate Terrapin Seat Bag
Seat packs handle bulky, lightweight gear like sleep systems and spare layers. Stability comes from tight strap paths and a bag that matches your route.
- Why it wins: stable mounting, dry-bag style, low sway under load
- Watch for: seatpost/tire clearance and dropper post needs
- Don’t buy if: you need lots of dropper travel (clearance issues).
Verdict: Choose this if rear sway drives you nuts and you want a set-it-and-forget-it mount.
Budget alternative: The Topeak BackLoader in the quick table is the lower-cost route. Rhinowalk can work as a starter, but expect more re-tightening and less weather confidence on rough descents.
Handlebar Bag Pick: Ortlieb Handlebar Pack
Use the front for light, often-used gear such as a rain layer, snacks, and small essentials. Front loads feel best when they’re even left-to-right and do not interfere with cables or hands.
- Why it wins: excellent waterproofing, secure roll-top closure, reliable mounting
- Best for: riders in variable weather who want zero-fuss access
- Don’t buy if: cable routing is tight or you stack big lights/computer (hand clearance issues).
Verdict: Premium waterproofing and durability make this a long-term winner.
For handlebar bag bikepacking setups, especially on drop bars, prioritize designs with good cable and hand clearance to avoid steering interference.
Optional Upgrades (Quick Access + Low-Mount Storage)
These aren’t required for your core setup. Add them only after your frame/seat/bar system is stable and dialed—prioritize if you need faster access (top tube for phone/snacks), lower heavy spares (downtube to avoid rear wag), or extra front cargo off the bars when your bike supports it.
| Upgrade | Best Pick | Capacity | Pros | Cons / Watch | Best For | Link |
|---|---|---|---|---|---|---|
| Top Tube Bag (phone + snacks) | Rhinowalk Top Tube Bag | 1.2L | Easy on-the-go access, side mesh pockets for tools, good phone fit, budget-friendly | Water-resistant (not fully waterproof), may need re-tightening on rough trails | Quick grabs on any ride; most riders' first add-on when testing top-tube storage | Rhinowalk Top Tube Bag |
| Downtube Pack (heavy spares low) | Apidura Expedition Downtube Pack | 1.2L | Keeps dense items low/centered, no rear wag penalty, durable roll-top, purpose-built for bikepacking | Requires downtube space (check bottle bosses), gets muddy in wet conditions | Fighting rear sway or need low/secure spares storage without overloading seat | Apidura Expedition Downtube Pack |
Need front capacity without loading the handlebar? A fork/frame cargo bag is a separate route and requires a compatible cage or mounting points.
Need extra front cargo off the bars?
Blackburn Outpost Elite Cargo Bag (6.5L) — a fork/frame-cage add-on for bulky, light gear.
Quick rule: Start with one upgrade that solves your biggest annoyance (e.g., digging for phone/snacks → top tube; rear wag from tools → downtube). Test on a short ride before committing. If your bike lacks fork bosses, skip anything-cage styles.
A Stability-First Frame + Seat + Handlebar Setup
Use this as a practical 2–5 day example, not a universal prescription. The model names show one coherent system; fit, clearance, weather, and what you already own should decide the final setup.
| Bag Position | Specific Model | Capacity | Primary Contents | Loading Priority |
|---|---|---|---|---|
| Frame | Blackburn Outpost Frame Bag | ~10–14L (size-dependent) | Tools, food, batteries, dense supplies | Highest — dense items low and centered |
| Seat | Revelate Terrapin (8L) | 8L | Sleep kit, shelter, spare layers (bulky/light only) | Medium — bulky, light gear only |
| Handlebar | Ortlieb Handlebar-Pack | 9L | Rain layer, small essentials, and other quick-access items; keep dense gear in the frame | Lowest — light and evenly balanced |
| Total System | - | ~28–35L | Complete multi-day setup | Adjust after a loaded test ride |
Small “in-the-bag” essentials that prevent bigger problems: A compact first-aid kit and blister tape fit best in your frame bag for fast access and protection. For a group, remote route, or longer multi-day ride, the Adventure Medical Kit Ultralight/Watertight .9 adds more supplies; choose the .3 for a minimalist solo or short trip.
Blister prevention: Keep a few pre-cut strips of durable blister tape inside the first-aid kit so you can treat a hot spot before it becomes a problem.
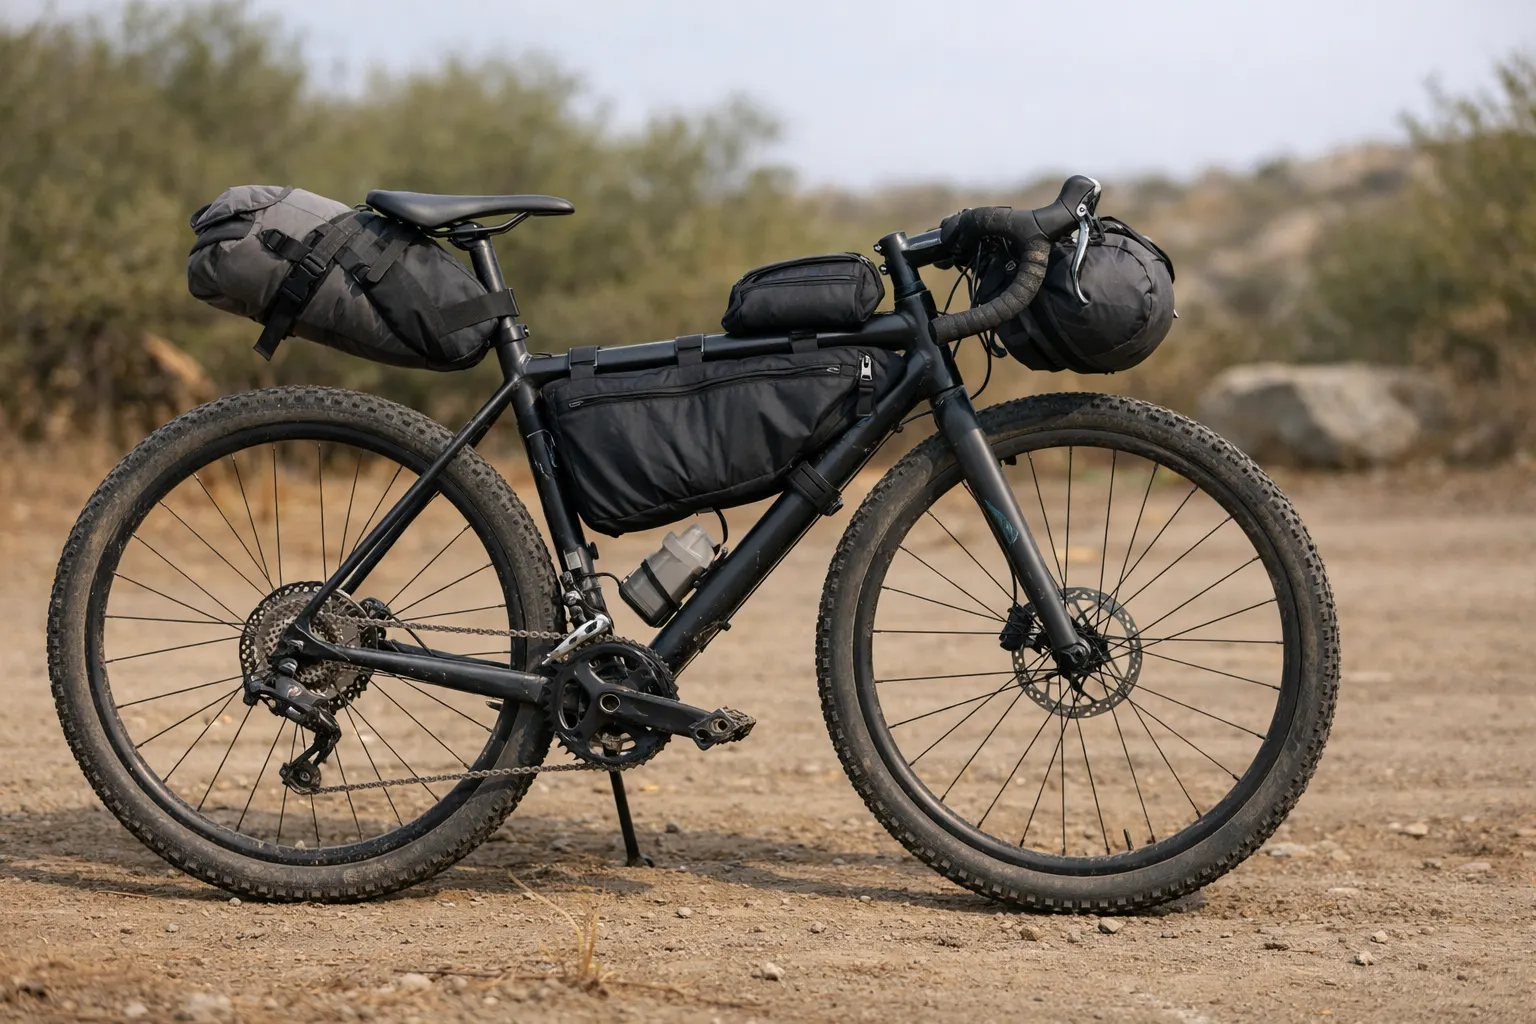
Safety check: Do one hard brake test in a safe spot. If the rear feels like it’s pushing forward, move one dense item into the frame bag.
Capacity Planning and Mounting Tips for Your Setup
A stable bag setup starts with capacity you can control, then you fine-tune placement. Use these targets as a starting point and adjust after your first overnight.
Capacity Guidelines by Trip Length
Use these as combined system targets: top-tube, fork, or accessory bags count inside the total rather than on top of it.
Overnight (1–2 days): 20–25L total capacity
- Frame bag: 8–10L
- Seat bag: 6–8L
- Handlebar bag: 6–7L
Weekend (2–3 days): 30–35L total capacity
- Frame bag: 12–14L
- Seat bag: 10–12L
- Handlebar bag: 8–9L
Extended (4+ days): 35–45L total capacity
- Frame bag: 14–16L
- Seat bag: 12–15L
- Handlebar bag: 9–12L
- Optional add-ons: top tube bag, fork bags (only after the core is stable)
If your frame bag steals bottle space, plan water early. A Sawyer Squeeze is the lightweight core filter; pair it with a wide-opening soft flask such as the Cnoc Vecto 28mm when shallow sources, repeated refills, or a camp gravity setup make the wider opening useful.
Critical Mounting Tips
- Protect the frame: add tape where straps rub.
- Check full clearance: steering lock, tire clearance, and (for full-sus) compression clearance.
- Prioritize strap anchors: multiple attachment points beat single “one-strap-to-rule-them-all” designs.
Troubleshoot the 4 Most Common Bag Problems
Most bag problems come from load placement, clearance, strap tension, or water protection—not from needing a larger bag. Fix the symptom first, then decide whether the gear itself is the problem.
1. Rear wag or seat-pack sway
- Move dense items into the frame bag first.
- Reduce seat-pack weight before increasing its volume.
- Tighten in order: anchor → buckle → stabilizers, when present.
2. Rub or clearance problems
- Check knees, cables, brake hoses, tires, and shock/linkage through their full range.
- Reposition the bag before accepting contact as “good enough.”
- Add frame-protection tape anywhere straps or buckles touch paint.
3. Strap, buckle, or anchor wear
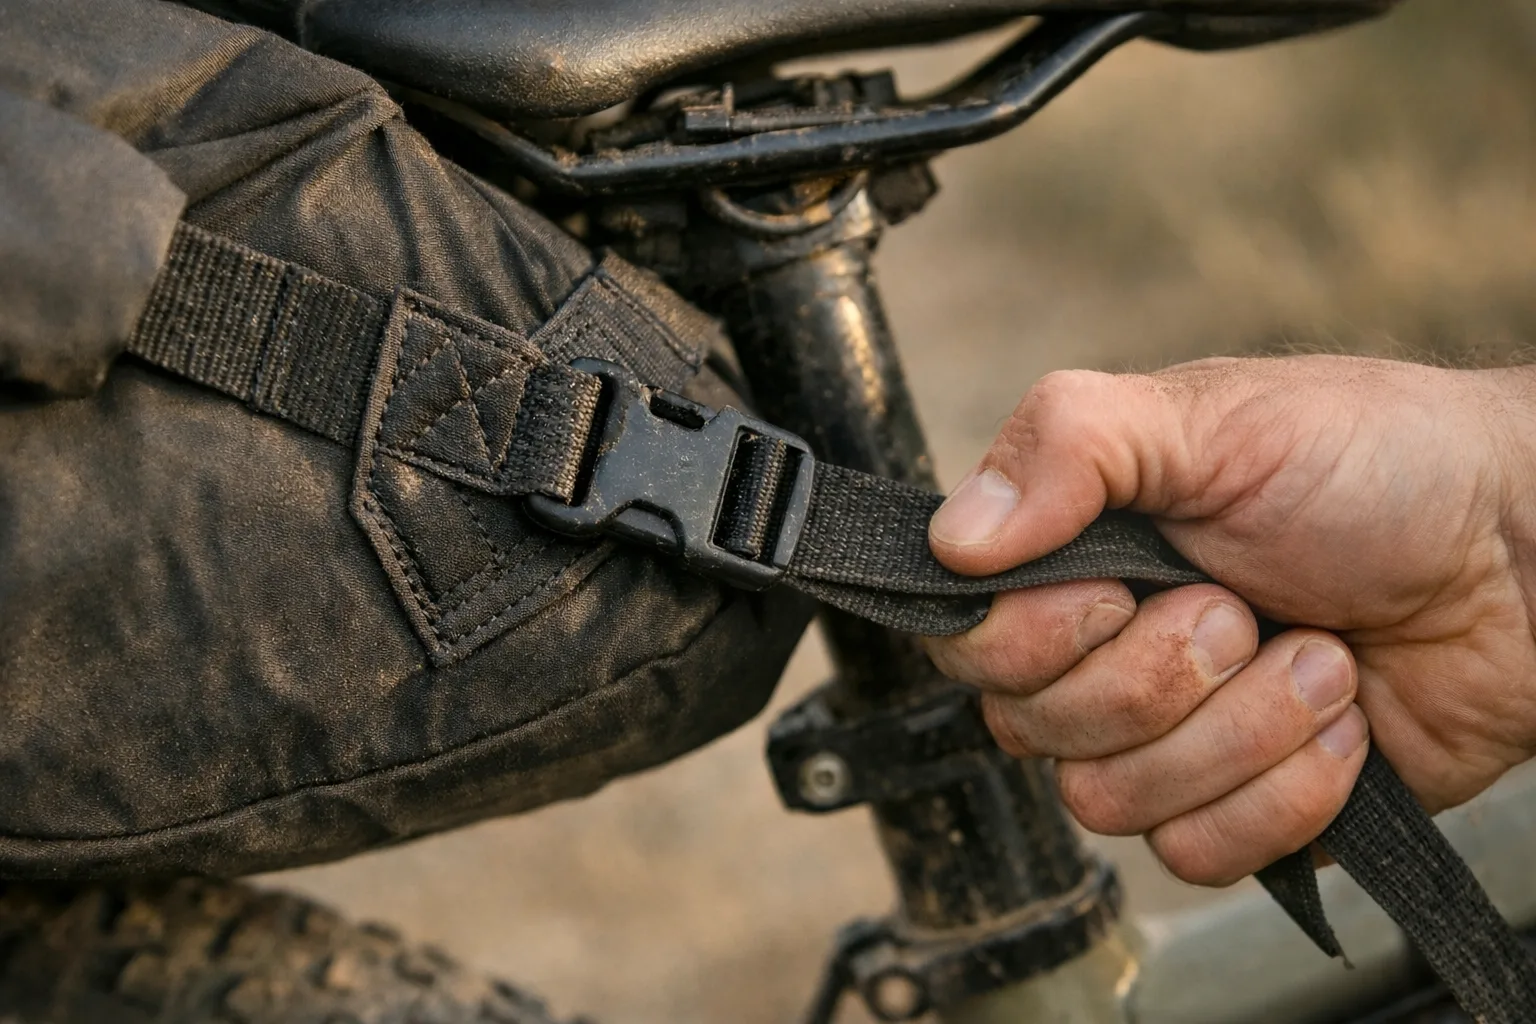
The first weak point is often the load path rather than the main fabric: buckles slip, webbing stretches, and anchors work against their stitching. Protect high-rub points and carry one spare strap so a small failure does not end the trip.
4. Wet sleep gear or electronics
- Use internal dry bags for insulation and electronics even when the outer bag claims weather resistance.
- For heavy rain, a tough liner such as the Sea to Summit Big River Dry Bag (5L) protects the items that must stay dry.
- Prioritize dependable closures and seams before adding more liters.
Keep Your Bags Alive (Quick Care)
You don’t need a maintenance ritual—just a few habits that prevent the common failures.
- Rinse grit off zippers and buckles after dusty rides.
- Check strap anchors and rub points; re-tape protection before it wears through.
- Dry bags fully before storage, especially after rain or river crossings.
- Recheck strap tension at the start of the next ride instead of waiting for sway to return.
Budget-Conscious Setup Building
If you’re building slowly, that’s normal. Buy in the order that improves stability first, then convenience. If cost is the main constraint, the budget bikepacking bags guide covers which corners you can cut without regretting it.
Budget / try-it-first options (when you’re not sure yet)
| Bag position | Budget option | Reality check |
|---|---|---|
| Frame | WOTOW Triangle Bag (2L) | Great for learning fit and strap routing; limited capacity versus full frame bags. |
| Seat | Rhinowalk Saddle Bag | Works as a starter, but plan to re-tighten straps more often on rough descents. |
| Handlebar | Rhinowalk Handlebar Bag (2.4L) | Useful for testing front storage; it is a quick-access pouch, not a full handlebar roll. |
Phase 1: Frame Bag (stability first)
A frame bag does the most important job: it carries dense weight close to the bike.
Phase 2: Handlebar Bag (access + balance)
Handlebar storage is the best quality-of-life upgrade for quick-access items.
Phase 3: Seat Bag (volume for multi-day)
Seat packs add volume—just keep bulky, light gear back there and the strap paths tight.
Money-saving reality check: A stable mid-size bag usually beats a huge bag that sways.
Frequently Asked Questions
Final Bikepacking Bag Setup Checklist
A stable setup follows one rule: keep dense weight centered, use the seat pack for light bulk, and reserve the handlebar for light, quick-access gear. Before a longer ride, run this final check:
- Measure the frame triangle and check suspension, tire, cable, and hand clearance before buying.
- Choose the core three: frame bag for dense weight, seat pack for bulky/light gear, and handlebar bag for quick-access items.
- Turn the bars lock-to-lock and compress the suspension where relevant.
- Tighten every strap, then do one loaded hard-brake test.
- If the rear sways, remove weight from the seat pack before buying a larger bag.
Once the bag layout is stable, use the full bikepacking gear list to build shelter, sleep, cooking, navigation, repair, and water around it. If this is your first overnight, start instead with the beginner bikepacking guide.
This bikepacking bags system guide is for general education only and isn’t personalized gear or safety advice. Your bike, route, and packing style can change what works, and results will vary. If you’re unsure about fit, clearance, or safety—especially for rough terrain—consider checking in with a qualified bike shop or experienced guide before a bigger trip.