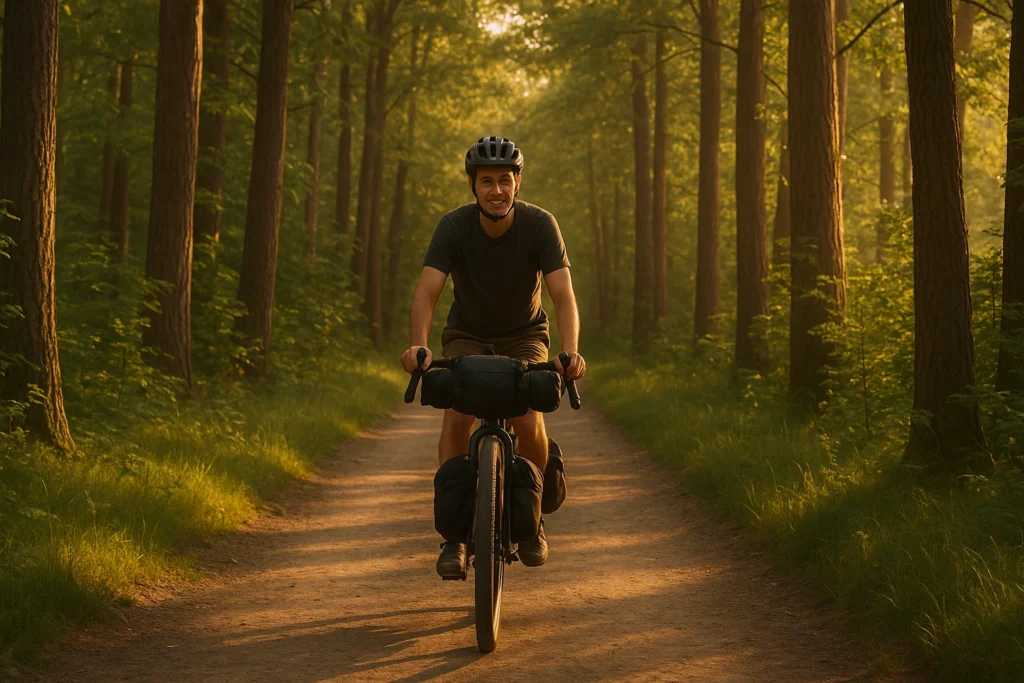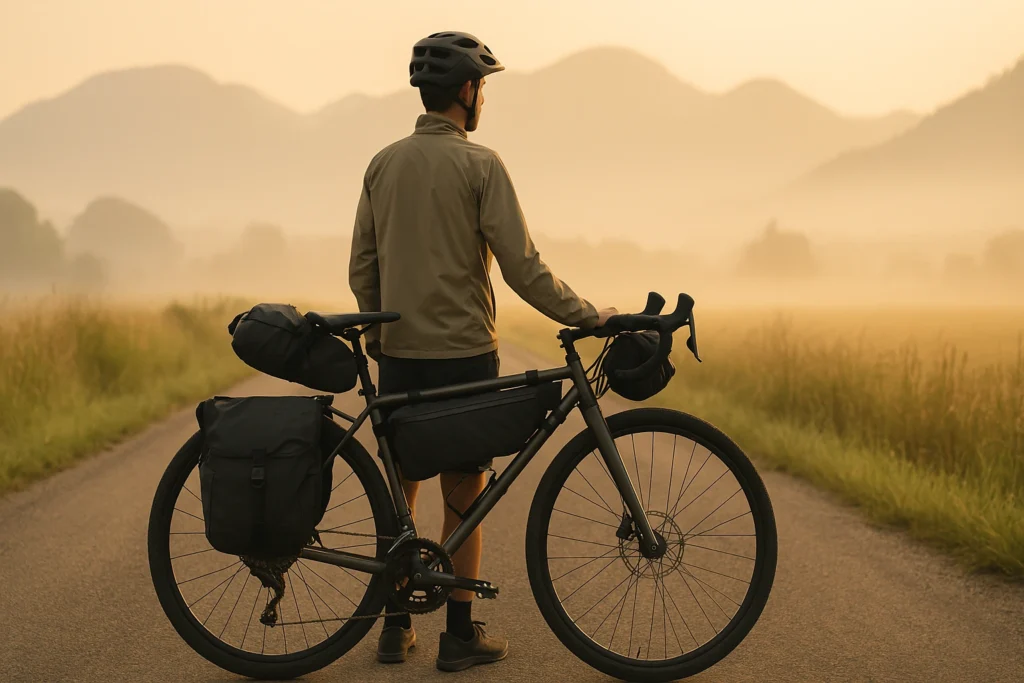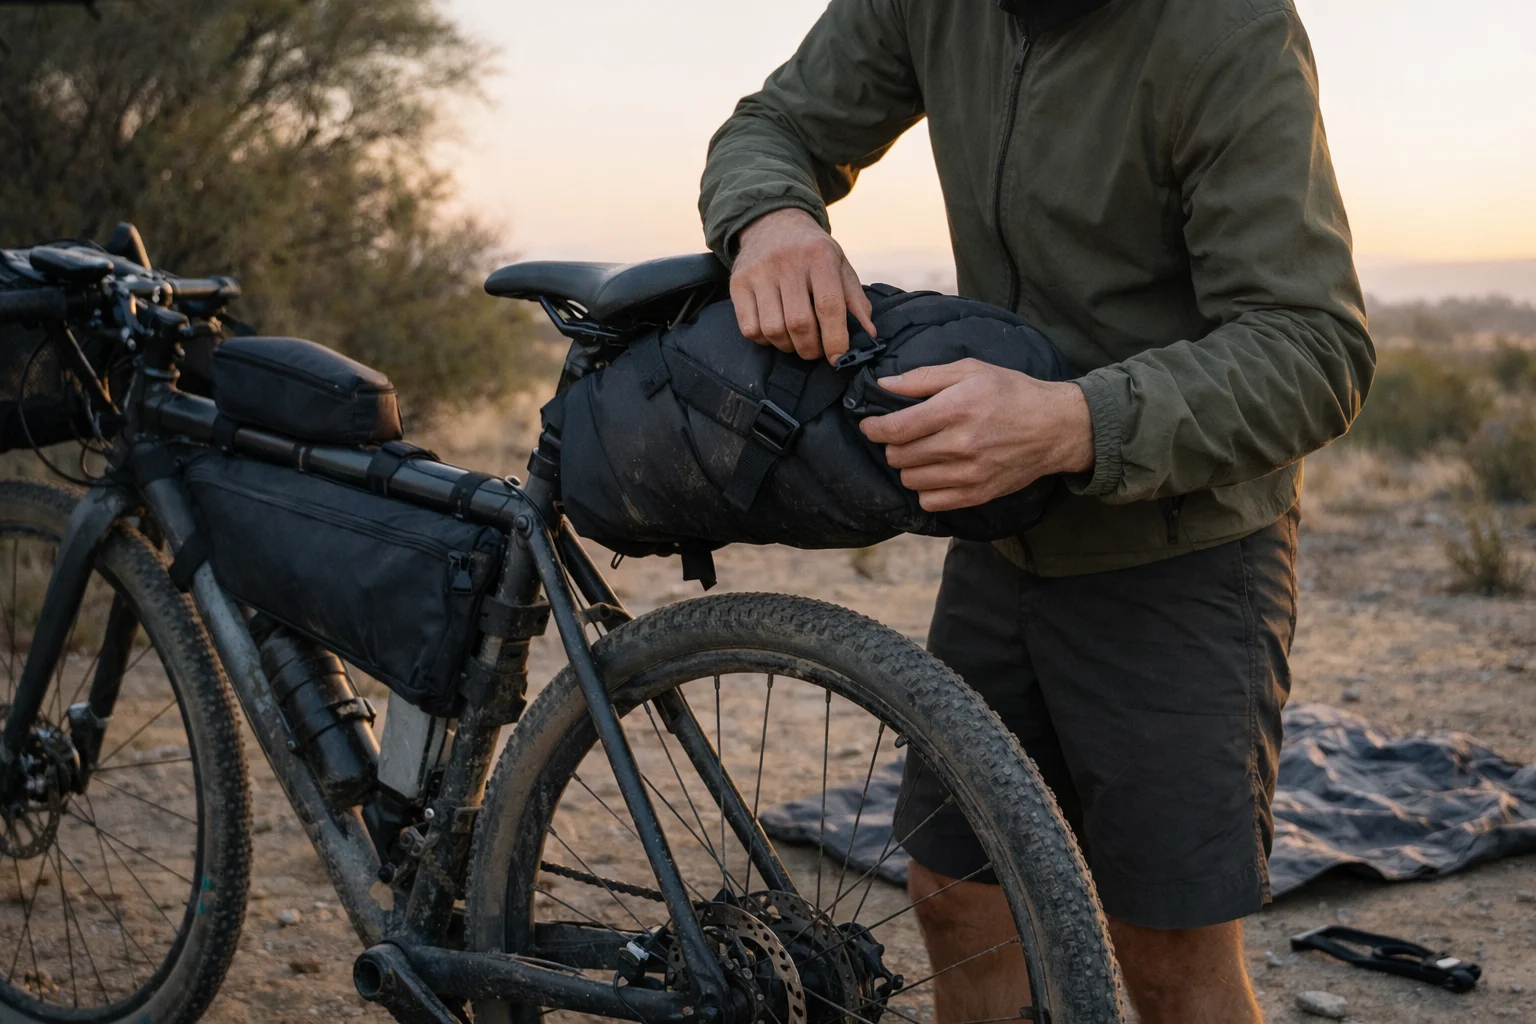
Don’t want $500 bags? You’re not alone. If you’re trying to build budget bikepacking bags that won’t fall apart on day two, it helps to know which corners matter (and which ones don’t) before you hit “buy.”
After three years of testing affordable bikepacking bags on everything from weekend gravel rides to month-long tours, I’ve learned something simple: the right setup can go the distance. But you’ve got to pick the right compromises—and reinforce the predictable weak spots (strap anchors, zipper corners, hardware under tension) before they fail. If you’re still deciding what belongs in the rest of the kit, our complete bikepacking gear guide covers the full gear list and three proven setups.
This page contains affiliate links and may include sponsored content. As an Amazon Associate, I earn from qualifying purchases at no extra cost to you. Amazon links are labeled #ad; other affiliate links may be marked as “affiliate link,” “Sponsored,” or “(paid link).” Learn more.
Last updated July 2026.
Table of Contents
- What to Know Before You Buy
- Budget Bikepacking Bag Builder
- Budget vs Premium: What Matters
- Where Affordable Bikepacking Bags Fail First (And How to Fix Them)
- Budget Bikepacking Bags Under $200: My Tested Picks
- Reliability Extras and Two Practical Picks
- The Smart Upgrade Path
- Maintenance That Multiplies Lifespan
- Real-World Durability: My 3-Year Test Results
- Smart Shopping: Getting the Best Budget Deals
- Building Your Complete Budget System
- Frequently Asked Questions
- Conclusion: Spend Where Failure Matters
I’ve watched $40 frame bags outlast $200 premium options. I’ve also watched cheaper setups fail on day two. The difference usually isn’t luck—it’s choosing the right category to “go cheap,” then reinforcing the few spots that always take the abuse.
What to Know Before You Buy
- Save on low-stress storage, not stressed mounts. Frame and top-tube bags are easier places to economize than heavily loaded seat packs.
- Check the common failure points first. Strap anchors, zipper corners, and load-bearing seams are where budget construction usually shows up.
- Plan around $30–70 per main bag. Small top-tube bags can cost less, while premium mounting systems can cost much more.
- Expect to maintain the system. Re-tension straps, clean grit, and repair small wear before it spreads.
Budget Bikepacking Bag Builder
Choose your trip, weather, and buying priority to get a practical planning range and the first two reliability upgrades to make.
Plan for: Choose your options
Your plan shows up here
Choose one option in each row to get a planning range and the first two reinforcements to do.
Jump to the tested bag comparison
Tip: If something failed last trip, bump “Trip style” up one level and re-check the plan.
Budget vs Premium: What Matters
Premium bikepacking bags cost more because durable construction is genuinely expensive. But “premium” isn’t one thing—you’re mostly paying for a handful of features that matter more on certain routes than others.
What premium buys (when it’s worth it)
- Stronger mounting systems that stay tight over long, rough days
- Better seams and reinforcements at strap anchors and zipper corners
- More reliable weather management (materials + closures + seam strategy)
When budget is the smart move
- You’re still learning your setup (capacity, placement, what you actually use)
- You ride established routes where a failure is annoying, not dangerous
- You’re willing to reinforce early (a little prep prevents most trip-ruiners)
When spending up is the safer call
- Remote touring where bag failure could be dangerous
- Constant rain or wet season riding where “weather-resistant” won’t cut it
- High-mileage use where strap stretch and hardware fatigue show up fast
One simple way to decide: fill in the blank—“If this bag fails, the consequence is ____.” If your answer is “wet sleep kit,” “no food,” or “no safe bailout,” you’re looking at a premium-first category.
Where Affordable Bikepacking Bags Fail First (And How to Fix Them)
If you’ve ever pulled over to re-tighten a swaying seat pack (again), this is for you. After testing dozens of lower-cost options, I can predict where most bags start showing stress. The good news: a little reinforcement up front prevents most trip-ruiner failures.
Stitching Stress Points
Where it happens: Strap anchors, zipper corners, load-bearing seams
Why it fails: Budget manufacturers often use lighter thread and fewer passes to save time. In my own testing, this shows up first at strap anchors and zipper corners.
Prevention fixes:
- Add bartacks at mounting points using heavy-duty thread
- Apply Seam Grip to zipper stress corners before first use
- Reinforce high-tension attachment points with additional stitching passes
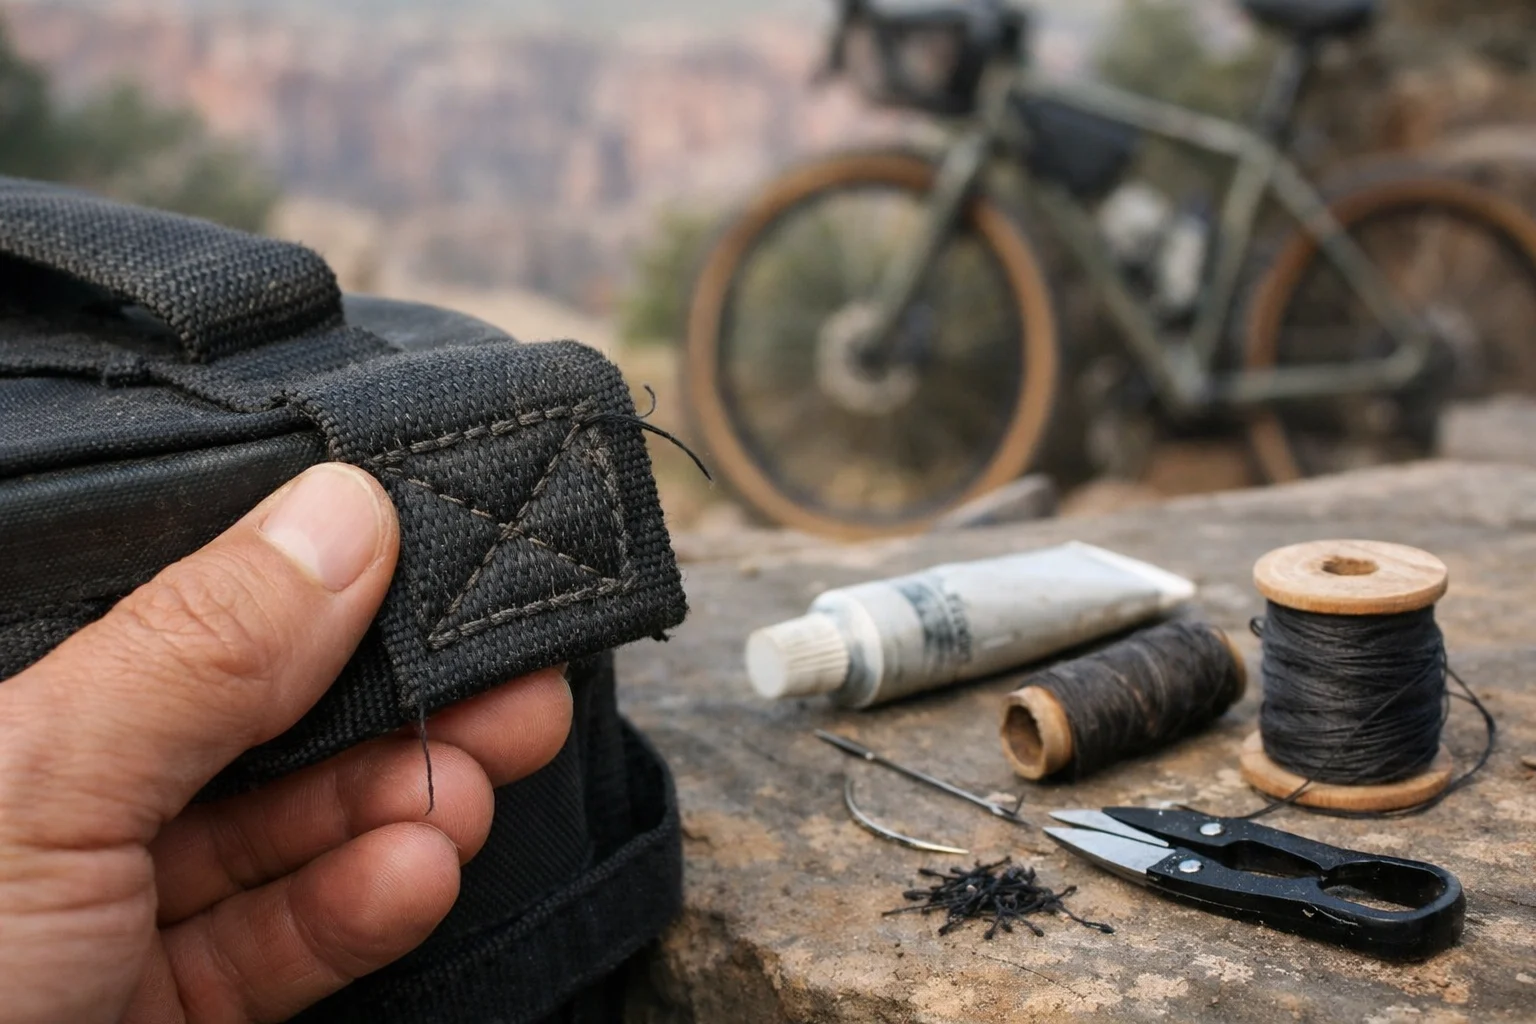
Real example: My $45 budget frame bag started showing loose stitching at the top tube mount after ~200 miles. Five minutes with a sewing machine added hundreds more miles of reliable service.
Fit + Frame Rub: The Silent Bag Killer
This one sneaks up on people. If your bag is slightly too tall in the triangle—or your straps sit on cables—you can get constant abrasion that kills the fabric fast. Before your first ride, check clearance at full steering lock, look for cable pinch points, and consider simple frame-protection tape under strap contact areas.
Buckle and Hardware Failures
Where it happens: Plastic buckles under constant tension, cheap carabiners, elastic cord locks
Why it fails: Budget bags often use basic hardware that’s fine—until cold, heat, or over-tightening creates stress fractures.
Prevention fixes:
- Replace questionable buckles early (cheap upgrade, big reliability gain)
- Carry a spare strap for critical attachment points
- Carry backup elastic cords—they’re often the first thing to snap
Waterproofing Degradation
Where it happens: Seam edges, zipper runs, fabric coating wear points
Why it fails: Many budget bags are best described as weather-resistant, not waterproof. Coatings can degrade with abrasion and grime, and seams are the usual entry points.
Prevention fixes:
- Re-seal seams as needed with an appropriate seam sealer
- Refresh water beading with a DWR treatment when fabrics stop shedding water (how to test and revive DWR)
- Use dry bags inside for critical gear—especially on wet/unpredictable trips
Quick rub check: turn the bars lock-to-lock, compress the fork a few times, and make sure no strap is sawing into paint, cables, or the bag fabric.
Budget Bikepacking Bags Under $200: My Tested Picks
If you’ve ever bought a “deal” bag that looked fine until the first rough descent, this section saves money. I’ve tested these in real touring conditions—not just a couple neighborhood rides—so you can see the trade-offs clearly.
How I judged them: stitching at strap anchors, hardware under tension, and closures that still work when dusty/wet. (Scores are my durability rating from use—not Amazon ratings.)
Quick verdict: The Blackburn is the lowest-regret frame-bag default in this guide, the Rhinowalk top-tube bag is the easiest budget win, and the 10L seat pack is the compromise pick for lighter loads and smoother routes. Before buying, skim the “Watch / first fix” column.
The reference prices below were checked on first-party product pages during this update. The Amazon price behind each button may be different.
| Bag / capacity | Reference price | Durability in my use | Watch / first fix | Best for | Amazon |
|---|---|---|---|---|---|
| Frame bag Blackburn Outpost Frame Bag Capacity varies by size |
$60–70 | 4/5 | Watch: Fit or cable rub if sized wrong Fix: Size carefully; protect contact points |
Known-brand frame bag without full premium pricing | |
| Seat pack Rhinowalk Waterproof Saddle Bag Claimed: 10L |
$29 | 3/5 | Watch: Strap stretch or tail sway with heavy loads Fix: Pack heavy items forward; add a backup strap |
Budget tours with lighter sleep kits | |
| Handlebar bag Rhinowalk Two-Piece Roll Pack Claimed: 12L total (8L + 4L) |
$37 sale / $64 regular | 3/5 | Watch: Strap creep, bounce, or a poorly closed roll-top Fix: Roll three turns; keep heavy items out; add a backup strap or spacer if cables rub |
Sleep kit or clothes on a tight budget | |
| Top-tube bag Rhinowalk Top Tube Bag Claimed: 1.2L |
$26 | 4/5 | Watch: Strap shift or knee rub if overloaded Fix: Use bolt mounts when possible; keep it light and centered |
Phone, snacks, and small tools | |
| Fork / cargo bag Sea to Summit Big River Dry Bag Claimed: 5L |
$40 | 5/5 | Watch: Mount rub or strap slip Fix: Tape contact points; add a backup strap |
Wet trips, inner waterproofing, or fork cargo |
Reliability Extras and Two Practical Picks
These aren’t “random accessories.” They’re the cheap, universal items that prevent the most common budget-bag failures (and they work with any brand).
- Voile-style straps: the fastest fix for sway, strap stretch, and “I can’t get this tight enough” mounting problems
- Seam sealer (Seam Grip-style): reinforces zipper corners + high-stress seams before they peel or wick water
- Spare buckles / ladder locks: hardware under tension is the first thing to crack on budget setups
- Frame protection tape: prevents paint/cable rub that destroys bags from the outside-in
- Inner dry bags: the “real waterproofing” for wet trips (sleep kit + clothes always go inside one)
Before your first loaded ride, turn the bars lock-to-lock and hit a few firm bumps. Tape any contact point now rather than waiting for wear to appear.
The safest frame-bag default
Blackburn Outpost Frame Bag
Safest default in this guide: If you’re looking for the best budget frame bag without full premium pricing, the Blackburn is the one I’d start with. It works best when you want a clean fit that doesn’t fight cables—size carefully, add frame-protection tape where straps touch, and it should outlast most “no-name” options.
Budget seat pack reality check
Rhinowalk Waterproof Saddle Bag 10L
Most common budget move: Best for light-to-medium loads and smoother routes. Pack heavy items forward (near the post), keep the tail soft, and add a backup strap for rough descents—that is how a cheap seat pack earns its place without pretending to be premium.
For a simpler bag like a top-tube pouch, the comparison table is enough: choose the right size, keep the load light, and move on. Put the saved time into a quick reinforcement pass—it improves reliability more than reading 25 more product pages.
The Smart Upgrade Path
You upgrade the wrong bag first, and the bike still feels sloppy. That’s the frustration loop. A better approach: start budget and upgrade the single weak link—not the entire system at once.
Year 1: Full Budget System (about $150–190)
Start with budget everything. Learn what you actually need, how you pack, and what capacity works for your style.
Small-frame tip: If your main triangle is tiny or full of bottles, a downtube pack can add “free” storage—just keep tools in a zip bag because it lives in the mud/splash zone.
Year 2: Upgrade Your Weak Link
Usually the seat pack or handlebar bag—whichever caused the most frustration, instability, or wet-gear anxiety.
Year 3+: Strategic Premium Purchases
By now you know your system. Invest in premium versions of the bags you use most, and keep budget options for backup or loaner setups.
Maintenance That Multiplies Lifespan
This is the unsexy part that saves trips. It’s 30 seconds at the end of a ride when you notice a strap edge fuzzing and think, “That wasn’t there yesterday.” Catch it early and you usually win.
After Every Trip:
- Empty completely and check high-wear spots
- Wipe down to remove grit (grit acts like sandpaper)
- Air dry fully before storage
Regularly (every few rides / monthly if frequent):
- Re-tension straps — stretch shows up fast on budget mounts
- Clean/lube zippers so they don’t bind
- Inspect stitching at strap anchors and corners
Seasonally:
- Refresh water beading if fabrics stop shedding water (see DWR guide above)
- Replace worn cords/buckles before they fail on a ride
Real-World Durability: My 3-Year Test Results
Test context (so the mileage numbers make sense): Most of these miles were mixed gravel + rough pavement with typical bikepacking loads (normal sleep kit, clothes, food, tools). I’m not babying the bags, but I’m also not racing or overstuffing everything to the zipper.
In my experience, budget bag wear follows a pattern. Your exact outcome will depend on terrain, weather, and load—but this is a useful mental model.
Wear timeline (what to expect)
- 0–500 miles: mostly fine; early “settling” shows up as strap stretch and minor zipper stickiness
- 500–1,000 miles: abrasion marks and seam stress become visible; maintenance usually keeps things solid
- 1,000–1,500 miles: hardware fatigue and coating wear become more likely; decide repair vs upgrade
- 1,500+ miles: survivors usually have conservative loads, simple designs, and riders who fix small issues early
Practical trick: take quick photos of strap anchors and zipper corners around the 500-mile mark. You’ll notice changes sooner, and repairs are easier when you catch them early.
Smart Shopping: Getting the Best Budget Deals
If you’re hunting cheap bikepacking bags that last, the move is to buy at the right time and avoid listings that hide weak stitching or sketchy hardware.
Timing Your Purchases
- End-of-season and previous-year closeouts: check current outlet pages instead of assuming a fixed month or discount
- Used and open-box inventory: selection changes constantly, so compare condition notes, return policies, and current availability
Where to Find Real Deals
- Amazon Resale: used, open-box, and pre-owned items sold through Amazon; inspect the condition description before buying
- REI Re/Supply: used gear returned to REI or traded in by members and selected for resale
- REI Outlet: closeouts and previous-year models, with current discounts shown on the live outlet page
- Local bike shops: ask about previous-year stock and confirm fit before buying
- Manufacturer sale pages: compare the direct price with shipping and the return policy
Red Flags to Avoid
- Unusually low prices for full-size bags — inspect strap anchors, hardware, seams, and the return policy before treating the listing as a bargain
- No brand name or contact info — warranty/support issues
- Single photo listings — hiding construction details
- Perfect 5-star reviews — can be incentivized or low-signal
Before you buy, zoom in on one thing: strap anchors. If you can’t clearly see stitching quality in photos, skip the listing.
Building Your Complete Budget System
Here’s a simple system that works for a lot of riders under $200—without overthinking it. If you need help deciding where each bag belongs, the bikepacking bags system guide explains the frame, seat, and handlebar layout; the setup below is the budget version I’d start with.
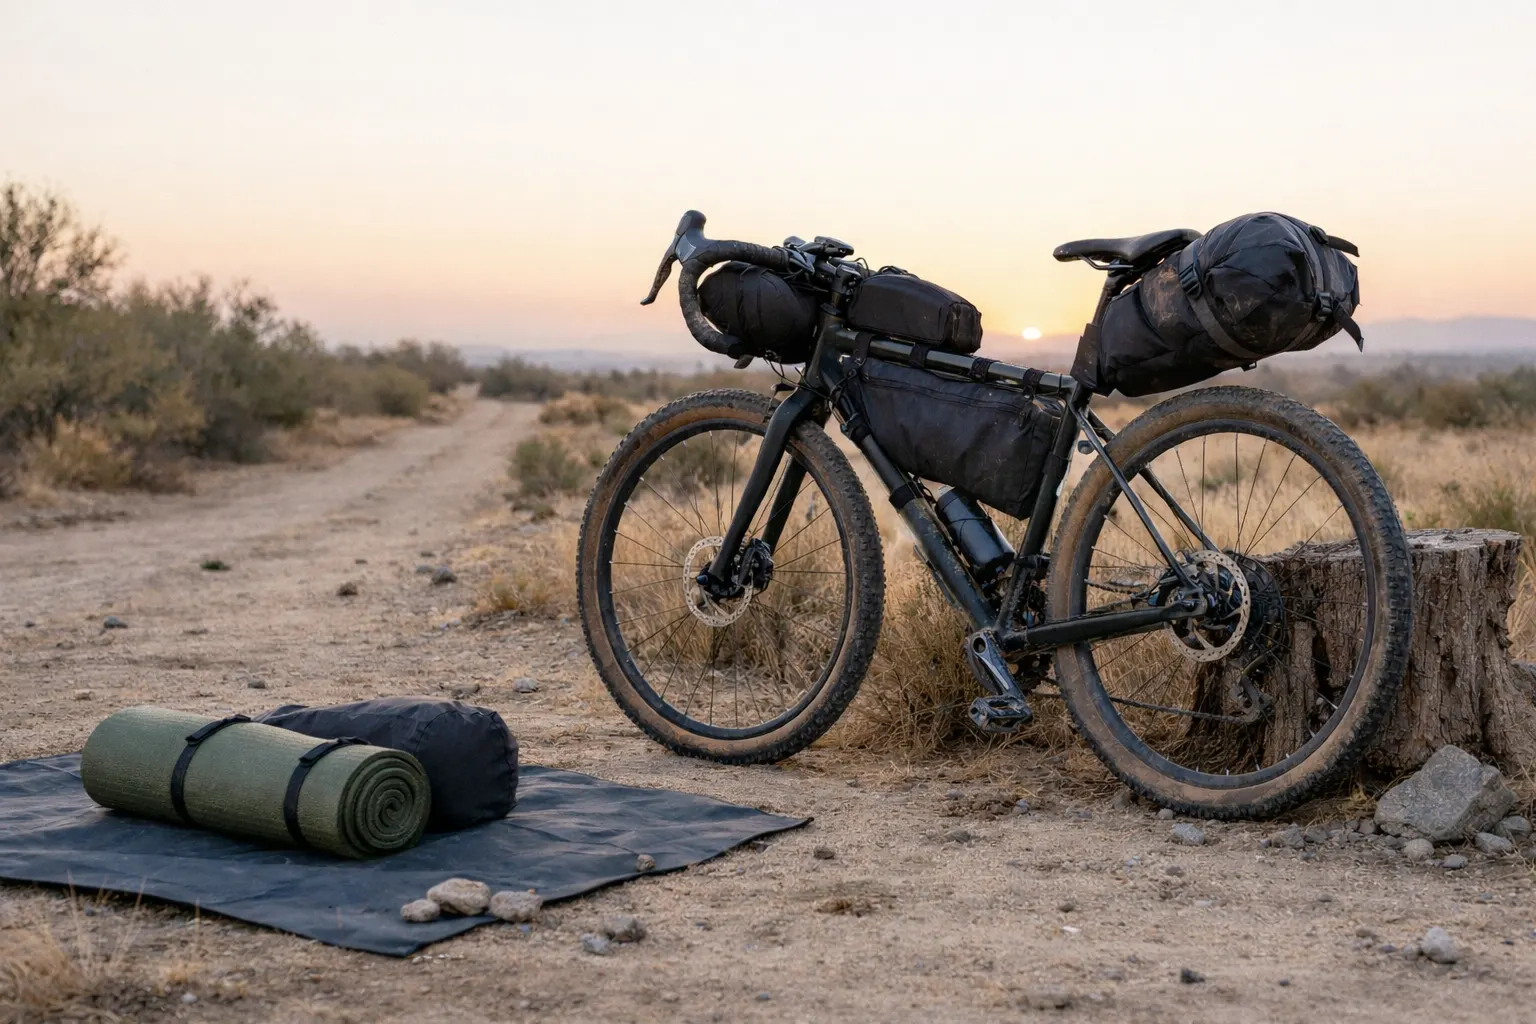
Essential 4-Bag Setup:
- Frame bag: Blackburn Outpost ($60–70 reference range)
- Seat pack: Rhinowalk 10L (about $29)
- Handlebar bag: Rhinowalk 12L two-piece roll pack ($37 sale / $64 regular)
- Top tube bag: Rhinowalk 1.2L (about $26)
Typical reference total: roughly $152–189 before tax and shipping, using the first-party reference prices above. Amazon prices may differ.
Budget snapshot: Keep your “risk budget” focused: spend more on mounting stability (seat pack + straps), and treat waterproofing as inner dry bags—especially for your sleep kit.
Reinforcement Kit (build it in stages):
At the checked reference prices, a three-size Voile strap pack plus a Seam Grip WP repair kit starts around $35 before thread, buckles, frame-protection tape, or DWR.
- Seam Grip sealer
- Heavy-duty thread for repairs
- Replacement buckles
- Voile straps for mounting upgrades
- DWR treatment spray
Build the reinforcement kit first. It’s the cheapest way to make a budget system feel “reliable” fast.
Frequently Asked Questions
Conclusion: Spend Where Failure Matters
Budget bags are not automatically bad bags. They simply leave less margin for weak hardware, poor packing, and ignored wear. Save on low-stress storage, reinforce strap anchors and zipper corners early, and spend more only when a specific bag keeps causing trouble.
- Match the setup to the route. Wet, rough, or remote trips justify better mounting and weather protection.
- Choose one bag at a time. Use the tested comparison table to solve your biggest packing problem first.
- Do a loaded shakedown ride. Check sway, tire and cable clearance, rubbing, and strap tension before leaving home.
- Upgrade the proven weak link. Replace the part that repeatedly causes trouble—not the whole system.
Start simple, fix small problems early, and upgrade only when the evidence is obvious. For the broader bike, camping, and first-trip plan, use the beginner bikepacking guide.
This guide shares general education and field experience on choosing and reinforcing budget bikepacking bags—it’s not personalized gear or safety advice. Your bike fit, route roughness, weather, and packing style can change what’s “safe enough,” so results will vary. If you’re planning remote riding or you’re unsure about stability/clearance, consult a qualified bike shop or experienced bikepacking guide before committing.