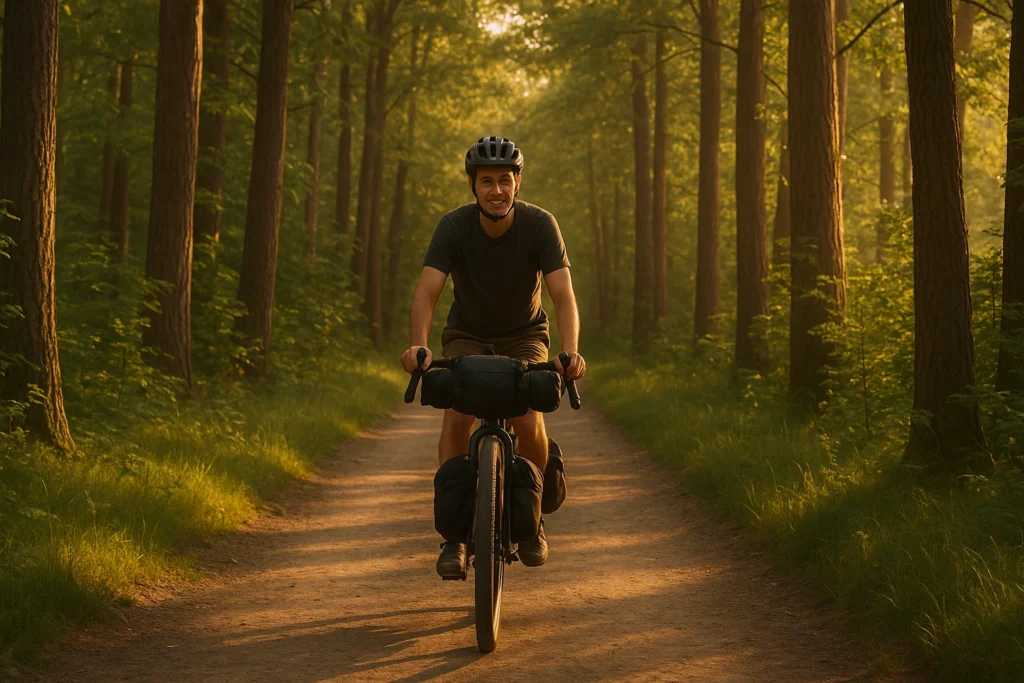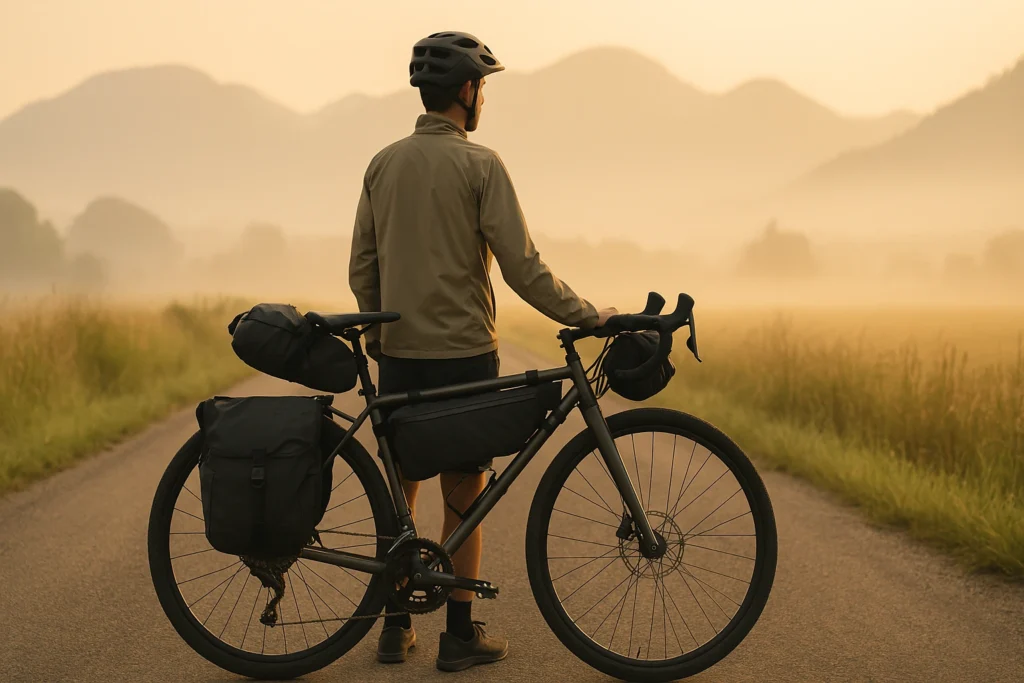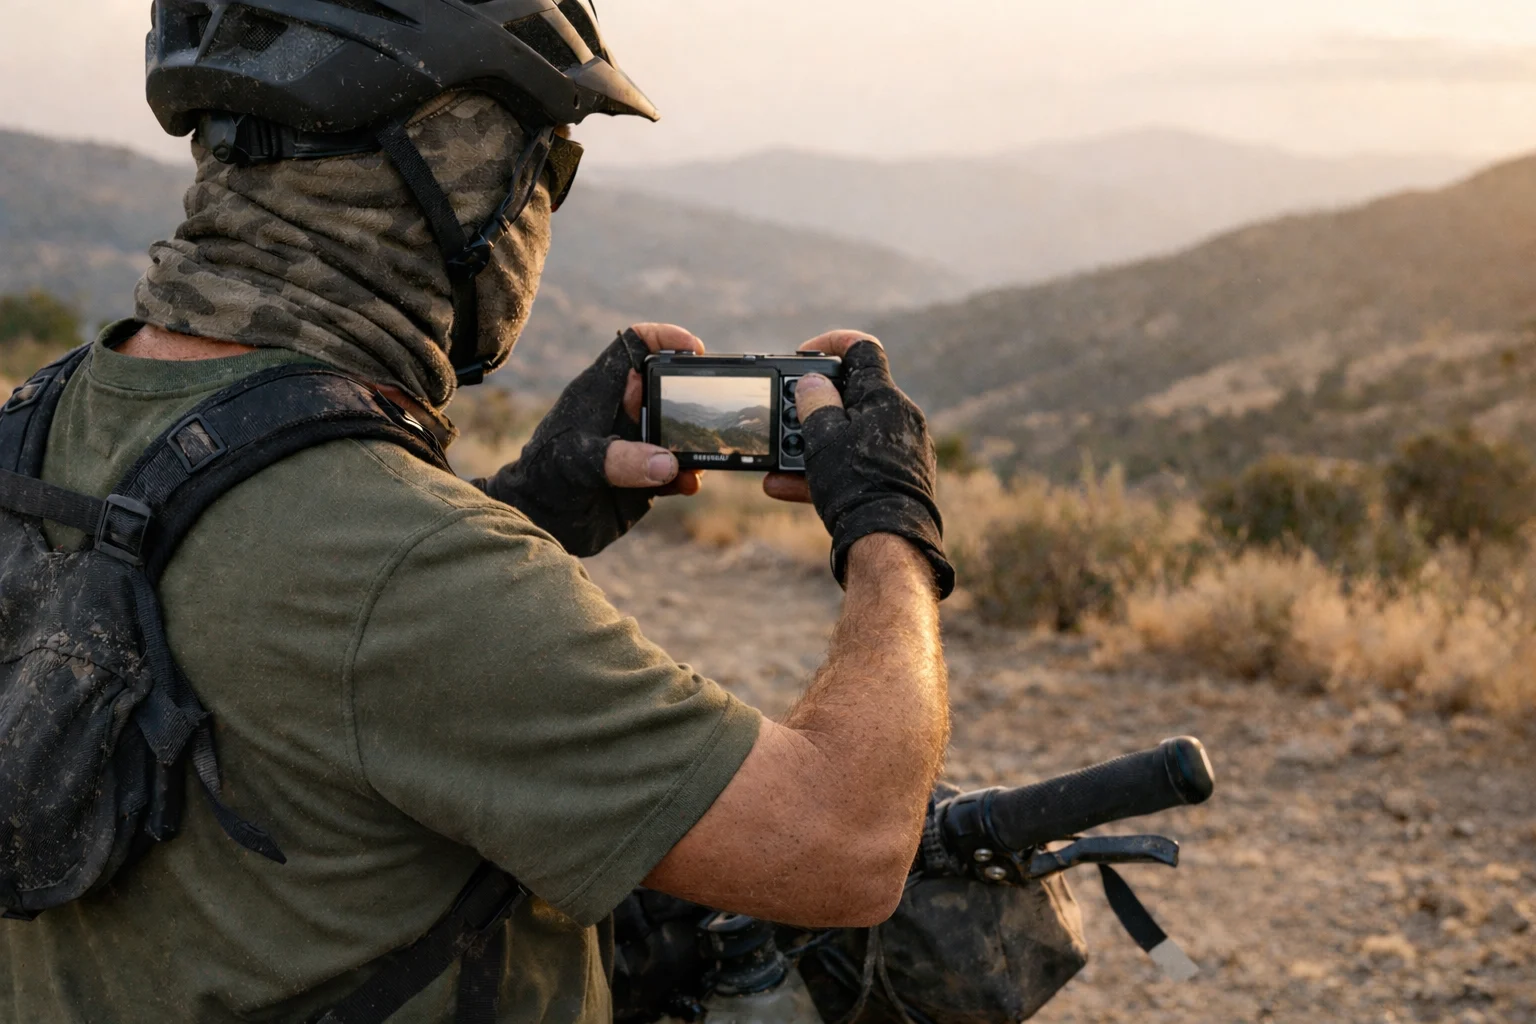
After years of hauling heavier mirrorless kits that collected dust, vibrated loose, or stayed in the bag, I settled on an ultralight camera kit for bikepacking that I actually use. My pocketable Sony RX100 VII has handled dusty gravel, vibration, light rain, and the occasional knock in a simple case, while giving me more zoom and editing room than my phone without mirrorless bulk.
My rule: if the camera isn’t instantly accessible, it won’t get used on tour. Below is the exact kit, how I protect and power it, and cheaper, tougher, or larger-file alternatives.
For the rest of the bike setup—bags, sleep, cooking, and repairs—see the bikepacking gear guide.
Last updated July 2026.
This page contains affiliate links and may include sponsored content. As an Amazon Associate, I earn from qualifying purchases at no extra cost to you. Amazon links are labeled #ad; other affiliate links may be marked as “affiliate link,” “Sponsored,” or “(paid link).” Learn more.
Table of Contents
- My Current Bikepacking Camera Kit (Real Miles Tested)
- Why These Specific Choices Work for Bikepacking
- If You Crash or Rain Hits: What Actually Survives
- Camera-Kit Alternatives by Budget and Priority
- Trail Shooting & Power Tricks (When You’re Tired)
- Maintenance and Care on the Trail
- Real-World Performance: What This Kit Actually Delivers
- Bikepacking Camera Kit FAQ
- Build and Test Your Camera Kit
- The Best Camera Is the One You’ll Use
My Current Bikepacking Camera Kit (Real Miles Tested)
Here’s exactly what’s in my camera kit right now. This bikepacking camera setup has survived real gravel, singletrack, rain, and the occasional crash.
Quick note: If you already own something similar, don’t rebuy—match the spec (fast card, 1–2 spares, simple case) and move on. Test the carry method on a local ride; if access feels slow, change the pocket or bag before buying another camera.
| Item | Weight | Why It Made the Cut | Amazon Link |
|---|---|---|---|
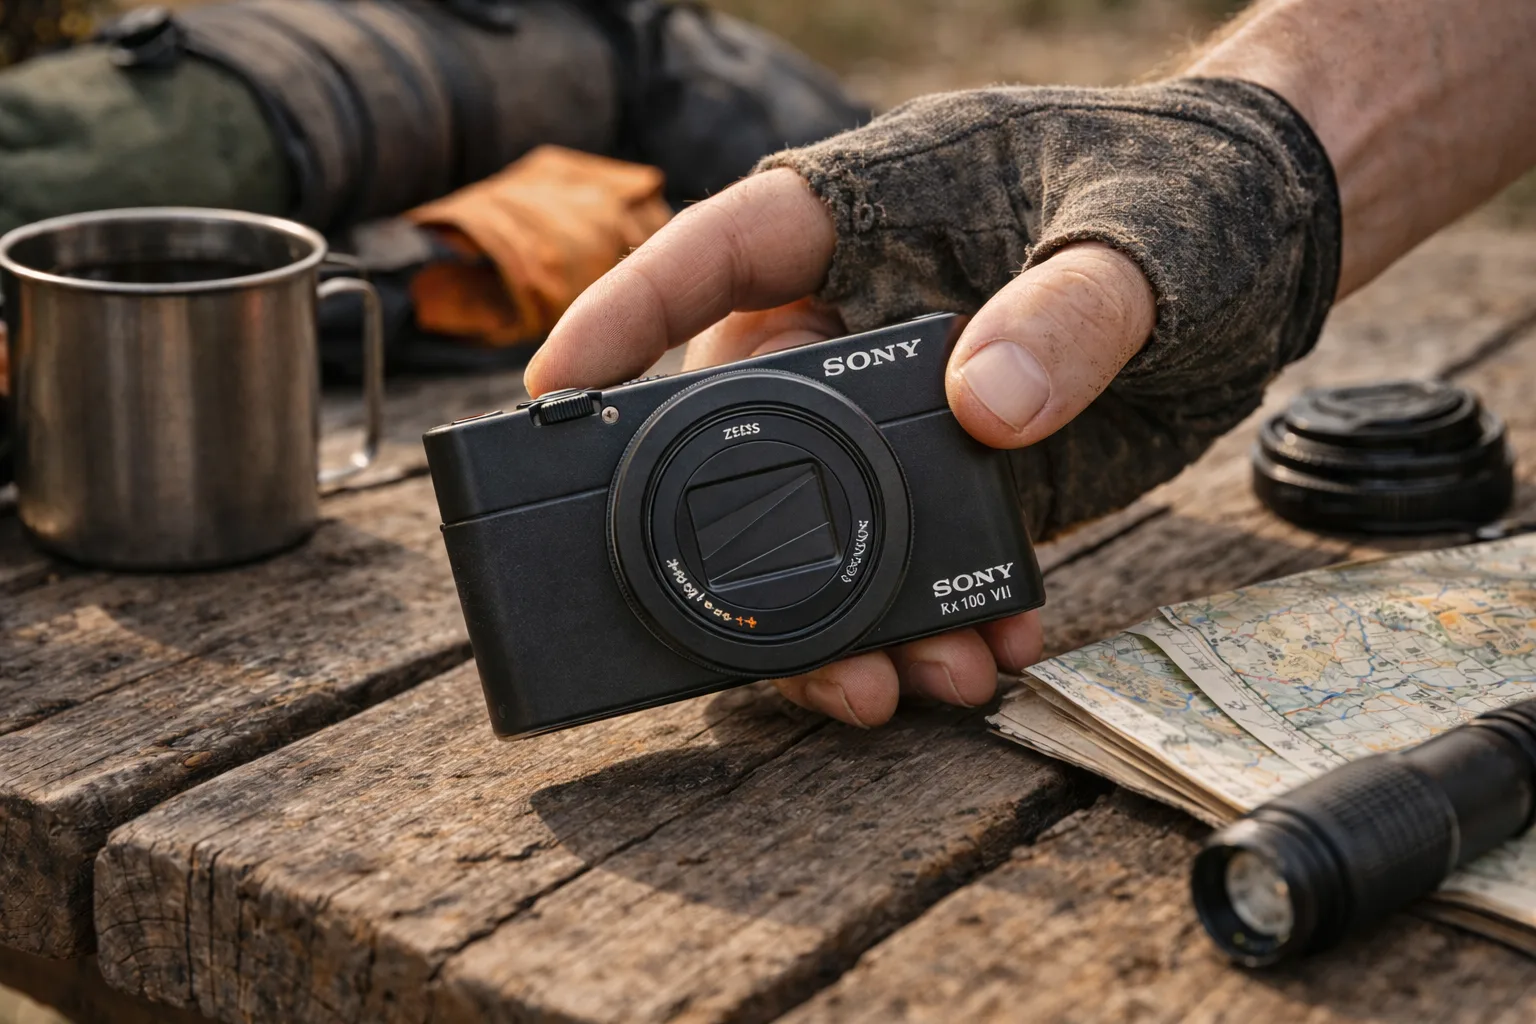
| Sony RX100 VII (Camera) — Bundle w/ Shooting Grip | ~395g (camera + VCT-SGR1 grip) | Pocketable 24–200mm zoom that stays accessible enough to use throughout a ride. The grip adds stability plus a mini-tripod for quick camp shots. | Bundle too expensive? Camera-only is fine. |
| Lacdo Protective Case | ~80g | Real protection without killing access—dust/light rain, bumps, and quick in/out. Fits well in a jersey pocket, stem bag, or hip pack. | |
| SanDisk Extreme SDXC Card (fast, reliable) Default rule: 128GB for photos-first/short clips; 256GB for any 4K or multi-day peace of mind (less offloading). |
Negligible | Reliable U3/V30 speed so 4K and bursts don’t choke. Bigger capacity reduces offloading stress on multi-day routes. | |
| Sony NP-BX1 Spare Batteries | ~25g each | Spare batteries keep you shooting when you’re tired/cold and don’t want to babysit a cable. Weekend: 1 spare. Multi-day: 2 spares. | Budget alternative below. |
Storage rule recap: Photos-first with occasional offload → 128GB is plenty. Any 4K video or multi-week tours → 256GB (the default I carry).
Situational weather insurance (~135g / 4.8 oz): 5L roll-top dry bag on Amazon for heavy storms or river crossings.
Budget battery option: Newmowa 3-pack + charger works well as backup (official Sony is still most reliable).
Total stills-only weight: ~1 lb 2 oz. Quick trim test: if you wouldn’t use an item twice on a weekend overnighter, it doesn’t belong in an ultralight kit.
Optional Add-On: Hands-Free Ride Video
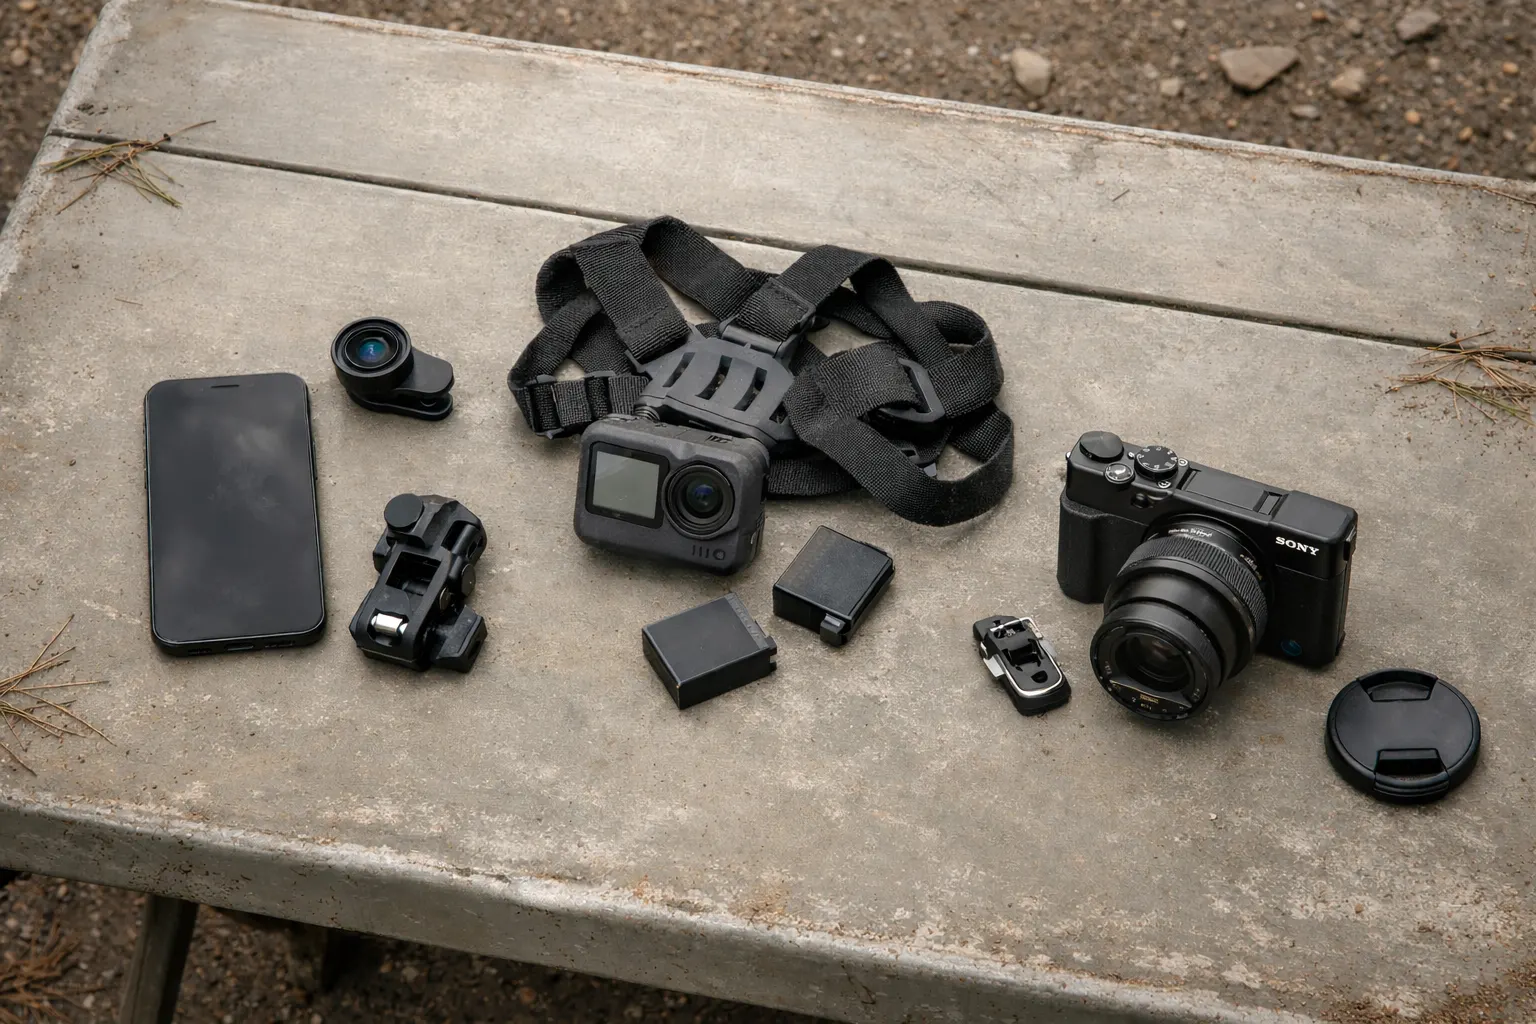
If you want POV trail clips, descents, or time-lapses without pulling out the RX100, add the DJI Osmo Action 6 Essential Combo. It covers hands-free footage without replacing the stills camera. Skip this add-on if you won’t actually edit footage, you mainly want stills, or your routes are so rough that mounts become another thing to babysit.
| Item | Weight | Why It Fits | Amazon Link |
|---|---|---|---|
| DJI Osmo Action 6 Essential Combo | ~149g | Great “set-and-forget” ride footage. Magnetic quick-release makes it fast to reposition without fuss. | |
| SanDisk Extreme microSD Card Same rule: 128GB photos-first/short clips; 256GB for 4K or multi-day. |
Negligible | Video eats space fast. The linked card meets U3/V30, but check DJI’s current recommended-card list before a long trip. | |
| DJI Osmo Action Handlebar Mount | ~94g | Stable forward view and quick angle tweaks. The official mount reduces compatibility guesswork and mid-ride adjustments. |
Mount reality check: Before big descents, do a 5-second check (tight + confirm angle). The linked official DJI Mini Handlebar Mount currently lists Osmo Action 6 compatibility; still confirm the model name before ordering because DJI also sells older handlebar-mount variants. For multi-week filming, a tiny spare screw can save the video plan.
Total with video add-on: ~1 lb 10 oz–1 lb 14 oz. Skip if you’re gram-obsessed or only want stills.
Build Your Bikepacking Camera-Kit Weight
Select what you would carry to see the total weight and the easiest sensible way to trim it.
Your kit
- Setup
- Core stills kit
- Vs. 500g baseline
- No change
- Biggest add-on
- None
Best adjustment: This is the lean starting setup: camera, case, and one spare battery.
Compare the gram total with the 500g core setup. Add weather protection or video only when the route earns the extra weight.
Planning weights; SD cards, short cables, and other tiny accessories are excluded.
Why These Specific Choices Work for Bikepacking
For my use, the RX100 VII is the practical middle ground: lighter and more pocketable than a Fuji X100VI or mirrorless setup, with a versatile 24–200mm zoom that covers landscapes, riders, and distant details without swapping lenses. The shooting grip kit adds handheld stability and a mini-tripod bonus, while the Lacdo case gives quick zip access plus protection from dust and light splashes.
Power note: The RX100 can charge over USB, but on long remote days I still prefer 1–2 spare batteries—swapping a fresh one is faster than babysitting a cable when you’re tired or cold.
The optional DJI Osmo Action 6 works best for hands-free ride footage and rough-weather simplicity when you don’t want to stop for POV clips.
If You Crash or Rain Hits: What Actually Survives
The Durability Reality Check
Compact cameras like the RX100 aren’t fully rugged, but with smart habits they handle bikepacking stresses well: vibration, drops, weather.
Crash Protection Strategy
Pocket/jersey carry reduces exposure vs chest clips. The Lacdo case absorbs minor bumps. For rough sections: stow in case immediately.
Protection hierarchy:
- Quick pocket access minimizes handling drops
- Lacdo case absorbs shocks/light moisture
- Ziplock backup for pouring rain
- Roll-top dry bag for heavy rain/river crossings
- Two-hands-on-bars rule on technical descents
Weather Protection That Actually Works
The Lacdo case helps with dust and light splashes, but it is not a dry bag. For steady rain, seal the camera inside a ziplock or roll-top dry bag.
My weather protocol:
- Light rain: shoot normally (lens retracts fast)
- Heavy rain/dust: case sealed immediately
- River crossings: everything in a small roll-top
Camera-Kit Alternatives by Budget and Priority
Not everyone needs the RX100’s zoom or sensor. Here are realistic lightweight camera tiers that still work when the trail gets rough and your brain is tired.
| Tier | Typical Carry Weight | Best For |
|---|---|---|
| Phone-first | ~0.5 lb | Fast sharing + zero extra kit |
| Action cam primary | ~0.6–0.8 lb | Hands-free ride clips |
| Rugged compact | ~0.6–0.8 lb | Wet, gritty, crash-prone routes |
| Premium compact | ~1.2 lb | Stronger stills with pocketable carry |
| Mirrorless | ~1.5–2.5 lb carried | Prints/clients over convenience |
Alternative 1: Use Your Smartphone
Use what you already have. The biggest upgrade isn’t a gadget—it’s a repeatable “grab-and-shoot” workflow.
- Carry: jersey pocket on smooth routes; top-tube bag or hip pack for rough terrain (one-handed grab).
- Protection: a real case matters more than a lens add-on (drops happen at stops).
- Stability: shoot short bursts (2–3 frames) and pick the sharp one later—vibration is real.
- Power: keep your phone topped up; camera time dies when you’re rationing battery for maps.
- Skip: cheap clip-on zoom lenses (soft corners, fiddly); you’ll use them twice and quit.
Alternative 2: Rugged Tough Compact
A rugged compact such as the OM SYSTEM TG-7 is the lowest-fuss option when crashes, rain, and grit are part of your normal week.
- Why it works: waterproof and shock-resistant construction reduces the need for a separate rain cover or delicate handling.
- Carry: hip pack or top-tube bag to keep it stable; avoid loose jersey bounce on rough singletrack.
- Best use: action-at-stops, creek crossings, wet camps, gritty conditions.
- Trade-off: less zoom and weaker low-light than the RX100; choose it for survivability, not dreamy low-light camp photos.
- One habit: use a wrist strap at stops; it adds little weight and helps prevent drops.
Best value when prices match
OM SYSTEM TG-7 bundle
Same TG-7 camera, plus a 64GB card and case. Choose it when it costs no more than camera-only.
Alternative 3: Action Camera Primary
If your priority is POV trail clips, descents, and “I was there” footage, an action cam is the simplest win.
- Carry: mounted (bars/chest/helmet). If it lives in a bag, you won’t use it.
- Best mount: chest for stability; bars for quick “set and forget.”
- Workflow: record short clips (10–30 seconds). Long clips become “I’ll edit later” guilt.
- Stills: use your phone for photos; action-cam stills are fine but rarely “print-worthy.”
- Common failure: mounts. Do the 5-second check before rough descents.
Premium Alternative: Fuji X100VI or Compact Mirrorless
Step up only if prints, paid work, or deep editing headroom matter more than pocket access. The trade-off is simple: heavier carry, more protection, and you’ll stop less to shoot if it’s annoying to access.
| Premium Tier | Why You’d Choose It | What You Give Up |
|---|---|---|
| Fuji X100VI | Great files/colors in a simpler “one-camera” setup (no lens swaps). | Not pocketable; still needs protection; fixed lens limits zoom flexibility. |
| Compact mirrorless (e.g., Sony a7C line + one lens) | More editing headroom for prints, client work, and low light. | Heavier/bulkier carry, more “fiddly” access, and higher crash/anxiety cost. |
Simple decision: Choose your tier by the trade-off you care about most—more editing headroom for prints, or less protection and carry fuss in wet, crash-prone conditions?
Trail Shooting & Power Tricks (When You’re Tired)
Weight Distribution Strategy
Pocket access changes everything—stop for 20 seconds, shoot, keep rolling. No digging through bags.
My current distribution:
- Camera: jersey pocket or quick hip pack
- Case + spares: stem/feed bag
- Action cam (if carried): handlebar mount
Shooting Techniques for Moving Platforms
Use the zoom for compressed ridgelines or distant riders. Short bursts improve the odds of a sharp frame when vibration or fatigue makes handholding less steady. Accept some ISO noise when the light is poor.
Power Management on Multi-Day Trips
Battery life becomes a planning problem when your phone handles navigation while your camera and accessories need charging too. I carry one or two spare camera batteries for quick swaps, then use USB charging whenever an outlet or power bank is already available.
My simple power routine:
- Shoot in short bursts instead of leaving the camera awake.
- Turn off Wi-Fi and Bluetooth until you need to transfer files.
- Carry one spare battery for shorter trips and two for longer remote stretches.
- Give phone navigation priority when several devices need charging.
Carry a power bank when charging is uncertain
Compact option: Nitecore NB10000
A compact 10,000 mAh bank makes the most sense on multi-day routes where phone navigation and camera charging share the same reserve. It fits in a stem bag or jersey pocket. Skip it on shorter trips when dependable nightly outlets and spare camera batteries already cover the ride.
For the full charging system—power-bank sizing, cables, GPS, and resupply planning—see the bikepacking power setup guide.
Quick power habit: At camp, charge the navigation phone first, then use the remaining power for camera batteries. Missing a photo is disappointing; losing your map is the bigger problem.
Optional Headlamp for Camp and Low-Light Photography
A headlamp is useful when you shoot around sunrise or sunset, change batteries after dark, or need both hands for camp tasks.
Choose the Nitecore NU20 Classic headlamp for a simple, reliable light. Choose the Nitecore NU25 MCT UL headlamp when lower weight, a brighter beam, and improved light tint matter more. Skip both if the headlamp you already carry handles these jobs well.
Composition Shortcuts for Tired Photographers
When you’re smoked, keep a few “no-brainer” compositions:
- Bike in foreground with landscape behind
- Leading lines from trail
- Rule of thirds horizon
- Silhouettes at sunrise/sunset
- Detail shots of food, gear, camp
Maintenance and Care on the Trail
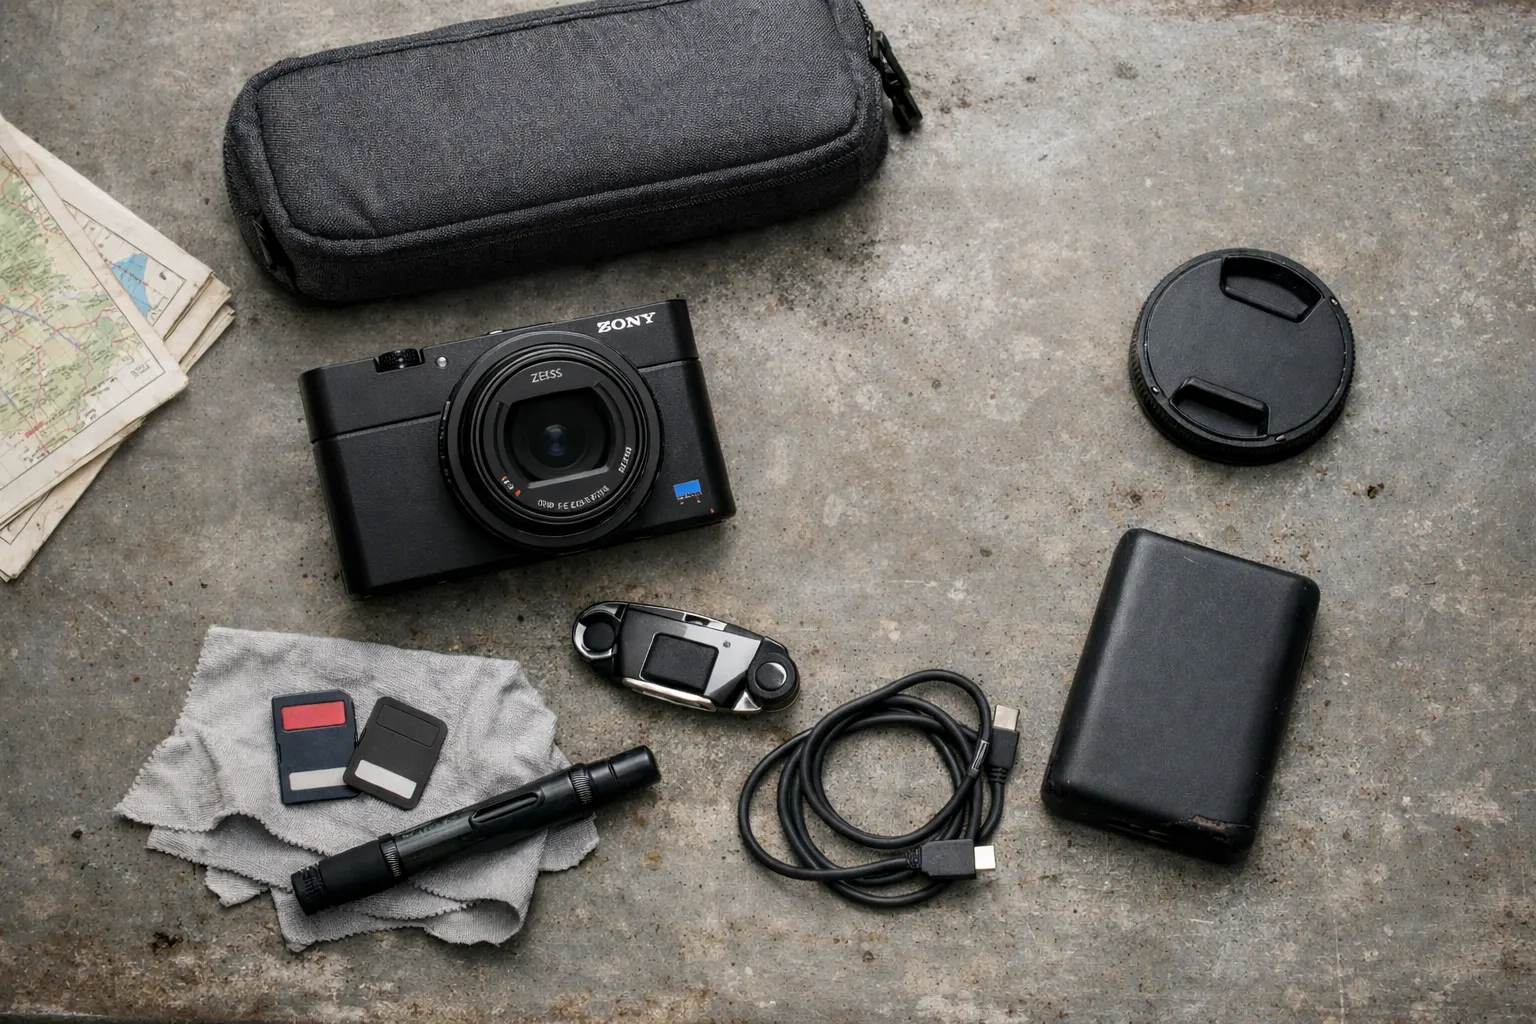
This is the full stills kit laid out—everything in the kit list above matches what you see here.
Daily Maintenance Routine
Simple habits prevent issues:
- Morning: wipe lens, check for condensation
- During rides: keep grit off extending barrel
- Evening: clean, top up batteries, stow consistently
Emergency Repairs and Workarounds
Carry minimal supplies (~1 oz):
- Gaffer tape for quick fixes
- Spare battery (always)
- Lens cloth
- Ziplock for surprise storms
Optional but worth it (tiny weight, big payoff):
- Wrist strap/lanyard: adds little weight and helps prevent drops at stops.
- Spare SD card: cards get lost or corrupted; a backup weighs nothing.
- Silica gel packet: helps with condensation on cold mornings.
- Action cam mount spare (if filming): one tiny spare screw/adhesive can save the whole video plan.
When to Sacrifice the Shot
Reference your two-hands-on-bars rule in these conditions:
- Technical descents needing both hands
- Severe weather threatening gear
- Exhaustion affecting judgment
- Group moments needing full attention
Real-World Performance: What This Kit Actually Delivers
What the Files Look Like on Tour
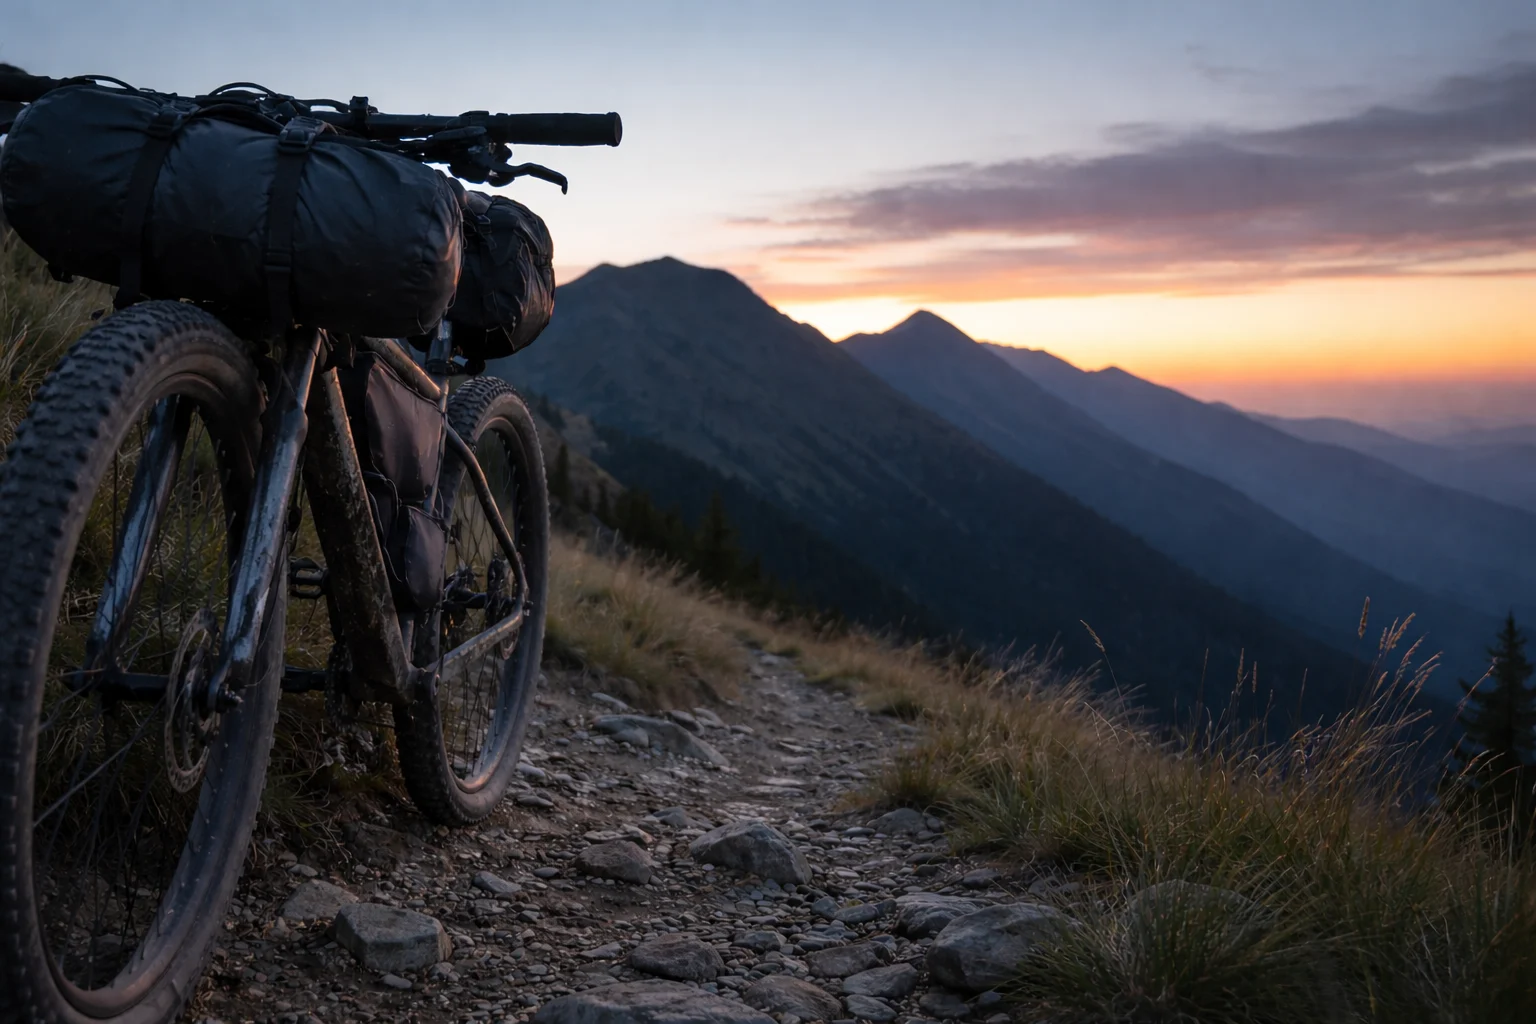
The RX100 VII gives me more zoom reach and editing latitude than my phone while staying pocketable enough to use at short stops. That matters for landscapes, distant riders, and low-light camp scenes without adding a lens change.
The Trade-Offs I Accept
The setup is heavier than a phone, but it still fits in a pocket or hip pack, and the 24–200mm zoom covers the shots I most often take without a lens change.
- No lens swaps (zoom covers 90%)
- Spare batteries so I don’t rely on cable charging
- Minimal accessories (less fiddling)
After long-distance use, the pattern is simple: fewer failure points, faster access, and basic protection matter more than another lens or accessory.
Bikepacking Camera Kit FAQ
Build and Test Your Camera Kit
The stills kit lands around 1 lb 2 oz. Adding the Action 6 setup brings it to roughly 1 lb 10 oz–1 lb 14 oz, depending on mounts and spare batteries.
If you want one practical starting point, use the ultralight camera kit for bikepacking above (RX100 + simple case + 1–2 spares), then add video only if you’ll actually use it.
The Setup at a Glance
| Category | Item | Weight | Essential? |
|---|---|---|---|
| Camera | Sony RX100 VII + VCT-SGR1 shooting grip | ~395g | Yes |
| Protection | Lacdo RX100 case | ~80g | Yes |
| Storage | 256GB SDXC card + one spare card | Negligible | Yes |
| Power | One or two NP-BX1 spare batteries | ~25–50g | Yes |
| Weather backup | 5L roll-top dry bag | ~135g / 4.8 oz | Situational |
| Optional video | DJI Osmo Action 6 + compatible handlebar mount | ~243g | No |
| Total (stills) | Camera, grip, case, card, and one or two spares | About 1 lb 2 oz | — |
Use the full kit table for product details and current merchant links.
Test It Before the Big Trip
- Assess your current setup — what’s working, what’s annoying, what’s too heavy?
- Choose your tier — phone, compact, action, or premium?
- Test before you travel — one local overnighter beats forum reading
- Protect the failure point — power and weather kill more trips than specs
- Practice your workflow — speed matters more than fancy settings on tour
- Test one upgrade on a local ride before your big trip.
The goal isn’t the lightest possible kit—it’s a setup you can access quickly, protect in bad weather, and keep powered through the trip. Start simple, test it on a real ride, and upgrade only what limits you.
For more systems, see the full bikepacking gear guide. For the broader lens on protecting and carrying your camera on the bike, see the bikepacking photography gear guide.
The Best Camera Is the One You’ll Use
After enough miles (and a few expensive lessons), I learned this: the best bikepacking camera is the one you’ll actually pull out. Pick your tier. Prioritize instant access. Set your rain rule. Then go ride. If you come home with photos you love and gear that survived, you nailed it.
This guide is general education, not personalized gear or safety advice. Conditions, budgets, and risk tolerance vary. Test your setup before big trips.