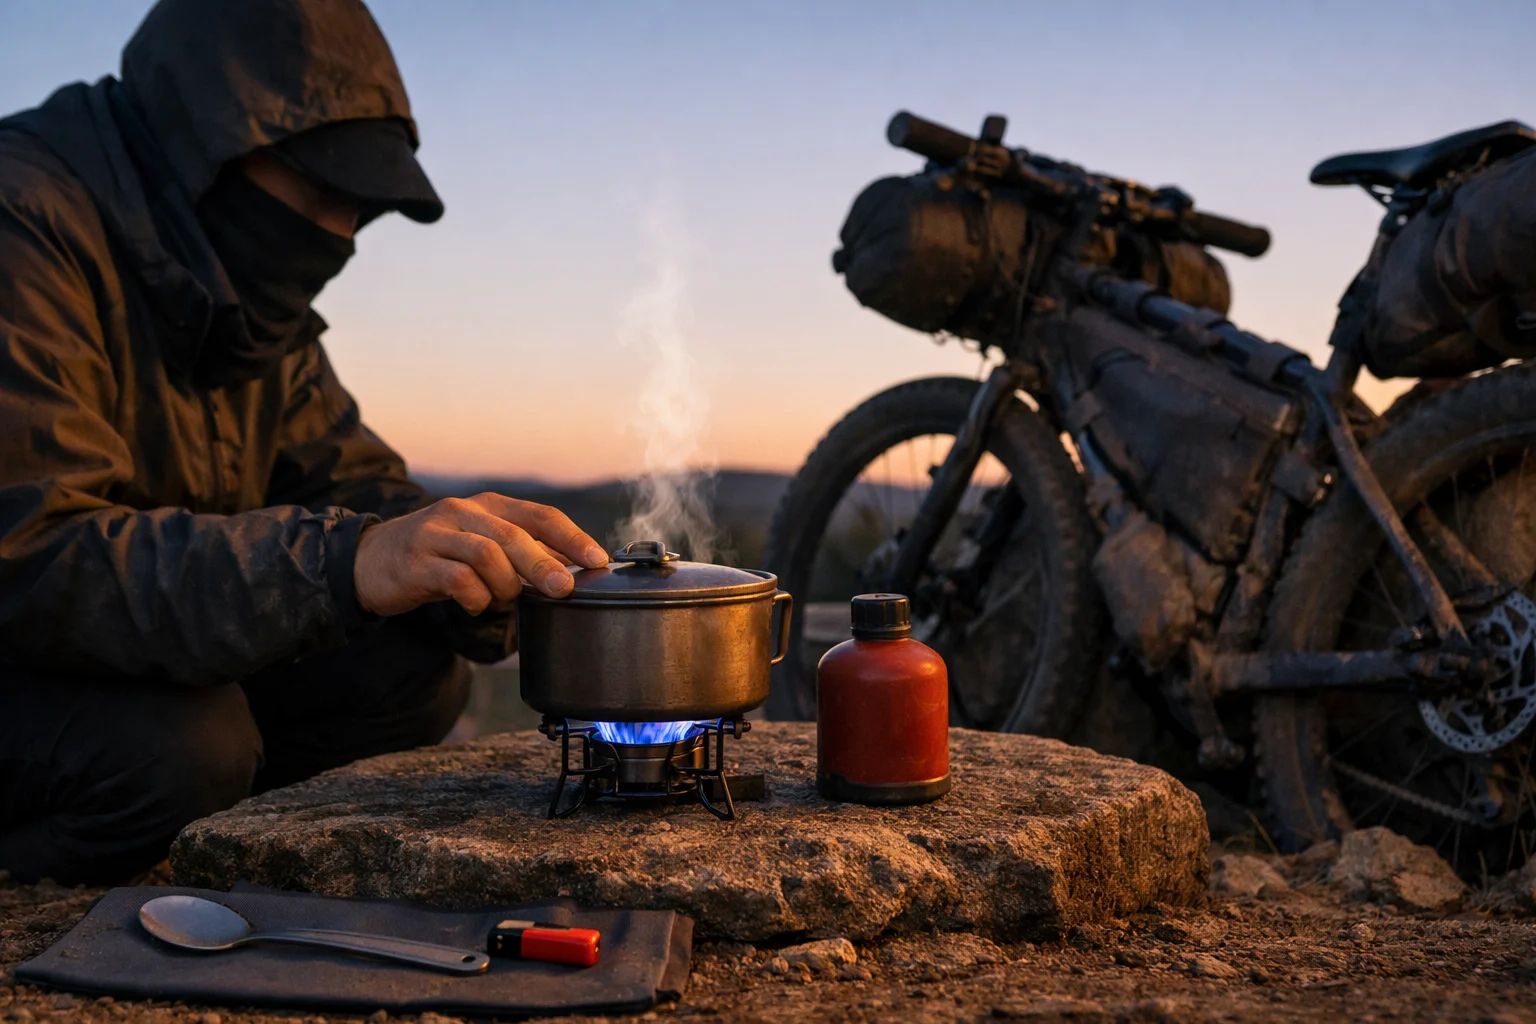
You’re 40 miles in, it’s getting cold, and dinner needs to happen fast. A bikepacking cooking system doesn’t need gadgets—it needs one reliable setup you’ll still use when you’re tired. Keep it small, repeatable, and easy to pack. That’s how you actually end the day with a hot meal.
Your route should shape the cooking system: available fuel, expected weather, and how much cooking you actually plan to do. This guide compares canister, alcohol, multi-fuel, and no-cook setups by typical weight, where each works best, and the trade-offs involved, then helps you choose with a quick selector. For the rest of your bikepacking setup, see our bikepacking gear guide.
Last updated: July 2026
This page contains Amazon affiliate links. As an Amazon Associate, I earn from qualifying purchases at no extra cost to you. Amazon links are labeled #ad. Learn more.
Table of Contents
- Find Your Best-Fit Cook Kit
- Why Minimalist Cooking Wins for Long-Term Bikepacking
- Minimalist Setups That Actually Work
- Choose a stove fast (60 seconds)
- Simple Bikepacking Meals with Buy-Anywhere Ingredients
- Frequently Asked Questions
- Your Final Cook-Kit Check
Find Your Best-Fit Bikepacking Cook Kit
Not sure whether you need a canister stove, alcohol setup, multi-fuel kit, or no-cook system? Answer three quick questions about your route, cooking style, and constraints to get a practical starting point.
Choose one answer in each row. Your recommendation updates instantly.
Your best-fit setup: Fast Canister Micro-Kit
This fits trips with regular resupply and mild-to-mixed conditions when you want quick boils, simple setup, and a compact kit.
💡 Tip: Use natural shelter or a stove designed for wind. Never enclose an upright canister stove or fuel canister with a windscreen unless the manufacturer explicitly allows it.
Minimal kit checklist
- Small canister stove
- 750–900ml pot + lid
- Long-handled spoon
- Mini lighter + backup matches
- Tiny scrub pad
Why Minimalist Cooking Wins for Long-Term Bikepacking
Ever seen someone unpack half a kitchen… then stare at it like it’s homework? The longer the trip, the more you’ll love a cook kit that’s boring in the best way: quick, repeatable, and hard to mess up.
After a few trips where dinner became a headlamp scramble, I started optimizing for “boring and reliable”—because that’s what actually gets you fed when you’re wiped.
Less weight, less friction
That “small” extra item adds up after a week of climbs. And when your setup is simple, you’re not hunting for missing pieces at dusk.
Simple systems survive bad moments
When it’s raining, you’re hungry, and your hands are numb, complicated gear feels twice as annoying. On my longer tours, the kit I keep using is the one with the fewest decisions: stove, pot, spoon, lighter, tiny scrub pad.
Resupply gets easier
If your fuel plan is straightforward, your route isn’t dictated by “where can I find my exact thing?” That flexibility is what opens up better riding.
If you want to sanity-check your setup, do a quick “camp test” at home: set your pot and stove on a table, pretend it’s dark, and see if you can be cooking in under 120 seconds.
Minimalist Setups That Actually Work
Below are four real-world minimalist bikepacking cook kits that work on long tours. If you’ve ever finished a hard day, dug through bags in the dark, and thought “why is dinner this complicated?”—this section is for you. The weights are typical ranges (brands and pot sizes change the numbers), but they’re close enough to plan your packing honestly.
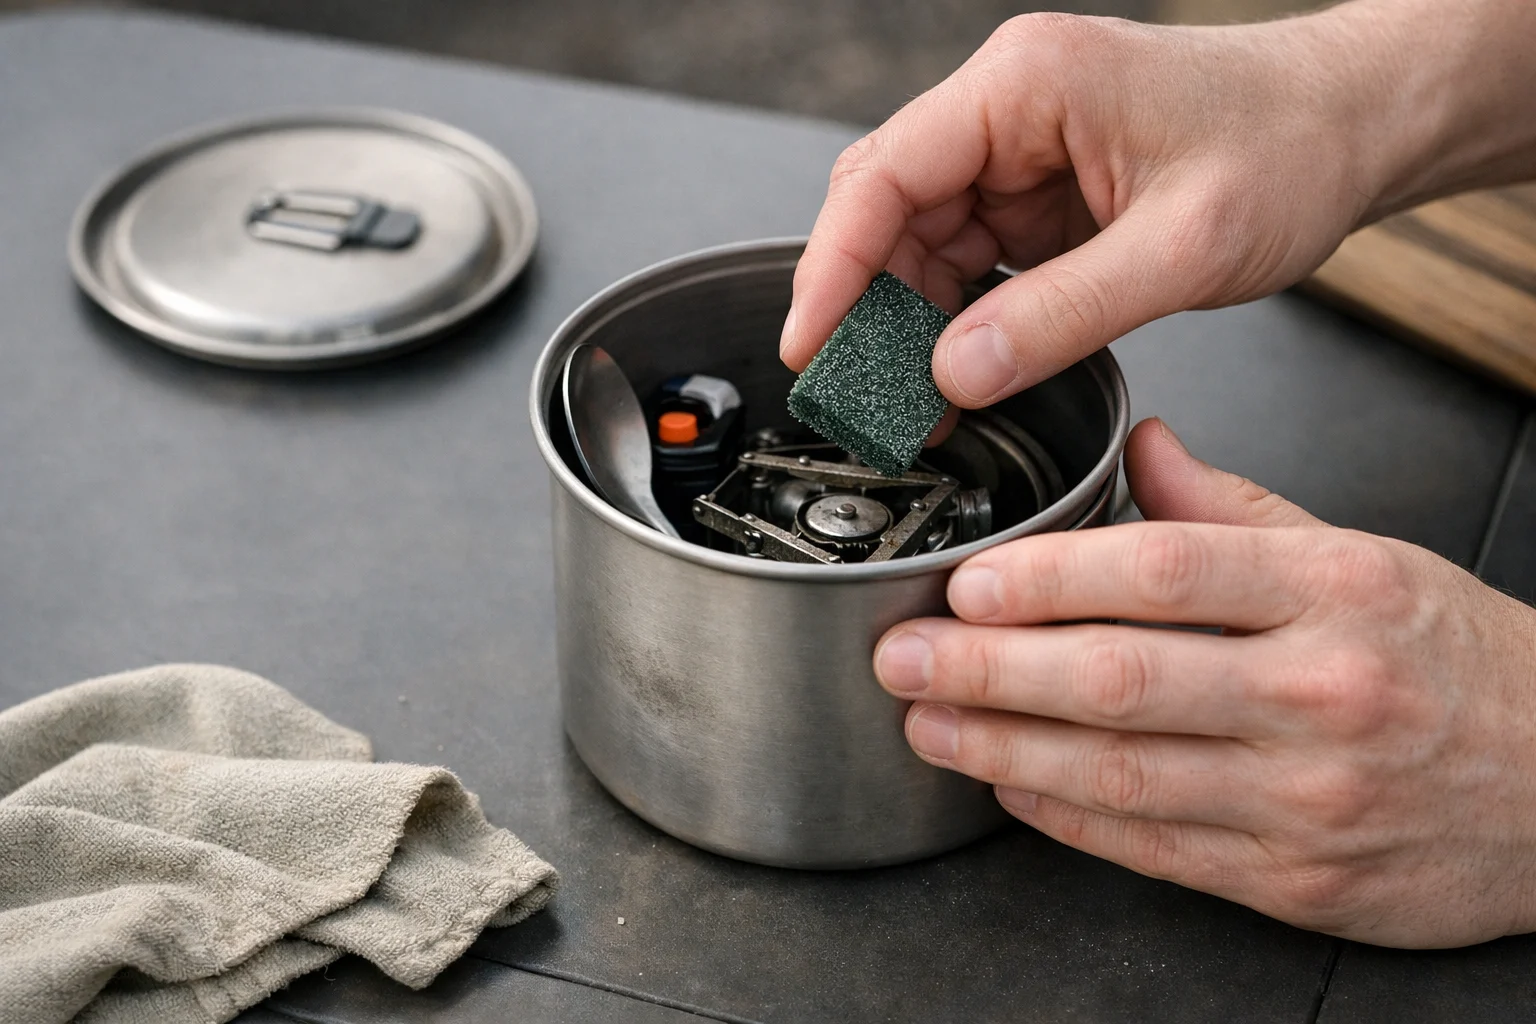
Micro-action: Pick one setup below and pack it into your pot. If it does not nest cleanly in 60 seconds, remove one extra before your first ride.
What to Cut First in an Ultralight Cook Kit
If you’re chasing minimum weight, cut the “just in case” extras before you cut the basics. For an ultralight cooking kit bikepacking riders actually stick with, a lid, a reliable lighter (with backup), and a pot that’s big enough to actually eat from usually matter more than shaving 20 grams off a spoon.
1) Fast Canister Micro-Kit (best for most trips)
Small canister stove + 750–900ml pot/lid + long spoon + lighter.
Typical total: ~300–450g (stove ~60–110g, pot/lid ~120–200g, spoon/lighter ~30–60g).
Example stoves: compact upright canister burners. If you camp exposed a lot, prioritize wind resistance and a sheltered cook spot over “more stove.”
2) Budget Alcohol Kit (best for slow travel + quiet camp nights)
Alcohol burner + pot/lid + a burner-appropriate windscreen + lighter, where open-flame rules allow it.
Typical total: ~250–400g (burner ~15–45g, windscreen ~15–40g, pot/lid ~120–200g).
Example burners: simple alcohol burners (Trangia-style) or DIY-style burners if you know what you’re doing.
3) Remote / Cold / Uncertain-Fuel Kit (best for cold or uncertain resupply)
Multi-fuel stove + fuel bottle + pot/lid + basic tool/spares.
Typical total: ~650–1,050g (stove ~250–450g, bottle empty ~150–250g, pot/lid ~150–250g).
Example stoves: WhisperLite-style or Omnifuel-style multi-fuel setups (more reliable, more maintenance).
4) No-Cook / Cold-Soak Kit (best for heat + simplicity)
Leakproof jar + spoon.
Typical total: ~120–250g depending on container.
Example containers: screw-top jars with a reliable seal (the “doesn’t leak in a frame bag” test matters).
Three Stove-and-Pot Setups That Make Sense
Start with the all-around combo. Choose the WindMaster only when exposed camps are routine, and drop to the 550ml pot only when your meals are truly boil-only.
| Setup | Stove | Pot | Best for |
|---|---|---|---|
| All-around combo |
MSR PocketRocket Deluxe Reliable lighting and useful simmer control. |
TOAKS Titanium 750ml Balanced solo size for boiling and simple cooking. |
Most solo trips |
| Wind upgrade |
SOTO WindMaster Better when exposed or gusty camps are routine. |
750ml pot Keep the balanced size; improve the stove, not the bulk. |
Coastal, alpine, and shoulder-season routes |
| Boil-only weight cut |
Your current canister stove No need to replace a stove that already works. |
TOAKS Light 550ml Good for coffee and quick meals; tight for stirring. |
Ultralight boil-only trips |
Weights vary by version and accessories and exclude fuel.
If you want a “default answer” that’s easy to live with when you’re tired, choose a stove with clean lighting and decent control. It makes dinner feel simple instead of fiddly—especially when you’re cold and just want to be eating.
Once you’ve picked a stove you trust, the pot becomes the “home base” for your whole kit. A 750ml pot is the balanced solo choice: enough room to stir and eat from without jumping to a bulkier cook pot.
For utensils, a long-handled spoon reaches deep meal pouches and makes eating from the pot less messy. The TOAKS Titanium Long Handle Spoon is a low-fuss choice that wipes clean quickly.
A reliable setup is only as good as the place you cook it—shelter matters more than most gear upgrades. Before you blame the stove, try cooking lower and out of the breeze.
Your “best” kit changes with the route. Mild + frequent resupply? Keep it simple. Remote or cold? A little extra reliability beats shaving grams.
How to Choose the Best Bikepacking Stove (In 60 Seconds)
- If you’ll resupply in towns and want fast boiling: go canister.
- If you’re riding slow, like simple/cheap, and temps are mild: alcohol can be great.
- If you’re crossing remote areas, cold nights, or uncertain fuel access: consider multi-fuel.
- If it’s hot, you hate cooking, or you want a lighter day: go no-cook/cold-soak.
If you’re choosing your first setup, the best bikepacking stove is usually the one you can reliably fuel on your route (not the one with the most features).
Threaded canister fuel is convenient when it is available, but it can be difficult to source on long or international routes. Liquid and multi-fuel stoves offer broader fuel options and generally perform better in cold conditions, but they add weight, priming, and maintenance. Confirm the exact fuel sold at your next resupply and match the setup to your worst-case night.
Safety + rules (don’t skip this)
Carbon monoxide: use a backpacking stove outdoors. Do not use one inside a tent, vehicle, camper, or other enclosed space unless the manufacturer explicitly states that the appliance is designed for that use. The U.S. Consumer Product Safety Commission warns that fuel-burning camping equipment can create deadly carbon monoxide in enclosed spaces; review its camping-equipment safety guidance.
Fire restrictions are real: restrictions can prohibit camp stoves as well as campfires during severe fire danger. Check the current order for every agency and jurisdiction on your route; the National Interagency Fire Center explains that Stage II restrictions may prohibit camping stoves.
Fuel compatibility: use only the fuel and setup allowed by the stove manufacturer. Do not improvise with third-party adapters or enclose an upright stove and canister in a windscreen; the SOTO WindMaster instructions, for example, prohibit 100% propane and warn against covering the stove or canister because of overheating risk.
Flying with a stove: the TSA allows camp stoves in carry-on or checked baggage only when they are completely empty and cleaned so no fuel vapors or residue remain. Cooking fuel is prohibited; also confirm the airline and destination-country rules.
Common pitfalls to watch for: wind can wreck boil times, cold temps can make canisters feel “weak,” alcohol stoves aren’t great at real simmering, and multi-fuel stoves need occasional cleaning if you’re burning whatever you can find.
Quick check: Write down your next reliable resupply point and the coldest conditions you expect. Choose a stove-and-fuel system that works for both.
Simple Bikepacking Meals with Buy-Anywhere Ingredients
These are the meals that keep you moving because they’re easy to find, easy to cook, and forgiving when you’re tired. If you’re unsure, start with boil-only dinners and add variety slowly. For calorie targets, snack timing, and resupply planning beyond the cook kit itself, use the bikepacking trail nutrition guide.
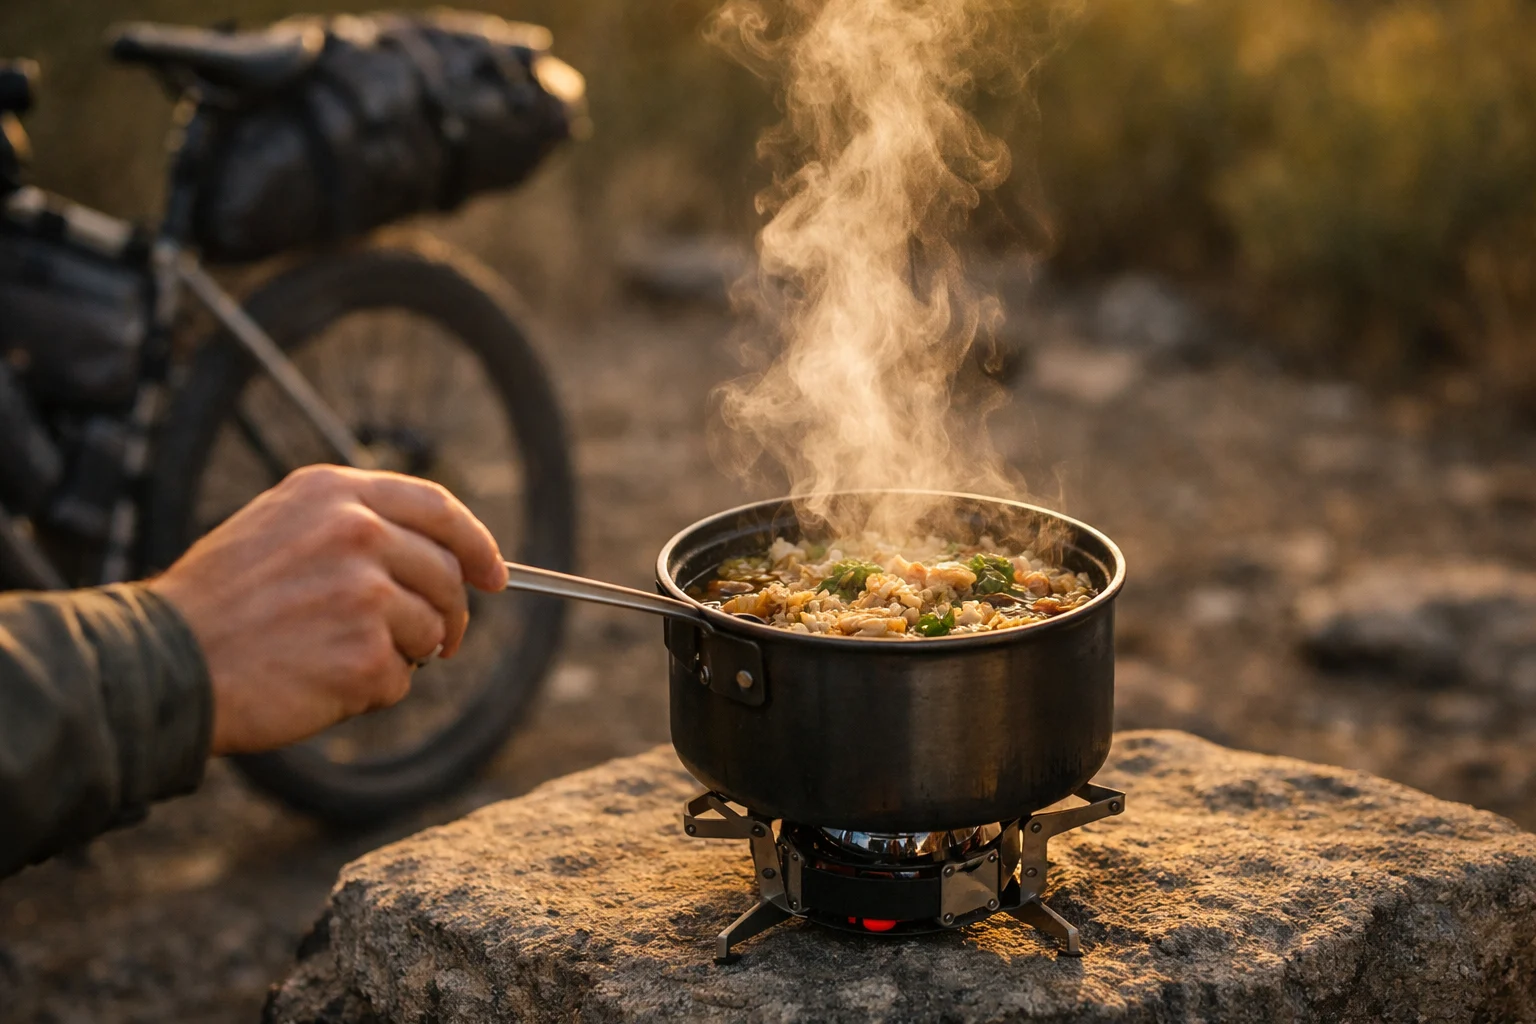
One-pot meals (5)
- Oats + nuts + dried fruit (breakfast)
- Couscous + tuna/beans + olive oil (fast dinner)
- Ramen + eggs/jerky + greens (salty recovery)
- Instant mash + cheese + salami (cold-night comfort)
- Rice/noodle packet + curry/soup mix + canned veg (big calories)
On the tired nights, cold meals can save the day. You’re not failing—you’re just choosing the easiest path to “fed.”
No-cook bikepacking meals (3)
- Cold-soaked oats (overnight)
- Couscous + olive oil + spices (10–15 min)
- Tortillas + peanut butter + bananas (no mess)
Coffee on the road (optional)
If coffee is part of your “reset,” the AeroPress Go makes a genuinely good cup in a compact package. At roughly 230g, though, it is a comfort choice—not part of the minimalist core kit.
Pre-ground coffee plus a quick rinse is the whole routine. Skip the press entirely when instant coffee is good enough.
Frequently Asked Questions
Your Final Cook-Kit Check
Choose the simplest setup that still works on your coldest expected night and with the fuel you can realistically resupply. That gives you a bikepacking cooking system you can trust when you’re tired, hungry, or setting up late. For practical meals that work with any of these setups, see the one-pot bikepacking meals guide.
Before your next trip: Use the exact kit you plan to carry to boil your usual water amount, make one normal meal, eat from the pot, clean it, and repack everything. Remove anything you did not use; fix anything that required borrowing, improvising, or extra cleanup.
This guide is for general education only and isn’t personalized advice. Stove safety, fuel rules, and local fire restrictions vary—if you’re unsure what’s appropriate where you’re riding, check local guidance or ask a qualified professional/outfitter. Your conditions and results may vary depending on weather, elevation, and experience.