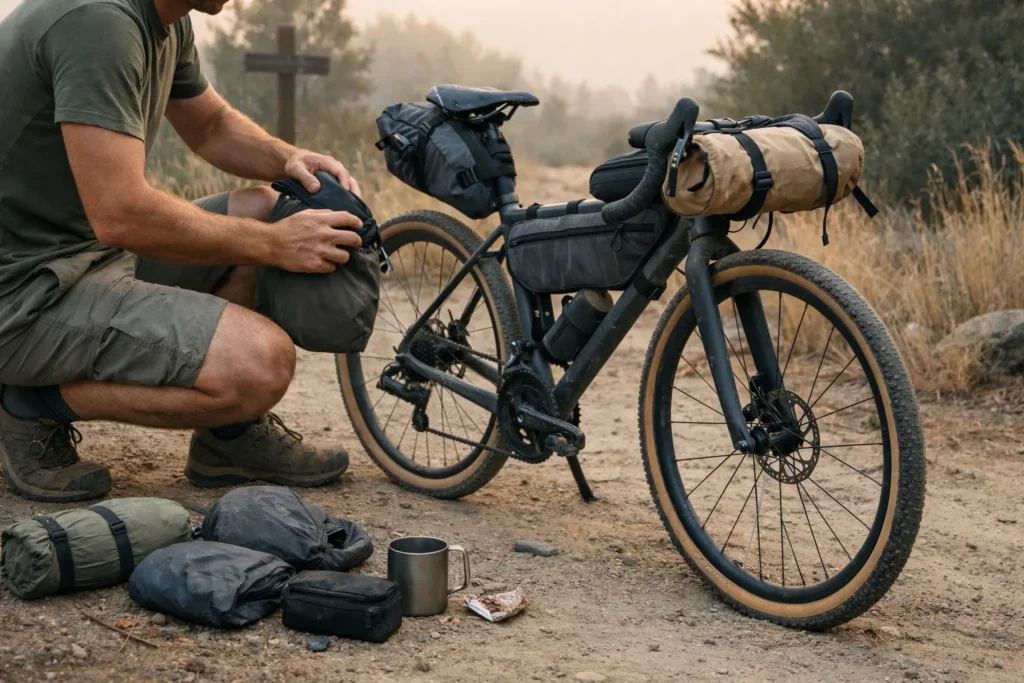
Day 3. Somewhere in the high desert, mid-afternoon, and I was pushing my loaded bike up a climb I should have been riding. My legs had stopped communicating with my brain about forty minutes earlier. I reached into my frame bag, pulled out a half-crushed jar of peanut butter I’d been saving, and ate it with my fingers standing on the side of the road. That’s a bonk — a full, stupid, completely avoidable bonk caused by one thing: no trail nutrition strategy. I’d packed 2,600 calories for a day that burned closer to 4,000.
Here’s what I know now: the problem was never the food itself. It was having no system. No calorie target, no resupply rhythm, no framework I could trust when I rolled into a tiny town at 7pm with one store left open. This article is that system — real numbers, real foods, and a repeatable approach to bikepacking food that works whether your next resupply is a gas station or a supermarket. Food is just one piece of the full kit — our complete bikepacking gear guide covers the bags that carry it and everything else you’ll need on multi-day tours.
Last updated: July 2026.
This page contains Amazon affiliate links. As an Amazon Associate, I earn from qualifying purchases. There is no extra cost to you. Amazon links are labeled #ad. Learn more.
Table of Contents
- Trail Nutrition Basics: How Many Calories Do You Actually Need?
- Trail Nutrition Framework for Bikepacking
- Calorie Density — The One Number That Changes Everything
- Real Resupply Foods by Store Type
- Resupply Rhythm — How Many Days to Carry
- Full No-Cook Day Example
- Appetite Fatigue: Why You’ll Hate Your Food by Day 6 (And How to Fix It)
- The 3-Day Haul — Sample Shopping List
- Bikepacking Food Carry Planner
- Common Beginner Mistakes
- The System, Condensed
- Frequently Asked Questions
- Make Food the Easy Part of Your Tour
Trail Nutrition Basics: How Many Calories Do You Actually Need?
Most beginners still lowball food, but there is no trustworthy one-line equation that can calculate every rider’s daily energy need from body weight and mileage alone. I use the rule below as a packing estimate, not as measured calorie burn:
Example: 155 lb rider, 65 miles = about 4,925 calories to pack around
Treat the result as a starting point, then adjust for elevation, pace, heat, headwind, load, appetite, recovery, and what your own ride data shows.
TrainerRoad’s current cycling nutrition guide recommends estimating total needs from resting requirements plus activity and notes that a power meter’s ride kilojoules can provide a useful estimate of cycling energy expenditure. That is a better calibration method when you have the data. Without it, plan conservatively, carry a modest buffer, and adjust over several days rather than treating one formula as a prescription.
Here’s what 4,000 calories actually looks like spread across a riding day:
| Meal | Food | Approx. Calories |
|---|---|---|
| Breakfast | 2 tortillas + peanut butter + banana | 650 |
| On-bike snacks (hourly) | 2 bars, trail mix, chips, chocolate | 1,200 |
| Lunch | Tortilla wrap, shelf-stable meat, and cheese carried according to the package directions and conditions | 850 |
| Recovery snack | Chocolate milk or Nutella + crackers | 400 |
| Dinner | Couscous + olive oil + nuts + tuna packet | 900 |
| Total | ~4,000 cal |
Trail Nutrition Framework for Bikepacking
The structure that works isn’t complicated, but you have to commit to it from day one — not day six when you’re already struggling.
Keep part of each day’s fuel within reach. Whatever’s in your handlebar or top tube bag is your on-bike supply. For rides lasting longer than an hour, TrainerRoad’s guide uses 60–90g of carbohydrate per hour as a practical starting point and suggests spreading it across the hour. Treat that as a performance-fueling range to test, not a compulsory target for every easy ride or every stomach. A top tube bag keeps snacks in front of you without forcing a stop.
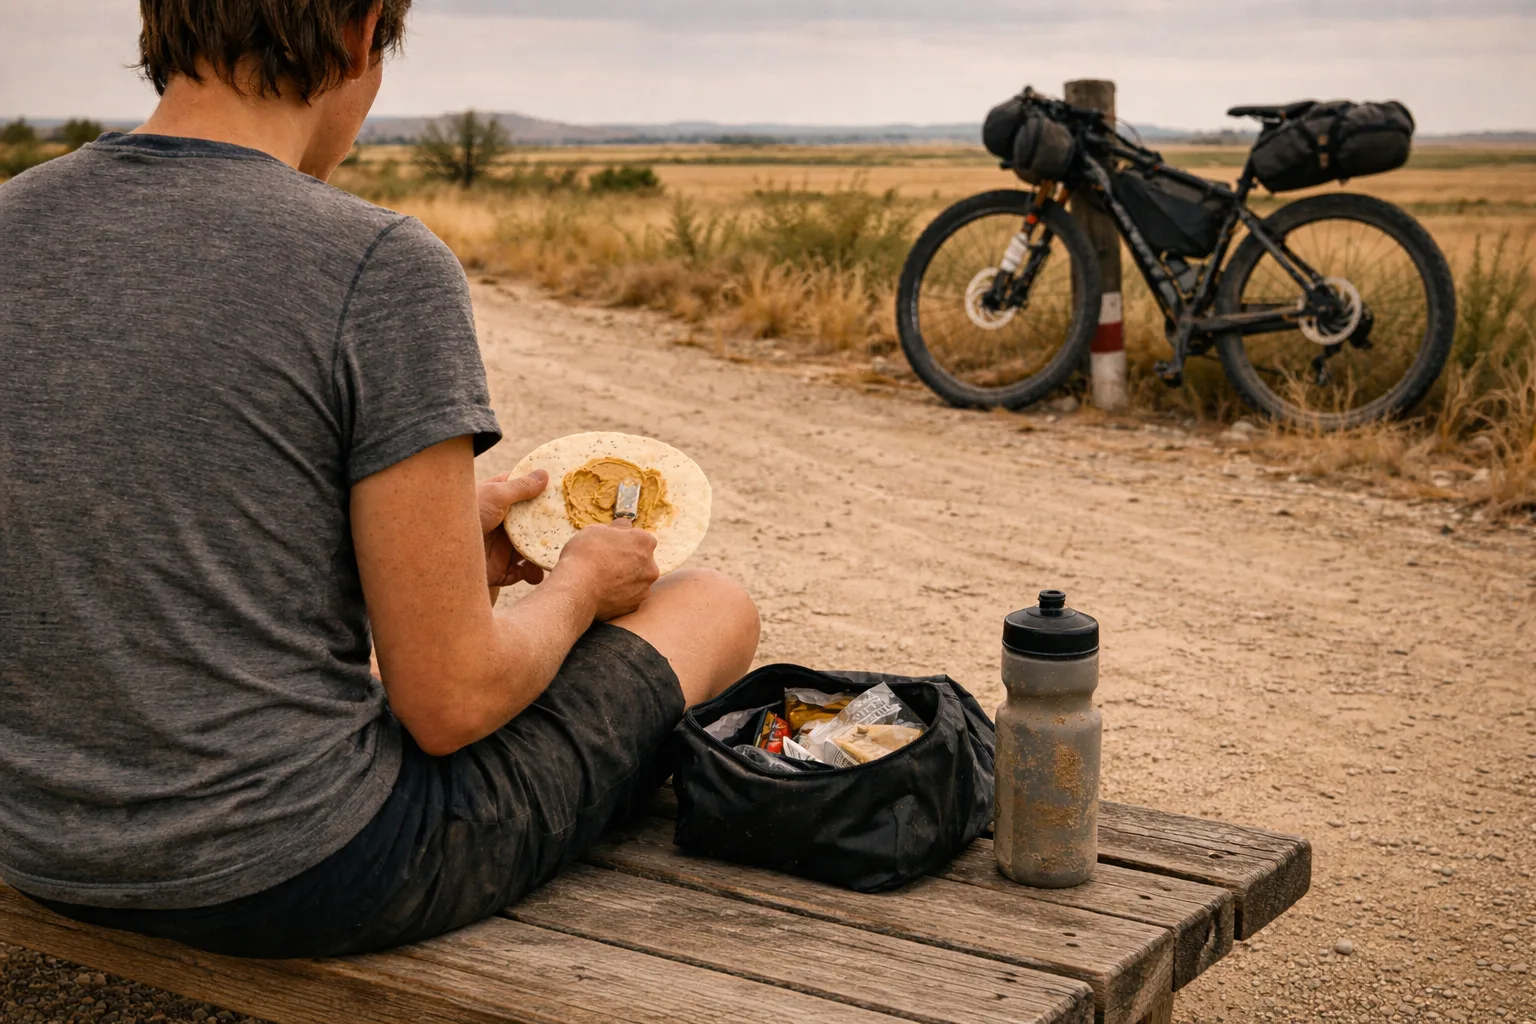
Breakfast is non-negotiable. Even if you’re not hungry. A cold tortilla with peanut butter takes 90 seconds and keeps you out of trouble for the first two hours.
No-cook dinner is not failure — it’s strategy. After a long day you often don’t want to cook. You want to eat and sleep. A no-cook dinner that works: tortilla + shelf-stable sausage + hard cheese only when the package and conditions allow unrefrigerated carry + crackers + Nutella for dessert. That’s 800–1,000 calories and zero cleanup. If you’re still working out your stove setup, the minimalist bikepacking cooking system covers which setup actually makes sense for multi-week touring.
A 50/50 sweet–savory split from day one. Not day six. If you front-load sweet bars, by day four they’ll taste like cardboard and you’ll be craving something — anything — salty. Pack the balance from the start.
Calorie Density — The One Number That Changes Everything
On a bike, every gram of food is weight you’re carrying up every hill. Calorie density (calories per 100g) is the metric that separates good touring food from bad — and choosing the right calorie dense foods for backpacking and bikepacking is the fastest way to cut pack weight without cutting energy. Here’s the cheat sheet. Treat every value as approximate and check the package label for the exact product you buy:
| Food | Cal / 100g | Verdict |
|---|---|---|
| Olive oil | 884 | 🏆 Elite — add to everything |
| Peanut butter | 588 | 🏆 Elite — buy always |
| Nuts (mixed) | 560–650 | ✅ Excellent |
| Nutella | 539 | ✅ Excellent |
| Summer sausage / salami | 400–450 | 👍 Dense and savory, but carry only when the label says shelf-stable |
| Hard cheese | 380–420 | 👍 Dense, but carry only when the label and conditions support unrefrigerated storage |
| Chocolate / Snickers | 490–540 | ✅ Excellent snack |
| Tortillas | 290–310 | 👍 Good base — light, durable |
| Chips (potato/corn) | 520–550 | 👍 Underrated — salty + dense |
| Couscous (dry) | 370 | 👍 Cheap hot meal base |
| Bread (sliced) | 230–260 | ⚠️ Okay — crushes, goes stale fast |
| Fresh fruit | 50–80 | 👍 Eat at the stop or carry only for a short first leg |
| Cooked rice pouch | 120–140 | ❌ Terrible density — avoid |
| Yogurt | 60–100 | ⚠️ Refrigeration-dependent — eat at the stop unless you can keep it cold |
The practical rule: anything below 300 cal/100g needs a very good reason to be in your bags. Everything above 500 cal/100g is gold. Olive oil is the secret weapon — a 250ml bottle weighs 230g and contains 2,000 calories. Add a splash to your couscous every night and you’ve just turned a low-calorie meal into a proper one. After testing this on several multi-week tours, the riders who struggled most with energy weren’t eating too little food — they were carrying the wrong food.
Worth calling out separately: protein still matters alongside carbohydrate. Tuna packets, nuts, shelf-stable meat, and other practical sources can help you spread protein across the day, but the right amount varies with body size, total intake, and training load. The goal here is regular food, not turning every meal into a rigid macro target.
Real Resupply Foods by Store Type
Most resupply articles were written by someone who’s never been inside a rural gas station at 8pm. Here’s what you’re actually working with — and how to work it.
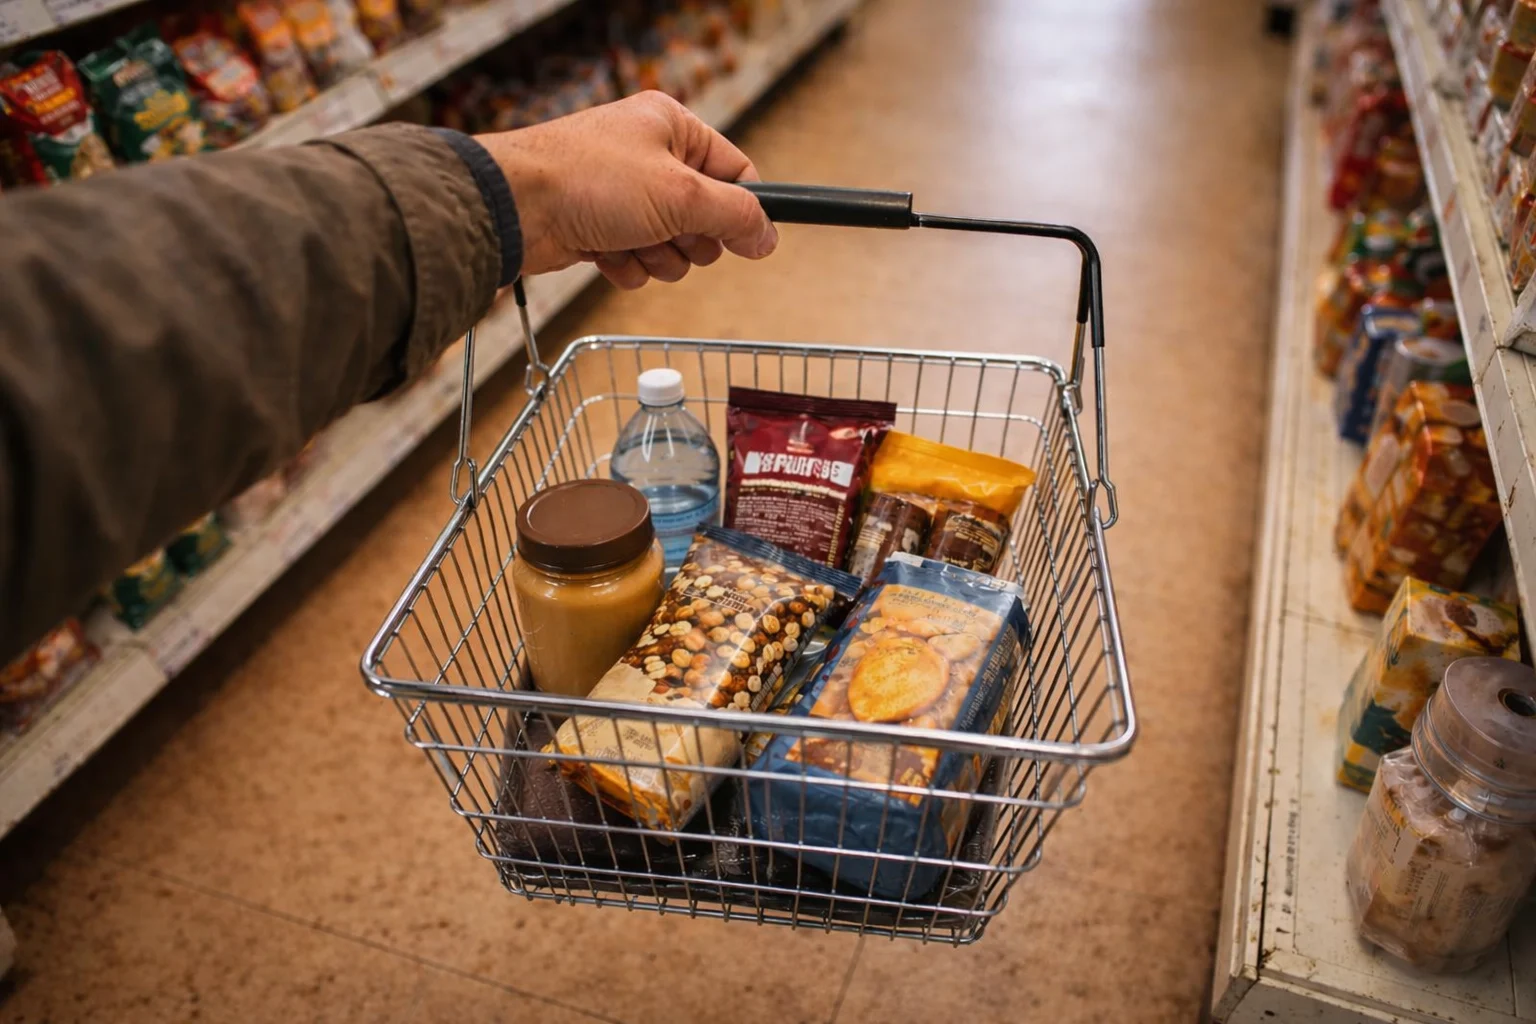
Gas station / C-store
- Peanut butter packets (single-serve) or small jar
- Snickers, Reese’s, Twix — better calorie density than most energy bars
- Chips — potato, corn, pork rinds (pork rinds: ~540 cal/100g, seriously underrated)
- Tortillas — some larger convenience stores carry them near the bread
- Shelf-stable meat sticks near the register — check the package before carrying them unrefrigerated
- Chocolate milk — a convenient carbohydrate-and-protein option when it is cold and you drink it at the stop
- Instant oatmeal packets if there’s a microwave
- Salty snacks or broth packets — useful sodium sources on long or hot days, but not a complete one-size-fits-all hydration plan
Small town grocery
- Hard cheese only when the package guidance and expected temperatures make it appropriate
- Salami or pepperoni only when it is specifically labeled shelf-stable
- Peanut butter (jar)
- Nuts — choose a package size that matches the next segment
- Tortillas (flour, large)
- Couscous, instant mashed potato, or ramen
- Olive oil (small bottle)
- Tuna packets (not cans — lighter, easier to eat on the road)
- Crackers (Ritz, Triscuits — dense and durable)
- Nutella (small jar)
- Chocolate bars × 2–3
Food-safety rule: Do not assume that every hard cheese, sausage, or meat stick is trail-stable. Choose products explicitly labeled for room-temperature storage, follow the package after opening, and keep ordinary perishables cold. The USDA shelf-stable food guidance explains why processing and packaging—not the product name alone—determine whether food can safely travel unrefrigerated.
Big resupply (every 5–7 days)
Everything above, plus a hot meal at a restaurant before you leave, fresh fruit eaten at the stop or carried only for the first short leg, and a replacement of anything worn out — stove fuel, sunscreen, batteries. The 40L bikepacking packing list shows how food weight fits into your full load without tipping the balance.
Resupply Rhythm — How Many Days to Carry
For many riders, four days is a useful comfort limit rather than a universal rule. Longer gaps can be completely legitimate, but they demand a route-specific check of food density, water, weather, terrain, storage volume, and bailout options. Reroute only when the combined carry or risk no longer makes sense for you.
| Gap between resupply | Food weight (3,500 cal/day) | Strategy |
|---|---|---|
| 1–2 days | 1.5–3 kg (3–7 lbs) | Carry light — buy fresh at gas stations |
| 3 days | 3–4.5 kg (7–10 lbs) | Standard carry — high-density foods only |
| 4 days | 4.5–6 kg (10–13 lbs) | Heavy — ruthless on density, zero dead weight |
| 5+ days | 6+ kg (13+ lbs) | Heavy carry — recheck water, terrain, storage, bailouts, and food density before committing |
Buy on arrival, not on departure. When you hit town tired at 6pm, the instinct is to grab whatever’s closest and leave. That’s when you overpack day-1 food and underpack the back half. Instead: buy for the full stretch, pack the first day’s food last so it’s accessible, and put dinners at the bottom of the pannier. And while you’re in the store — check your water carry plan too. Remote sections that need 4 days of food often have equally long gaps between reliable water sources.
Full No-Cook Day Example
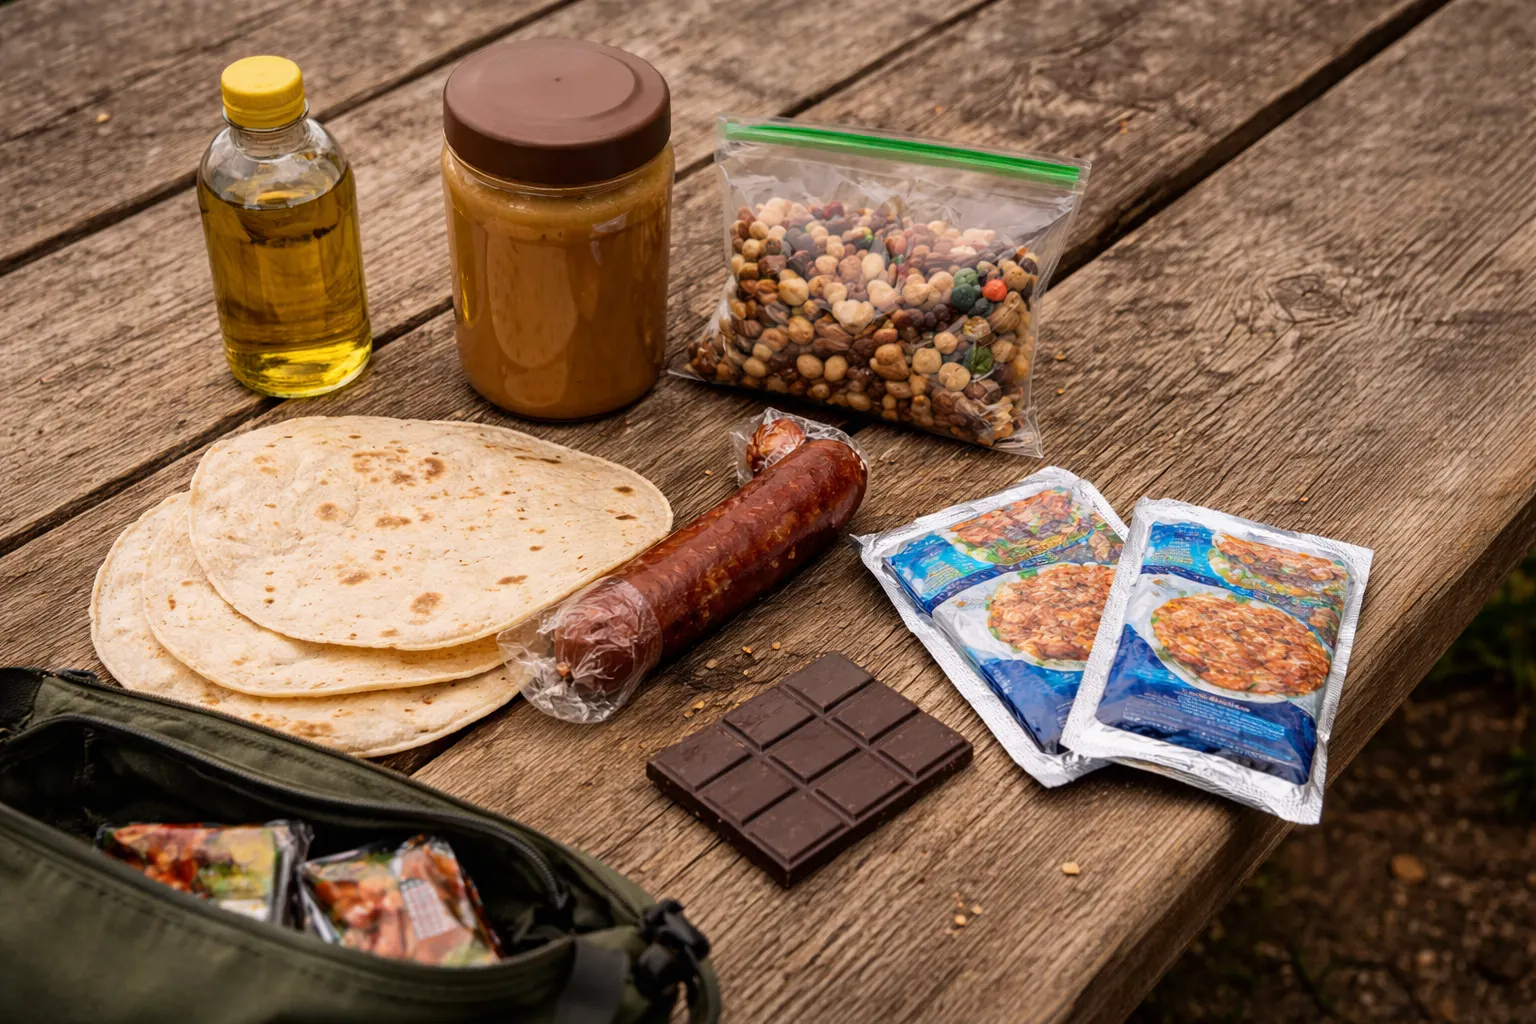
No stove, no problem. The best no cook bikepacking meals are the ones you can build from whatever’s in a small-town grocery or gas station — no special ingredients, no prep. Here’s a complete 3,400+ calorie day without cooking anything:
| Time | Food | Calories |
|---|---|---|
| 7:00am — Breakfast | 2 large tortillas + 4 tbsp peanut butter + banana (eat it, don’t carry it) | 700 |
| 9:00am — Snack | Snickers + handful of nuts | 450 |
| 10:30am — Snack | Chips (small bag) + pork rinds | 400 |
| 12:30pm — Lunch | Tortilla + shelf-stable sausage + hard cheese suited to the conditions + mustard packet | 750 |
| 2:30pm — Snack | Trail mix + chocolate bar | 500 |
| 4:30pm — Snack | Crackers + Nutella | 350 |
| 7:00pm — Dinner | Tortilla + tuna packet + hard cheese suited to the conditions + olive oil drizzle + crackers | 700 |
| Total | ~3,850 cal |
Appetite Fatigue: Why You’ll Hate Your Food by Day 6 (And How to Fix It)
Nobody talks about this, but every multi-week rider knows it: somewhere around day 5 or 6, the Snickers that tasted incredible on day 2 now makes you feel slightly sick. Sweet bars stop working psychologically. You start fantasising about salt, vinegar, hot food — anything that isn’t a bar.
This is appetite fatigue, and if you don’t plan for it, it’ll wreck your calorie intake right when you need it most. The fix: build the savory rotation into your kit from day one. Every resupply, aim for roughly 50% sweet (bars, chocolate, dried fruit) and 50% savory (chips, crackers, cheese suited to the conditions, shelf-stable sausage, peanut butter). A few savory rescues that work when everything sweet is unbearable:
- Instant ramen or soup packet — even cold, the salt hit is powerful
- Shelf-stable salami + crackers + hot sauce packet
- Broth or bouillon in hot water — a salty, savory option rather than a complete electrolyte formula
- Plain chips with olive oil drizzled in — sounds odd, works brilliantly
- Miso soup sachets if your grocery carries them
Cheap hydration approach: Plain water plus salty foods can be practical on long, hot days, and broth can add sodium and variety. Needs vary with sweat rate, duration, heat, and the rest of your diet, so skip fixed cube-per-litre rules and do not force excessive fluid. The CDC Yellow Book heat guidance recommends matching fluid and salt replacement to conditions and warns that overdrinking can also be dangerous.
The 3-Day Haul — Sample Shopping List
This is one workable 3-day carry for a 165 lb rider planning around 65 miles per day. It is a packing example, not a universal prescription: package sizes, nutrition labels, store inventory, food tolerances, weather, and actual energy needs all vary. The list lands near 14,000 calories with a small buffer and keeps the sweet-savory mix balanced.
| Item | Quantity | Approx. Calories | Weight |
|---|---|---|---|
| Flour tortillas (large) | 1 pack (8) | 1,600 | 380g |
| Peanut butter | 1 medium jar (340g) | 2,000 | 340g |
| Mixed nuts | 400g bag | 2,400 | 400g |
| Hard cheese (only when label and conditions allow) | 200g | 820 | 200g |
| Shelf-stable sausage / salami (check label) | 200g stick | 860 | 200g |
| Tuna packets | 3 packets | 300 | 270g |
| Couscous (dry) | 300g | 1,110 | 300g |
| Olive oil (small bottle) | 250ml | 2,000 | 230g |
| Chocolate bars | 3 bars | 750 | 150g |
| Chips (2 bags) | 2 × 80g | 880 | 160g |
| Crackers | 1 sleeve | 500 | 135g |
| Chocolate-hazelnut spread (small jar) | 200g | 1,078 | 200g |
| Total | ~14,298 cal | ~2.97 kg (6.5 lbs) |
That’s slightly over the planning target, which is intentional. Recheck the package labels when you shop—the calorie and weight figures above are estimates, and real products vary. Price is deliberately omitted because store, country, season, and package size can change the total dramatically.
Optional one-pot upgrade:
TOAKS Titanium 750ml Pot with Bail Handle — a 750ml one-pot option for couscous, noodles, or soup. The current manufacturer specification is 93g for the pot alone and 110g with its lid.
If you want to sanity-check your own numbers before your next resupply, use this:
Bikepacking Food Carry Planner
Enter your weight, daily mileage, and resupply gap. The result is a conservative packing estimate—not measured calorie burn—and includes a food-weight range.
Common Beginner Mistakes
Packing for how hungry you are today, not how hungry you’ll be on day 4. Rest day appetite and day-4-of-climbing appetite are completely different. Plan for the latter.
Only packing sweet food. You will hate yourself by day 6. Pack savory from day one — every single resupply.
Assuming small towns have a real grocery store. Many have a gas station and a bar. Know your route. When you do hit a proper grocery, buy for the full next stretch — not just tomorrow.
Waiting for symptoms before thinking about heat and hydration. Plan water, salty food, and heat exposure together. Do not rely on cramps as a precise electrolyte signal, and do not use a fixed bouillon rule for every rider or day.
Carrying food in the wrong bags. Snacks that aren’t reachable while riding don’t get eaten. Undereating on the bike is how bonks happen. Handlebar bag = fuel. Always.
Cooking every night when you’re exhausted. Have a plan for no cook bikepacking meals every single day — not as a backup, but as the default. When you’re done at 7pm and still need 800 calories before sleep, a good trail nutrition habit is having dinner sorted before you even pitch the tent.
The System, Condensed
Save these three rules. They cover 90% of what you need on every tour:
- Calories: Use the bodyweight-and-mileage rule as a conservative packing estimate, then calibrate it with your power-meter data, appetite, recovery, and multi-day experience.
- Density: Above 500 cal/100g = gold (olive oil, peanut butter, nuts, chocolate, chips). Below 200 cal/100g = eat at resupply, don’t carry.
- Treat four days as a comfort checkpoint. Longer gaps require deliberate food-density, water, terrain, storage, and bailout planning—not an automatic yes or no.
Frequently Asked Questions
Make Food the Easy Part of Your Tour
Get the trail nutrition system right and food stops being the thing you worry about — which means your brain is free for the parts that actually matter: the road, the view, and figuring out where you’re sleeping tonight. Start with the packing estimate, commit to the 50/50 sweet-savory split from day one, and treat four days as a checkpoint that triggers a closer look at food density, water, terrain, storage, and bailout options. Everything else follows from there. And if you do end up pushing your bike up a hill eating peanut butter with your fingers — at least now you’ll know exactly why, and exactly how to make sure it doesn’t happen again.
Choose the next step by the problem you’re solving: use the complete bikepacking gear breakdown for the bags, shelter, and carry system around your food, or the bikepacking routes hub to map resupply gaps before you leave.
This bikepacking food and trail nutrition guide is for general education based on real touring experience. Calorie, hydration, and food-safety needs vary by person, conditions, packaging, and medical context. Use the planning tools as starting points, follow product labels, and seek qualified guidance for individual health needs.