I booked a 7-day bikepacking trip in January. By February I was staring at my bike wondering if I’d made a terrible mistake.
I wasn’t unfit — I rode twice a week, could knock out an hour without dying. But loaded touring? Back-to-back 60 km days on gravel with full camping gear? Every article I found was written for road racers or so vague it was useless.
So I built my own plan. If you’ve been searching for how to train for cycling on a loaded multi-day trip — not a race, not a sportive — this is it. This bikepacking training plan is written for desk-job humans with roughly 3–6 hours in most weeks, one peak week around 7 hours, and a real tour on the calendar. If you can ride 45–60 minutes without stopping, you’re ready for Week 1.
Still planning the trip itself? The beginner bikepacking guide walks you through route choice, gear, packing, and planning a simple first overnight.
This post contains affiliate links. If you purchase through them, I may earn a commission at no extra cost to you. As an Amazon Associate, I earn from qualifying purchases.
Last updated: July 2026
Table of Contents
- Who This Plan Is For
- How the 8 Weeks Are Structured
- The 8-Week Training Plan
- Strength Routine (1x/week, 25 min)
- Nutrition on the Bike
- If Life Gets in the Way
- Pain Signals Worth Stopping For
- Frequently Asked Questions
- Conclusion
Who This Plan Is For
This bikepacking training plan is built for:
- Adults with roughly 3–6 hours in most weeks and one peak week around 7 hours (not 15)
- People with a multi-day tour booked 8–12 weeks out
- Riders who’ve never trained with structure or loaded gear
- Anyone whose lower back and knees have opinions about long rides
It is not a racing plan. You’re training to finish strong and enjoy it — not to win anything.
Minimum starting fitness: Comfortable riding 45–60 minutes at a conversational pace. If you’re not there yet, spend 2–3 weeks just riding 3x/week before starting Week 1.
The plan begins at Week 1, but not every rider should. Use this quick check to match your current riding, trip date, and any pain concerns to the safest useful starting point.
Find Your Starting Week
How the 8 Weeks Are Structured
Three phases, each building on the last — this is the same progression used in any solid bike touring fitness plan:
- Base (Weeks 1–3) — Aerobic foundation, intro strength, saddle adaptation
- Build (Weeks 4–6) — Longer rides, first loaded sessions, hill work
- Simulate (Weeks 7–8) — Back-to-back long days, full kit shakedowns, taper
The 8-Week Training Plan
Intensity guide (no power meter needed):
- Zone 2 / Easy: You can hold a full conversation. Breathing is barely elevated.
- Tempo: You can speak in short sentences. Comfortably uncomfortable.
- Hard: A few words only. Used sparingly — mostly hills.
Not sure what Zone 2 actually feels like in practice? The TrainingPeaks Zone 2 guide explains the talk test and why heart-rate ranges need to be individualised.
Phase 1 — Base (Weeks 1–3)
Goal: Build your aerobic engine and get your body used to time in the saddle.
| Day | Week 1 | Week 2 | Week 3 |
|---|---|---|---|
| Mon | Rest | Rest | Rest |
| Tue | 45 min Zone 2 | 50 min Zone 2 | 55 min Zone 2 |
| Wed | Strength 25 min | Strength 25 min | Strength 25 min |
| Thu | Rest or easy walk | Rest or easy walk | Rest or easy walk |
| Fri | 45 min Zone 2 | 50 min Zone 2 | 55 min Zone 2 |
| Sat | 75 min Zone 2 | 90 min Zone 2 | 105 min Zone 2 |
| Sun | Rest | Rest | Rest |
Weekly hours: ~3 hr 10 min / ~3 hr 35 min / ~4 hr
The base phase feels too easy. That’s the point — your body is adapting to saddle time, not training for intensity. Don’t add extra rides.
Phase 2 — Build (Weeks 4–6)
Goal: Longer rides, first loaded sessions, controlled tempo work, and back-to-back days introduced.
| Day | Week 4 | Week 5 | Week 6 |
|---|---|---|---|
| Mon | Rest | Rest | Rest |
| Tue | 60 min Zone 2 | 60 min total, including 2×10 min tempo | 60 min total, including 3×10 min tempo |
| Wed | Strength 25 min | Strength 25 min | Strength 25 min |
| Thu | Rest | 45 min easy | 45 min easy |
| Fri | 60 min Zone 2 | 60 min Zone 2 | 60 min Zone 2 |
| Sat | 2 hr Zone 2 (unloaded) | 2.5 hr Zone 2 (5–8 kg loaded) | 2.5 hr Zone 2 (8–10 kg loaded) |
| Sun | Rest | Rest | 90 min easy (back-to-back intro) |
Weekly hours: ~4 hr 25 min / ~5 hr 40 min / ~7 hr 10 min
Phase 3 — Simulate (Weeks 7–8)
Goal: Replicate tour conditions. Back-to-back long days, full kit, real fatigue.
| Day | Week 7 | Week 8 (taper) |
|---|---|---|
| Mon | Rest | Rest |
| Tue | 60 min Zone 2 | 45 min easy |
| Wed | Strength 20 min lighter | Rest |
| Thu | Rest | 30 min easy spin |
| Fri | Rest | Rest |
| Sat | 3 hr loaded full kit | 60 min easy final shakedown |
| Sun | 2.5 hr loaded tired legs | Rest |
Weekly hours: ~6 hr 50 min / ~2 hr 15 min
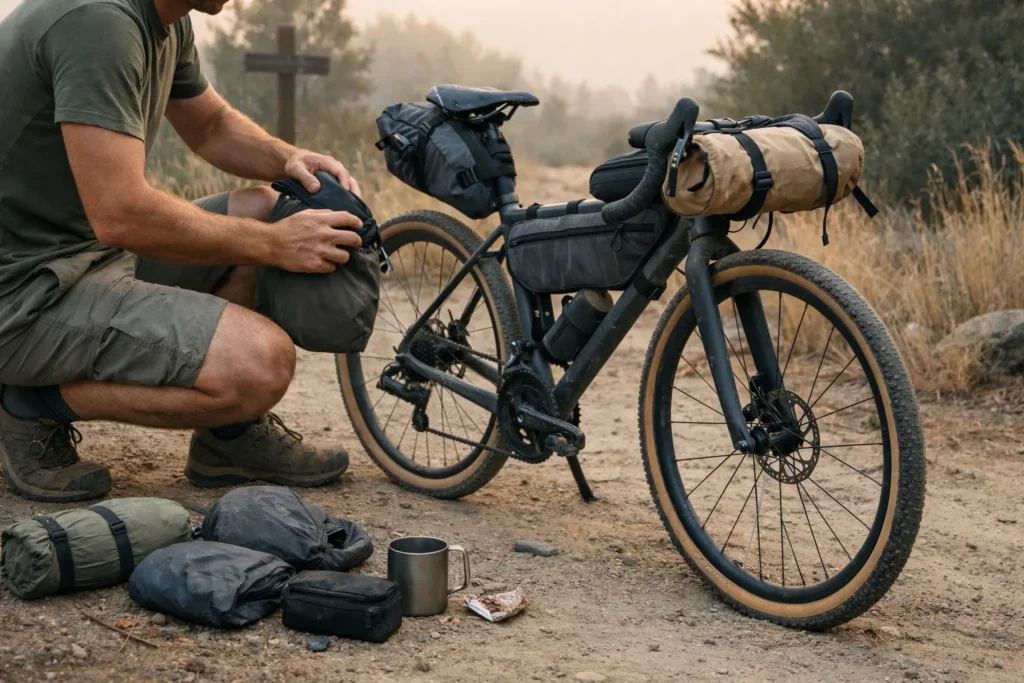
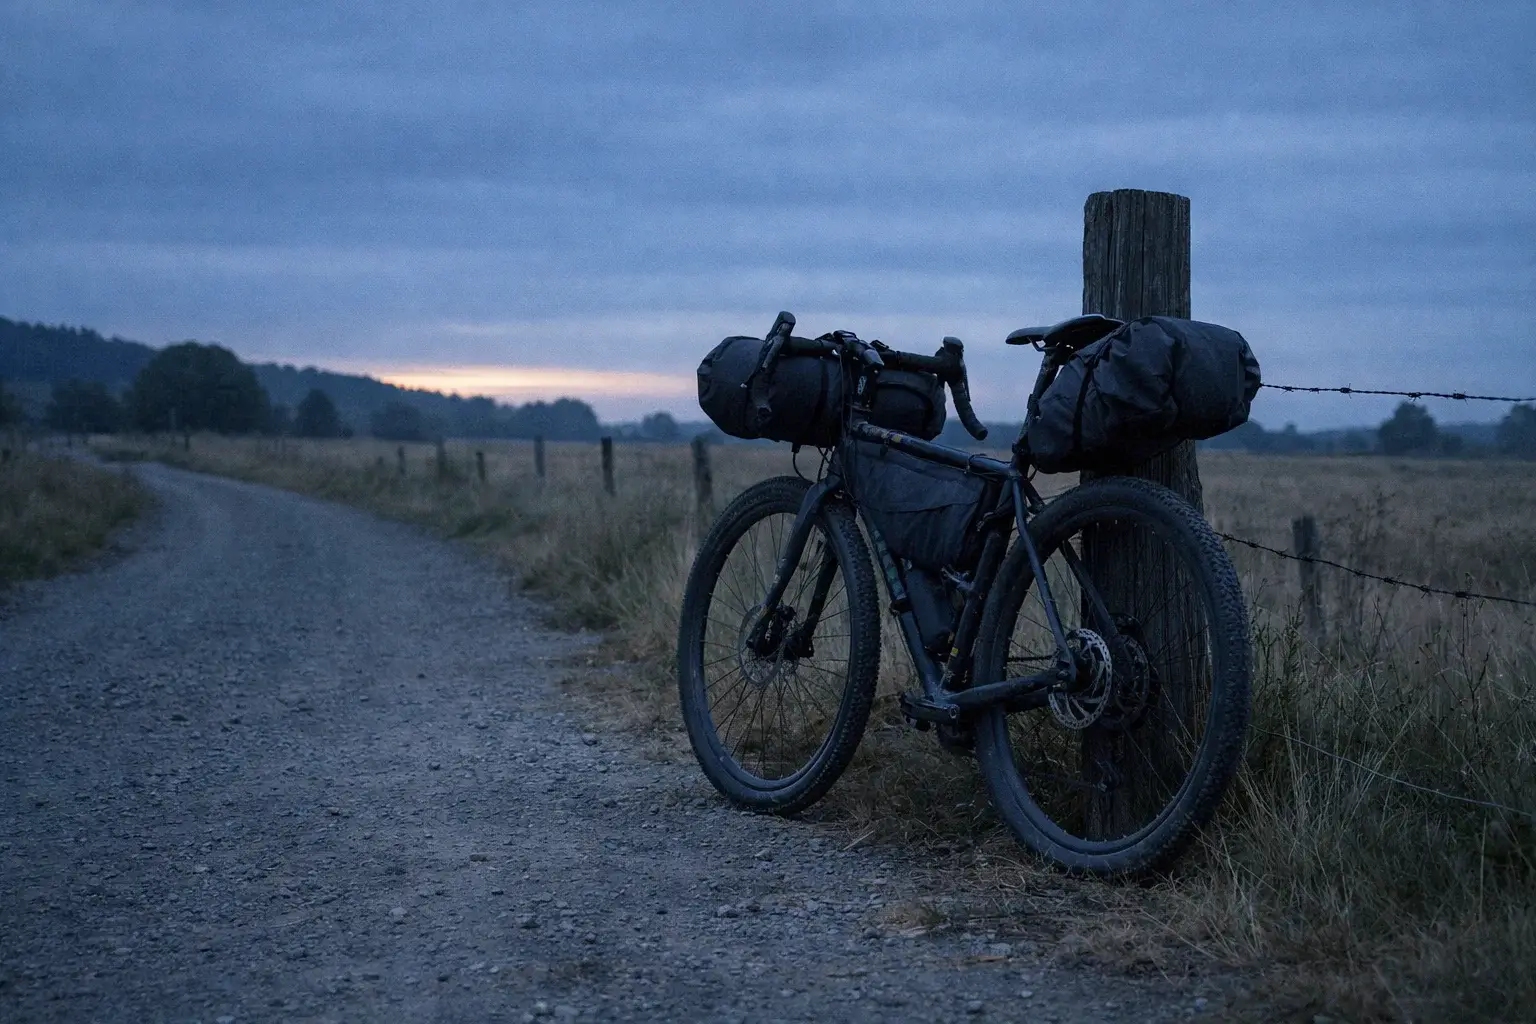
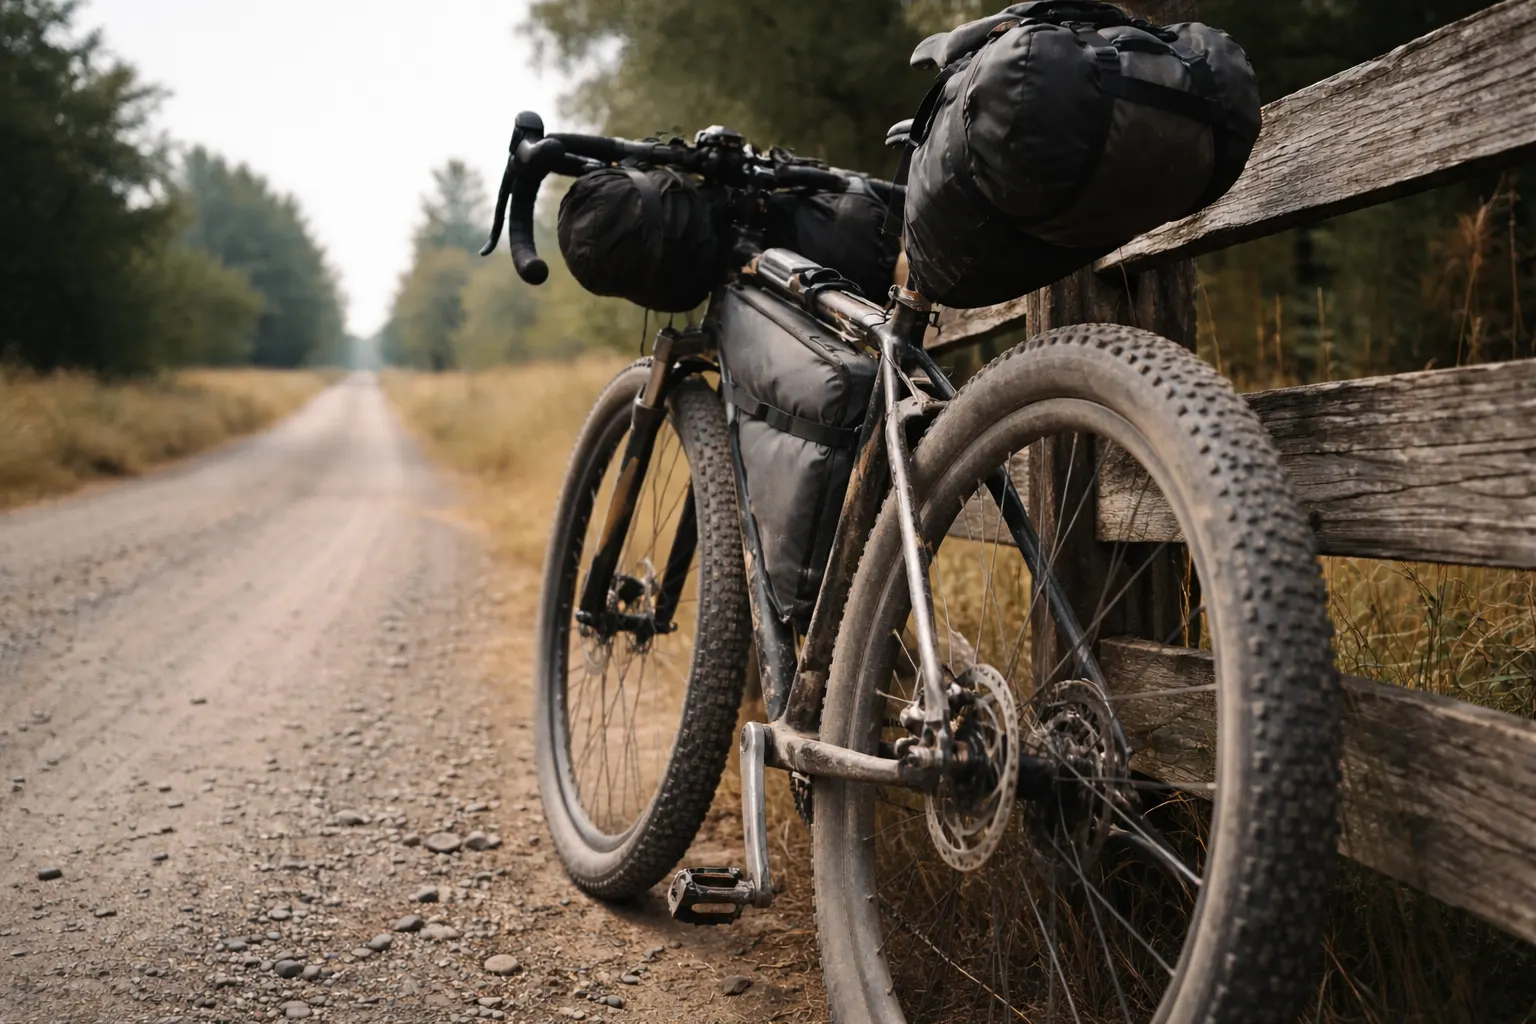
By “full kit” I mean everything you’re carrying on tour: bags, shelter, cooking gear, clothes, spares. Build toward the load you actually expect to carry rather than chasing a universal target; if your planned gear load is 10–15 kg, add it gradually. If you don’t have your final kit sorted yet, the minimalist packing list helps you figure out what actually needs to go in those bags.
Week 8 drops volume sharply on purpose. The final week is too late for a meaningful fitness gain, but it is still easy to arrive fatigued. Trust the rest. The Saturday ride in Week 8 is a final shakedown, not a fitness test.
Strength Routine (1x/week, 25 min)
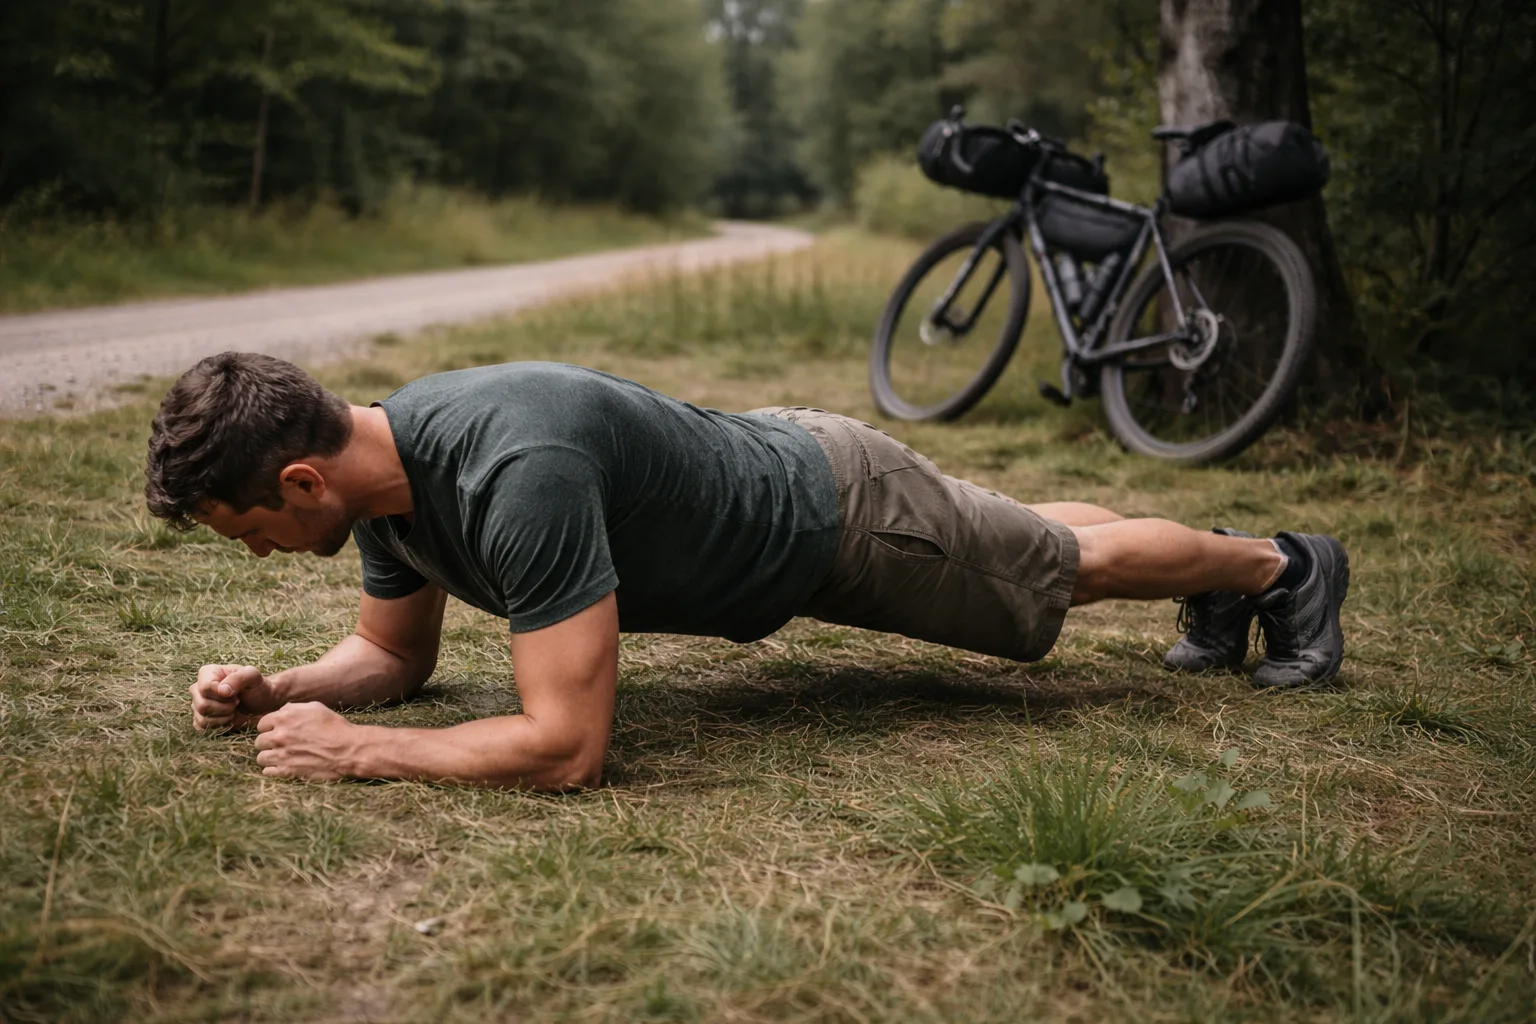
No gym needed — a mat and your bodyweight cover everything except the dumbbell row. This beginner bikepacking workout builds trunk, hip, and upper-back capacity for the riding position, but it is not a substitute for a good bike fit or assessment of persistent pain.
| Exercise | Sets x Reps | Why it matters |
|---|---|---|
| Dead bug | 3 x 10 each side | Anti-rotation trunk control for a steadier riding position |
| Single-leg glute bridge | 3 x 12 each side | Hip extension and single-leg control |
| Bird dog | 3 x 10 each side | Spine stability under load |
| Plank | 3 x 30–45 sec | Core endurance for hours in the drops |
| Bent-over dumbbell row | 3 x 12 | Upper back and shoulders for loaded riding position |
Form cues:
- Dead bug: lower back stays glued to the floor. If it arches, reduce range of motion.
- Single-leg bridge: drive through the heel, squeeze the glute at the top for 1 second.
- Bird dog: move slow. The goal is no hip rotation — imagine a glass of water sitting on your lower back.
Do this once a week through Week 6, keep the lighter session in Week 7, and skip it during the Week 8 taper.
Nutrition on the Bike
Under-fuelling is a common reason riders fade on long days. Your body may use carbohydrate faster than you replace it, so it helps to practise eating before you feel empty. I learned this the hard way on my first loaded training ride — by the final 20 minutes I was running on empty and barely turning the pedals.
On rides over 90 minutes, take in carbohydrate regularly rather than waiting until you’re hungry. A practical starting range is 30–60 g per hour; test foods during training and adjust for ride length, intensity, and what your stomach tolerates.
Real food that works on a bike:
- Banana — easy to open, fast carbs, potassium
- Medjool dates — dense calories, no packaging
- Peanut butter sandwich (cut small) — fat + carbs for longer efforts
- Rice cakes (rice + soy sauce + egg) — compact savoury carbohydrate that is easy to portion
- Stroopwafels — fast sugar, fits in a jersey pocket
Hydration: Use 400–800 ml per hour as a rough starting range, then adjust for your sweat rate, body size, pace, and weather. On long or hot rides, an electrolyte drink can be useful; if you prefer tablets, Nuun Sport is a portable option with sodium and other electrolytes.
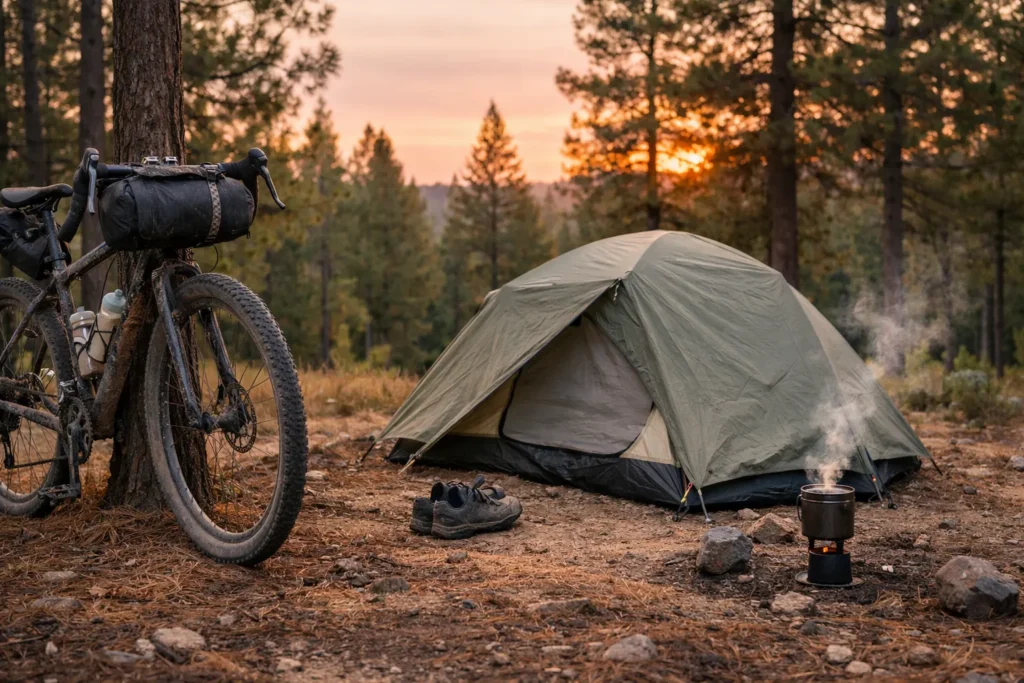
After the ride: Have a meal or snack with carbohydrate and protein within the next couple of hours. Timing matters most when you need to ride again soon; milk and a banana can be a simple start, while longer or harder sessions may need a larger meal. For multi-day tours, what you cook at camp matters just as much — the one-pot bikepacking meals guide has recipes that work with a single stove.
If Life Gets in the Way
You won’t hit every session. When that happens, use Saturday’s long ride as your anchor — it’s the one session worth protecting above everything else. Here’s how to handle the rest:
- Only 4 hours this week: Keep Saturday long ride. Drop Tuesday. Shorten Friday to 30 min.
- Missed an entire week: Don’t try to catch up. Resume where you left off.
- Feeling run down / heavy legs: Replace planned ride with 20 min easy spin or full rest. Don’t push through fatigue.
- Can’t ride outside (rain/dark): Zwift or ROUVY on a trainer. Keep Zone 2 — resist the urge to smash it indoors.
- Only 4 weeks until trip: Start at Week 5. Prioritise loaded rides and back-to-back days over base building.
Pain Signals Worth Stopping For
Not all discomfort is the same. Most of what you feel in the first two weeks is just your body adjusting — but a few signals are worth taking seriously. Learn the difference:
- Muscle fatigue / burning — common during harder efforts. Back off if it changes your movement or does not settle when the effort eases.
- Sharp knee pain — stop the ride and do not train through it. Saddle height is one possible contributor, but knee pain can have several causes; seek assessment if it persists or returns.
- Lower back pain that does not ease when you reduce effort or change position — stop and reassess your fit and posture. Persistent or recurring pain needs professional assessment.
- Numbness in hands — relieve pressure and vary your hand position. If it persists, check the bike fit and seek assessment.
- Saddle sores — chamois cream, proper shorts, and never ride in wet kit longer than necessary.
Sharp knee pain is not a signal to push harder. Stop the ride and do not try to diagnose it from saddle height alone. If it persists or returns, get both the pain and the bike fit assessed before adding volume.
Frequently Asked Questions
Conclusion
Eight weeks from now you’ll have ridden loaded, survived back-to-back long days, and stress-tested your entire setup before Day 1. That’s not a small thing. Most people arrive at their first tour without ever riding two loaded days in a row—you won’t be one of them. Start Monday. Protect your Saturday rides. The tour takes care of itself.
For an honest look at how multi-day loaded riding feels in practice, read my lessons from 1,200 miles across the western US.
When you’re ready to finalise your setup, the bikepacking gear guide explains what to carry, what to leave behind, and why.
This cycling training guide is for general education. For persistent pain, injury concerns, or medical conditions, consult a qualified professional before starting any new training programme.