Picture this: I’m hours from town in the Utah desert, water bottles bone-dry, sun frying my back. That’s when I realized these desert bikepacking tips weren’t “nice extras”—they were the difference between a hard day and a dangerous one.
This post is the stuff I wish I’d known before rolling out—what failed, what worked, and how to plan for heat, water gaps, sand, and breakdowns without turning the trip into a suffer-fest. Honestly, it’s what I wish I knew before bikepacking the Western US desert. If you’re brand-new to the basics, start with our beginner bikepacking guide for first trips—then come back for the desert-specific tweaks.
Last updated July 2026.
Quick wins before you roll out:Check Your Desert Readiness
- Verify water sources and mark bail-outs on your offline map.
- Ride pre-dawn when you can; heat turns “easy miles” into a grind.
- Carry electrolytes and a repair plan you’ve practiced at home.
This page contains affiliate links and may include sponsored content. As an Amazon Associate, I earn from qualifying purchases at no extra cost to you. Amazon links are labeled #ad; other affiliate links may be marked as “affiliate link,” “Sponsored,” or “(paid link).” Learn more.
Table of Contents
- Route Overview (Moab → AZ & NV desert)
- Main Lessons Learned (Skimmable)
- Check Your Desert Readiness
- Worst Bikepacking Mistakes in Deserts (and fixes)
- Gear Wins & Fails for the Desert
- What Actually Worked Out There
- Mental Prep for Long Desert Days
- Desert Bikepacking Tips (Western US)
- Frequently Asked Questions
- Conclusion: The Desert’s Worth It
Route Overview (Moab → AZ & NV desert)
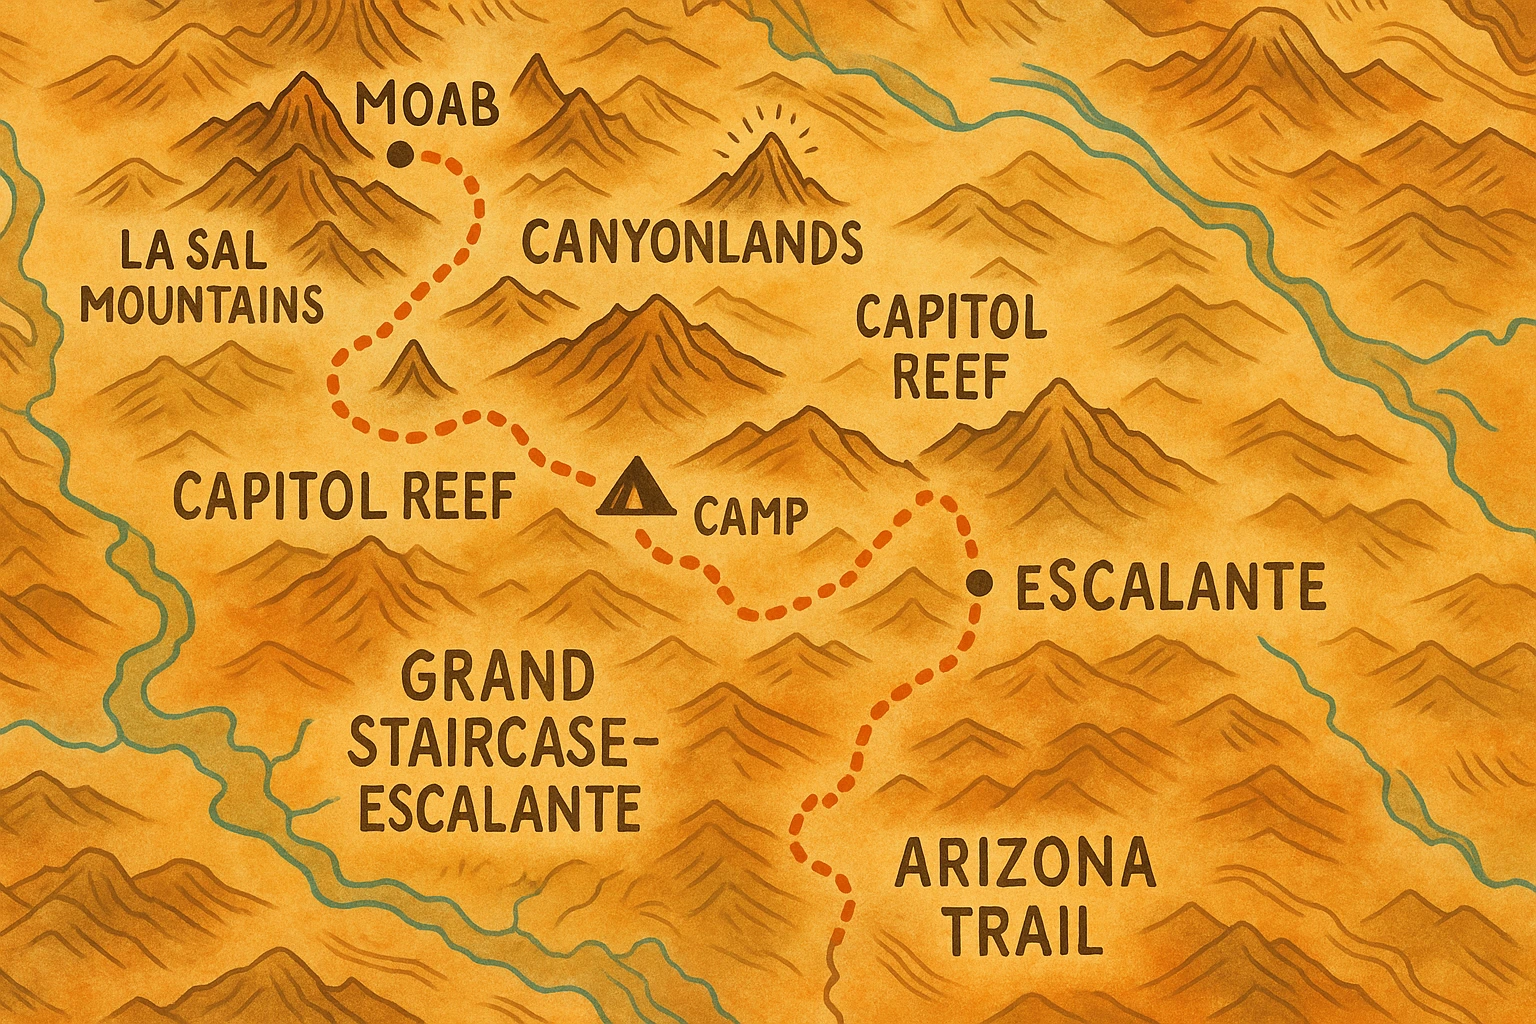
This wasn’t one official trail. It was a patchwork of dirt roads, gravel, and pavement linking big desert landscapes—plus a few “this looks rideable” detours (spoiler: sand has opinions). If you’d rather begin with established itineraries, compare these bikepacking route ideas before stitching together a desert line of your own.
- Starting Point: Moab, Utah 🏜️
- Key Destinations: Canyonlands National Park, Capitol Reef National Park, Grand Staircase-Escalante, Arizona Trail sections, remote Nevada
- Total Distance: ~1,200 miles
- Duration: 6 weeks
- Terrain: Gravel, dirt roads, sandy sections, rocky climbs
Best seasons (quick recap): spring and fall are common starting points, but elevation and region can still mean freezing nights, snow, or sudden heat. NPS guidance for exposed Canyonlands-area routes notes that summer temperatures can exceed 100°F, so check the current forecast and land-manager alerts for every segment before you commit.
Desert water planning rule: water availability and bail-outs matter more than “the perfect line on a map.” Before I obsessed over the best dirt option, I marked two bail-outs per day (town, pavement, or a ranger station) so a change in heat or a dry source didn’t turn into a crisis.
Micro-action: Mark your longest verified water gap and two bail-outs on your offline map.
Main Lessons Learned (Skimmable)
If you only keep one idea, keep this: the desert punishes assumptions. These are the bikepacking tips from experience that kept me moving—and out of trouble.
- Water planning is the route. Don’t “hope” sources exist—verify and carry a buffer.
- Start earlier than you think. Pre-dawn miles are calmer, cooler, and safer.
- Sand destroys schedules. Build time for hike-a-bike and slower averages.
- Electrolytes matter. On hot days, water alone didn’t keep me functional.
- Repair skills beat repair gear. A kit is useless if you can’t use it under stress.
- Flexibility is a safety tool. Detours aren’t “failure” when heat or storms show up.
Before you plan miles, write your “emergency water” rule. That one line turns a pile of options into a plan you can actually follow when you’re tired.
Check Your Desert Readiness
Quick help: Use the longest water gap you have actually verified. For water capacity, judge whether your planned carry covers that gap plus a reserve—not a universal liters-per-day target.
If there’s one thing that consistently buys you safety (and mental calm) out here, it’s being able to treat questionable water fast—without turning it into a whole production when you’re tired and overheating.
If you’re unsure, plan as if one source is dry and make sure your buffer and bail-outs still work.
Go-to water filter for sketchy sources: Sawyer Squeeze — lightweight, proven, and fast enough that you’ll actually use it when you’re cooked.
Scoop water into a pouch/bag, screw the filter on, then squeeze (or gravity-hang) clean water into your bottle—no pumping, no batteries, no fuss.
Optional upgrade: CNOC Vecto (28mm) — worth it if your sources are shallow or you filter a lot (wide opening = easier fills and a smoother “hang it and chill” gravity setup).
Micro-action: Pick one fix to do this week (water capacity, offline maps, or practicing a flat).
Worst Bikepacking Mistakes in Deserts (and fixes)
I made every classic desert mistake at least once—so you don’t have to. For the broader first-trip version, start with these beginner bikepacking mistakes. These desert bikepacking lessons learned focus on what gets riskier when heat, water gaps, and remoteness stack up.
Mistakes and fixes at a glance
-
Mistake: Assuming “late spring won’t be that hot.”
Fix: Ride before sunrise, slow down, and plan your water around the longest verified gap. On my ride, 4–6 liters/day was a common starting range on hotter stretches, then I adjusted as conditions changed. Add electrolytes and take shade breaks on purpose. -
Mistake: Trusting map-listed water sources.
Fix: Verify with rangers or recent reports, and review your park’s official heat safety guidance. Carry a buffer so a dry source isn’t an emergency. -
Mistake: Planning stages by mileage instead of conditions.
Fix: Assume sand/rock/hike-a-bike will cut your pace. Build “slow day” segments and keep a bail-out option to pavement or towns. -
Mistake: Skipping the pre-trip bike tune-up.
Fix: Do a full check before you leave (tires, drivetrain, bolts). Bring the tools you actually know how to use—especially for flats and chain issues. -
Mistake: Ignoring pain until it becomes a problem.
Fix: Treat knee pain and saddle sores early: adjust fit, stretch, pace down, and take real breaks. “Push through” works until it doesn’t. -
Mistake: No plan for no-service days.
Fix: Offline maps + a backup plan + a check-in routine. In remote stretches, assume you’ll be self-rescuing for a while.
A quick note on salt balance (hyponatremia)
This can sneak up on you during prolonged effort. Drinking more fluid than your body can clear can dilute blood sodium, and early symptoms can overlap with heat illness—including nausea, headache, weakness, or unusual fatigue. Electrolytes do not make overdrinking safe. If symptoms worsen or include confusion or seizures, stop and get urgent medical help.
Two practical electrolyte formats for long, hot efforts:
- Nuun Sport tablets — dissolve in water when you prefer your electrolytes in a flavored drink.
- SaltStick FastChews — chewable tablets when you want a no-mix option.
Quick gut-check: if any of this felt familiar, rerun the assessment before you lock in mileage and water gaps.
Practice one flat fix this week and set a simple electrolyte rule you’ll follow. Electrolytes work best as a routine, not a rescue move.
Gear Wins & Fails for the Desert
Desert miles don’t forgive “good enough.” The goal isn’t fancy gear—it’s gear that still works when you’re tired, hot, and far from help. If money’s tight, prioritize water + heat + navigation redundancy first.
Standout Gear on This Route
If you’re building a budget kit, this affordable bike touring gear for beginners is a good place to start.
- Reliable Bike: My Surly Bridge Club was a beast, with a sturdy frame for long days.
- Tires: Maxxis Ikon 2.2″ tubeless tires balanced speed and traction. Quick tip: if sand or washboard gets rough, drop pressure a bit—then add back to avoid rim strikes.
- Hydration: Water bottles, a CamelBak, and a Sawyer Squeeze filter kept me hydrated.
- Navigation: A Garmin eTrex GPS and paper maps were lifesavers in remote areas.
- Sun Protection: SPF 50 sunscreen, a wide-brimmed hat, and sunglasses were must-haves.
- Repair Kit: Tools, spare tubes, patches, and a chain tool fixed multiple breakdowns.
Quick practice: if you run tubeless, carry plugs and try one plug at home once. It’s a lot easier in your driveway than in 95°F heat. Use the bikepacking repair kit checklist to make sure your plugs, backup tube or boot, and tools work as one system.

Water Carry: The Make-or-Break System
- Capacity: Plan enough volume for the longest gap plus a buffer for wrong turns, heat spikes, or mechanicals.
- Access: Mix “drink while riding” with a reserved stash so you don’t drain your emergency water.
- Electrolytes: On hard heat days, salts helped me stay steady and recover faster.
Food Planning That Kept Me Moving
I leaned on pocketable, calorie-dense staples (peanut-butter packets, dehydrated meals, trail mix) and kept a small “extra day” buffer in case sand or weather slowed me down.
Desert Safety Gear Checklist
Check off the systems your route actually needs. Cover the core group first, then add support items that match heat, remoteness, and resupply.
If you run tubeless, a compact plug kit can turn a small tread puncture into a short stop instead of a full tube change. The PRO Bike Tool Tubeless Tire Repair Kit is one option—but practice with plugs before the trip, and still carry a tube or tire boot for damage a plug cannot seal.
Desert Gear Planning Reference
| Item | Why It Matters | Notes |
|---|---|---|
| Water treatment / treated-water plan | Water sources can be unreliable. | Use a filter, chemical treatment, or a verified treated supply that matches the route. |
| Electrolyte / salty-food plan | Supports fluid and electrolyte balance during long hot efforts. | Choose a repeatable approach that fits your body and current guidance. |
| Broad-spectrum sunscreen | The sun is relentless. | Reapply at least every 2 hours, and more often if you’re sweating. |
| Head and neck sun coverage | Reduces direct sun exposure. | Use helmet-compatible coverage such as a cap, buff, or neck shade. |
| Multi-tool + chain tool | Mechanical issues are common. | Crankbrothers M19; includes a chain tool + key trail bits. |
| Spare dry socks | Helps manage moisture and friction. | Choose a fabric and quantity that work for your feet and resupply plan. |
| Offline navigation | Keeps the route usable without service. | Download maps and carry a backup plus a power plan. |
| Power backup | Supports navigation, lights, and communication. | Size batteries or a power bank to the gap between reliable charging. |
| Temporary repair material | Stabilizes small gear failures until a proper repair. | Tape, straps, or another compact option you know how to use. |
| Payment backup | Some small stops may have limited payment options. | Carry a modest backup appropriate to the route. |
| Emergency contact / SOS plan | Defines how help is requested when service is absent. | Match the plan—and any satellite device—to route remoteness. |
If you’re riding remotely without cell service: a two-way satellite messenger can add a communication option, but it does not replace conservative route planning, a check-in schedule, or a bail-out plan.
My default pick: Garmin inReach Messenger (SOS + two-way messaging while your phone stays the main interface—so you still need to bring your phone and keep it charged).
Also consider: ZOLEO Satellite Communicator if you want a phone-first alternative with two-way satellite messaging, location sharing, check-ins, and SOS.
Plan before relying on satellite features: both Garmin inReach communication features and ZOLEO satellite messaging require an active service plan. Activate and test the device before leaving coverage.
Micro-action: Do a 15-minute shakedown: loaded bike, water access, tire pressure.
What Actually Worked Out There
What saved me wasn’t hero mode. It was boring prep (water checks, pacing) and being willing to detour without spiraling. The calmer I stayed, the safer the ride got.
- Micro-goals: Water stop to water stop beats “town to town” in big country.
- Realistic pacing: Sand and heat make your average a liar—plan accordingly.
- Detour mindset: Plan changes are part of the route, not a failure.
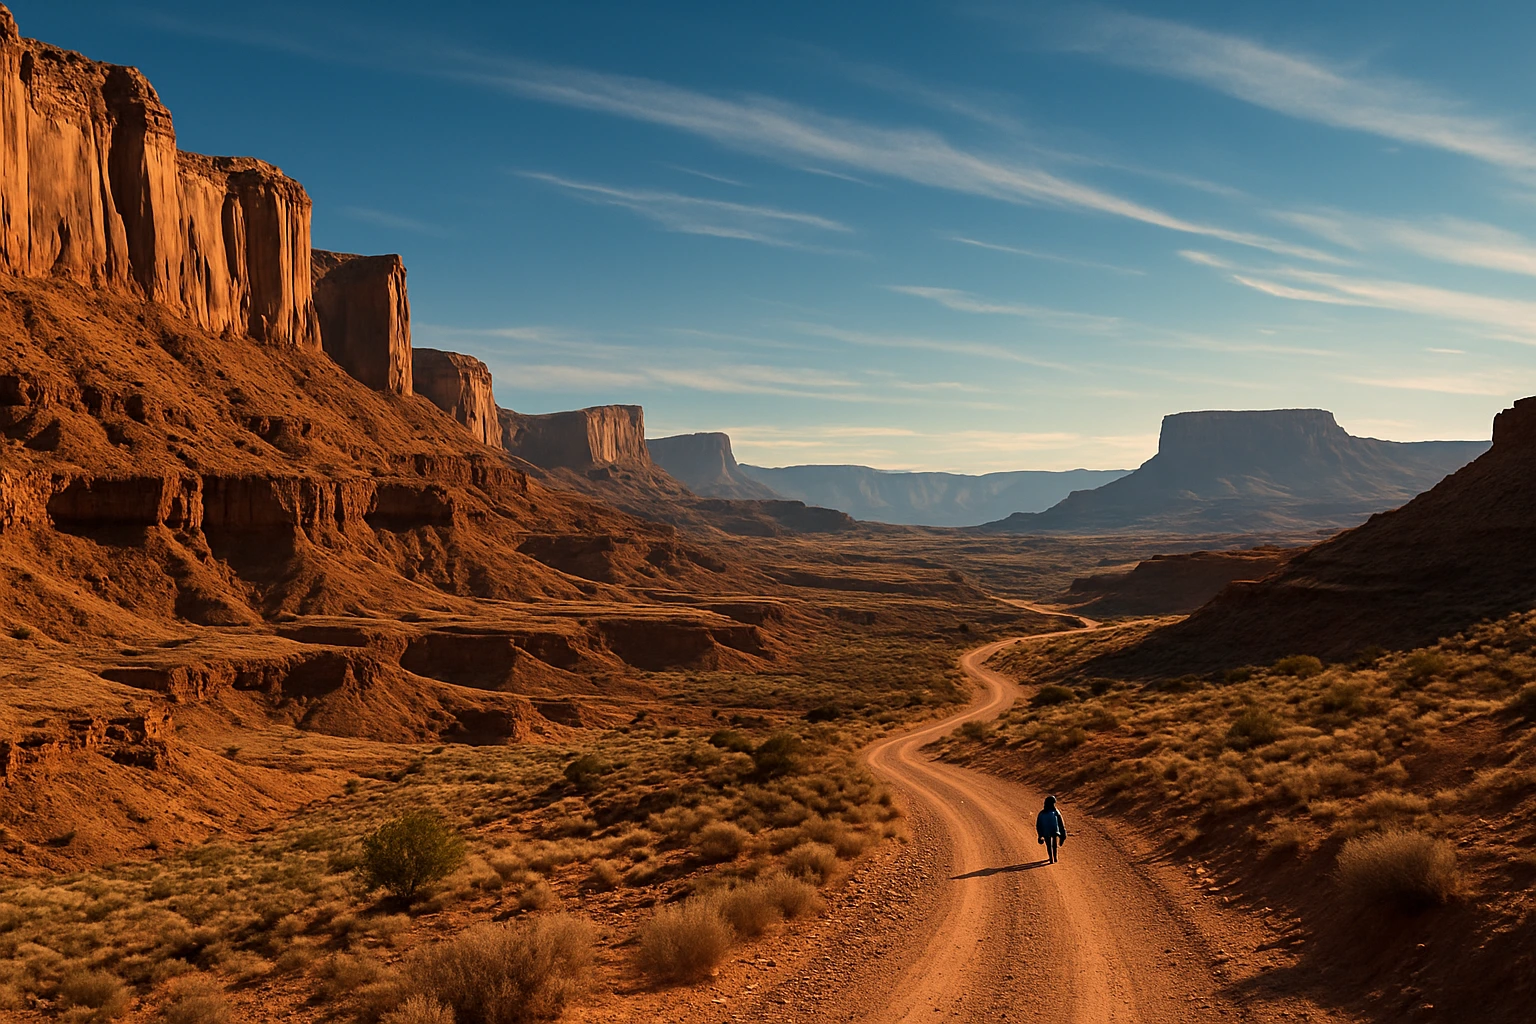
Plan your next stage from water stop to water stop, not mileage.
Mental Prep for Long Desert Days
One night under a starry sky, I doubted I’d finish. If you’ve had that “What am I doing out here?” moment, you’re not alone. These helped:
- Set small goals: Focus on the next 10 miles, not the whole trip.
- Embrace solitude: Use quiet moments to reset instead of spiraling.
- Visualize the next step: Picture reaching shade, water, or town—whatever is real.
- Carry a morale booster: A playlist, journal, or “treat snack” works wonders.
Pack one morale item now (treat snack or playlist).
Desert Bikepacking Tips (Western US)
If you want a quick skimmable list of desert riding essentials, start here—these are the habits that kept me safest when conditions got weird.
The desert throws curveballs. I avoided washes when storms showed up and treated low crossings seriously—flash floods can happen fast, even if the storm is far away. The BLM flash-flood safety guidance is worth a skim.
- Watch the sky: storms can build fast—especially near washes and low crossings.
- Protect your eyes: wind + grit can wreck a day faster than a hard climb.
- Keep a water reserve: don’t spend your emergency stash just because you feel okay right now.
- Have a check-in plan: tell someone your route window and your “if you don’t hear from me” steps.
Water caches: helpful, not a guarantee
If you do a cache, label it clearly and pack out every empty. Don’t plan your whole day around a cache being there—treat it as a bonus layer, not your only layer.
Leave No Trace in fragile desert terrain
It can feel harmless to cut across open ground, but desert soils can be fragile. Stick to durable surfaces, avoid trampling living crust, and pack out everything. For official guidance, NPS has a short page on durable surfaces and a simple explainer on biological soil crust.
Micro-action: Add a flash-flood check to your daily weather routine.
Frequently Asked Questions
Top tips: verify water (and carry a buffer), start before sunrise, use electrolytes, keep a navigation backup, and practice one repair you can do tired. Plan from water stop to water stop, build slack for sand, and treat reroutes as normal—not failure.
A structured 6–12 week block can give many beginners time to build consistency. Use this bikepacking training plan as a starting structure, then add loaded practice rides to test comfort, pacing, and your kit. Back-to-back days should feel manageable before you commit to a long remote route.
Spring and fall are common planning windows, but they are not automatically mild: higher desert sections can still freeze or see snow, while exposed summer routes can exceed 100°F. Check highs, overnight lows, wind, storm windows, and current land-manager alerts for your exact route.
Call the ranger station or land manager, then cross-check with the freshest rider reports you can find. Mark sources and bail-outs on your offline map. Assume at least one source could be dry, so carry treatment and a buffer that buys you time.
Yes—start with a shorter route near services and do one shakedown overnight close to home first. Practice flats, basic chain fixes, and offline navigation. A serviced desert route can be manageable for a beginner when remoteness is limited and daily plans stay flexible.
Start with water capacity + treatment, sun protection, offline maps with a backup, and a repair kit you’ve practiced with. For no-service routes, a beacon or satellite messenger can be worth it. Reliability beats “cool gear” every time out there.
Conclusion: The Desert’s Worth It
The desert strips bikepacking down to the essentials: manage water, respect the heat, and stay flexible when the route changes. Do that, and the hard miles become the part you remember—the quiet roads, huge skies, and feeling of being completely out there.
Before you go: verify your longest water gap, mark two bail-outs, and complete one loaded shakedown overnight close to home.
Then rerun the readiness quiz and adjust the plan while you still have time to fix weak spots.
For the mental side of long trips—motivation, doubt, and why the journey matters—read traveling with purpose.
This article is for general education and trip planning ideas only—not personalized medical or safety advice. Desert conditions can change quickly, and your needs may vary based on heat, fitness, and route remoteness. If you’re unsure about heat risk, hydration, or emergency planning for your situation, consider talking with a qualified professional and confirm local guidance with rangers before you ride.