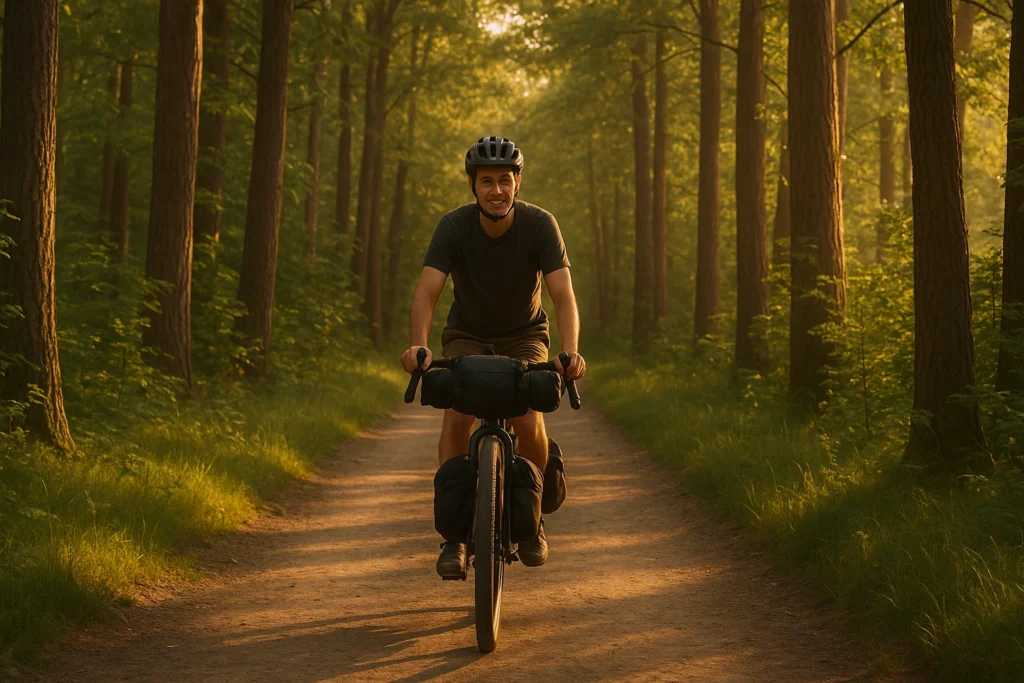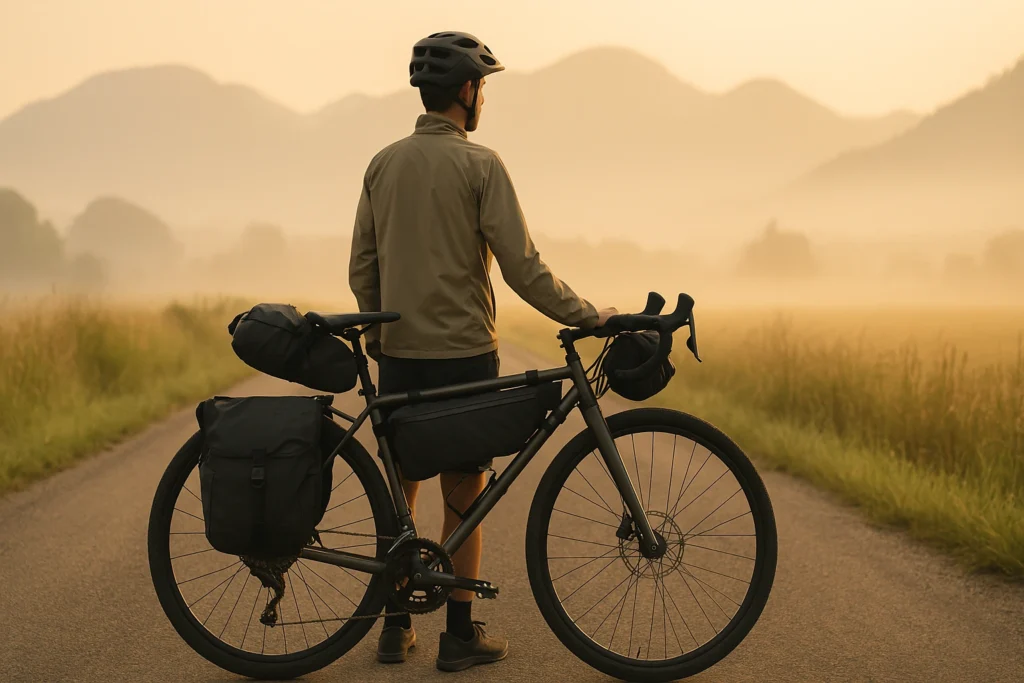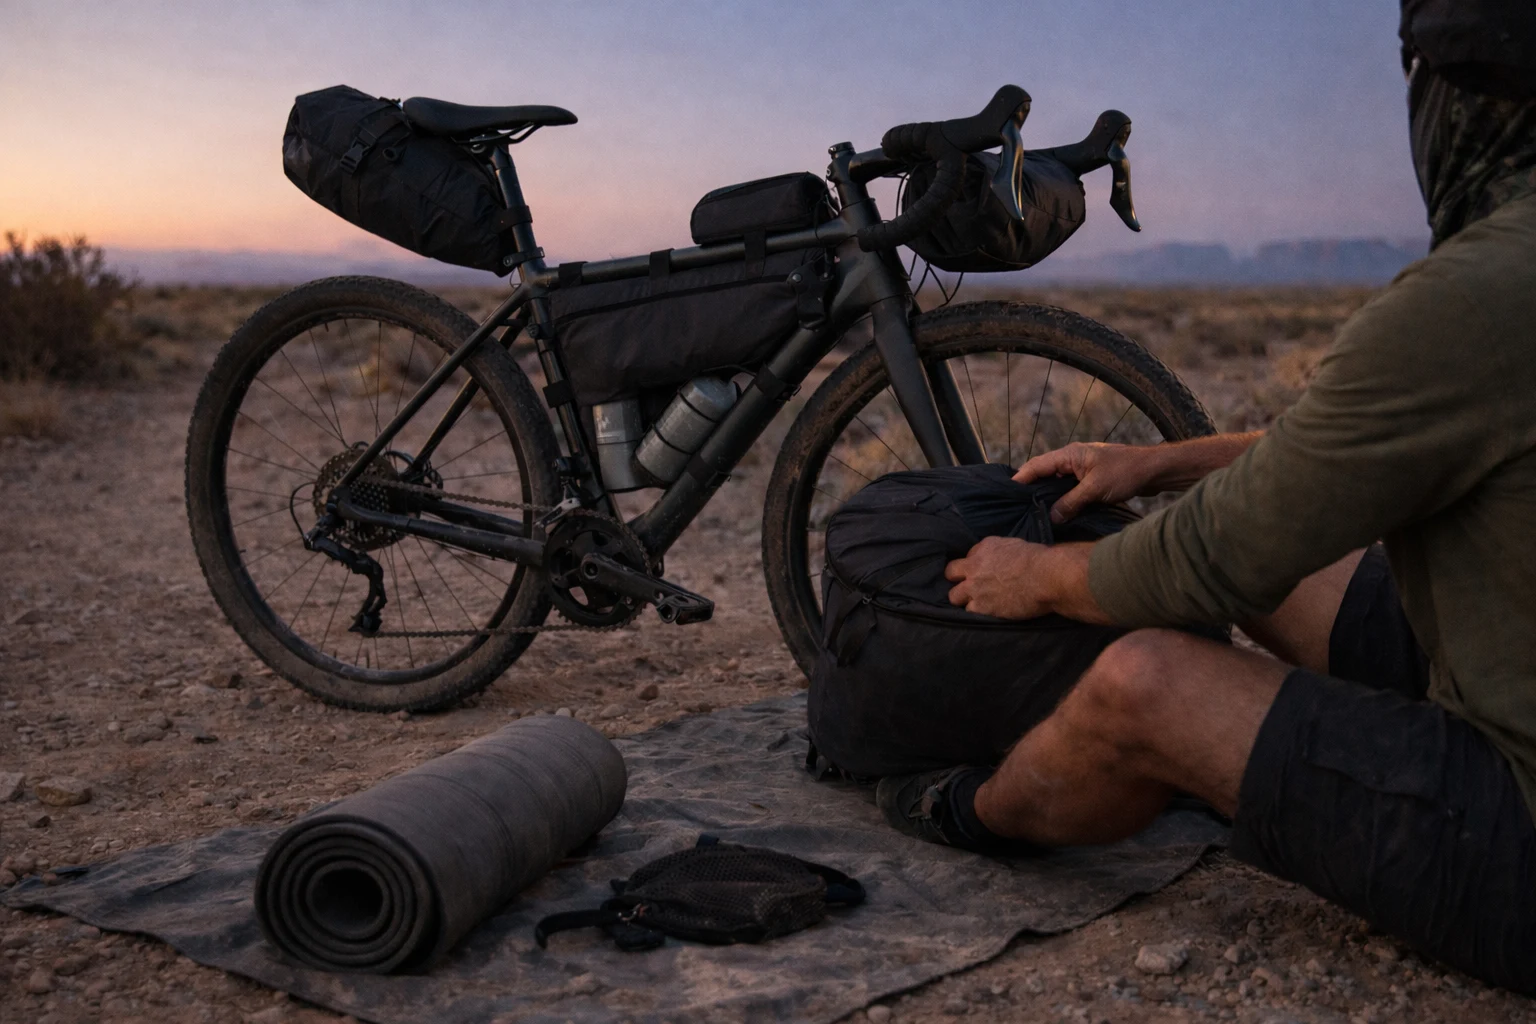
If you’re chasing a minimal sleep system for bikepacking, the real headache usually isn’t weight—it’s bulk. Where do you put it so your bike still handles well? And staying warm is harder when the forecast lies a little.
Sound familiar? It’s day three, the wind picks up, and your bike starts feeling “off.” The fix isn’t magic gear. It’s smarter volume choices and calmer packing.
By “minimal,” I’m talking packed-volume first: the kind of sleep kit that packs small, rides stable, and still handles real 3-season nights. For most riders it’s the same simple core: bag/quilt + pad + shelter. For a broader gear overview, see our complete bikepacking gear guide.
Last updated July 2026: model availability, sleeping-pad R-values, and temperature-rating guidance were rechecked against current manufacturer and REI sources.
This page contains affiliate links and may include sponsored content. As an Amazon Associate, I earn from qualifying purchases at no extra cost to you. Amazon links are labeled #ad; other affiliate links may be marked as “affiliate link,” “Sponsored,” or “(paid link).” Learn more.
Table of Contents
- Best-Fit Sleep System Picker
- 3 Sleeping Pad Picks: Default, Budget, and Backup
- Before You Buy: 4 Sleep-System Checks
- Why Packed Size Matters More Than Weight in Bikepacking Sleep Systems
- Compare 3 Sleep System Tiers: Budget, Balanced, and Ultralight
- The 3 Specs That Matter Most: Packed Volume, R-Value, and Durability
- Temperature Rating Guide for Minimal Sleep Systems
- Where to Pack Your Sleep System on the Bike
- Route & Weather Adaptations
- What to Upgrade First—and What Not to Buy
- Frequently Asked Questions
- Build for the Coldest Night, Then Cut Bulk
Best-Fit Sleep System Picker
Choose temps, sleep style, space, and priority—get a simple setup target you can actually pack.
What’s the coldest night you actually plan for?
Tip: pick the lowest night you’ll actually see (not the average).
Your best-fit setup
3 Sleeping Pad Picks: Default, Budget, and Backup
One honest default for mixed 3-season trips, one lower-cost option for mild nights, and one foam backup that never punctures.
Current-model check: Models and prices change—use these roles as a starting point and confirm the exact version and current specifications before buying.
Now that you’ve got the quick shortlist, here’s how to choose based on packed volume, R-value, and the coldest night you’ll actually face.
Before You Buy: 4 Sleep-System Checks
Before you buy or repack anything, run these four checks against the trip you’re actually planning.
- Find the biggest packed item. If it forces gear onto your handlebars, shrink it or move it before chasing a lighter number.
- Match the pad to the coldest ground. Plan around the lowest night you expect—not the trip’s average temperature.
- Protect the core three. Bag or quilt, sleeping pad, and shelter cover the essential jobs on most 3-season routes.
- Test the loaded bike. Take a short test ride and correct front-end heaviness, sway, or awkward access before departure.
Do this now: Lay out your sleep kit and identify the one item forcing itself onto the bars. That is your first thing to shrink or relocate—not automatically your first thing to replace.
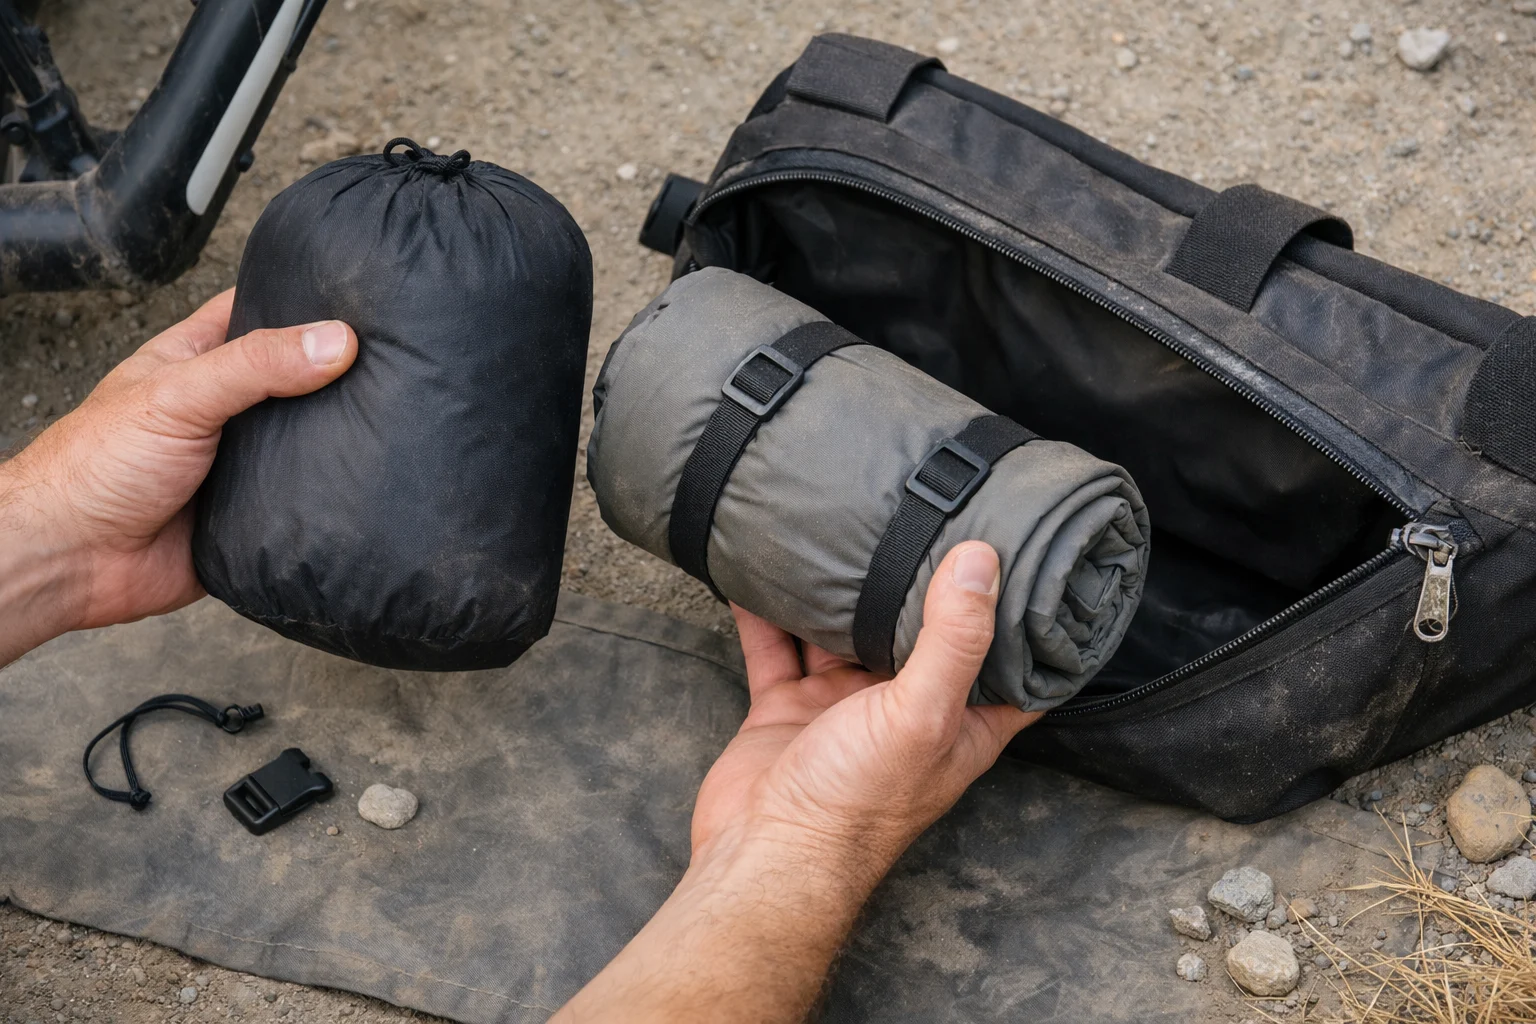
Why Packed Size Matters More Than Weight in Bikepacking Sleep Systems
Backpackers chase ounces. Bikepackers chase where the bulk ends up. A bulky kit forces gear onto your bars and saddle, and that’s when the bike starts feeling twitchy—especially in crosswinds or rough descents.
The Cubic Inch Reality
I learned this on a windy desert route: my “light” quilt looked perfect until it took over the frame bag. Food got pushed into a handlebar roll, the bike caught every gust, and suddenly the ride felt like work. That’s what bulk does.
- Frame bags are fixed — you don’t get more liters just because you’re tired
- External bulk changes handling — wind + wobble is a real combo
- Centered loads ride better — the calmer the bike, the better you recover
Compare 3 Sleep System Tiers: Budget, Balanced, and Ultralight
If you don’t want to overthink this, pick a tier and build around it. You’ll get warmer sleep and a steadier bike without turning your setup into a gear puzzle. This bikepacking sleep system approach keeps it simple and repeatable.
Here’s the fast decision that works on real trips (not just in gear spreadsheets):
- Budget: You mostly camp above ~35°F and just want dependable basics.
- Balanced: You ride mixed weather (20–40°F nights happen) and want the easiest “set it and sleep” feel.
- Ultralight: Your pack space is tight, you usually sleep warm, and you’re willing to dial in a quilt + pad combo.
If you want the quick shortlist, jump to the 3 sleeping pad picks (it’s the easiest “upgrade-first” decision most people feel immediately).
3 Sleep System Tiers at a Glance
| Tier | Bag/quilt examples | Pad examples | Spend priority | What you’re trading |
|---|---|---|---|---|
| Budget | Kelty Cosmic Down 20 or a comparable value 20°F bag | Klymit Static V2—match the insulated or uninsulated version to your conditions | Keep costs down; fund pad insulation first | More bulk, but tough and forgiving |
| Balanced | REI Co-op Magma 15 or 30, chosen for your expected lows | Therm-a-Rest NeoAir XLite NXT | Pay for reliable insulation and compact packing | Best comfort-to-packability for most riders |
| Ultralight | Enlightened Equipment Revelation quilt | Therm-a-Rest NeoAir XLite NXT in the size that fits your sleep style | Pay for lower packed volume and lighter materials | Smallest pack; you may trade some plushness for packability, and quilts need draft control |
Note: Models, retail prices, and availability change. Confirm the exact temperature standard, pad R-value, size, and current product page before buying.
Budget Setup Deep Dive
Budget works when you keep it simple: a tough bag, a pad that’s “good enough,” and packing that keeps your bars clean. If you’ve ever gone to bed thinking, “I’ll be fine”… and then shivered at 2 a.m., you already know why pad insulation matters.
Example approach: Start with something like a Kelty Cosmic 20 class of bag (durable, decent warmth for the money), then put your first “real upgrade” dollars into pad insulation or comfort.
Balanced Setup Deep Dive
Balanced is the low-stress choice for mixed conditions. You’re not fighting drafts all night, and you’re not carrying a giant stuff sack either. It’s the tier that keeps trips fun when the weather gets moody.
Example approach: A compressible down bag (like the REI Co-op Magma family, picked for your lows) paired with a higher-insulation pad is a classic “pack small + sleep well” combo—especially if you want the easiest path to consistent recovery.
Sanity check: Look up your route’s low temps (and elevation) and choose warmth for the coldest night you actually expect, not the average.
Ultralight Setup Deep Dive
If you want an ultralight sleep setup for bikepacking that you’ll actually keep using, focus on draft control and packed shape. The payoff isn’t just lower weight: a smaller quilt-and-pad bundle keeps the bars cleaner and the bike calmer when wind or rough descents punish bulky rolls.
• Tight pack space (small frame bag, big food/water carries)
• Windy/technical routes where bar bulk hurts control
• You usually sleep warm and don’t mind dialing in a quilt system
Skip ultralight when:
• You’re a cold sleeper or you camp exposed and hate drafts
• You don’t want to practice pad straps/neck closure
• You prioritize plush comfort over packed shape
Example approach: A quilt like the Enlightened Equipment Revelation can pack impressively small, but it rewards practice—pad straps, neck closure, and a “no gaps” habit when you roll over.
Practice first: Before your trip, set up your quilt + pad at home and do one “toss-and-turn test” to find where drafts sneak in.
Optional: Shelter upgrades (only if your shelter is the bulky culprit)
If your shelter already works, keep it. But if your current shelter is the thing forcing gear onto your bars, these are compact directions to consider—without turning “minimal” into a shopping spree.
| Shelter type | Good for | Example |
|---|---|---|
| Bikepacking tent | Short pole sections, tidy packing | Big Agnes Copper Spur HV UL Bikepacking Tent |
| Value 1P | Budget-friendly, simple | ALPS Mountaineering Lynx 1 |
| Bivy | Fast + minimal (more exposure/condensation management) | Outdoor Research Helium Bivy |
For a deeper decision breakdown, compare tent vs bivy vs tarp for bikepacking before choosing a specific shelter.
The 3 Specs That Matter Most: Packed Volume, R-Value, and Durability
Ignore the noise. On a bike, you’re really choosing for packed volume, insulation under you, and durability. The “best” gear is the gear you can pack cleanly and sleep on without babying it.
What’s the simplest “bag/quilt” rule for bikepacking?
If you’re searching for the best bikepacking sleeping bag setup, keep it simple: pick the option that stays warm for how you actually sleep without swallowing your pack space. If you move a lot at night, a bag can feel easier. If you sleep warm and want maximum packability, a quilt can be great—just don’t skip the draft-control learning curve.
Pick a lane: Choose sealed-and-simple (bag) or compact-and-flexible (quilt), then build your pad and packing around that choice.
Sleeping bag vs quilt: which is better for bikepacking?
In the sleeping bag vs quilt bikepacking debate, the right answer is usually the one that reduces your “2 a.m. frustration”. Bags are more idiot-proof in wind and when you toss around. Quilts can pack smaller and vent better, but they reward practice (pad straps + neck closure + no gaps). If you hate drafts, don’t force a quilt just because it’s trendy.
Quick head-to-head (pick your lane):
| If this sounds like you… | You’ll probably prefer… | Why it feels easier on real trips |
|---|---|---|
| You hate drafts, camp exposed/windy, or toss around all night | Sleeping bag (more enclosed) | Less “2 a.m. fixing” and fewer gaps when you roll over |
| You run warm and care most about packed volume + venting | Quilt (more flexible) | Packs small and vents well—if you dial in straps/closure |
| You want quilt packability but an easier “closed” mode sometimes | Zip quilt style | Middle-ground feel for warm-weather trips |
Low-stress shortcut: If drafts wake you up—especially as a side sleeper—an enclosed bag is usually easier than forcing a quilt. Big Agnes still designs its Sidewinder line around side sleeping, but its current lineup emphasizes 20° and 0° models; compare the current Sidewinder lineup and verify the exact size and temperature rating before choosing one.
Warm-weather quilt alternative (zip quilt style): Big Agnes Fly Creek UL Zip Quilt can be a useful middle ground for warm-weather trips—quilt-like packability with an easier “more closed” mode when you want it. If you’re pushing into cooler shoulder season, step up to a warmer option.
Bikepacking sleeping pad R-value guide
Your bikepacking sleeping pad does more insulation work than most people expect. Manufacturers use ASTM-tested R-values, but seasonal labels still vary. As a rough planning guide, Sea to Summit currently groups 0–2 for summer, 2–3 for cooler weather and light frost, 3–4 for cold weather and hard frost, and 4+ for winter. Treat those as starting points, not guarantees, and check the exact pad plus your expected ground conditions.
| R-Value (rough) | Planning band | Typical use |
|---|---|---|
| 0–2 | Summer | Warm ground and mild nights |
| 2–3 | Cooler weather | Cool nights and light frost |
| 3–4 | Cold weather | Hard frost and colder shoulder-season ground |
| 4+ | Winter planning | Cold-ground trips where more insulation is needed |
Simple upgrade reminder: If you’ve ever woken up cold while your bag “should be warm enough,” point your upgrade budget at the pad.
More pad options (if you want alternatives)
- Klymit Static V2 — budget-friendly inflatable for mild nights (jump to the Klymit card).
- Therm-a-Rest Z Lite Sol — cheap “can’t-fail” foam. Bulkier to pack than inflatables, but great as backup insulation or stacked under an inflatable on colder/remote trips (jump to the Z Lite card).
- Sea to Summit Ether Light XR — a current comfort-first line if you want more thickness.
Optional: Pillows (tiny comfort upgrade)
If you sleep fine without one, skip it. But if neck/shoulder stiffness messes with recovery, a small pillow can be one of the best “comfort per gram” upgrades.
When neck stiffness hurts morning recovery, the Sea to Summit Aeros Premium Pillow is a compact comfort upgrade worth considering.
Small packed size, “real pillow” feel.
Worth it when: you wake up stiff and spend the first hour loosening up.
- Trekology Aluft 2.0 Pillow — budget option if you just want “good enough” support without thinking about it.
Temperature Rating Guide for Minimal Sleep Systems
Temperature ratings can be confusing. And when they’re wrong for your body or your route, you don’t just get a bad night—you get a night that steals tomorrow’s ride.
Decoding Temperature Ratings
ISO/EN temperature ratings: REI’s current guide explains that the comfort rating is aimed at an average cold sleeper, while the lower-limit rating is aimed at an average warm sleeper. See REI’s temperature-rating guide.
- Comfort — a “comfortable sleep” reference point (method-defined)
- Limit — a lower-end reference point (method-defined)
- Extreme — survival-focused, not comfort
Real-world planning:
- Many riders plan a comfort buffer below the printed number
- Cold sleepers often need more margin
- Wind exposure and higher routes can feel colder than forecasted
Write this down: Note your route’s coldest night (not the average), then choose warmth for that number with a comfort buffer.
Where to Pack Your Sleep System on the Bike
Packing isn’t just storage—it’s handling. If your bike ever felt sketchy because a bar roll was overloaded, this section is your reset.
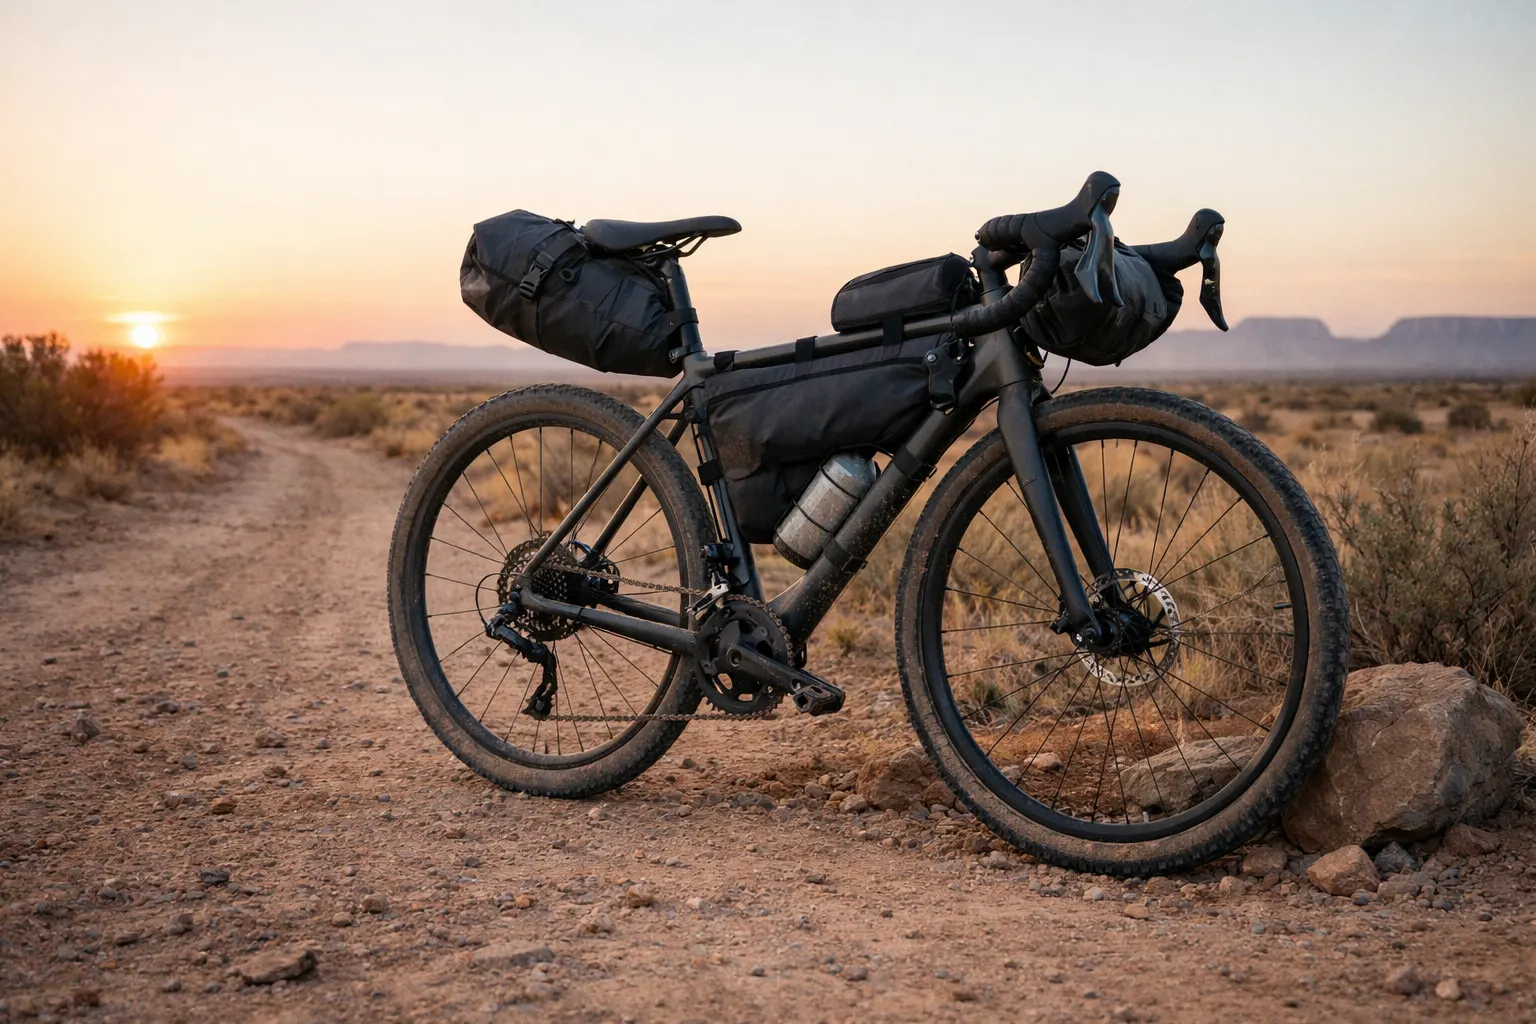
Frame Bag Packing Hierarchy
- Sleeping bag/quilt — biggest “space hog,” pack first
- Extra clothing — fills gaps and protects items
- Electronics / first aid — centralized and easier to find
Seat Pack Strategy
- Long items (pad/shelter) often ride best here
- Keep it tight to reduce sway
- Put heavier items closer to the seat post
Handlebar and Top Tube Placement
- Top tube: small items you want fast (pillow, cables, snacks)
- Handlebar: avoid stuffing your whole sleep kit here if you can
Handling test: Do a “wind ride” on purpose. If your bars feel weird in gusts, reduce bar bulk and move the sleep kit inward.
For the full carry-system layout, see the bikepacking bags system guide for frame, seat, and handlebar placement.
Route & Weather Adaptations
Most sleep system “surprises” happen when the route is colder, windier, or damper than expected. Plan for the worst-night scenario you can reasonably hit—then keep your sleep layers protected and easy to access.
Desert Touring Adaptations
Desert routes trick you: warm days, sharp night drops. Plan for the night lows, not the afternoon sun.
Mountain Pass Strategies
High routes are where comfort buffers pay off. Nights can feel colder than forecast because of exposure and wind.
Coastal and Forest Touring
Humidity and condensation can make you feel colder. Ventilation and keeping sleep clothes dry helps more than most people expect.
Spring & Fall Swings
Spring and fall can feel like two seasons in one day—sunny climbs, cold nights. Keep your “sleep clothes” in a dedicated dry spot so you always have something warm and dry at camp.
Route check: Pick your “worst-night” scenario (cold + wind or damp + condensation) and plan your sleep system around that.
What to Upgrade First—and What Not to Buy
If money’s tight, upgrade in the order that improves sleep fastest. Most riders feel the biggest change from pad insulation and draft control.
Gradual System Building
Step 1: Reliable basics
Step 2: Better pad (warmth + comfort)
Step 3: Smaller, warmer bag/quilt
Step 4: Small comforts (pillow/liner)
Keep your kit reliable (small habits, big payoff)
- Don’t store bags compressed — loft is warmth
- Air out daily if you can — especially after humid nights
- Carry a sleeping pad repair kit if you rely on an inflatable (a real pad/fabric kit is more reliable than guessing with bike tube patches).
Imagine finding a slow leak mid-route and realizing you brought “maybe” supplies. For remote trips, a real pad repair kit saves the most stress per gram.
For remote routes where a pad leak would ruin the trip, the GEAR AID Seam Grip WP Camp & Trail Repair Kit is a compact field-repair option for more dependable fixes.
Tiny tin, real supplies—so a slow leak mid-route doesn’t turn into “I can’t sleep tonight.” Tube patches can be a one-night save, but bonding varies a lot by pad material.
Five-minute check: Inflate your pad at home and leave it for an hour—if it softens, fix it before your trip does.
Cut bulk without buying new gear
- Use multi-use items (puffy as pillow)
- Add a thin foam layer as backup + warmth boost
- Choose simpler packing over extra sacks and straps
Pick one upgrade: Choose pad, draft control, or dry storage for your next trip—then test it before buying anything else.
Frequently Asked Questions
Build for the Coldest Night, Then Cut Bulk
A compact sleep kit makes bikepacking simpler: your bike handles better, camp setup is faster, and you recover more overnight. Start by matching your setup to the coldest nights you truly expect, then prioritize a pad with enough insulation for those lows.
If you want to go lighter later, do it in the order that protects sleep: pad → draft control → bag/quilt packability. And if you’re building your minimal sleep system for bikepacking from scratch, pick a tier, copy the logic, and only upgrade one thing at a time.
Fast recap: retake the quiz or check the 3 Sleeping Pad Picks above.
This guide is general education, not personalized advice. Gear comfort and temperature performance vary by person, route, and conditions, so double-check current specs and plan conservatively for your own trip. If you’re unsure about cold-risk or safety in remote areas, talk with a qualified outdoor professional or medical provider before you go.