Last updated July 2026.
Most cold weather cycling articles are written for 90-minute training rides. This one isn’t.
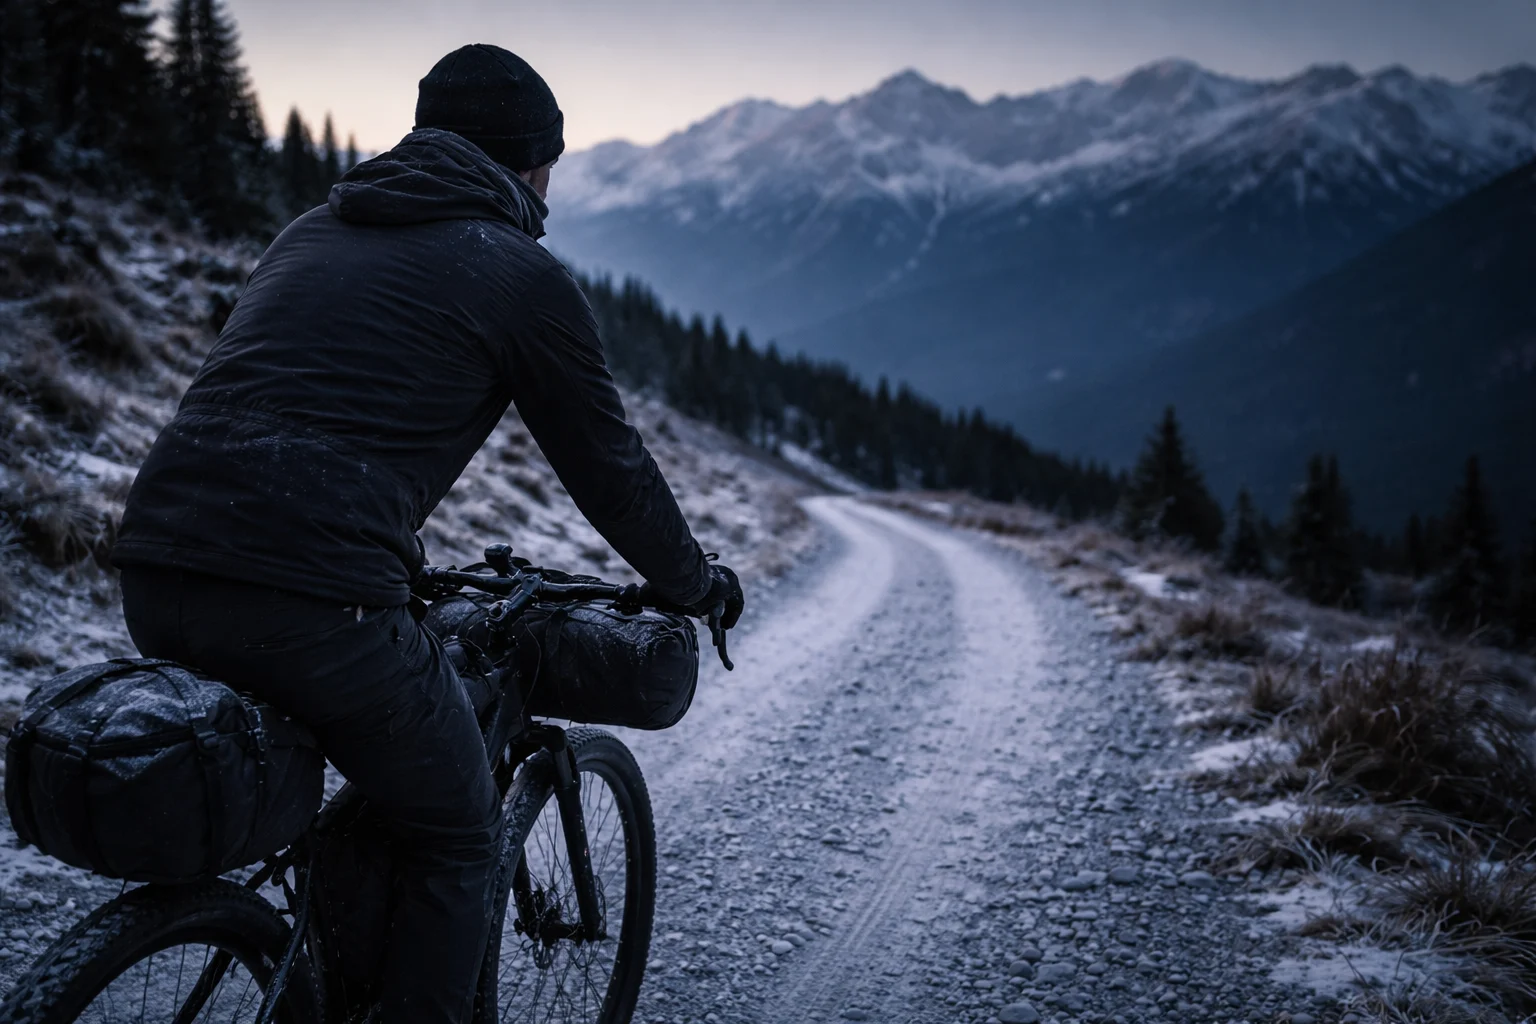
Day 4 of a planned 8-day loop through the San Juans. 6am. 28°F. I’d been wearing the same “waterproof” boots for three days and hadn’t felt my little toes since the previous afternoon’s descent. By 9am I was off the bike, feet stuffed inside my sleeping bag at a trailhead, staring at a GPS route I wasn’t going to finish.
My kit wasn’t bad. It just wasn’t a system. I had the right pieces and no framework for using them — and no understanding of the real enemy in cold weather bikepacking, which isn’t the cold. It’s the sweat-soak-freeze cycle that hits somewhere between a hard climb and the next descending ridge.
This guide covers the winter bikepacking gear that works for cold, multi-day riding: a layering system with honest trade-offs, two full kit builds, and a decision tool so you can build your setup without cross-referencing multiple forum threads. It builds on the main bikepacking gear guide and is aimed at riders who already have at least one multi-day trip behind them.
This page contains affiliate links and may include sponsored content. As an Amazon Associate, I earn from qualifying purchases at no extra cost to you. Amazon links are labeled #ad; other affiliate links may be marked as “affiliate link,” “Sponsored,” or “(paid link).” Learn more.
Table of Contents
- The Real Problem: It’s Not the Cold
- Temperature Layering Matrix
- Interactive Cold Weather Kit Builder
- Cold-Weather Gear by Body Zone
- Waterproof Strategy: When to Actually Use Rain Gear
- What Changes on a Multi-Day Winter Tour
- Two Full Winter Bikepacking Kit Builds
- Modular Upgrade Path: 3-Season Into Winter in 4 Steps
- What to Wear by Scenario: 4 Concrete Examples
- Gear I Regret Buying
- Frequently Asked Questions
- Build a System You Can Adjust
The Real Problem: It’s Not the Cold
Road cyclists talk about staying warm. Bikepackers have a different problem.
On a loaded climb, you can soak a base layer. Then you crest the ridge, stop pedalling, and the wind strips heat from that wet fabric before you have time to fully redress. The spare base layer is at the bottom of your drybag, and you still have 18 miles of descent before camp.
On a weeklong tour, that cycle can repeat with progressively damper kit, limited drying time, and a body accumulating fatigue while running slightly depleted on calories. Princeton’s Outdoor Action guide on cold injury (PDF) explains that water conducts heat away from the body about 25 times faster than air, while wet clothing can multiply conductive heat loss. That is why moisture control matters as much as insulation on a multi-day trip.
Everything in this guide is built around that cycle — not around keeping you warm on a single cold morning.
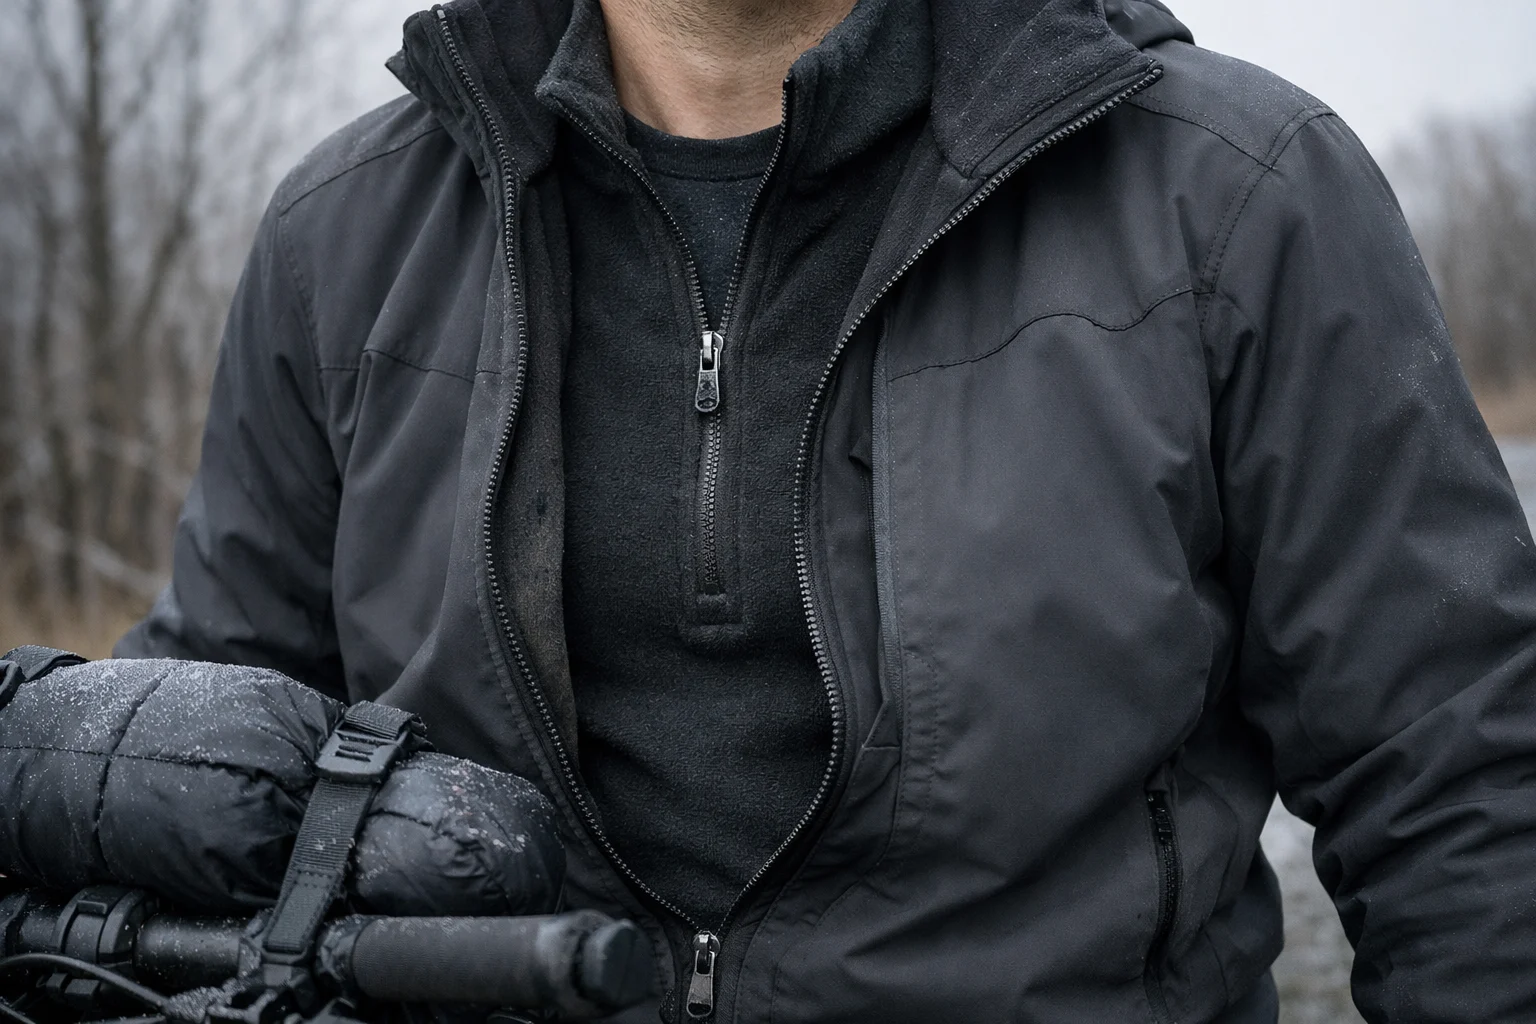
1. Modularity over warmth. You need to adjust on the bike, fast, with gloves on. Warmth you can’t regulate is a liability.
2. Sweat management first. A soaked layer around freezing accelerates heat loss and can become a serious liability.
3. Packed volume matters. A jacket you can reach quickly may be more useful than a warmer one buried at the bottom of a bag.
Temperature Layering Matrix
What to wear for winter cycling and cold weather bike riding at each temperature range, built around effort-level variability on a loaded bike:
Default for most shoulder-season tours: use a light base, a breathable mid-layer, and a separate wind shell. Add a fully waterproof shell only when precipitation or route exposure earns it; hands and feet usually determine the real lower limit.
| Temp Range | Base Layer | Mid Layer | Shell | Legs | Hands | Feet | Head/Face |
|---|---|---|---|---|---|---|---|
| 40–50°F (4–10°C) | Merino 150 or synthetic short-sleeve | None or light wind vest | Wind vest or nothing | Leg warmers over bibs | Light full-finger gloves | Thin wool socks + regular shoes | Ear covers or thin cap |
| 30–40°F (-1–4°C) | Merino 150 long-sleeve | Alpha Direct or Polartec 100 fleece | Softshell or packable wind jacket | Thermal bib tights or leg warmers + rain shell shorts | Mid-weight lobster mitts | Wool + neoprene oversock or light winter shoe | Merino cap + buff |
| 20–30°F (-7–-1°C) | Merino 150 L/S + thin synthetic base | Alpha Direct or Nano-Air hoodie | Wind-resistant softshell; add a hardshell for precipitation | Thermal tights + rain shell shorts (add waterproof pants in wet conditions) | Heavy lobster mitts or pogies | VB liner sock + merino + winter boot | Balaclava or merino cap + full buff |
| Sub-20°F (below -7°C) | Merino 150 L/S + mid-weight merino or synthetic | Insulated hoodie (Nano-Air or equiv.) | Windproof weather shell; use a hardshell for precipitation or exposed wind | Thermal tights + windproof shell pants | Pogies over mid gloves, or heavyweight lobster mitts | VB liner + thick merino + dedicated winter boot | Full balaclava |
Interactive Cold Weather Kit Builder
Choose the forecast and trip type. The builder combines the matrix into one head-to-toe starting kit you can test before the tour.
Treat the output as a starting system, not a temperature guarantee. Wind, humidity, pace, circulation, and individual cold tolerance change the answer.
Use the result as your starting kit, then use the sections below to check fit, drying, and failure points before buying anything.
Cold-Weather Gear by Body Zone
The best cycling gear for cold weather isn’t simply the warmest gear — it’s the gear you can adjust quickly. Three thin, packable layers often work better than one heavy layer because you can vent or remove them separately. Here’s how that plays out zone by zone.
Torso
A common torso mistake is starting a loaded climb in a heavy insulated jacket, overheating, and then having nothing dry to add on the descent. The more flexible fix is three distinct layers you can manage on the bike.
| Layer | Budget Pick | Mid-Tier | Premium | Trade-off | Packed Size |
|---|---|---|---|---|---|
| Base | Decathlon merino long-sleeve | Smartwool Classic 150 | Icebreaker Merino 150 | Fit, fabric blend, and long-term durability vary more than raw warmth | Softball |
| Mid | Patagonia R1 Air | Arc’teryx Rho LT | Patagonia Nano-Air | Nano-Air packs smaller; R1 Air breathes better at high effort | Fist-size |
| Shell | Decathlon Triban RC 500 wind jacket | Castelli Perfetto RoS 3 | Rapha Pro Team insulated jacket | Wind resistance, ventilation, and rain protection vary by model | Jersey pocket |
| Role | Product | Current Price |
|---|---|---|
| Milder-day merino base (men) | Merino Protect 100% Merino Tee — a budget short-sleeve base for milder days or for layering under a long-sleeve piece | |
| Milder-day merino base (women) | Merino Protect 100% Merino V-Neck Tee — the women’s-cut short-sleeve option | |
| Packable insulated mid-layer | Marmot Onward Insulated Hoody — a lower-cost active-insulation alternative; verify the current fabric, size, and listing details |
What I actually run: Smartwool 150 base + Patagonia R1 Air mid + Castelli Perfetto RoS shell. I drop the mid on sustained climbs and add it back before descents. My own DWR lasted through a long stretch of Cascades rain before reproofing, but fabric care, wear, and weather vary — follow the garment’s current care instructions rather than a fixed trip-day schedule.
Legs
Full winter bib tights feel like a great idea until a loaded climb leaves your legs far too warm. For variable-temperature bikepacking, a modular lower-body system usually gives you more control.
A practical system is regular 3-season bib tights + cycling leg warmers + rain shell shorts for wet conditions. It packs smaller, lets you strip leg warmers mid-ride, and some shell shorts are light enough for a jersey pocket.
| Option | Best For | Avoid If | Weight | Packed Size |
|---|---|---|---|---|
| Leg warmers + bib tights | Variable-temp days, long climbs, bikepackers | Sustained sub-20°F with no shell option | ~160g/pair | Rolled sock |
| Thermal bib tights (full) | Consistent cold temps, road touring, motel nights | Big climbs, hot legs, multi-day without spares | ~380–450g | Large stuff sack |
| Waterproof pants cycling (shell) | Rain + cold combined, below 30°F wet days | Dry cold — you’ll overheat fast | ~250–400g | Grapefruit-size |
| Rain shell shorts | Knee/thigh protection in light rain, modular layer | Heavy sustained rain or sub-25°F | ~90g | Jersey pocket |
On waterproof pants cycling: full waterproof pants are useful in cold, sustained precipitation, but they are easy to reach for too early. Water-resistant softshell shorts over leg warmers can handle brief showers while breathing better on climbs. For prolonged rain or wet snow, use a fully seam-taped cycling shell and verify the current manufacturer’s waterproofing and ventilation specifications.
Leg warmer fit note: long days expose poor grippers quickly. Look for silicone bands at the top, and make sure the warmers sit under your bib straps rather than over them. Castelli Nanoflex 3G and Assos LL S9 are two gravel-friendly options; verify current sizing and price before buying.
Stays put on gravel:
Castelli Nanoflex 3G Leg Warmers — water-repellent, silicone gripper, packs to a rolled sock.
Hands
Cold hands end trips. A liner + shell system is easier to adjust and dry than relying on one insulated glove: use the liner alone on climbs, add the shell for descents, and carry a second dry liner for recovery. A soaked outer glove leaves few drying options — I’ve finished a ride holding liner gloves against my stomach under my base layer because the outer mitts were too wet to use.
| System | Temp Range | Pick | Shifting/Braking | Notes |
|---|---|---|---|---|
| Light full-finger | 40–50°F | INBIKE Windproof Gloves — budget pick | Full dexterity | Windproof polar fleece; good shoulder-season value |
| Lobster mitt (cold) | 10–30°F manufacturer range | 45NRTH Sturmfist 3 | Good — lobster design | Useful for cold touring while retaining reasonable control |
| Lobster mitt (deep cold) | Below about 15°F manufacturer guidance | 45NRTH Sturmfist 4 | Reduced dexterity versus lighter gloves | Built for colder conditions; test braking and shifting before a tour |
| Pogies | Sub-20°F or very wet | Bar Mitts Extreme | Full — hand sits inside a shell | Strong warmth-to-dexterity option in deep cold; awkward at stops |
| Temp | Glove | Check Price |
|---|---|---|
| 35–45°F | INBIKE Windproof Polar Fleece Gloves — shoulder season, good dexterity | |
| 25–35°F | INBIKE Winter Gloves (Thicker) — longer wrist seal |
Feet
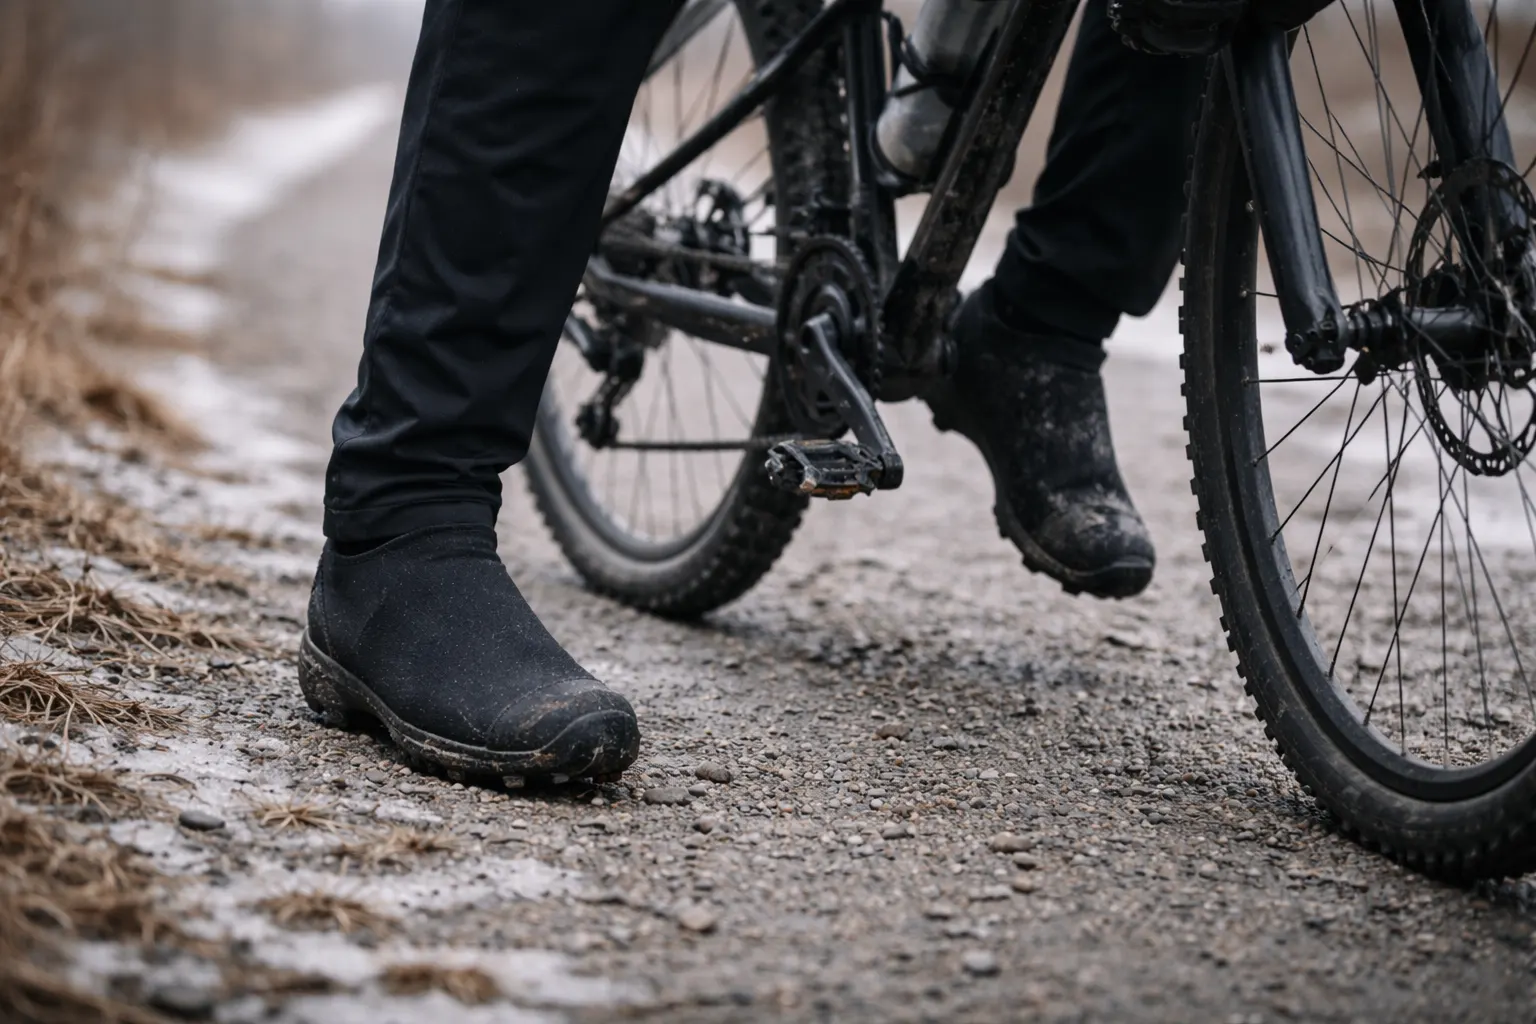
Feet are a common trip-ending failure point. The problem isn’t only insulation — sweat can accumulate inside weatherproof boots with no easy drying path.
The vapor barrier system: A dedicated vapor-barrier liner sits next to the skin, with the insulating sock and boot outside it. The goal is to keep sweat out of the boot insulation, but the liner also leaves your skin damp. Test the system on a short ride first, stop if you develop irritation or numbness, and carry a dry sock option rather than debuting it on a remote tour.
| Option | Current role | Main trade-off | Verdict |
|---|---|---|---|
| Neoprene oversock over regular shoes | Mild cold and shorter rides | Can retain moisture and is difficult to dry on a tour | Fine for day rides; less dependable for repeated wet days. |
| Thermal MTB shoe + oversock | Shoulder season and moderate cold | Less insulation and weather sealing than a dedicated winter boot | A practical bridge when the route stays near bail-out options. |
| 45NRTH Wölvhammer BOA | Manufacturer-rated comfort range: 0–25°F (-18 to -4°C) | Bulky and expensive compared with shoulder-season footwear | Dedicated winter option with BOA closure and two-bolt compatibility. |
| 45NRTH Wølfgar BOA | Manufacturer-designed range: about -25 to 10°F (-31 to -12°C) | Expedition-level bulk and cost | The deep-winter choice; the Öland is a much warmer-weather 20–45°F boot, not an expedition boot. |
I rode the Wölvhammer for two seasons before switching to the Lake MXZ305. The Lake’s BOA closure works with bulky gloves, the wide-fit option leaves room for thicker socks, and the current manufacturer range is 7–45°F (-14 to 7°C). Fit, circulation, wind, and ride intensity still matter more than a single temperature number.
| Model | Boot | Check Price |
|---|---|---|
| MXZ304 | Lake MXZ304 — glove-friendly BOA M4 closure, wide fit available | |
| MXZ305 | Lake MXZ305 — BOA closure, manufacturer-rated 7–45°F, two-bolt compatible |
For a single-day ride in mild cold, neoprene oversocks can be enough. On a multi-day route with repeated wet or sub-freezing conditions, dedicated winter boots buy drying margin and insulation; the trade-off is substantially more bulk, weight, and cost.
Head and Face
A thin merino cap works for many riders around freezing. As windchill rises, add a buff over the cheeks and nose on descents; in deeper cold, use a full balaclava that still fits safely under the helmet. The Outdoor Research Facemask Balaclava is compact, but glasses fogging depends on fit, breathing, and airflow.
| Temp | Head | Face | Pick |
|---|---|---|---|
| 30–50°F | Merino cap | None / ear covers | Smartwool Merino 250 Cuffed Beanie |
| 20–30°F | Merino cap | Buff over nose on descents | Buff Merino Wool |
| Sub-20°F | Balaclava | Full face coverage | OR Facemask Balaclava |
Waterproof Strategy: When to Actually Use Rain Gear
Full waterproof pants at 38°F on a 2-hour climb turns your legs into a steam room — you’ll arrive at camp with soaked bibs from the inside. Here’s how to read conditions correctly.
When NOT to reach for waterproof pants cycling: Cold but dry air, 35°F+, sustained climbing. Wind-resistant softshell shorts or leg warmers are usually the better call.
When you do need real waterproofs: sustained cold rain, wet snow, repeated crossings, or a route where getting soaked has serious consequences. Choose a fully seam-taped shell with enough ventilation for cycling and recheck the current product specification before a long trip. If budget is the constraint, the FROGG TOGGS Ultra-Lite2 remains a lightweight waterproof option, but its loose cut and limited durability are real trade-offs on a bike.
Budget waterproof:
FROGG TOGGS Ultra-Lite2 — jacket + pants, about 12.8 oz / 363g total; lightweight and packable, with a loose non-cycling-specific cut.
DWR reality check: Durable water repellent wears down with abrasion, dirt, and repeated wet use. Reproof when the face fabric stops beading, and follow the garment maker’s wash, drying, and reproofing instructions; a fixed every-third-night schedule is not reliable across fabrics.
What Changes on a Multi-Day Winter Tour
Everything above applies to a day ride too. This section is what separates real winter bikepacking gear strategy from single-day thinking — the stuff that only matters when you’re living in your kit for 7 days straight.
Base Layer Rotation
For multi-day cold routes, two base layers are a practical default: one rides while the other stays dry, and you rotate only after the used layer has had a chance to dry. At camp, wring or blot the riding layer and give it airflow whenever possible; keep saturated clothing out of your sleep insulation. On a 9-day tour in Oregon I tried running one base layer the whole way; by day 5, mine felt clammy from the first climb.
Glove Drying System
Wet gloves can become a trip problem quickly. Dry the outer gloves with airflow whenever possible, and keep a thin liner protected in your sleeping bag so it is warm and usable in the morning. Keep saturated outer gloves away from your sleep insulation.
The Phone and Battery Pack Problem
Cold increases lithium-ion internal resistance and can materially reduce usable capacity; the loss varies by cell design, load, and temperature. Keep your GPS and backup battery insulated at night and close to body warmth while riding. Do not charge an ordinary lithium-ion pack below freezing unless its manufacturer explicitly permits it. Shorter winter days also mean more riding at dusk and dawn — the bike lights guide for bikepacking covers what to carry for multi-day visibility.
Inner-pocket powerbank:
Nitecore NB10000 Gen 2 — 150g, 10,000mAh, 20W output, USB-C input/output. Keeping it insulated helps preserve runtime; cold performance still depends on the cells and load.
Camp Layer vs Ride Layer
Protect your camp insulation as a dry reserve rather than planning to use it as your routine ride mid-layer. If the puffy gets soaked during the day, you lose your dependable warmth at camp. Keep one lightweight down or synthetic layer packed until you stop for the night. For the sleep system that pairs with this approach, see the minimal sleep system for bikepacking.
Drivetrain
The drivetrain is easy to overlook: choose a wet-weather or cold-weather chain lube suited to the forecast and follow the product’s application guidance. Some dry lubes perform poorly in wet or freezing conditions, and sluggish shifting is a small problem that gets harder to ignore over several days.
Two Full Winter Bikepacking Kit Builds
Build A — Shoulder Season (25–50°F, dry to mixed)
e.g. Utah/Colorado border country, early March. Nights 20–25°F, days 40–50°F, possible wet snow.
| Item | Why it is in the build | Goes In |
|---|---|---|
| Two light base layers | One rides while the other dries | Frame bag / worn |
| Breathable fleece mid-layer | Fast insulation for stops and descents | Top of handlebar bag |
| Wind-resistant cycling shell | Blocks wind without forcing a rain shell in dry weather | Worn / jersey pocket |
| 3-season bibs + leg warmers | More adjustable than one heavy tight | Worn / top tube bag |
| Rain shell shorts or light pants | Quick weather layer for mixed conditions | Jersey pocket / frame bag |
| Winter footwear appropriate to the forecast | Protects the highest-consequence failure point | Worn |
| Liner gloves + cold-weather outer gloves | Creates a dryable two-part hand system | Pocket / top of bag |
| Merino cap + buff | Adjustable head and face coverage | Helmet / pocket |
| Dry camp puffy | Never used as the sweaty ride layer | Bottom of dry bag |
Build B — True Winter (15–35°F, wet/mixed, multi-day)
e.g. Pacific Northwest, November–February. Nights 15–25°F, days 30–40°F, sustained rain or wet snow.
| Item | Why it is in the build | Goes In |
|---|---|---|
| Two base layers + one dry backup | Supports rotation when drying conditions are poor | Frame bag / worn |
| Breathable insulated mid-layer | Fast warmth before long descents | Handlebar bag top |
| Fully seam-taped hardshell | For sustained rain, wet snow, and exposed wind | Worn / top of frame bag |
| Thermal tights + waterproof shell pants | Separates insulation from weather protection | Worn / accessible in frame bag |
| Deep-winter cycling boots such as 45NRTH Wølfgar | For routes reaching the manufacturer’s deep-cold range | Worn |
| Tested vapor-barrier liners + dry socks | Optional moisture-control system with a dry fallback | Frame bag |
| Sturmfist 3 or 4 / pogies matched to the forecast | Manufacturer ranges differ; colder is not always more dexterous | Worn / handlebar bag |
| Two thin liner gloves | One can dry while the other is used | Sleeping bag at night |
| Balaclava + buff | Full face coverage for exposed cold | |
| Dry camp insulation | Protected from ride moisture | Bottom of dry bag |
| Garment-specific reproofing product, when needed | Use only according to the shell maker’s care instructions | Repair/care kit |
Modular Upgrade Path: 3-Season Into Winter in 4 Steps
If you already own solid 3-season kit, you don’t need to rebuild from scratch. I’ve done it both ways — bought everything at once for a trip that was 6 weeks out, and added pieces one tour at a time over two seasons. The staged approach gave me clearer feedback about what was actually missing. Here’s the order that usually gives the biggest practical gain first:
- Leg warmers — biggest versatility gain per dollar. Adds a layer you can strip mid-ride. Buy quality ones that stay up (Castelli Nanoflex 3G or Assos LL S9).
- Feet system — foot failure ends trips. Start with fit, circulation, dry socks, and a tested moisture-control plan. If your route regularly reaches the manufacturer’s winter-boot range, move to a dedicated model such as the Lake MXZ305 or 45NRTH Wölvhammer.
- Packable mid layer — an Alpha Direct or Nano-Air that fits in a jersey pocket. This single item stops the soak-freeze cycle on descents when you use it consistently.
- Cold-weather gloves — move beyond light full-finger gloves when dexterity or warmth starts failing. The current 45NRTH ranges place Sturmfist 3 above the milder gloves and Sturmfist 4 in substantially colder conditions; choose by forecast and test braking control first.
Where not to overspend first: base layers. Premium fabrics may improve fit, durability, and comfort, but boots and hand protection usually change trip outcome more than a small base-layer upgrade.
What to Wear by Scenario: 4 Concrete Examples
| Scenario | What to Wear |
|---|---|
| 35°F, dry, gravel, 6-hour day | Merino 150 L/S · R1 Air mid (pocket) · Softshell shell · Leg warmers over bibs · Sturmfist 3 mitts or a comparable cold-weather glove · Wool sock + oversock · Merino cap + buff |
| 28°F, windy, road, all day | Merino 150 L/S · Nano-Air hoodie worn · Softshell · Thermal tights + rain shell shorts · Sturmfist 3 + liner, or pogies if your hands run cold · Wölvhammer + VB liner · Merino cap + full buff over face on descents |
| 40°F, sustained rain, touring | Synthetic base (merino stays wet too long in sustained rain) · Wind vest · Seam-taped hardshell · Leg warmers + rain shell shorts · Waterproof overmitts · Neoprene oversock · Cap + buff |
| 22°F, camp-to-camp, 3+ nights | Full Build B. VB liner socks every day. Two base layers rotating. Camp puffy stays packed until you stop. Mid layer on handlebar bag — add it before long or exposed descents. Phone and battery inside sleeping bag every night. |
Gear I Regret Buying
Four purchases I’ve made twice — once wrong, once right. The real difference was not the price tag; it was whether the piece fit the full system.
1. Heavyweight “winter bib tights”: Too hot above 32°F on any real climb. Replaced by leg warmers + rain shell shorts, which pack smaller and work from 25–50°F.
2. Cheap neoprene oversocks for a 6-day tour: Fine on day 1. Soaked through by day 2. Never fully dried. Toes borderline on day 4. Replaced by 45NRTH Wölvhammer — heavier and more expensive, but gave the trip a workable drying and insulation margin.
3. Single-layer “waterproof” gloves (not a liner + shell system): DWR failed by day 3. Wet through by day 4. No recovery path. Replaced by Sturmfist 3 + thin liner system — liner dried overnight, wore it alone on warm days.
4. “Premium” packable down jacket used as a ride mid-layer: Soaked on a descent on day 2, spent that night genuinely cold at camp. That jacket belonged in my dry camp reserve, not in my routine ride system.
Frequently Asked Questions
Build a System You Can Adjust
The difference between a cold tour you finish and one you bail on usually isn’t the gear — it’s the system. Getting your winter bikepacking gear right means rehearsing the descent-layer habit, testing any vapor-barrier setup before the trip, and keeping at least one layer completely dry until camp. The rest is weight optimisation you can refine over time. If you still need the rest of your setup, the beginner bikepacking guide covers the bags, repair gear, sleep system, and core equipment to sort before adding deeper-cold layers.
This guide reflects personal touring experience and is for general education only. Cold weather and sub-freezing conditions carry real risks that vary by individual fitness, route exposure, and gear condition. If you’re new to riding in sub-freezing temps, build up gradually with shorter trips before committing to multi-day backcountry tours. Review the CDC’s current cold-weather guidance, and seek emergency help for suspected hypothermia or frostbite.