Last updated: July 2026.
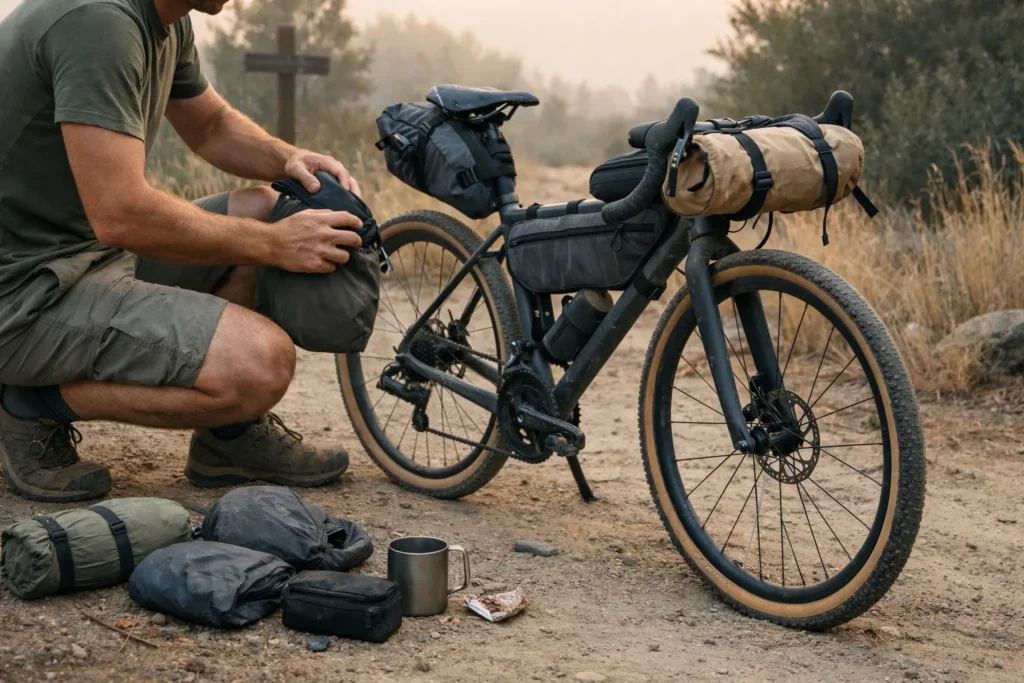
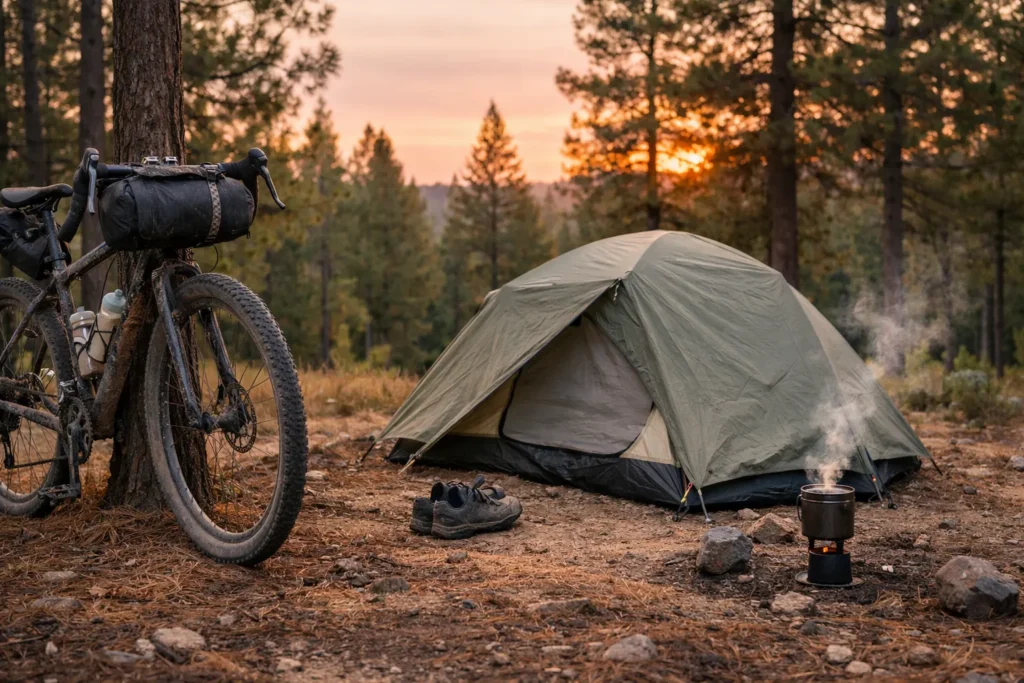
A compact camera for travelling by bike is only useful if it leaves the bag. I learned that on a 12-day self-supported tour through southern Spain, carrying a Sony A6000 and two lenses. The kit weighed 1.1kg. I used it three times: day one, day three, and day nine, when the light was too good to ignore. For the rest of the trip it stayed at the bottom of my frame bag — dead weight I’d talked myself into carrying.
The camera was not the problem. The system was. Since then I’ve switched to a lighter one-lens setup that comes out far more often because its weight, access, carry protection, and power plan fit the way I actually ride.
This guide helps you decide when a phone is enough, when mirrorless earns the extra weight, and which one-lens kit you’ll actually use. For the rest of the loadout, use the bikepacking gear hub.
This page contains affiliate links and may include sponsored content. As an Amazon Associate, I earn from qualifying purchases at no extra cost to you. Amazon links are labeled #ad; other affiliate links may be marked as “affiliate link,” “Sponsored,” or “(paid link).” Learn more.
Quick answer: Start with the constraint you will notice most on tour.
- Lowest weight — X-M5 + XF 27mm, about 573g; strong video, no IBIS.
- Stabilization and EVF — OM-5 family + 17mm prime, about 666g for the original body; verify the exact generation and sealed lens.
- Full-frame files — A7C II + Sony 40mm, about 893g.
Use the kit finder when weight, weather, and charging point to different options.
Table of Contents
- Mirrorless, Fixed-Lens Compact, or Phone?
- Three Bodies That Cover the Main Trade-offs
- Lens Strategy: Choose the One Lens You’ll Use
- Three Complete Kit Weight Estimates
- Find the Camera Kit That Fits Your Tour
- Carry and Protect the Camera on Tour
- Plan Batteries and Charging Between Outlets
- Final Pick by Priority
- Frequently Asked Questions
- Choose the Camera You’ll Still Use on Day Nine
Mirrorless, Fixed-Lens Compact, or Phone?

Choosing a camera for a loaded bike is different from choosing one for ordinary travel: weight, weather, vibration, and quick access when you stop change every priority. A fixed-lens compact keeps the package simple. Mirrorless earns its place when you want to choose the right lens before the trip, stabilize handheld stills on a body that includes IBIS, or keep the option to change the system later. If you prefer a fixed-lens compact such as the Sony RX100 VII, the ultralight camera kit for bikepacking covers that route.
The phone question is honest: if you mainly shoot for social sharing in decent light, do not crop heavily, and rarely print beyond A4, a good phone is often enough — and far lighter. Mirrorless earns the extra weight when you regularly shoot around dawn, dusk, or camp; need heavy crops; or print at A3 and larger.
Mirrorless can also add in-body stabilization on bodies that include it, weather protection when both body and lens support sealing, and files that tolerate heavier editing. Judge the complete carried system rather than the body alone.
Three Bodies That Cover the Main Trade-offs
These three routes cover the main bikepacking choices: minimum weight and video, stabilized stills with an EVF, or full-frame files.
| Body | Sensor | Ready-to-shoot body weight | Stabilization | Weather protection | Charging port | Verdict |
|---|---|---|---|---|---|---|
| OM System OM-5 (original) | MFT 20MP | 414g incl. battery/card | 6.5 stops body; up to 7.5 with compatible Sync IS lens | IP53 only with a compatible splashproof lens | Micro-USB | Stabilized stills + EVF |
| Fujifilm X-M5 | APS-C 26MP | 355g incl. battery/card | No IBIS; digital stabilization for video | No body weather sealing | USB-C | Lightest kit + strongest video route |
| Sony A7C II | Full-frame 33MP | 514g incl. battery/card | 7 stops | Dust/moisture resistant; not waterproof | USB-C PD | Full-frame files |
The original OM-5 remains the stabilization-first choice here, but its headline figures need two qualifiers. The body is rated at 6.5 stops on its own; the higher 7.5-stop figure requires a compatible Sync IS lens. Its IP53 rating also applies only when paired with a compatible splashproof lens, and the original Olympus 17mm f/1.8 used in this kit is not sealed.
There are now two OM-5 generations in circulation. The original body uses Micro-USB, while the newer OM-5 Mark II adds USB-C. Check the exact listing before buying rather than assuming the port or included accessories from the family name alone.
The X-M5 is the lightest ready-to-shoot body here and records 6.2K video, but it has no IBIS and no body weather sealing. Its digital stabilization applies to video, so a dry bag and steadier shooting technique matter on rough or wet routes.
The A7C II weighs 514g with battery and card before the lens. Once the 40mm prime, two spare batteries, and small charging accessories are counted, the complete estimate approaches 900g.
Current Amazon listing: original OM-5 with the 12–45mm F4 PRO zoom — a different, heavier setup than the 17mm-prime estimate below.
Lens Strategy: Choose the One Lens You’ll Use
Body weight starts the comparison, but the lens determines the view, handling, and whether the complete kit stays light enough to use on tour. Choose the scenes first, then decide whether a prime or zoom earns its place.
Start With the Scenes You Shoot Most
A 24–28mm-equivalent view makes it easier to include the bike, camp, and surrounding landscape. Roughly 34–41mm gives a more natural everyday or people-first view and matches the three main kit routes below. Pick the range that covers most of the photos you actually stop to make.
Prime or Zoom for a Minimal Bikepacking Kit?
For a minimal bikepacking camera setup, one lens is the practical default. A prime keeps weight and handling simple. A compact zoom earns the extra weight when its range replaces a second lens or covers subjects that one focal length genuinely cannot.
Choose the lens before the trip and avoid unnecessary swaps in dust or rain. The ultralight camera kit guide covers the fixed-lens and lighter-system route in more detail.
Lens Weight by System
| Lens | FF equivalent | Weight | Weather seal | Best for |
|---|---|---|---|---|
| Olympus 17mm f/1.8 (MFT) | 34mm | 120g | No | Street, travel, everyday — default for Kit 1 |
| Olympus 12mm f/2.0 (MFT) | 24mm | 130g | No | Wide landscape, bike in frame |
| Fuji XF 27mm f/2.8 R WR (APS-C) | 41mm | 84g | Yes | Lightest APS-C option — pancake profile, default for Kit 2 |
| Sony FE 40mm f/2.5 G (FF) | 40mm | 173g | Yes | Compact full-frame prime — lens used in Kit 3 |
Everyday prime: the original Olympus 17mm f/1.8 is 120g and gives a 34mm-equivalent view. It is not weather sealed; compare the current sealed version if a fully protected OM kit matters.
Three Complete Kit Weight Estimates
Each lightweight mirrorless travel kit below is a planning estimate, not a scale measurement. The totals use the manufacturer’s ready-to-shoot body weight with one battery and card installed, then add the lens, two spare batteries, and 40g for a cable and cloth. Straps, cases, inserts, and card-weight differences are not included.
Memory Card Format Matters
Card capacity depends on file type, burst use, and video settings. U3/V30 is a useful baseline for the modes discussed here, but verify the camera’s recording requirements and physical card format before buying. This 256GB microSDXC listing with adapter is not the same as a native full-size SD-card recommendation, so confirm the format and speed class for the exact camera before using it.
The corrected estimates make the main trade-off clear: X-M5 for the lowest weight and video, the OM-5 family for stabilization and an EVF, or A7C II for full-frame files. Answer the questions below for the closest fit.
Find the Camera Kit That Fits Your Tour
Answer four practical questions. The tool uses output needs, carried weight, weather exposure, and time between outlets — not temporary prices.
Your recommendation will appear here after all four questions.
Carry and Protect the Camera on Tour
A light camera only works on tour when it is easy to reach and protected from knocks, dust, and weather. The full carry-side logistics — mounting, waterproofing, and vibration protection — are covered in the bikepacking photography gear guide.

Choose an Access Point You Will Actually Use
A top-access frame bag is a practical starting point for many setups: it is reachable when you stop and keeps the camera separated from the front wheel. A handlebar-roll pocket can be quicker when its closure is easy to use with cold or wet hands. A hip pack gives the fastest off-bike access, but adds a strap you may not want on a fully loaded bike.
Whatever carry position you choose, use a padded sleeve or insert that prevents the camera from knocking against tools, food, or bag hardware. The important part is secure separation and impact protection, not a universal soft-case-versus-hard-case rule. A Peak Design Capture Clip can provide quick off-bike access when mounted to a compatible pack strap or belt. A Tenba BYOB insert is the calmer on-bike option because it keeps the camera separated from other frame-bag contents.
If you’re running the X-M5, a fitted rain cover or a fast-access dry bag can add protection when conditions turn. Cover size, compatibility, and weight vary, so confirm the fit for the body-and-lens combination rather than relying on one quoted weight.
Rain-cover option: Peak Design Shell (Small) — confirm the size against your body and attached lens, and treat it as a cover rather than a waterproof housing.
Limit Dust, Moisture, and Hard Impacts
Dust is most likely to reach the sensor when the lens is removed, especially in wind or on dry roads. Keep the lens mounted when conditions are poor, store the camera so it cannot bounce against hard objects, and inspect or clean it when images show spots rather than on an invented fixed schedule. Weather resistance reduces exposure; it does not make any camera immune to dust, moisture, or impact.
Plan Batteries and Charging Between Outlets
Battery life varies with temperature, screen use, autofocus, stabilization, wireless connections, and video. The X-M5 and A7C II can charge through USB-C; the original OM-5 uses Micro-USB, while the OM-5 Mark II uses USB-C. Treat two spare batteries as a planning buffer, not a guaranteed number of days.
When the same power bank also supports navigation and communication, protect that reserve first. Recharge the camera at camp after you know how much phone and route-finding power remains.
A 10,000mAh bank such as the Nitecore NB10000 Gen 2 or NB Plus is a reasonable starting size for short gaps between outlets. Usable energy is lower than the headline capacity after conversion losses. Consider a 20,000mAh option such as the Nitecore NB20000 when multiple outlet-free days, heavy phone navigation, or substantial video share the same reserve.
Final Pick by Priority
| Your priority | Recommended kit | Why |
|---|---|---|
| Social-first, mostly Instagram | Phone, or X-M5 + 27mm if you want more | Choose the phone when convenience is enough; choose the X-M5 when you want a dedicated camera and stronger video without crossing 600g. |
| Print quality / large crops | A7C II + Sony 40mm f/2.5 G | Full-frame files give the most crop and low-light latitude here. Accept an estimated 893g carried kit. |
| All-round, any weather | OM-5 family + compatible sealed prime | Best stabilization-first route here; verify the exact body generation, port, and lens sealing. |
| First-timer, unsure | OM-5 family for stabilization, or X-M5 for minimum weight | Choose the compromise you understand: model/lens verification on OM, or no IBIS/body sealing on Fuji. |
| Video + stills both matter | X-M5 + XF 27mm | 6.2K video and the lowest carried estimate; accept no IBIS or body weather sealing. |
| Already own Sony FF glass | A7C II + your lightest lens | Use existing glass rather than buying into a new system. |
Frequently Asked Questions
Choose the Camera You’ll Still Use on Day Nine
On that Spain tour, the A6000 was not a bad camera. The 1.1kg two-lens setup was a bad touring system for me. A camera only improves the trip when it is light enough, protected enough, and easy enough to reach that you still take it out late in the tour.
Choose the X-M5 route when minimum weight and video matter most; the OM-5 family when stabilization and an EVF justify careful model-and-lens verification; or the A7C II when full-frame files are worth the heavier load. If a phone already covers your output, carry the phone and save the weight. Then build the camera into the same bikepacking gear system as your power, bags, and weather protection. The right setup is the one you’ll still reach for on day nine.