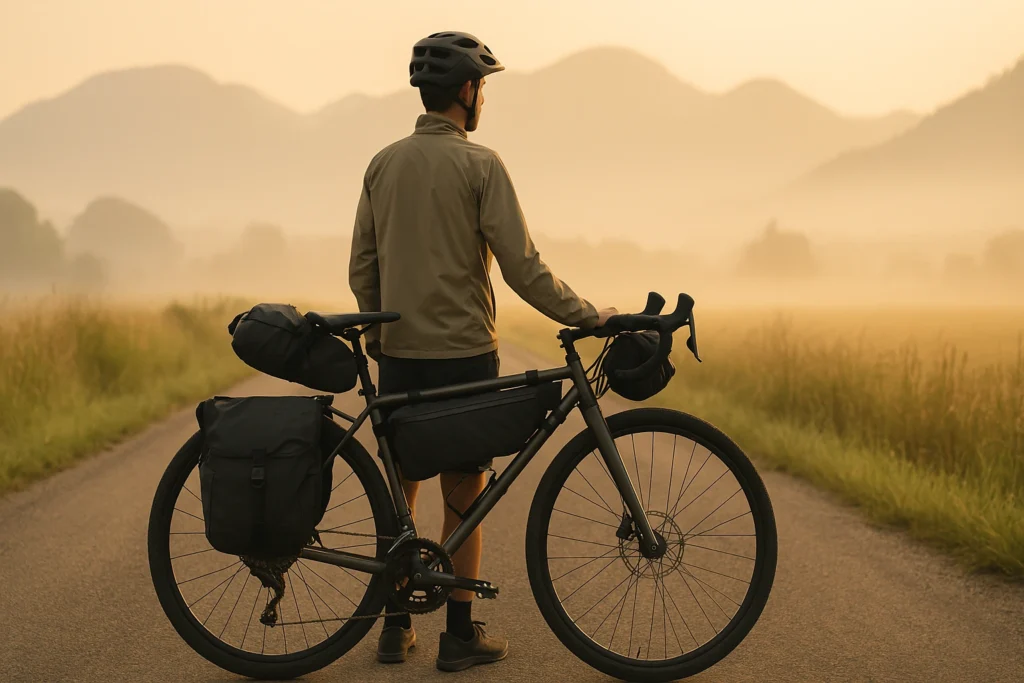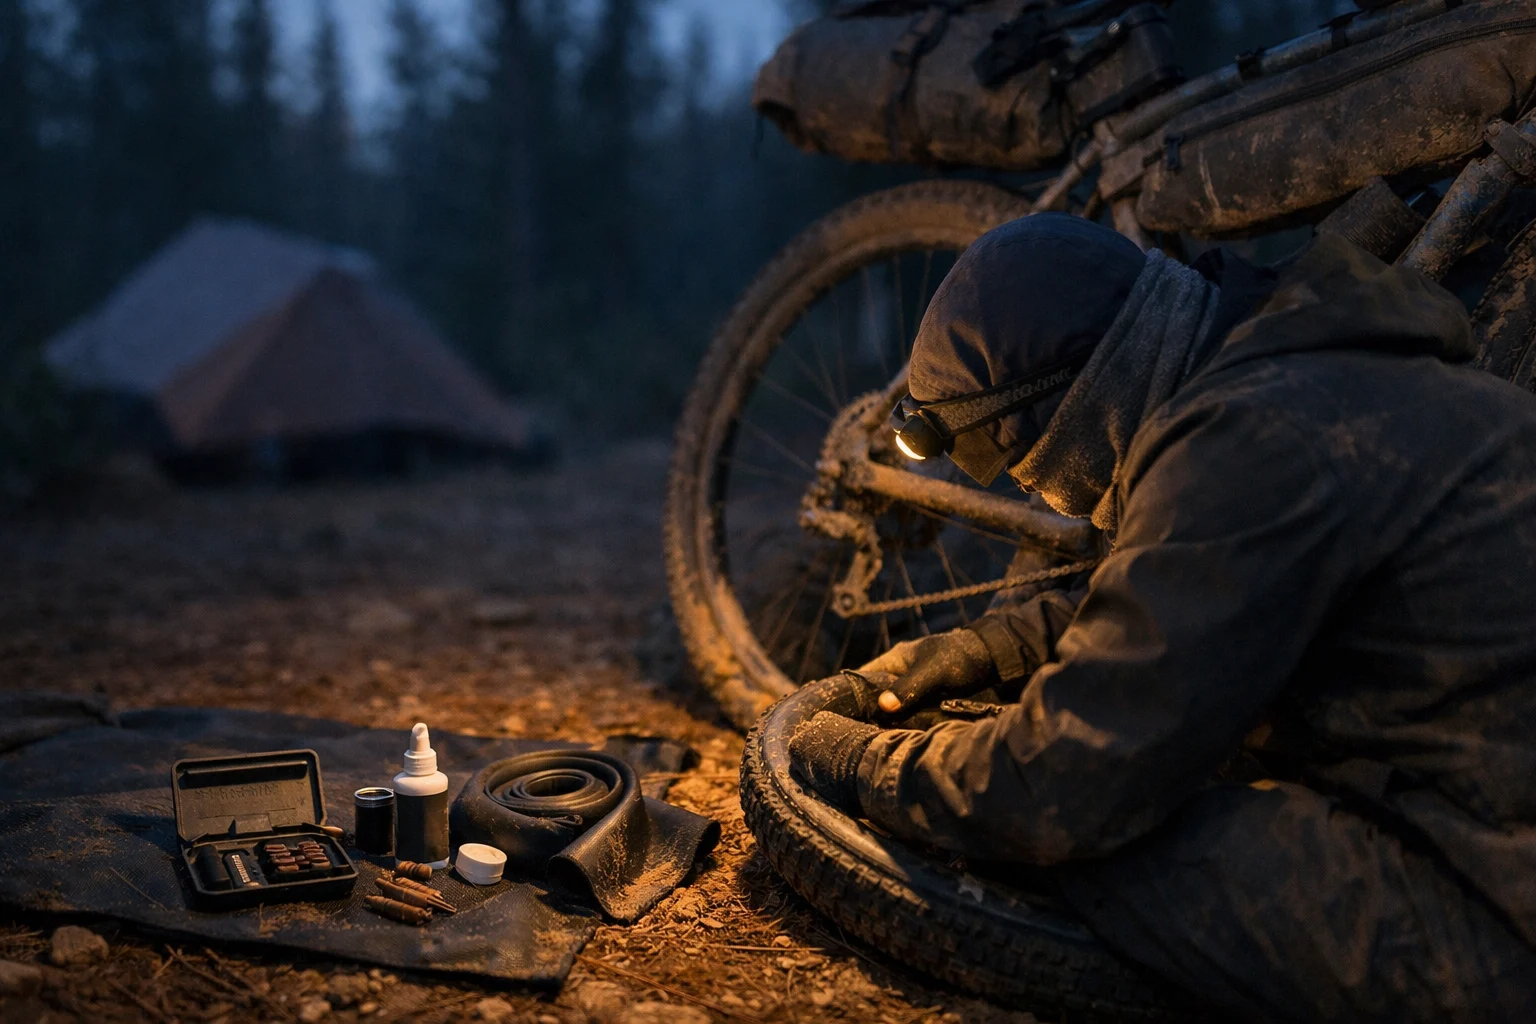
Tubeless vs tubes bikepacking is ultimately a repair decision: which failure can you fix when you’re cold, tired, and far from help? One tiny thorn can be a shrug—or a 2 a.m. wrestling match.
Quick version: tubeless saves time on thorny or rocky routes because sealant handles many small punctures. Tubes do not self-seal, but the repair process is familiar and repeatable when you’re far from help. Below is the decision framework I use, the failure modes that matter most on tour, and what I pack so a flat doesn’t derail the day. For the rest of your setup, see the complete bikepacking gear guide.
Personal note: I used to run tubeless everywhere—until one stubborn bead with numb hands taught me why a boring backup plan matters.
Thorny or rocky routes → tubeless on both wheels plus a spare tube. Remote mixed-surface touring → tubes. Testing tubeless without converting both wheels → hybrid.
Short on time? Jump to: Decision framework → What fails most → Carry list.
This page contains affiliate links and may include sponsored content. As an Amazon Associate, I earn from qualifying purchases at no extra cost to you. Amazon links are labeled #ad; other affiliate links may be marked as “affiliate link,” “Sponsored,” or “(paid link).” Learn more.
Table of Contents
- Quick Decision Framework: Tubeless vs Tubes for Bikepacking
- Tubeless vs Tubes: The Real Pros and Cons
- What Actually Fails Most: My Experience + Common Issues
- The One Repair I Practice Before Big Trips
- Essential Carry List: What to Pack for Each System
- My Current Setup: What Works After 8,000+ Miles
- Tubeless Conversion Tips: Getting It Right
- Sealants, Tires, and Flat-Repair Tools
- Troubleshooting Common Tire Setup Issues
- Making the Final Decision: Tubeless, Tubes, or Hybrid?
- Frequently Asked Questions
- Before You Leave: Test the Repair Plan
Quick Decision Framework: Tubeless vs Tubes for Bikepacking
If you’re stuck, decide with three things: terrain, how remote you’ll be, and how confident you are fixing a flat when you’re tired. For most riders, the right bikepacking tire setup comes down to those variables.
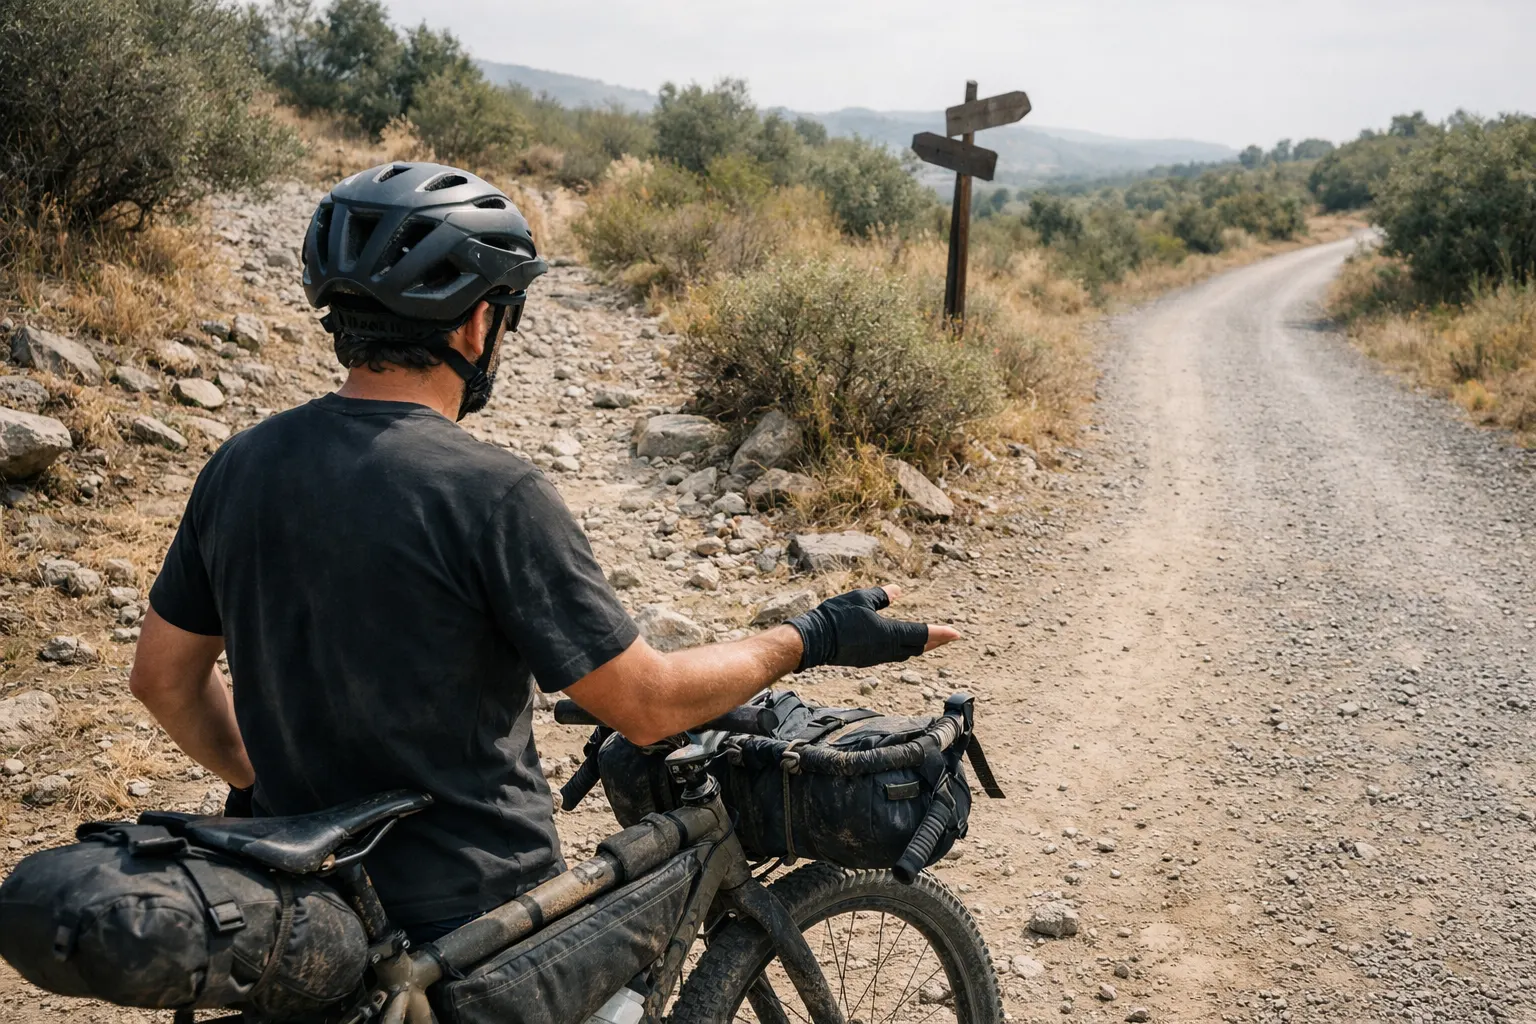
The “best” setup is the one you can fix quickly with the tools you actually carry.
Go Tubeless If:
- Terrain: mostly rocky or thorny routes where small punctures are common
- Repair confidence: you are comfortable with plugs, sealant, and installing a backup tube when needed
- Maintenance: you will check sealant before the trip and carry the fallback parts for a cut or tape failure
- Priority: fewer small-puncture stops, lower-pressure traction, and ride feel matter more than the simplest upkeep
Stick With Tubes If:
- Trip style: long-distance touring through remote areas
- Repair preference: simple, predictable fixes with familiar tools
- Surfaces: long stretches of road and gravel with less puncture-heavy terrain
- Priority: boring reliability matters more than lower pressure or self-sealing
Try Hybrid If:
- Trial run: you want to test tubeless benefits before converting both wheels
- Front-wheel grip: you value lower-pressure steering and traction up front
- Two-system trade-off: you accept carrying and maintaining the repair parts for both tubeless and tubes
Skill matters less than practice: choose the system whose worst-case repair you can complete with the exact tools you will carry.
Start a little higher than you think, then lower pressure in small steps until comfort/traction improves without rim strikes. If you’re unsure, follow your tire/rim maker’s max/min guidance and err on the conservative side for loaded riding.
How the Choice Changes by Route
Two routes show why there is no universal winner. The best bikepacking routes guide can help you compare terrain, remoteness, resupply, and seasonal constraints before you commit to a tire setup.
- Desert thorns + heat: tubeless can prevent repeated small-puncture stops; pack extra plugs and a sealant top-off.
- Remote + cold: tubes keep the fallback familiar; pack butyl tubes and a glue patch kit, and keep the glue warm in a pocket.
Tubeless vs Tubes: The Real Pros and Cons
Most debates miss the only thing that matters on day four: what fails in the field—and how annoying it is to fix when you’re over it.
| Tubeless Tires | Tubes |
|---|---|
| ✅ Self-sealing for thorns/small punctures | ✅ Familiar tube-swap process |
| ✅ Lower rolling resistance | ✅ No liquid sealant to monitor in heat or cold |
| ✅ No pinch flats (one less failure mode) | ✅ Cheaper to maintain |
| ✅ Better traction at lower pressures | ✅ Common spares are easier to source |
| ❌ Complex repairs when sealant fails | ❌ Pinch flat risk |
| ❌ Sealant dries out in heat/time | ❌ More punctures from thorns |
| ❌ Messy to work with | ❌ Higher rolling resistance |
| ❌ Maintenance varies by formula and climate | ❌ Tube and spare-tube weight adds up |
| Weight reality: tape/valves are small, but sealant adds volume. Net “system weight” can swing either way—especially once you include what you carry. | Weight reality: a tube adds weight, and bikepacking often means carrying 1–2 spares. The upside is you’re carrying the simplest universal fix. |
This chart is a map, not a promise. Tire casing, rim fit, pressure, and sealant freshness can swing your results a lot.
What Actually Fails Most: My Experience + Common Issues
Quick note: these rankings are from my own roadside failures over a few thousand miles—not a lab test. Treat this as a “what bites most often” list. Casing strength, rim/tire fit, and sealant freshness can change what you experience.
Tubeless: what fails most (and what it looks like)
- Sidewall cuts too big for sealant → boot + tube is the fastest reset
- Sealant drying out (heat + time) → slow leaks that won’t fully seal
- Valve/core problems (clogs or bent cores) → air won’t hold, pump feels pointless
Field order: plug first, then air up; if it’s still hissing or the cut is wide, install a tube with a boot.
Tubes: what fails most (and why)
- Pinch flats from underinflation + hard hits → add a little pressure and/or go wider
- Multiple punctures in thorn country → you’ll burn tubes unless you patch
- Patches that won’t stick in wet/cold → surface prep matters more than the brand
Field order: swap the tube to keep moving, then patch the punctured tube later when you can do it calmly.
Hard lesson: sometimes the fight is the bead, not the puncture. That’s why I always pack a tube + boot even when I’m running sealant.
The One Repair I Practice Before Big Trips
If you only practice one thing before a big ride, make it this: do one full “worst case” flat repair at home with the exact tools you’ll carry.
- Break the bead and get one side of the tire fully off the rim.
- Boot drill: place a tire boot like you would for a sidewall cut.
- Tube install: put in a tube without pinching it, then seat the bead.
- Inflate with your actual pump until it’s rideable.
Essential Carry List: What to Pack for Each System
Pick your system first, pack the must-haves, then add extras only if your route demands it.
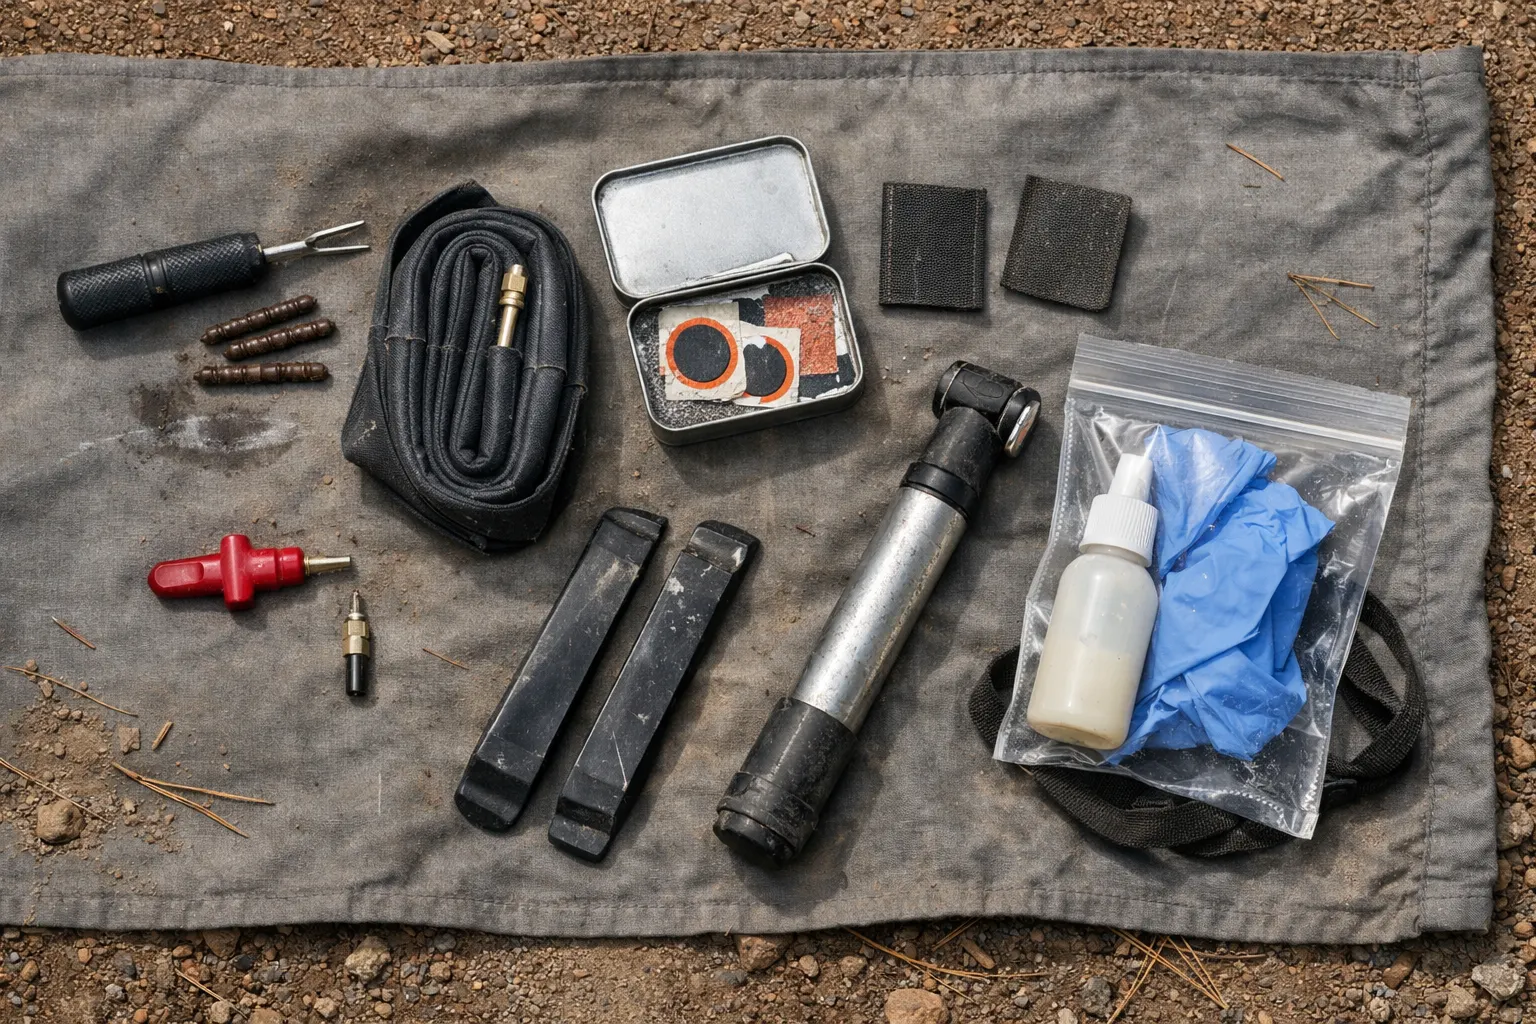
Match the tube’s stated size range to your tire (example: 700×35–43 for a 40mm tire). Bring the valve type you run (usually Presta), and pick a stem length that clears your rim (longer if you have deeper rims). For big tours, I still prefer butyl as the “boring and dependable” option—it patches well once the tube is clean and dry. TPU is great for saving space, but I treat it as a performance spare, not my only plan. If you’re remote: carry 2 tubes. If you’re near towns: 1 tube + a solid patch kit. If you’re still unsure, match the width range first, then pick a valve stem length that clears your rim.
Tubeless Setup (With Tube Backup)
If you want a simple starting point for a tubeless repair kit for bikepacking, this list covers the non-negotiables—including the tube that gets you moving when plugs and sealant are not enough.
| Item | Quantity | Why You Need It |
|---|---|---|
| Tubeless tire plugs | 10–15 plugs | Large hole repairs |
| Sealant refill | 2–4 oz bottle | Top-offs and dry-outs |
| Tire boot patches | 3–4 patches | Sidewall tear backup |
| Valve core tool | 1 | Valve maintenance |
| Spare valve cores | 2–4 cores | Cheap insurance for clogs/bent cores |
| Tire levers (strong) | 2–3 levers | Tight tubeless beads |
| Spare tube | 1 tube (2 if remote) | Reset for sidewall cuts, rim-tape failures, and stubborn beads |
Bikepacking rule: the spare tube is not optional backup weight—it is the fastest reset for big cuts, rim-tape issues, and stubborn beads.
Packing order: plugs + inserter, valve core tool (and a spare core), a tire boot, the spare tube, and a pump you’ve tested at home. Add a small sealant top-off for heat or long tours.
If your bead is notoriously tight, flimsy levers can snap. The Park Tool TL-1.2 set is a simple “access tool” for flat repair: get the tire off → fix the problem → get it back on. Park Tool TL-1.2 Tire Lever Set.
Tube-Only Setup
| Item | Quantity | Why You Need It |
|---|---|---|
| Spare tubes | 1–2 tubes (2 if remote) | Primary repair method |
| Patch kit | 1 quality kit | Backup repairs |
| Tire levers | 2–3 levers | Tire removal |
| Tire boot patches | 2–3 patches | Sidewall protection |
For tube repairs, Park Tool GP-2 Super Patch Kit is a compact peel-and-stick backup that fits easily in a repair pouch.
For very wet or cold trips, also carry a small vulcanizing patch kit. Pre-glued patches need a clean, dry tube to bond well.
Universal Items (Both Systems)
| Item | Quantity | Why You Need It |
|---|---|---|
| Portable pump | 1 reliable pump | Inflation for either system |
| Multi-tool with chain breaker | 1 | General repairs |
| Duct tape | 2–3 feet | Emergency everything |
| Cable ties | 4–5 ties | Secure loose items |
| Spare derailleur hanger | 1 | Common failure point |
For the full bike-wide checklist—not just tire repairs—the bikepacking repair kit checklist covers chain, brake, wheel, and route-length spares.
Bring a compact multitool you trust. Treat CO₂ as a bonus—not your only inflation plan.
Before a big trip, use the exact kit you will carry to remove the tire, install the boot or tube, reseat the bead, and inflate to a rideable pressure. If your pump cannot finish that sequence, change the inflation plan before the route exposes it.
My Current Setup: What Works After 8,000+ Miles
I run a hybrid approach because it gives me fewer puncture stops up front and simpler fixes on the wheel that carries more load.
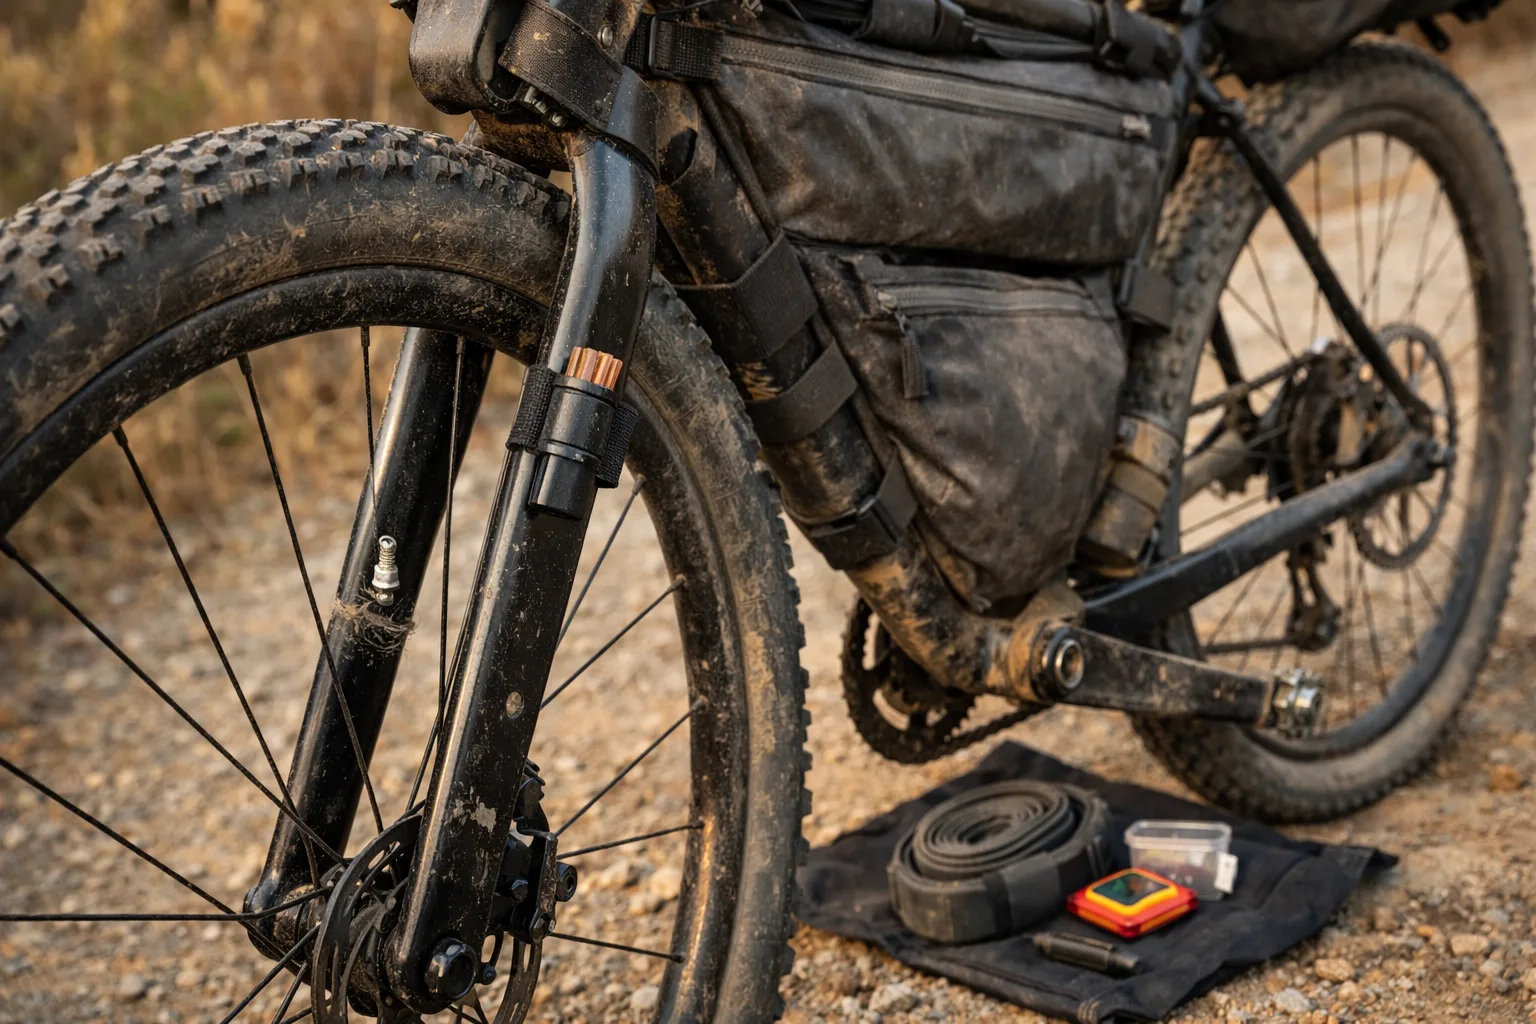
Front Wheel: Tubeless
- Tire: Schwalbe G-One Allround 40mm tubeless
- Sealant: Stan’s Race Day
- Pressure: mid-30s to mid-40s PSI depending on load + terrain
I’ve used Stan’s for years, but Race Day is a high-maintenance formula: Stan’s recommends checking it every 2–3 weeks. If you want longer gaps between top-offs on tour, Orange Seal Endurance is formulated for two to three times longer service than Orange Seal’s regular formula.
Rear Wheel: Tube + Tubeless-Ready Tire
- Tire: Same Schwalbe G-One but with a tube
- Tube: Continental Race 28 (lighter than standard)
- Pressure: a bit higher than the front for durability
Why it works: The front gets lower-pressure steering and traction, while the rear keeps a familiar repair plan under higher load. Using the same tire family on both wheels also means one tube size and one boot can cover either end.
Tubeless Conversion Tips: Getting It Right
Conversion isn’t hard—but the first time can feel finicky. Doing one slow “practice install” at home saves a lot of trailside frustration later.
Compatibility check: rims, tires, and inserts
Before you convert, confirm your rims are tubeless-ready (bead locks help prevent burping), your tires are labeled tubeless-ready/TR, and your rim tape width actually matches the rim bed. If you run hookless rims or very low pressures, follow your wheel/tire manufacturer guidance for compatibility and max pressure.
If you want a clear, step-by-step walkthrough, Park Tool’s guide is solid: tubeless tire mounting and repair.
Before You Convert:
- Check rim/tire compatibility — confirm the exact tire, rim, and pressure limits work together
- Match tape to the rim — use tubeless tape that covers the internal rim bed cleanly
- Practice once — learn the process before you’re on tour
Conversion Process:
- Clean rims thoroughly with alcohol
- Apply tape using the rim or tape maker’s recommended wraps, with a clean overlap past the valve hole
- Add the right sealant amount for your tire size and sealant formula
- Seat the beads with the airflow your tire-and-rim combination requires
Avoid the common setup mistakes: too little sealant, weak tape overlap at the valve hole, wrinkles in the tape, or a crooked valve stem. Then do one overnight pressure test at home; if it holds until morning, you’re in a much better place.
Sealants, Tires, and Flat-Repair Tools
These are the products I’d shortlist for a low-drama setup, with firsthand experience called out where it applies.
Freshness checked July 2026 against current manufacturer guidance and product pages.
Best Tubeless Sealants:
For most riders, the “best” sealant is the one you’ll actually maintain. Decide what you hate more: frequent top-offs, or valve cleanup. Endurance formulas usually last longer; race blends can seal faster but may clump more.
Solid all-around pick: Orange Seal Endurance — a steady option when you want fewer “why is my sealant dry?” surprises. Endurance-style formulas often last longer between top-offs.
Top Bikepacking Tires:
Tire choice matters more than most “tubeless vs tubes” debates. A tougher casing and the right pressure can prevent the sidewall cuts that force a full trailside reset.
I’ve settled on the Schwalbe G-One Allround because it rolls fast on pavement/gravel connections, still grips decently on dirt, and holds up under load. It’s the “no drama” choice for mixed routes.
For smoother gravel and road-heavy routes, consider the Schwalbe G-One RS or Continental Terra Speed. The G-One Bite adds more grip in loose or muddy conditions, while the Panaracer GravelKing SK is the more budget-minded durable option.
Quick sanity check: 700c/29er use a 622 bead-seat diameter; 650b/27.5 uses 584.
Common sizes (easy starting points): Pick your wheel size, then match width to your route (wider for rough/loaded, narrower for mixed pavement/gravel).
- 700c gravel (faster, mixed routes): Schwalbe G-One Allround 700×35 (go wider if you’re riding rough or carrying heavy loads)
- 650b / 27.5" gravel (comfort + traction): Schwalbe G-One Allround 40-584 (27.5×1.5)
- 29er bikepacking (mixed terrain, fast-rolling): Schwalbe G-One Allround 57-622 (29×2.25) (for chunkier/looser routes, consider a more aggressive tread like the G-One Bite)
Essential Tools:
If you add one dedicated tubeless repair tool, make it a plug kit. For an appropriate puncture, it can turn a wheel-off repair into a quick plug-and-inflate stop.
When sealant keeps hissing: PRO BIKE TOOL Tubeless Tyre Repair Kit
A compact plug tool you can use without removing the wheel; still carry a tube and boot for cuts a plug cannot handle.
If you’re missing the tiny “make it work in the field” parts, these three are the highest value:
- Valve core tool + spare cores (cheap insurance that can save a whole day)
- Tire boot (your backup for sidewalls and weird cuts)
- Small sealant top-off (especially for heat / long tours)
Troubleshooting Common Bikepacking Tire Setup Issues
Start with the fastest fixes first: plug → air up → check the valve/core → then inspect tape/bead.
Tubeless: the top 3 problems & solutions
- Sealant won’t seal a hole: plug it; if it’s a cut/tear, install a tube with a boot.
- Valve keeps clogging: remove core, clean, reinstall; carry a spare core and swap it fast.
- Slow leak overnight: check rim tape (gaps/wrinkles), then add sealant and rotate the wheel to coat.
Tubes: the top 3 problems & solutions
- Pinch flats: increase pressure a bit; consider wider tires if you’re hitting hard.
- Patches won’t stick: roughen + clean the tube, let cement get tacky, then apply.
- Repeated punctures: inspect the tire casing carefully (embedded thorn/glass) before installing the next tube.
If you’re riding truly remote, save the two fixes you’re most likely to need before you lose service—and make sure the repair tool in your kit matches the system you actually run.
Flat Repair: Tubeless Plug Kit vs Patch Kit
VSQuick pick: Tubeless riders → plug kit; tube riders → patch kit. Both are lightweight and fit in any jersey pocket, so pick based on your setup, not weight.
| Tool | PRO BIKE TOOL Tubeless Tyre Repair Kit |
Park Tool GP-2 Pre-Glued Patch Kit |
|---|---|---|
|
Push a plug string into the puncture, trim the tail, reinflate. Works with sealant still inside the tire. |
Peel, press, and keep moving—provided the tube is clean and completely dry, which Park Tool requires for the patch to adhere. |
|
| Best for |
|
|
| Pros |
|
|
| Consider |
|
|
| Shop |
Making the Final Decision: Tubeless, Tubes, or Hybrid?
If you’re still torn, ask one question: Which “worst flat” am I most likely to face—and can I fix it out here? That’s the real difference in tubeless vs tubes for touring. Sharp-thorn routes often favor tubeless; remote mixed-surface miles may favor tubes when a familiar reset matters more. Hybrid is a deliberate trial—not an automatic best-of-both-worlds answer.
Why I Still Run Hybrid
I run the hybrid setup (tubeless front, tube rear) because it reduces front puncture interruptions while keeping the rear wheel’s repair plan familiar. It works for me, but it also means packing for two repair systems.
Frequently Asked Questions
Before You Leave: Test the Repair Plan
The right setup is the one you can recover from when the easy fix fails. Choose tubeless, tubes, or hybrid for the route ahead, then make the repair kit match that choice.
- Match the setup to the route — thorny or rocky terrain often favors tubeless; remote mixed routes may favor tubes; hybrid is best treated as a deliberate trial.
- Pack for the worst likely failure — not just the small punctures your main system handles automatically.
- Practice the complete fallback — remove the wheel, install the boot or tube, reseat the tire, and inflate it with the pump you will carry.
- Test it close to home before relying on it far from help.
Once you can complete that fallback calmly, the setup decision becomes much easier.
This tubeless vs tubes bikepacking guide is general education, not personalized mechanical or safety advice. Setups vary by rider weight, tire casing, rim design, and conditions—so what works for one route may not work for yours. If you’re unsure about compatibility or safe pressures, consult a qualified bike mechanic or your wheel/tire manufacturer’s guidance.