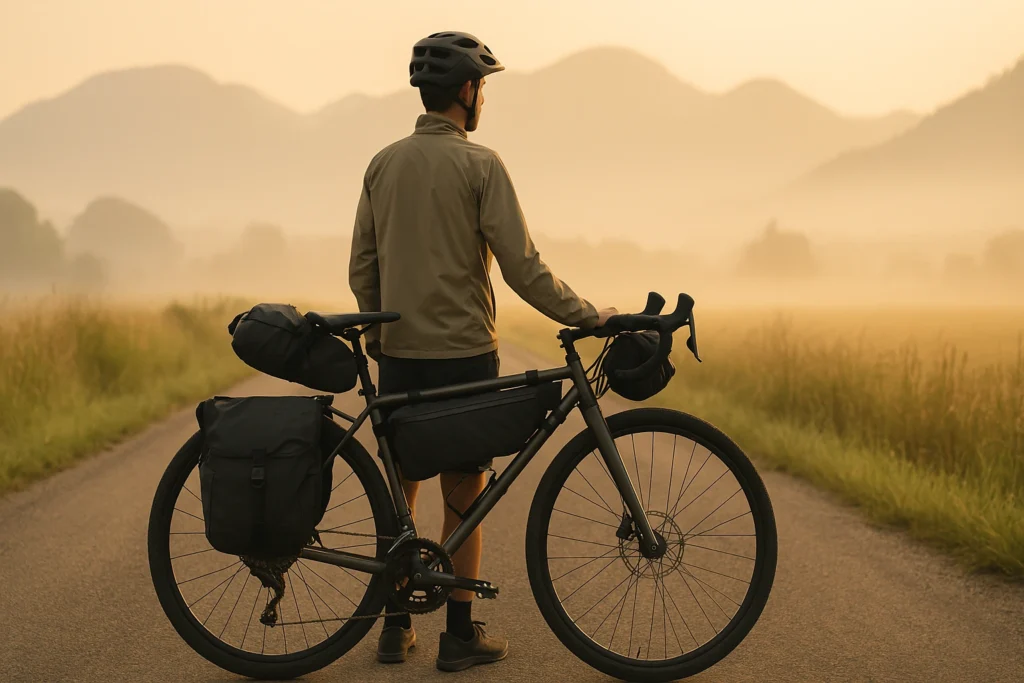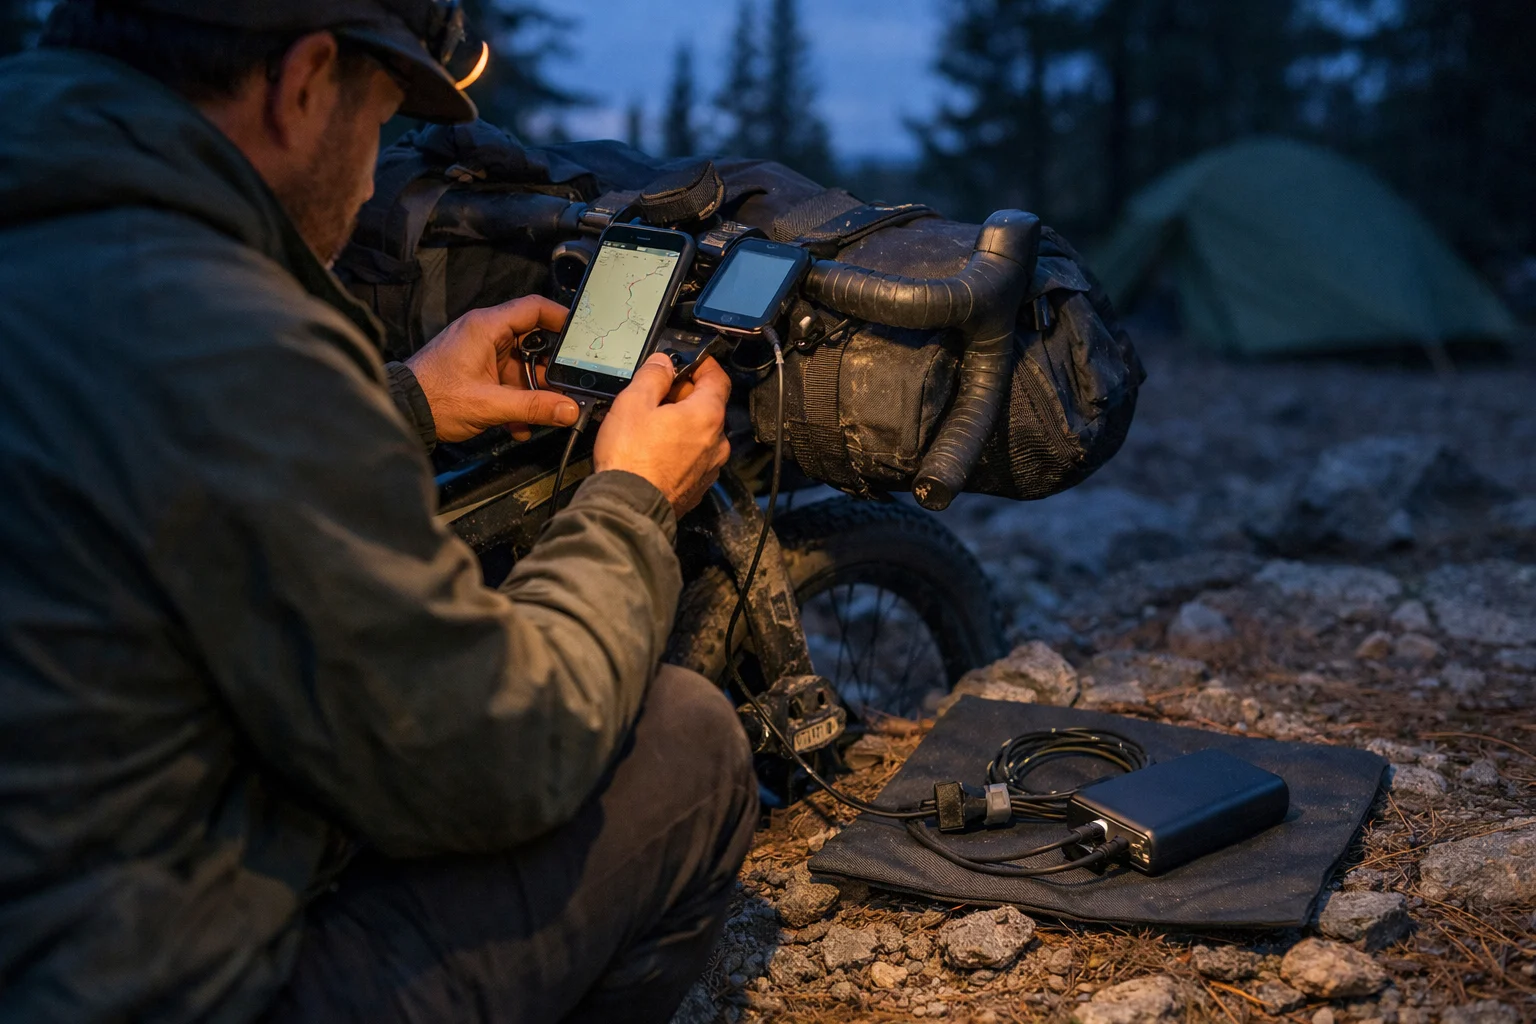
You’re deep in the backcountry, dusk is coming on, and your navigation screen goes black. Not fun. This bikepacking power setup guide shows you how to keep your phone, GPS, and lights alive without hauling a brick: estimate what you actually use in a day, choose one primary method (power bank, hub generator, or solar), and pack a tiny backup for what fails first—cables, ports, and cold-weather drain.
Still building the rest of your kit? The complete bikepacking gear guide shows how this charging plan fits alongside your bags, shelter, repair kit, and layers.
Use the Bikepacking Power Planner
This page contains affiliate links and may include sponsored content. As an Amazon Associate, I earn from qualifying purchases at no extra cost to you. Amazon links are labeled #ad; other affiliate links may be marked as “affiliate link,” “Sponsored,” or “(paid link).” Learn more.
Table of Contents
- Quick picks
- Key Takeaways
- Bikepacking Power Planner
- Top 3 power bank picks
- Power Budget
- Choose Your Primary Method
- Build Your Setup
- Practical Power Setups
- Cables + Organization
- Capacity Reality
- Failure Plan
- Troubleshooting
- Care + Future-Proofing
- Frequently Asked Questions
- Conclusion
Quick picks: match your trip to a power tier
If you want the boring-reliable starting point, use this.
Important: these “typical” sizes assume you can do a realistic outlet stop every 2–4 days (café, campground, hotel, visitor center). If you expect zero plug-ins during a long remote stretch, a big bank gets heavy fast—price a dynamo setup.
- Overnighter / weekend: start at 10,000 mAh (USB-C PD, 2+ ports, cable you trust).
- 4–7 days: start at 20,000 mAh or 2×10K for redundancy and faster refills (this means two smaller banks—not “buy two of the same model”).
- Remote / long tours: a dynamo + buffer bank is often the calmer “set-and-forget” system in mixed weather.
Wet-weather note: If your trip is consistently wet, prioritize fewer “loose pieces” (ports, adapters, dangling cables) and keep electronics in one simple dry pouch—then pick the rain-ready option in the Top 3.
Already know your capacity tier? Jump to the three power bank picks. Use the planner first if you are still unsure.
Key Takeaways
If you only remember five things, make it these. They’ll keep your setup simple and your batteries alive.
- Don’t trust mAh alone: plan usable output (losses + cold) and add margin.
- Plan for plug-ins (or lack of them): what matters most is days between outlets, not total trip length.
- One primary + one backup: a main method plus a reserve plan you can follow at the end of a long day.
- Cables are a common failure point: pack a spare for your most critical device (stored separately).
- Test the whole chain once: one shakedown day catches the “mystery drain” and weak cables fast.
Bikepacking Power Planner
Estimate the reserve for one trip or remote segment. Count only outlet stops you can rely on.
How the estimate works
The planner assumes about 70% usable power-bank capacity and rounds up. After a shakedown, replace the daily Wh estimate with your measured use. Camera-heavy? Simplify your photography kit before buying more battery.
Your plan will appear here.
Adjust the sliders for your trip — the recommendation updates instantly.
💡 Tip: If the battery number feels huge, lower screen brightness or switch maps to offline mode.
Use the estimate as a starting point, then match it to the three practical bank sizes below: a lightweight 10K, a rain-ready 10K, or a larger 20K for longer gaps and multiple devices.
Quick filter: If the estimate is 10,000 mAh or less, choose a 10K bank. If it is higher but no more than 20,000 mAh, move to a 20K. Above that, revise the plan before choosing from the shortlist.
Top 3 power bank picks (lightweight, touring-friendly)
Top 3Pick the one that matches your reality: days between outlets, how wet it’ll be, and whether you’re charging multiple devices.
How these picks were chosen: the shortlist compares current manufacturer specifications for capacity, ports, weight, and weather resistance, then matches each bank to a trip type. It is specification-based, not a claim of hands-on testing; confirm the listing still matches the named model before buying.
| Pick | Best for | Capacity | Ports |
|---|---|---|---|
| NB10000 Gen II | Most trips, light + simple | 10,000 mAh | USB-C PD + USB-A |
| NB Plus | Wet weather / messy camp charging | 10,000 mAh | USB-C + USB-A |
| NB20000 Gen 3 | Long stretches, cold, multiple devices | 20,000 mAh | Dual USB-C (PD) |
Nitecore NB10000 Gen II
This is the lightweight default: slim, light, and fast enough to refill during short outlet stops without turning charging into a ritual.
- Best for: Most trips with an outlet every 2–4 days
- Format: 10K slim bank (USB-A + USB-C)
Nitecore NB Plus (10,000 mAh)
If you actually charge in drizzle (or your “dry bag discipline” is imperfect), this adds rain margin without changing your whole system.
- Best for: Wet-weather trips and rainy camps
- Format: 10K rugged bank (weather-forward)
Nitecore NB20000 Gen 3
When outlets are sparse (or you’re running phone + GPS + lights), the bigger reserve buys calmer nights and fewer “battery math” moments.
- Best for: 4–7 days, colder trips, or multiple devices
- Format: 20K high-capacity bank (more margin)
Power budget: estimate your daily Wh
Here’s the moment this clicks: it’s late, you’re tired, and you’re doing mental math on 7% battery because your phone is your map. A simple budget turns that into a plan.
Example only: the table below shows a heavy multi-device day, not a default target. Remove devices you do not carry, then replace the remaining estimates with what your shakedown ride actually used.
| Device | Daily Usage | Wh per Day | 7-Day Total | 14-Day Total |
|---|---|---|---|---|
| GPS Unit | 8 hours | 12 Wh | 84 Wh | 168 Wh |
| Smartphone | 2 hours active | 15 Wh | 105 Wh | 210 Wh |
| Bike Lights | 4 hours | 8 Wh | 56 Wh | 112 Wh |
| Action Camera | 1 hour recording | 6 Wh | 42 Wh | 84 Wh |
| E-reader | 2 hours | 1 Wh | 7 Wh | 14 Wh |
| Headlamp | 1 hour | 2 Wh | 14 Wh | 28 Wh |
| TOTAL | – | 44 Wh | 308 Wh | 616 Wh |
If lights are one of your bigger loads, use the bike lights for bikepacking guide to estimate realistic runtime and charging needs before you size the bank.
Wh ≈ (mAh × V) ÷ 1000. Most power banks list mAh at ~3.7V. Example: 20,000 mAh ≈ 74 Wh (20,000×3.7/1000). Real usable output is lower because of conversion losses and heat.
The “surprise” usually isn’t the base usage—it’s extra screen time when you’re tired, cold, or rerouting. Add a buffer and call it part of the plan: multiply your daily Wh by 1.2 (or 1.4 in real cold) before you decide what to buy.
Choose your primary charging method: dynamo, solar, or power banks
This is the big choice. If you pick the right “primary,” everything else gets lighter and simpler.
Dynamo hub systems: the workhorse option
Best for: tours over 7 days, consistent daily riding, reliability in mixed weather
Generator hubs make power while you ride. For most dynamo hub bikepacking setups, the winning formula is simple: good wheel build, a proven charger, and a cable chain you’ve tested before you go remote.
Worth it when: you’re out long enough (and riding regularly) to justify the wheel build and the upfront cost.
For a grounded, field-tested overview (including the limits), this guide is excellent: Bikepacking.com dynamo charging guide (hubs, lighting, USB).
In the real world: a hub generator is amazing for steady top-ups, but it won’t magically cover unlimited screen time or constant filming. Most riders stay happiest with a small reserve bank for nights and slow days.
Calmest workflow: charge your power bank while you ride, then charge your phone/GPS from the bank at camp. It’s smoother (fewer cut-outs) and easier to troubleshoot.
- Pros: steady on-bike charging, useful in mixed weather, less “battery anxiety.”
- Cons: upfront cost, wheel work, and it can’t replace a real plug-in recharge for heavy daily power use.
Solar panels: a weather-dependent helper
Best for: sunny climates, rest days, supplemental charging
Solar can be great… until you’re under trees all day or the forecast changes. Treat solar as a helper, not the whole plan.
Rule of thumb: if you won’t get ~3+ hours of direct sun most days, don’t size solar as your primary. Pair it with a bank so you can “store the sun” when conditions are good.
Practical note: some setups get finicky with pass-through charging (panel → bank → phone). A calmer approach is usually panel → bank during the day, then bank → devices at camp.
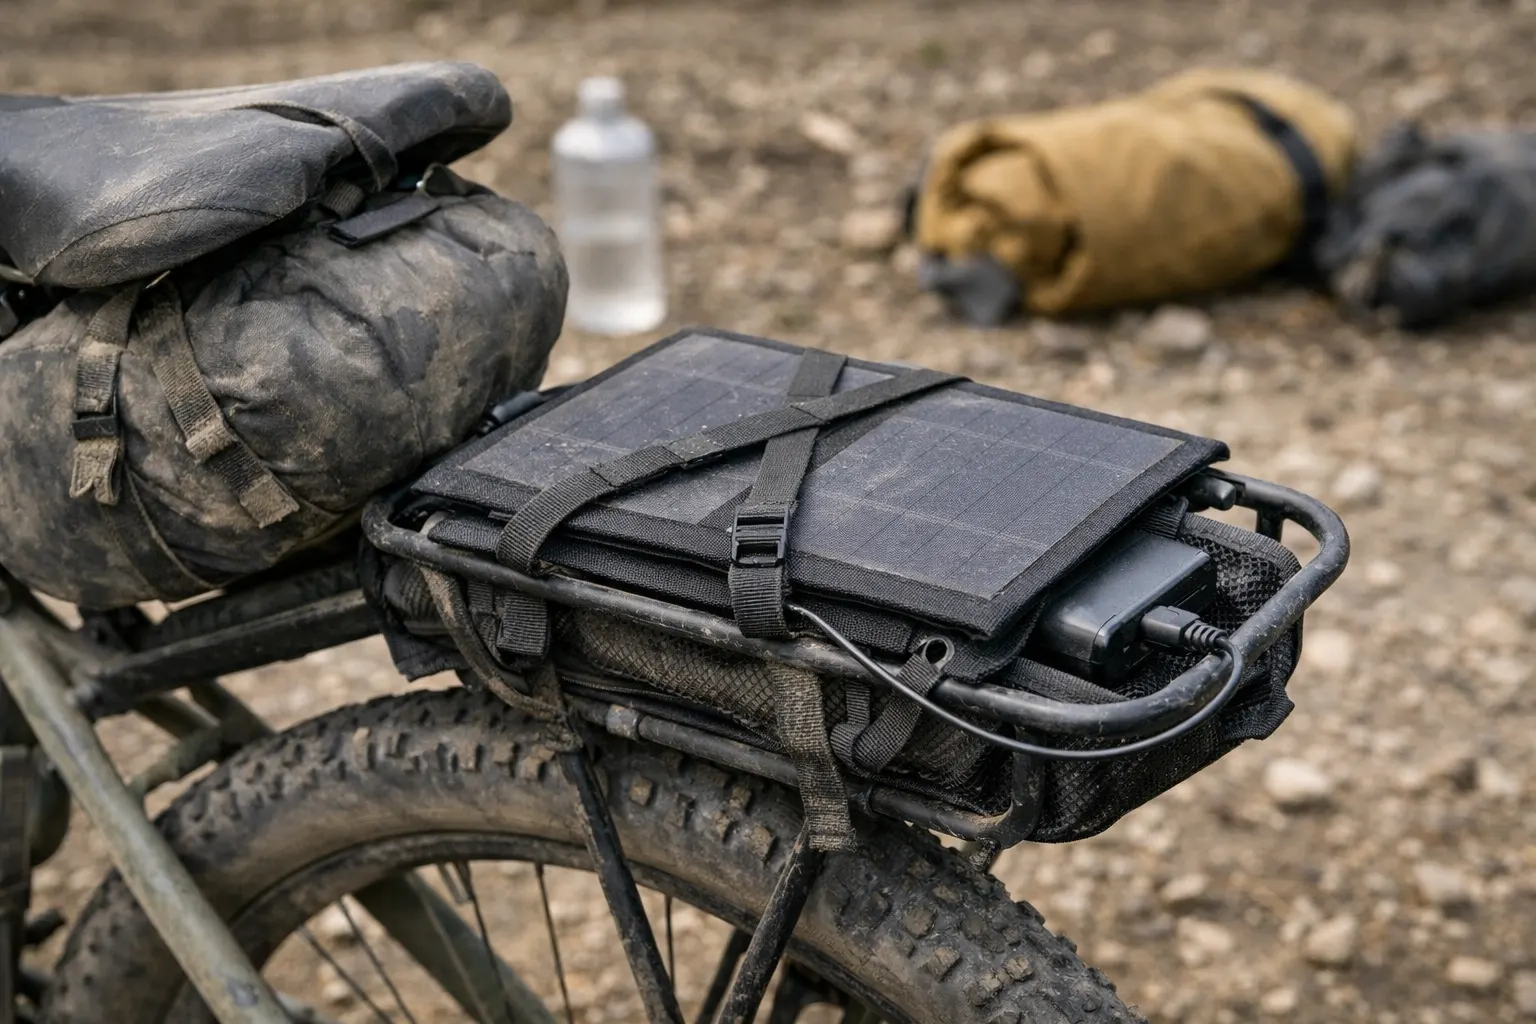
In practice, solar feels best as “bonus charging” during long breaks or rest days—not your one lifeline for navigation.
Power banks: the reliable fallback
Best for: short tours (under 7 days), emergency backup, predictable capacity
A power bank for bikepacking is the simplest “it just works” option. If you’re new to this, it’s a sane place to start.
Keep it simple: any reputable USB-C PD power bank works. Weight-focused riders often pick Nitecore-style banks because the weight-to-capacity is hard to beat, while durability/value folks often stick with mainstream brands (like Anker). You don’t need a perfect brand—just a bank with real USB-C PD (input + output) and ports you trust.
USB-C Power Delivery + cable quality (small detail, big difference)
If you’ve ever had a “charging” icon while your battery still drops, it’s often the cable or protocol. For modern phones, look for USB-C Power Delivery on the bank and a quality cable rated for the wattage you expect.
Quick definition: USB-C PD is the fast-charging standard that lets your charger, cable, and device agree on higher wattage (so you refill quicker during short stops).
If your phone is USB-C, prioritize USB-C to USB-C for your main cable. It’s simpler, usually more efficient, and it avoids adapter weirdness.
Sanity-check rules (so you don’t overbuy):
- If your tool result points to 30,000 mAh+ and you ride 3+ hours most days, it’s worth pricing a dynamo system—sometimes it’s less stress for similar weight.
- If you mostly do short ride days or lots of rest days, big banks + planned top-ups usually stay simpler than dynamo.
When your plan depends on top-ups, one small piece of kit can turn “charging chaos” into a simple routine: you plug everything in at once and you’re done.
Routine upgrade: Anker 735 Charger (Nano II 65W) — charge your phone, power bank, and GPS/light at the same time during quick town stops.
If you’ve ever played “outlet Tetris” in a café, this is the calm upgrade: plug once, top up, pack up, and move on.
Who this is for (and who should skip it): This is for trips where you want to top up multiple things at once (phone + bank + GPS/light) during short outlet stops. It’s not a “bikepacking brand” flex—just a reliable charger you can replace almost anywhere. If you only charge one device at a time, a smaller single-port charger is totally fine.
Once you pick a primary method (bank / hub generator / solar helper), write a single backup sentence you can follow when you’re tired: “My backup plan is ______.”
Build your personal power setup
Here’s the simple build path that keeps you from overbuying and keeps troubleshooting sane.
Step 1: Write your budget (Wh/day + buffer)
Use the worksheet above (or the tool) and add a buffer for cold and real life. If you expect cold nights, 30–40% is a safer margin.
Step 2: Pick one primary method
Choose the simplest method that covers your longest gap between reliable plug-ins. Use a bank for predictable short gaps, add planned top-ups when outlets are realistic, and price a hub generator when long remote stretches make the required bank capacity impractical.
Step 3: Decide your “priority order”
When power gets tight, you don’t keep everything alive equally. A simple default: navigation → lights → communication → camera. Write your order down once so you’re not deciding it at 9 p.m. in the rain.
Step 4: Test the full chain before you go
Do a one-night shakedown and confirm your cable kit works in the dark. The goal isn’t perfection—it’s knowing what you’ll do if one link fails.
A 60-second checklist helps: bank charged / spare cable / offline maps / lights topped up. The offline navigation guide shows how to download and test the map before you leave.
Practical bikepacking power setups by trip length
The goal is boring reliability: charging that happens in the background, not something you babysit all day.
The table first shows a high-redundancy long-tour example. The three templates below scale the same logic down for shorter trips. These are example specifications, not the only “right” products.
| Component | Example spec (what matters) | Typical weight | Purpose |
|---|---|---|---|
| Primary power | Dynamo hub + USB charger (weatherproof, stable output) | ~600–750g | Continuous charging while riding |
| Backup power | 20,000 mAh USB-C PD power bank (reliable real-world output) | ~300–450g | Emergency reserve, rest day charging |
| Phone charging | Primary cable for your phone (USB-C→USB-C or USB-C→Lightning) | ~15–30g | Primary device connection |
| GPS charging | Primary cable/adapter for your GPS (often USB-C→Micro-USB) | ~10–25g | GPS connection |
| Light power | Main light plan + a backup option (dynamo, USB, or spare) | Varies | Redundant lighting systems |
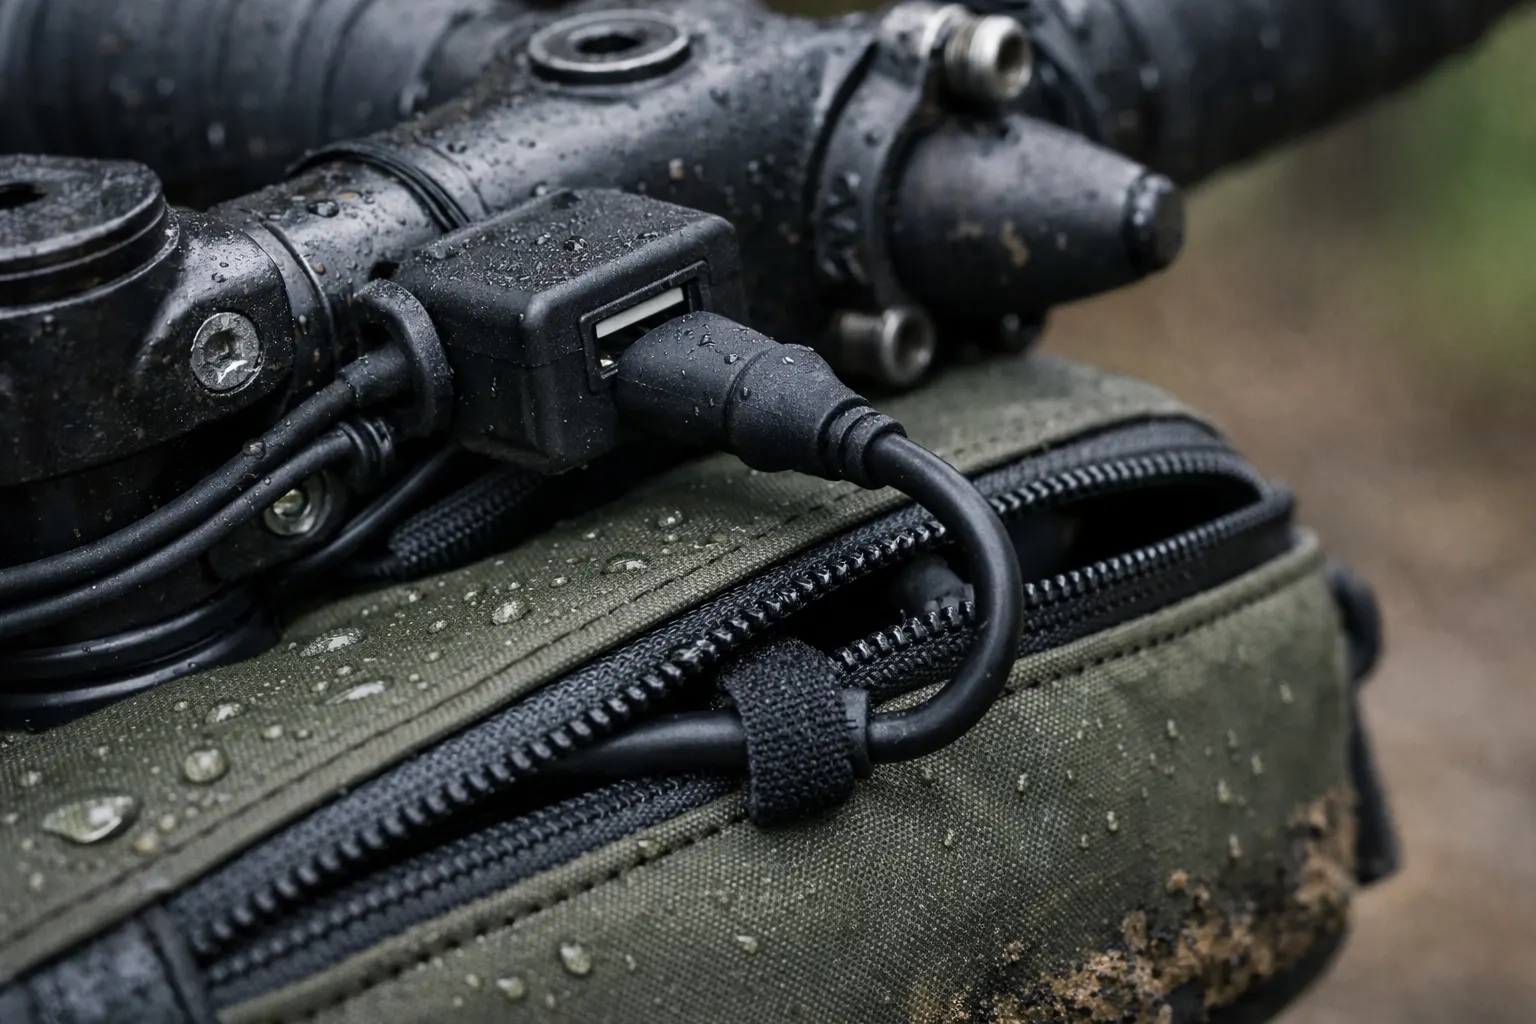
| Cable organization | Waterproof pouch (one place for bank + spares) | ~30–70g | Prevents cable disasters |
| TOTAL (typical) | ~1.0–1.3kg | Reliable, repeatable system |
If you copy anything, copy the routine: same cable locations, same charging habit each evening. The “system” is what saves you when you’re tired.
Template 1: Weekend Warrior (1–3 days)
- Primary: 10,000 mAh (or 20,000 mAh if cold / heavy navigation)
- Backup: spare critical cable + conservative phone use if needed
- Habit that helps: top off GPS early (don’t wait for “low”)
Template 2: Week-Long Explorer (4–7 days)
- Primary: 20,000 mAh (or 2×10K) + one planned outlet top-up
- Backup: spare critical cable (add a 10K reserve if you’re remote, cold, or filming a lot)
- Habit that helps: plan one realistic outlet top-up (even a café stop counts)
Template 3: Long-Distance Tourer (14+ days)
- Primary: hub generator system
- Backup: 20,000 mAh reserve bank
- Stress test question: “What if I can’t charge for 48 hours?”
Pick the closest template and treat it as your baseline, then adjust after one shakedown day.
Cable and Port Organization: Preventing Power Disasters
This is where most “perfect” plans fail. It’s 2 a.m., your hands are cold, and you can’t find the one cable that matters. Make it stupid-simple.
Minimum viable cable kit (pack this even on short trips)
- One primary phone cable (daily pocket): the one you actually use, not the “new spare.”
- One backup phone cable (stored elsewhere): separate bag, so one loss doesn’t end your trip.
- One “odd device” adapter: whatever turns your bank into “it charges my GPS/light.”
Nice-to-have (only if it solves a real pain for you)
- Waterproof electronics pouch: one home for bank + spares so your system stays repeatable in rain.
- Short USB-C spare cable: because it’s the easiest thing to lose, borrow, or forget at camp.
Most power banks include a cable. People still pack a spare because cables get lost, abused, or quietly turn into “slow-charge” cables over time. For bikepacking, you don’t need USB4 / video specs—just a short, durable 60–100W PD-rated cable that won’t bottleneck charging. Example: a 1 ft USB-C to USB-C spare (2-pack, 100W).
Organization habit: keep one “daily cable” in the same pocket every time. When you’re tired, muscle memory beats a clever system.
Capacity reality: what a power bank really gives you
Advertised mAh is measured at the bank’s internal voltage, and real output drops with voltage conversion, heat, and cable quality. That’s normal—just plan a buffer.
Assumption: This table uses roughly ~65–70% usable output from advertised capacity (normal conversion losses + heat).
| Advertised Capacity | Real usable (rough) | Phone charges | GPS charges |
|---|---|---|---|
| 10,000 mAh | ~6,500 mAh | 2-3 | 4-5 |
| 20,000 mAh | ~13,000 mAh | 4-5 | 8-10 |
| 30,000 mAh | ~19,500 mAh | 6-7 | 12-15 |
- The sneaky drain: screen brightness + “just checking the map again.”
- The quiet failure: a mediocre cable that limits watts.
- The fastest fix: one shakedown day to see your real habits.
Failure Plan: When Your Bikepacking Power Setup Goes Wrong
Even good gear fails. What saves you is having a plan you can follow when you’re tired.
Default priority order (edit for your trip): navigation → lights → communication → camera. When something breaks, protect the top of the list first.
Scenario 1: Lost or broken primary cable
- Switch to the backup cable (stored separately).
- Ration phone use to navigation/emergency only.
Scenario 2: Power bank depletes early
- Lower brightness, shut off radios, and go offline-first.
- Prioritize the one device that keeps you safe (often navigation/comms).
Scenario 3: Hub generator stops charging
- Move to your reserve bank immediately and conserve.
- Plan the next realistic fix point (town/shop), not “maybe it’ll return.”
If charging fails: decide ahead of time what you keep alive first. One sentence that helps when you’re tired: “If charging fails, I’ll keep ______ alive first.”
Long-tour backup: three layers
- Primary: your main bank or hub-generator system, sized to the longest gap between reliable outlets.
- Reserve: a smaller backup bank plus a spare critical cable stored separately.
- Route fallback: realistic recharge stops and a paper/navigation backup if electronics fail.
For cold nights, increase the planner buffer (try 40%) and keep the power bank inside your sleeping bag or jacket.
Troubleshooting your bikepacking charging system
Troubleshooting gets easier if you think in a chain: power source → charger → cable → device. This “chain” approach is the simplest way to debug your setup in the real world.
If you want faster answers (and fewer mystery failures), a tiny USB-C power meter tester (any brand) can show whether you’re actually getting meaningful watts—or whether a cable/port is quietly sabotaging you.
Problem: Devices won’t charge from a power bank
- Swap the cable, wake the bank (button or plug something in briefly), and clean the device port.
- If a device is “low draw” (some lights/headlamps), try another port or a different cable—some banks auto-shutoff at low current.
Problem: Hub generator not producing useful charge
- Reseat connections and test each link in the chain.
- Remember some setups need speed to deliver meaningful output.
Problem: Solar setup feels inconsistent
- Avoid relying on pass-through charging. Use panel → bank during sun, then bank → devices later.
- Test your panel in your real conditions (tree cover changes everything).
Problem: Rapid battery drain
- Warm the device, lower brightness, and close background apps.
Care + Future-Proofing (quick)
- Power banks: avoid extreme heat, replace banks that act erratic, and store around half charge long-term.
- Dynamo systems: check connections before trips and add strain relief so bumps don’t loosen cables.
- Cables/adapters: inspect for fraying; carry one adapter that solves your “odd port” problem.
- Keep it simple: standardize on one main connector type (usually USB-C) plus one small adapter.
Travel note: For U.S. flights, the FAA says power banks must stay in carry-on baggage. Units up to 100 Wh are generally allowed; 101–160 Wh requires airline approval and is limited to two spares. Airlines and international rules may be stricter, so check your carrier and the FAA PackSafe guidance before packing.
Frequently Asked Questions
Conclusion: Power Independence on Two Wheels
A good system turns charging from a constant worry into background noise. Know your needs, pick one solid primary, and carry the backup that saves you.
Your next steps:
- Estimate your Wh/day (then add buffer)
- Plan the longest gap between reliable plug-ins
- Pack the “can’t-fail” backups (cable + reserve plan)
- Do a one-night shakedown and adjust
This guide is general education, not personalized advice. Power needs and battery performance vary with devices, weather, and riding style. If you’re planning remote routes or relying on electronics for safety, consider getting input from a qualified bike mechanic or outdoor professional for your specific situation.