Last updated: July 2026
Tent vs bivy vs tarp bikepacking: the right choice comes down to more than weight. When you’re 20 miles from the next town, the wind is picking up, and all you want is a dry place to sleep, comfort and protection matter just as much as packed size. This guide helps you choose a shelter you’ll actually want to use.
Quick answer: Choose a tent for dependable bug and storm protection, a bivy for the smallest and fastest setup, or a tarp for ventilation and flexible coverage—provided you are willing to practice your pitch.
- Tent: easiest, most forgiving (bugs + storms)
- Bivy: smallest/fastest (watch humidity + bugs)
- Tarp: best ventilation/versatility (needs pitch skill + bug plan)
Below, you’ll compare packed size, condensation, bug protection, storm performance, and setup speed before using the shelter matcher. If you’re planning the rest of the system around your shelter, use the complete bikepacking gear guide.
This page contains affiliate links and may include sponsored content. As an Amazon Associate, I earn from qualifying purchases at no extra cost to you. Amazon links are labeled #ad; other affiliate links may be marked as “affiliate link,” “Sponsored,” or “(paid link).” Learn more.
Table of Contents
- How to choose between a tent, bivy, and tarp
- Tent, bivy, or tarp? Find your match
- How Each Shelter Packs on a Bike (And Why It Matters)
- Why Bikepackers Actually Hate Their Shelters: Condensation, Bugs, and Storm Pitches
- Direct tent vs bivy vs tarp comparison (for bikepacking)
- Hybrid Shelter Setups (Often the Best Answer)
- What Each Shelter Feels Like After a Long Riding Day
- Best tent, bivy, and tarp picks for bikepacking
- Essential setup and teardown tips
- Optional shelter upgrades for common failure points
- Choose a Bikepacking Shelter for Your Climate
- Frequently Asked Questions
- Which bikepacking shelter should you choose?
How to Choose Between a Tent, Bivy, and Tarp
It’s late, your legs are cooked, and you’re leaning your bike against whatever’s nearby while you do the camp math. Your shelter choice affects bike handling, camp speed, and how well you recover.
Weight and Pack Size
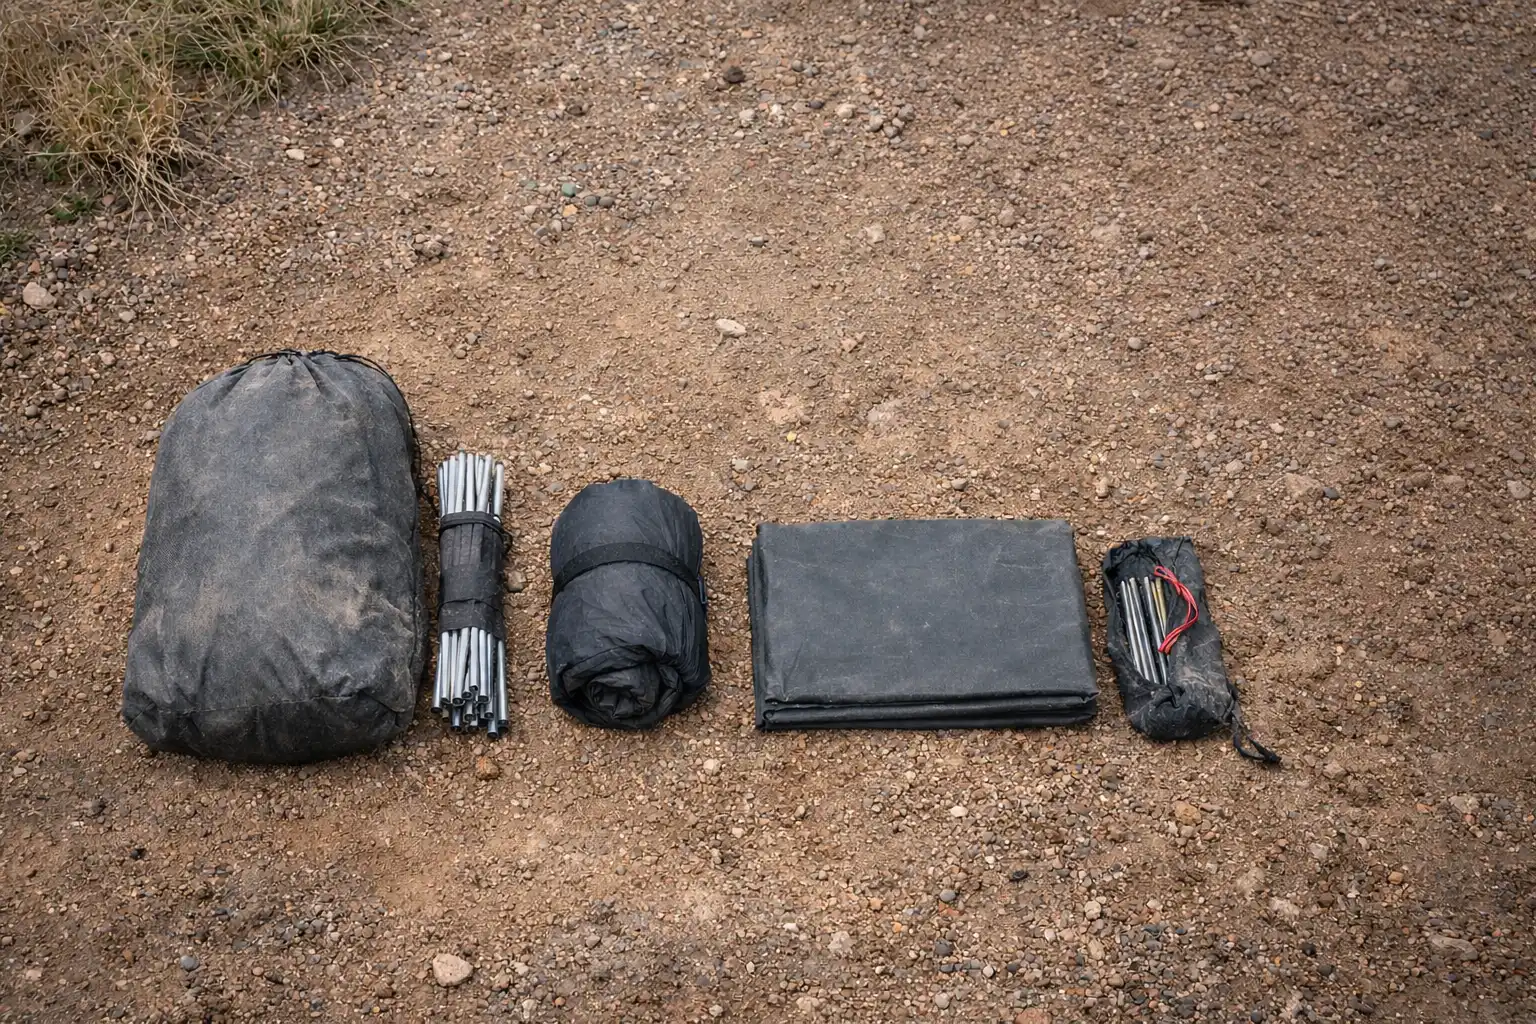
Your shelter has to fit your bags and keep total weight manageable for climbing and handling.
- Bivies: usually the smallest all-in-one bundle, but current waterproof models can weigh more than a pound
- Tarps: often the lightest main shelter; stakes, cord, groundsheet, and bug protection add to the full system
- Tents: usually the bulkiest option, though bikepacking-specific short-pole designs pack more cleanly
Pole length, stakes, and “bikepacking reality”
Two overlooked details are pole segment length and your stake plan. Long pole sections can fight handlebar rolls and frame bags, while a couple of stronger stakes can save a windy night on hard ground. Tarps can sometimes use the bike as an anchor, but avoid loading carbon parts or delicate components.
Weather Protection Needs
You don’t need perfection—you need enough protection for your usual conditions. The more tired you expect to be at camp, the more “forgiving” your shelter should be.
- Storm season priorities: wind stability, reliable coverage, fast setup
- Fair-weather priorities: ventilation, bug plan, flexible pitching
Comfort vs. Minimalism Trade-offs
This is where preference beats specs. Some riders sleep great in minimal setups; others need a little space to feel calm, warm, and organized. Use the matcher below to combine that preference with your bug and weather reality.
Tent, Bivy, or Tarp? Find Your Match
Pick your conditions for a fast default. Then keep reading for packing trade-offs, hybrid setups, and the picks.
Tip: Start with bugs + weather. Comfort is the tie-breaker.
Choose all three options to see your result.
How Each Shelter Packs on a Bike (And Why It Matters)
Once you have a default from the matcher, the next question is how it rides on the bike. If you’ve ever stuffed wet fabric into a seat pack while your hands are cold, you already know: packing is part of the shelter choice.
- Tents: ride best split up—poles along the frame/fork, fabric in a seat pack or handlebar roll (steadier handling).
- Bivies: the easiest “wherever it fits” item—frame bag, top tube bag, even a small fork cage.
- Tarps: pack flat and disappear in a frame bag—just keep stakes + cord together as one kit.
If the shelter fits but the bike still feels awkward, the bikepacking bags system guide shows how to split bulky, light, and dense gear across the frame, seat, and handlebar positions.
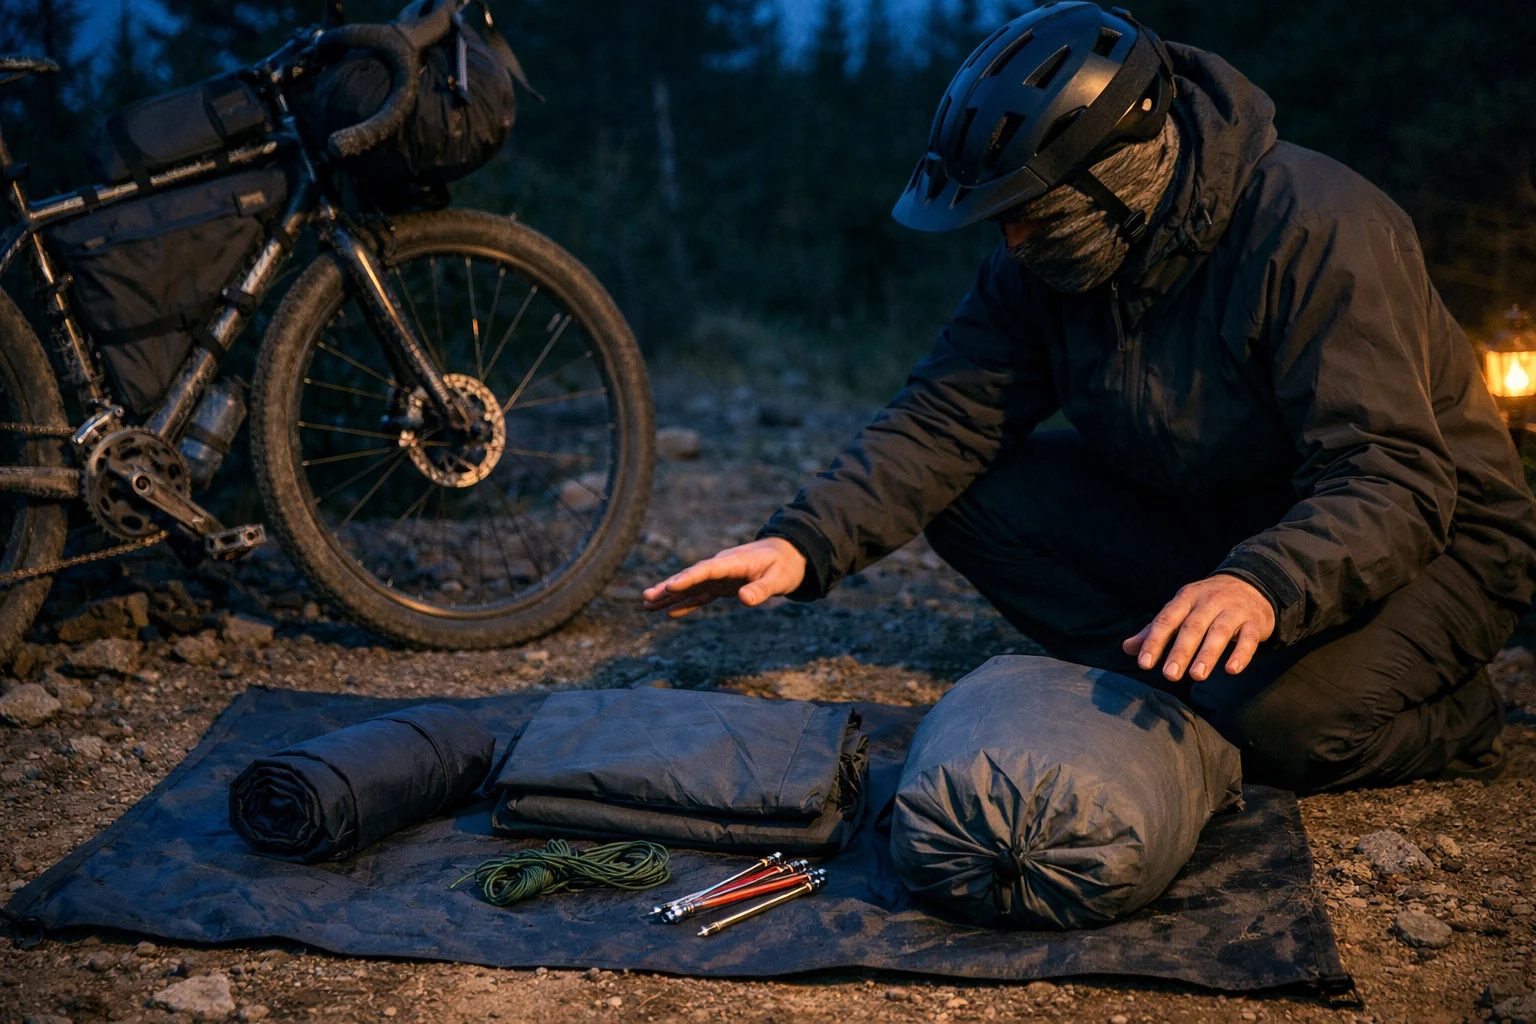
Do this once at home: Pack your shelter as a system (poles separate, fabric separate, stakes/cord in one pouch). Take a 10-minute ride and fix anything that rattles or makes the bike feel “waggy.”
Why Bikepackers Actually Hate Their Shelters: Condensation, Bugs, and Storm Pitches
Most shelter regret comes from three things: condensation, bugs, and storm pitches. When one fails, you don’t just sleep badly—you start the next day behind.
The Condensation Problem
You wake up and your quilt feels slightly clammy. It’s not “soaked,” but it’s enough to make you wonder if tonight will be worse. That’s condensation: normal moisture, but the wrong shelter makes it feel personal.
- Bivies are hardest in humidity (condensation management matters).
- Tarps vent well, but ground moisture + splash still matter.
Bug Protection Failures
Nothing ends a trip faster than sleepless nights fighting insects. If ticks are part of your reality where you ride, this CDC tick bite prevention guide is a solid reference.
- Mosquito swarms after rain
- Ticks in tall grass / brush
- No-see-ums slipping through gaps
Storm Setup Disasters
It’s getting dark, wind is up, and your fingers don’t want to tie knots. This is where “easy mode” shelters shine—and where tarp skills either pay off or punish you.
- Bad site choice → pooling water or full wind exposure
- Loose tension → fabric flapping all night
- Too few anchors → pitches collapsing in gusts
If storms are common where you ride, it helps to have a “default site checklist” in your head. Leave No Trace has a helpful primer on choosing durable, lower-risk campsites (the boring stuff that prevents the miserable nights).
Direct Tent vs Bivy vs Tarp Bikepacking Comparison
| Factor | Tent | Bivy | Tarp |
|---|---|---|---|
| Weight and bulk | Usually highest; short-pole bikepacking models pack more cleanly | Compact, but full-weather models can exceed 1 lb | Usually lowest for the tarp alone; the full system adds stakes, cord, groundsheet, and bug protection |
| Pack Size | Large (needs space) | Very small | Small (packs flat) |
| Setup Time | 5–10 min | 1–2 min | 3–8 min |
| Weather Protection | Excellent | Good (limited) | Good (skill-dependent) |
| Bug Protection | Excellent | Depends (mesh/bug bivy) | None unless paired |
| Condensation | Good if ventilated | Often challenging | Excellent ventilation |
| Comfort | High | Minimal | Moderate |
| Versatility | Lower | Lower | High |
| Skill Required | Low | Low | Moderate–high |
If you just want safe defaults, jump to picks ↓
Hybrid Shelter Setups (Often the Best Answer)
Forecast says “10% chance of rain,” and somehow you get the 10%. Hybrid systems are popular because real trips aren’t consistent.
- Use tarp + bug inner/net when: bugs are real, you want airflow, and you’re camping in warm-to-mixed conditions.
- Use bivy + tarp when: you want tiny pack size but need storm insurance (tarp for rain, bivy for splash and wind).
A well-pitched tarp can handle rain, but it cannot stop insects. In mosquito-heavy areas, plan the system from the start: tarp + mesh inner (or bug bivy), not tarp alone.
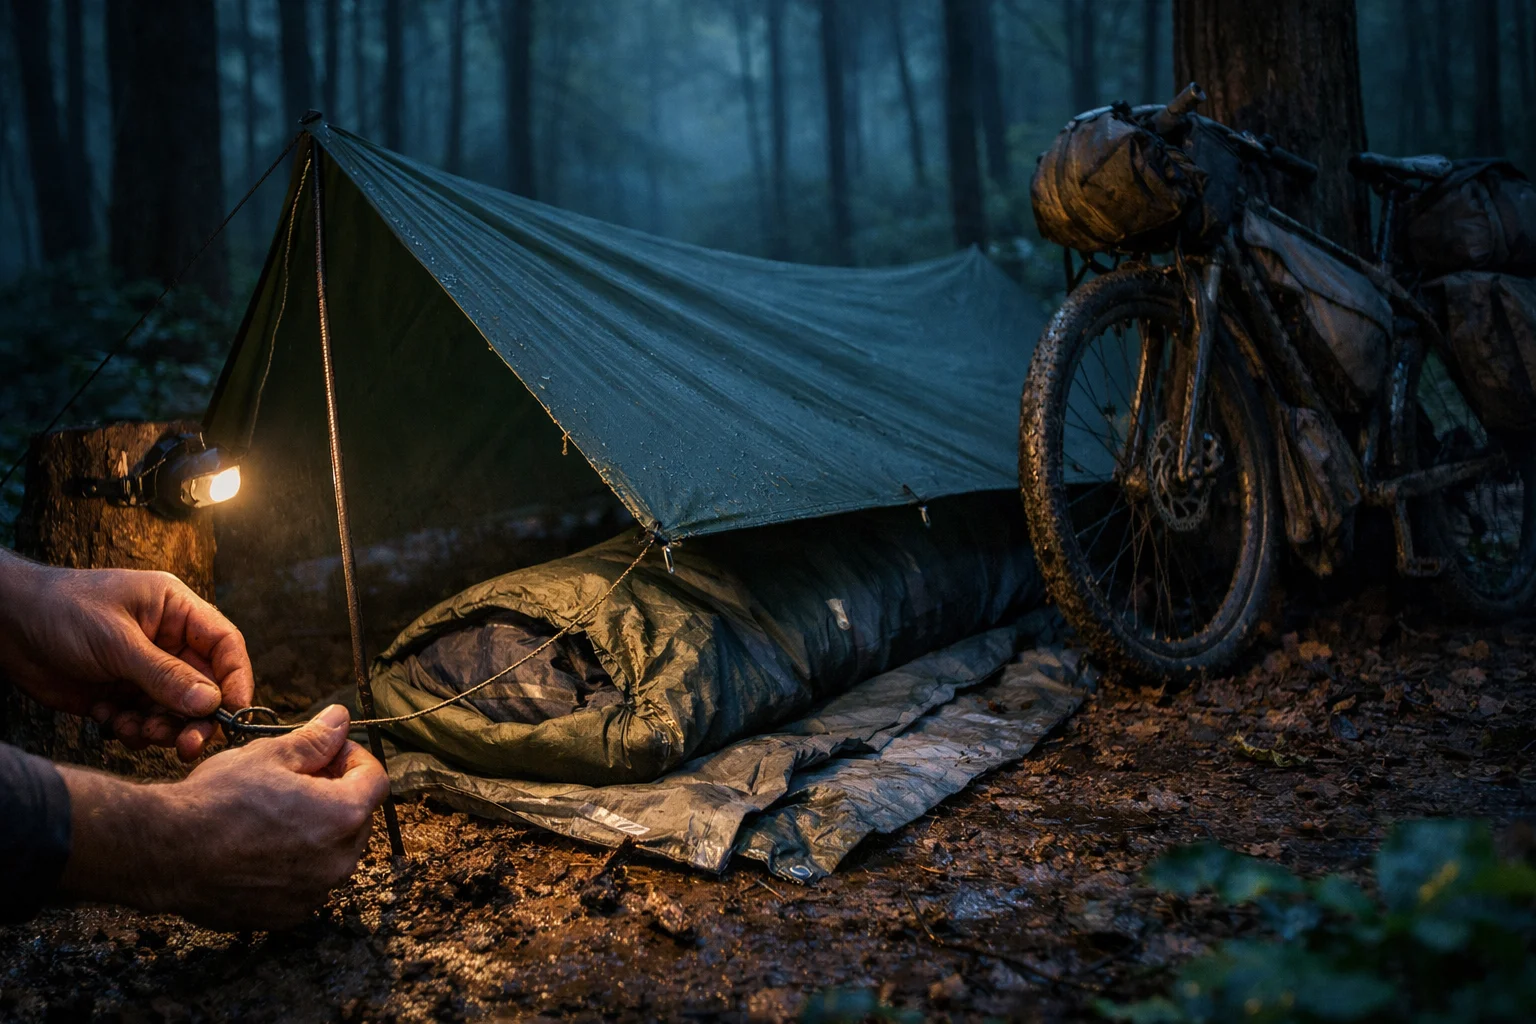
For bug-heavy routes: OneTigris Mesh Inner Tent 02 adds enclosed mesh protection under a tarp while keeping the shelter modular. The tarp and support poles are separate.
What Each Shelter Feels Like After a Long Riding Day
Tent: Easiest Recovery After a Long Day
After a long riding day, tents make recovery easier for one simple reason: they give you space to sit up, sort gear, and get out of the bug fight when you’re running on fumes.
Takeaway: Tents are the easiest recovery tool (bugs + storms), but they demand smarter packing (split poles/fabric) and a decent footprint.
Bivy: Fastest Camp, Toughest Trade-offs
If you’re choosing between a tent and bivy for bikepacking, this is the trade: bivies feel amazing when conditions are friendly—and feel brutal when humidity and bugs show up uninvited. That makes condensation management a skill, not a footnote.
The honest trade: Bivies rule for tiny/fast camps in drier or fair-to-mixed conditions, but humidity + bugs are the deal-breakers for most people. If you’re going the bivy route, it usually pairs with a stripped-down overall kit — see how that fits into a 40L minimalist packing approach.
Tarp: Best Airflow, Most Setup Skill
Once you’ve practiced one reliable pitch, tarps can become the best “coverage-per-ounce” option—especially in warm weather where airflow matters. The trade is simple: tarps reward good site choice and clean tension, and punish sloppy setups.
If you want tarps to feel easy: Tarps feel amazing for ventilation, but only if you’ve practiced one reliable pitch before the trip.
Best Tent, Bivy, and Tarp Picks for Bikepacking
These are practical starting points, not a mandatory shopping list. The ranking favors dependable bug and weather protection, low camp-fuss when you’re tired, and more consistent sleep.
Prices and stock change often, so use the product buttons for current availability rather than treating any fixed number as a promise.
Quick picks at a glance (so you can decide fast)
Already leaning one way? Start with the closest match below.
| Use case | Pick | Why it fits | Where to go |
|---|---|---|---|
| Most forgiving (bugs + storms) | Big Agnes Copper Spur HV UL | Easy mode setup + consistent sleep. | See the tent pick ↓ |
| Smallest/fastest camp | Outdoor Research Helium Bivy | Tiny packed size (manage humidity). | See the bivy pick ↓ |
| Ventilation + versatility | AquaQuest Guide Tarp | Modular coverage per ounce. | See the tarp pick ↓ |
Tent Recommendations for Bikepacking
Best for Most Bikepackers: Big Agnes Copper Spur HV UL
Why it’s a reliable default: this is the “easy mode” tent choice for real trips—reliable bug protection, predictable storm coverage, and enough space to feel human when you’re tired and just want sleep.
Bikepacking note: it packs best when you split it up (poles separate, body/fly separate) so the load rides steadier in your bags.
- Great if your trips look like this: mixed weather, long days, and you want low camp-fuss
- Tradeoff to be honest about: premium cost + lighter fabrics mean basic site care matters (clear sharp stuff first, don’t drag it)
Skip it if: you don’t want to baby lighter fabrics, or you’re strictly trying to keep cost down.
Reliable “best-for-most” tent: Copper Spur HV UL — calm setup, strong bug protection, and predictable coverage when the weather turns.
Budget / starter pick: ALPS Mountaineering Lynx 1
Why it’s a solid starter: it gives you “real tent” basics—full bug protection and straightforward setup—at a price that doesn’t sting while you learn what you actually care about (space, weight, or storm confidence).
- Great if your trips look like this: first-time bikepacking, shorter trips, and you want low setup stress
- Tradeoff: heavier and bulkier in bags than premium options (great value, not for ounce-counting)
Skip it if: you’re tight on bag space or trying to keep bulk as low as possible.
Product: ALPS Mountaineering Lynx 1 — a simple, no-drama starter tent when you want full bug protection without overthinking it.
Bivy Recommendation for Bikepacking
Quick reality check: bivies are amazing for tiny/fast camps in fair-to-mixed conditions. In humid climates, condensation is the thing that breaks most people.
Best “bivy-curious” pick: Outdoor Research Helium Bivy
Why it’s a reliable default: it fits the fast & light vibe—compact, quick camp, and simple nights (sleep, wake, go). It’s a good way to try bivy life without pretending condensation doesn’t exist.
- Great if your trips look like this: arrive late / leave early, smaller campsites, and you’re OK with minimal living space
- Tradeoff: condensation is the classic downside; also less fun for long storms where you’re stuck inside
Skip it if: most of your routes are humid/coastal and you hate managing condensation.
Fast & light bivy: Outdoor Research Helium Bivy — tiny packed size for simple nights (just be honest about humidity).
Tarp Recommendations for Bikepacking
Best for Most Tarp Users: AquaQuest Guide Tarp
Why it’s a reliable default: light enough for bikepacking, good ventilation, and built for real rain. The 5,000 mm waterproof rating, 40D ripstop nylon, and reinforced tie-outs make it a credible wet-weather option when it is pitched tight and set up well.
- Great if your trips look like this: warm-to-mixed weather, variable campsites, and you want a modular setup (tarp + bug plan)
- Tradeoff: tarps reward good site choice—bad sites feel worse under tarps than under tents
Skip it if: you don’t want to practice pitching, or you need instant built-in bug protection.
Versatile tarp starting point: AquaQuest Guide — reinforced for wet weather, but best for riders willing to practice the pitch.
What a Complete Tarp Kit Includes
Plan on: a tarp, 6–8 stakes, guyline, a seasonal bug plan, and a simple groundsheet.
What Completes a Tarp or Bivy Setup
A tarp or bivy works best as part of a small shelter system. Add only the pieces that solve a real problem on your route.
- Bug inner / net tent / bug bivy: the easiest way to make warm, buggy nights feel effortless under a tarp.
- 2–4 stronger stakes: the confidence boosters for wind, hard ground, and imperfect soil.
- Guyline + tensioners: makes pitches faster and keeps fabric from flapping when the wind shifts at 2 a.m.
- Simple groundsheet (polycryo/Tyvek): cuts splash and ground moisture so you don’t wake up clammy.
Size note (so you don’t overbuy)
For most solo bikepackers, a 10 × 7 ft tarp is the sweet spot: enough coverage without a huge weight/bulk jump. Go bigger (10 × 10) if you’re tall, camp in driving rain often, or want more cooking/gear coverage.
Keep the buying criteria simple: If you can’t find this exact tarp easily, look for a rectangular shape, reinforced tie-outs, and enough coverage for your height; then pair it with a bug plan when needed.
Cost reality check: A tarp setup can look “cheap” until you add stakes, cord, and a bug plan. Bivies can creep up too if you end up pairing them with a small tarp for rain. Budget the whole shelter system, not just the main piece.
Essential Setup and Teardown Tips for Bikepacking Shelters
This is the unsexy part that saves trips. A shelter can be “great” on paper and still annoy you nightly if your process is slow or fussy.
Tent Setup Efficiency
Practice until you can pitch fast and calm. The difference between 3 minutes and 10 minutes feels huge when weather is moving in.
- Pre-attach guy lines so you’re not fumbling with tiny hardware
- Level your sleeping spot first, then build around it
Bivy Best Practices
Condensation management makes or breaks bivy experiences. Small habits make a big difference:
- Crack ventilation even when it’s cold
- Avoid breathing deep into the bivy if you can
- Choose slightly elevated spots to reduce ground moisture
Tarp Setup Fundamentals for Bikepacking
If you want tarps to feel “easy,” you have to make one pitch automatic. That’s the whole game.
- Master an A-frame first (simple, reliable, weather-resistant)
- Carry extra guy line for odd anchor spacing
- Learn two knots you can tie in the dark (trucker’s hitch + bowline)
Optional Shelter Upgrades for Common Failure Points
These aren’t required, but they can help with common problems such as weak stakes, small tears, minor leaks, and buggy nights.
Stronger Stakes and Extra Guyline
Start with two non-product upgrades:
- 2–4 stronger stakes: keep a few “real” stakes for wind or hard ground, and run lighter ones for the rest.
- Extra guyline: solves weird anchor spacing and sloppy pitches fast.
A common failure is a weak stake pulling loose in a gust. Carry a small “anchor core” of 2–4 stakes you trust, then use lighter stakes for the remaining tie-outs.
Reliable “anchor core” for wind/hard ground: MSR Groundhog stakes (proven hold without much added weight).
Compact Repair Kit for Remote Routes
A compact fabric-repair kit can patch small tears and help seal minor leaks in tents, tarps, or sleeping pads. If you’re only doing overnighters close to towns, this is easy to skip.
If you’re riding remote: GEAR AID Seam Grip + Tenacious Tape Kit combines sealant and patches for common shelter and sleep-pad repairs.
Skip it when: Your routes stay close to towns or you’re mostly doing fair-weather overnighters; in that case, a few stronger stakes and extra cord may be enough.
Head Net for Buggy Routes
When mosquitoes or no-see-ums show up in force, a simple lightweight head net is often the difference between sleeping and swatting all night. If you rarely see bugs where you ride, skip it (or just carry a tiny backup like the one below).
Product: South to East Mosquito Head Net (2-pack) — fits over a hat and gives you a spare or one for a riding partner.
Choose a Bikepacking Shelter for Your Climate
Match the shelter to your local reality, not internet hype.
- Desert / arid: bivies and tarps shine (lower humidity); plan a groundsheet and wind strategy
- Humid / coastal: prioritize bug protection + ventilation; sealed shelters tend to feel worse here
- Mountain / alpine: weather confidence usually beats ounce-counting when winds pick up fast
Frequently Asked Questions
Which Bikepacking Shelter Should You Choose?
Choose around the problem you least want to manage at the end of a long day. If you want the most forgiving bug and storm protection, choose a tent. If packed size and camp speed matter most—and you can manage condensation and insects—choose a bivy. If airflow and flexible coverage matter most—and you are willing to practice the pitch—choose a tarp.
Two-line plan: Write your normal-conditions shelter, then your bad-weather backup. If either answer feels vague, test the system before the trip instead of solving it at camp.
Once the shelter is decided, use the minimal sleep system guide to match your pad and insulation to it.
Conditions vary by route and season, so test your complete shelter system before relying on it in severe weather.