Last updated: July 2026
This minimalist packing list for long term travel uses a 40L challenge: enough room for months on the road, but still manageable on buses, stairs, and travel days. Start with a stable baseline, then treat weather, remoteness, and specialist gear as one-in/one-out swaps instead of letting them become a second kit.
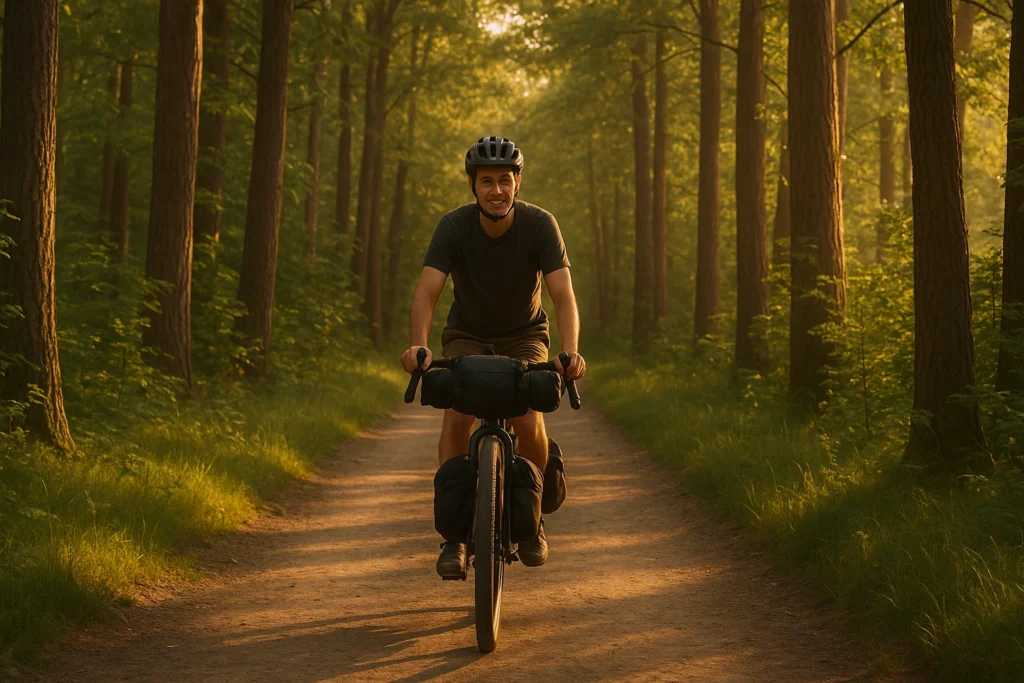
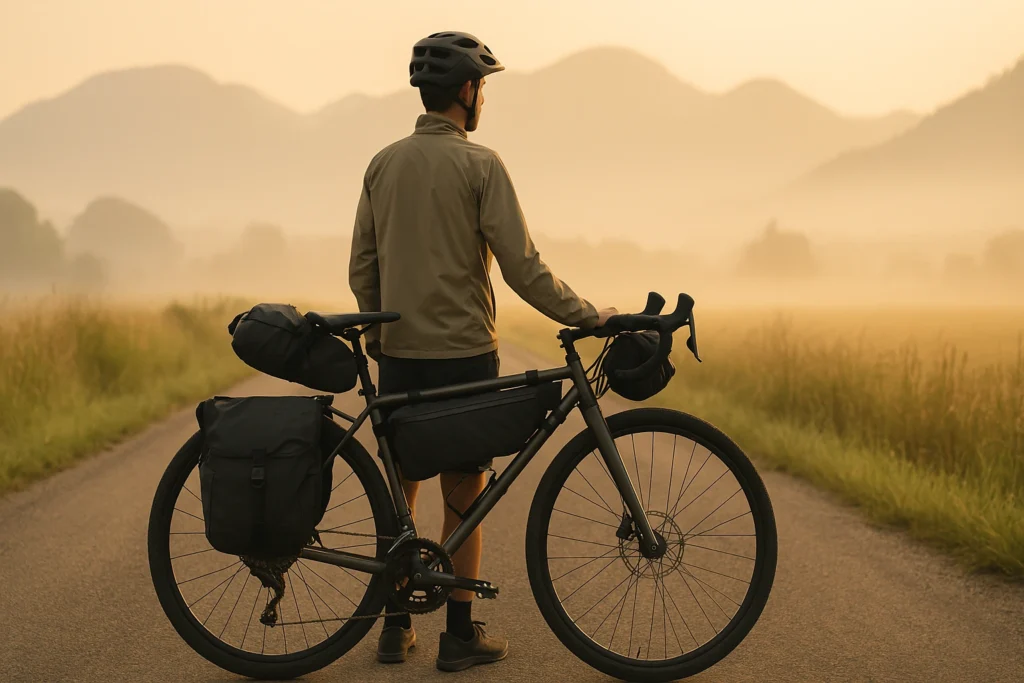
I learned that the hard way on my first long tour in 2019, when a 65L backpack plus panniers had me shipping gear home by day three. If your trip is bike-first, the bikepacking gear guide shows how to distribute the load across frame, seat, and handlebar bags; this article stays focused on the 40L transit and off-bike baseline.
Start with the 40L Packing Planner to build your baseline, then compare it with the exact six-month list and swap only what your route actually requires.
This page contains Amazon affiliate links. As an Amazon Associate, I earn from qualifying purchases at no extra cost to you. Amazon links are labeled #ad. Learn more.
Table of Contents
- 40L Packing Planner
- The 40L Rules
- My Exact Packing List: 6 Months in 40L
- The System That Makes 40L Livable
- What Changes When Your 40L is on a Bike
- Common Mistakes That Blow Your 40L Limit
- Test Your 40L Setup Before You Leave
- 40L Packing Questions, Answered
- Your 40L Packing Plan
40L Packing Planner
Choose your bag size, laundry interval, and coldest nights. The result gives you a realistic 40L baseline—not another shopping list.
40L bag · 7-day laundry · 10°C nights
Your baseline
- Packed volume target: ~34L (keeps ~15% buffer)
- Clothing baseline: 5 tops, 7 underwear, 7 socks
- Shoes guidance: 1 worn + 1 light spare if your route needs it
- Swap rule: add route gear only when something of similar bulk comes out
Next move: Weigh the fully loaded setup—food, water, electronics, and worn items are not included here. Then cut duplicate shoes, chargers, or backup layers first.
Use the planner first: it gives you a realistic baseline in seconds. Then compare it with my exact six-month packing list and make route changes as one-in/one-out swaps—not a second kit.
- City-heavy: swap bike bits for a smarter outfit and a slim day bag
- Hot + humid: swap in one extra quick-dry layer and prioritize breathable shoes
- Mixed city/nature: keep the rain shell and headlamp, then swap in a small trail-first-aid upgrade
The Rules That Keep a 40L Kit Under Control
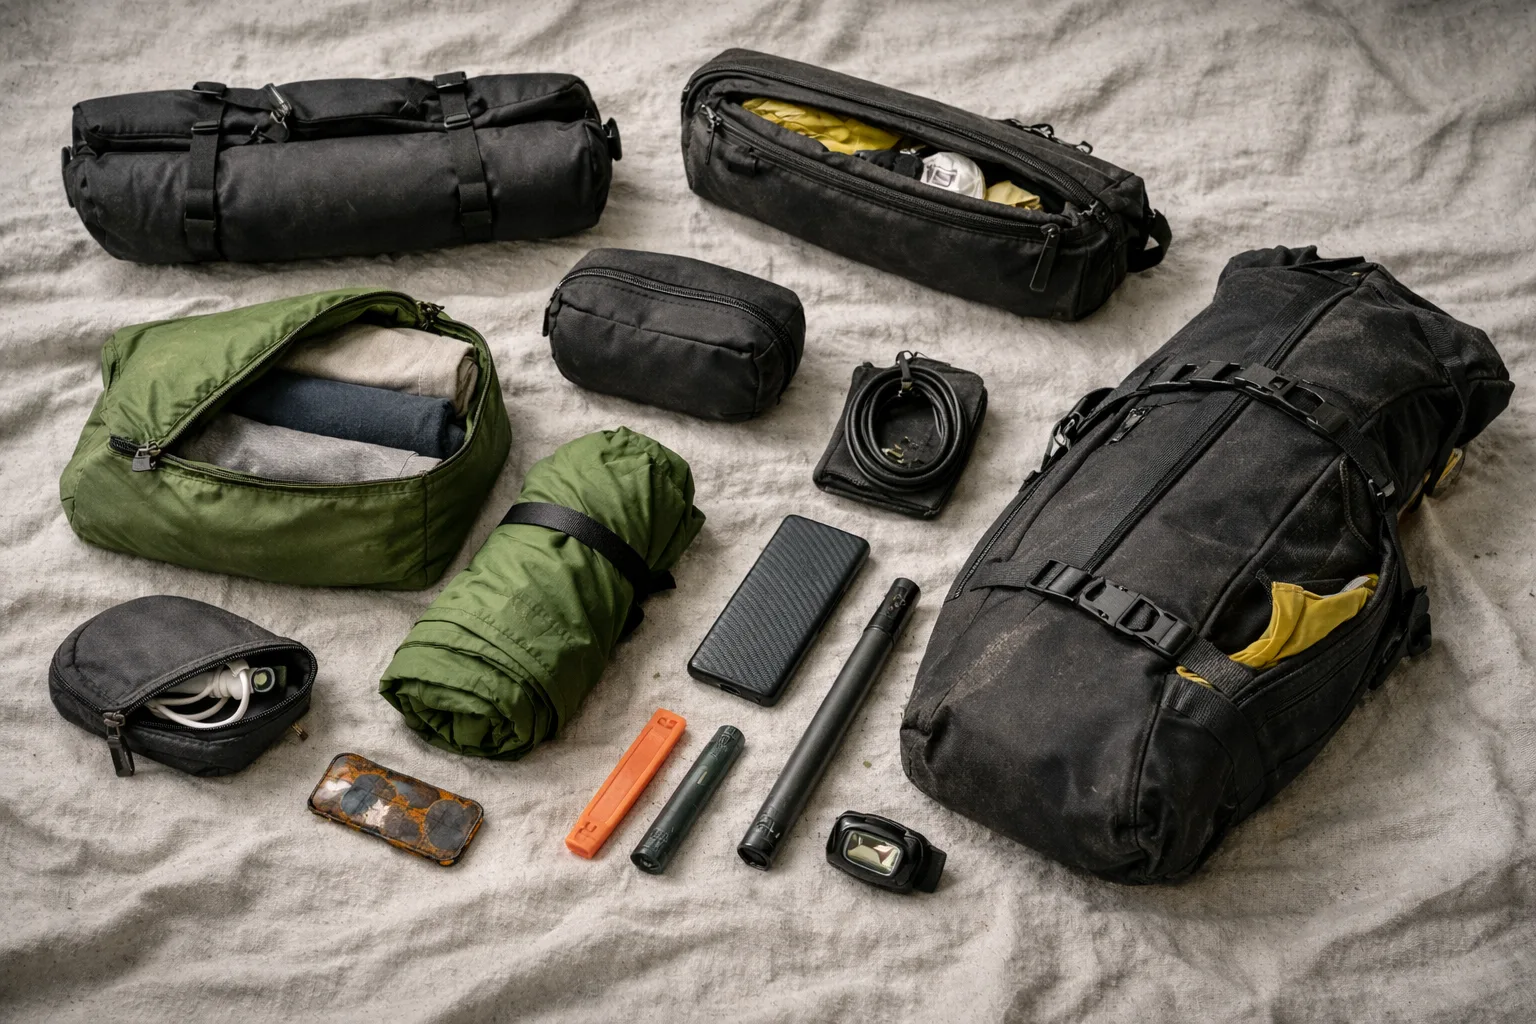
A minimalist travel packing list only works long term when its rules are easy to repeat. Before you copy the table, lock in the few rules that stop a 40L setup from becoming annoying after week one.
My baseline rules
- Everything fits—no “extra carry”: If it doesn’t fit when the bag is packed, it doesn’t come.
- Multi-use wins: Rain shell = wind layer. Phone = maps, bookings, camera, and communication.
- Pack for a laundry rhythm: A weekly wash cycle kills the need for backup duplicates.
- Baseline stays stable: Treat route needs as swaps (one-in/one-out), not additions that quietly double your kit.
- Adapt to climate without doubling your wardrobe: If it’s colder, add one warm layer you’ll wear daily—skip the backup warmth item.
Bikepacking add-on: your baseline can stay 40L, but inflation, a tire-system plan, and waterproofing for critical gear should be non-negotiable.
Pick a laundry rhythm—every 6–7 days is a solid default—then pack your clothing to match it.
Micro-action: Do a 2-minute duplicate sweep. If two items do the same job, keep the better one and cut the other.
My Exact Minimalist Packing List: 6 Months in 40L
(My personal counts below assume a quick mid-week sink wash for socks/underwear — adjust up if you prefer a full 7-day rotation.)
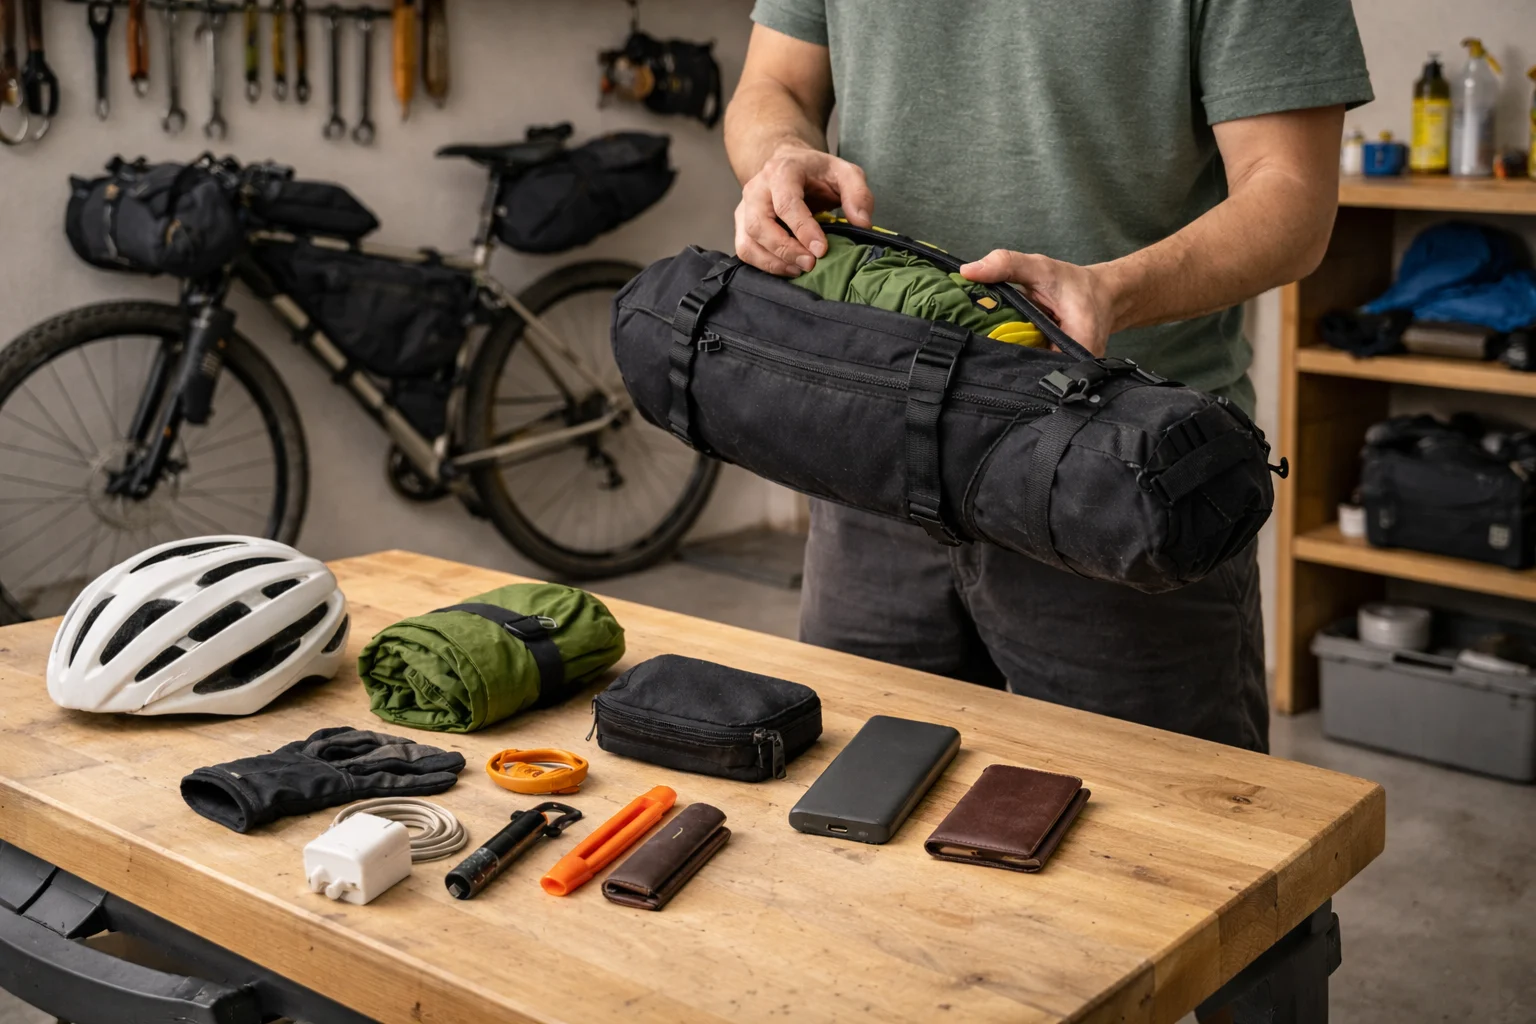
Here’s the complete breakdown of everything I packed for my six-month journey through Central America, weighing in right around 12.8kg (28.2lbs) on day one (including water, food, and worn items). If you’re staring at a pile and thinking “there’s no way this fits,” start with a clean baseline like this and then adjust.
Quick context: This is a slightly bike-leaning 40L baseline (you’ll see a minimal repair kit that won’t end your ride). If you’re not on a bike, swap the bike bits for a compact day bag, a “nicer” layer, or a comfort item you’ll actually use weekly.
If you want to pack for months in one bag, this table gives you a clean baseline you can copy.
| Category | Item | Weight | Purpose |
|---|---|---|---|
| Clothing |
2x Merino wool t-shirts
Example (men): Merino Protect 100% Merino Wool T-Shirt (Men) — an odor-resistant base layer for repeat wear between laundry days (runs slim; consider sizing up). Example (women): Merino Protect 100% Merino Wool V-Neck T-Shirt (Women) — the same repeat-wear role in a V-neck cut (runs slim). |
320g | Base layers, re-wearable (odor resistant) |
|
1x Long-sleeve shirt
Hot/sunny route swap: choose a UPF sun layer instead of a normal long-sleeve. Example: BALEAF UPF 50+ Sun Shirt (useful for strong sun and frequent rinsing). |
180g | Sun protection, cool evenings | |
| 4x Underwear (quick-dry) | 160g | Rotation cycle | |
| 3x Socks (merino blend) | 120g | Hiking, casual, sleep | |
| 1x Shorts | 200g | Hot weather, swimming | |
| 1x Pants (convertible) | 350g | Cold weather, “nice enough” option | |
| 1x Packable rain shell (e.g., Frogg Toggs Ultra-Lite jacket) | ~250g | Weather protection, wind layer | |
| 1x Insulation layer (light puffy or fleece) | 450g | Cold weather, wearable warmth | |
| 1x Walking shoes (worn) | — | Primary footwear | |
| 1x Sandals/flip-flops | — | Showers, heat, downtime | |
| Electronics | Smartphone | 200g | Camera, maps, communication |
| Slim 10,000mAh power bank (e.g., Nitecore NB10000 Gen 2) | 150g | Backup power | |
| Universal GaN charger + plug adapters + 1× USB-C cable | ~120–250g | All device charging | |
| Headlamp (Nitecore NU20 Classic) | 38g | Hands-free lighting | |
| Toiletries | Toothbrush/paste | 60g | Dental hygiene |
| Soap (multipurpose) | 40g | Body, hair, laundry | |
| Sunscreen | 100g | UV protection | |
| Compact first aid kit (e.g., Adventure Medical Kits .3) + Leukotape P strips | 150g | Small injuries, blisters | |
| Earplugs + any personal meds | ~20g | Hostel sleep + health needs | |
| Gear | Sleeping bag (ultralight — bike/camping routes) | 800g | Accommodation backup (hostel-only: swap for silk liner) |
| Travel towel | 120g | Quick-dry microfiber | |
| 5L roll-top dry bag (docs + electronics; lightweight or rugged) | ~35–135g | Keeps documents and electronics isolated from wet gear | |
| Minimal bike repair kit: multi-tool + tire levers + patches + quick link + inflation (mini pump or CO₂ inflator head + 1–2 cartridges) + tire boot for a tubed fallback Swap based on tire system: tubeless plugs + valve core tool/spare core or 1 spare tube | ~350–650g | Handles common punctures and a tubed sidewall fallback | |
| Reusable/collapsible water bottle | ~50g | Hydration | |
| Documents | Passport/copies | 100g | Travel documents |
| Emergency cash | 50g | Backup funds |
A tiny rechargeable headlamp saved me more nights than any backup battery ever did.
If that looks too minimal, don’t panic—this is just a clean starting point. Customize with targeted swaps (not a second wardrobe). Rule of thumb: if you add one item for the route, remove one of similar bulk to keep your baseline honest.
Optional: a few “core helpers” that reduce daily hassles
Kept in one place so optional repair gear does not turn the main table into a shopping list. Pick 0–2 based on your route—this isn’t a second kit.
- Tailfin Packing Cubes — designed to nest in a Tailfin AeroPack or rack-top bag, reducing the need to unload the whole pack at camp. Each size can be bought separately (2.5L / 3.5L / 6.5L).
- Waterproof dry bag (Sea to Summit Big River, 5L) — keeps a passport and small electronics separated from wet gear in sustained rain.
- Mini bike pump — lets you reinflate after a tube change or tubeless repair.
- Tubeless plug kit — for small tread punctures in a tubeless setup; skip if you run tubes.
- Tire boot — emergency backing for a torn tire when you are using a tube or installing a spare tube; it is not a tubeless-only repair.
- Voile Straps (3-pack) — secures odd loads and can replace a broken buckle or bottle strap in a pinch.
Route-dependent add-ons (only if your route needs them)
- Water: For longer dry stretches or questionable sources, pair a lightweight filter like the Sawyer Squeeze with a CNOC Vecto 28mm bag; the wide opening helps collect water from shallow sources.
- Visibility: If any riding happens near dawn, dusk, or traffic, use the bikepacking lights guide to choose the right beam, runtime, and backup setup; check local lighting requirements for your route.
Weight note: My “core essentials” kit (the stuff that rarely changes) sits around 4.5kg for me, depending on the season and small swaps. Think of that as “base weight.” The bigger day-one number includes worn clothing, water/food, and route-specific add-ons. Footwear counts there too because one pair is on your feet and the other is often bulky.
Micro-action: Pack your kit once, then remove five “maybe” items. If you don’t miss them for 48 hours at home, you won’t miss them on the road.
The System That Makes 40L Livable (Clothes + Volume + Laundry)
If you’ve ever packed “perfectly” and still felt annoyed every day, it’s usually a system problem—not you. This is the part that makes the whole setup feel easy to live out of.
Clothing: The Foundation System
Your clothing system makes or breaks long-term minimalist packing. Here’s a simple way to build one that handles real life:
The Layer Logic
- Base layer: quick-dry or merino pieces you can re-wear
- Insulation layer: packable warmth that compresses small
- Shell layer: rain + wind protection
The Fabric Rules
- Merino wool: many travelers find it resists odor and works across temps
- Synthetic blends: quick-drying, durable, affordable
- Limit cotton on wet or cold routes: it dries slowly and stays heavy when wet
The Color Strategy
Stick to 2–3 colors maximum so everything mixes and matches.
Electronics: Consolidate Chargers and Devices
This is where a lot of people lose space without realizing it—mostly through chargers, cables, and “backup” devices.
The One-Device Rule
Your smartphone can cover the basics (camera, offline maps, communication, and planning) so you don’t need a separate gadget for each job.
Power Management
A slimmer 10,000mAh bank often covers long transit days at lower weight, though 20,000mAh gives more buffer. If you’re bikepacking specifically, the bikepacking power setup guide breaks down dynamo hubs, solar, and battery options for longer routes.
The Headlamp Exception
Hands-free lighting is genuinely useful for late arrivals, early departures, and unexpected power cuts.
Make a “charging kit”: one GaN charger + plug adapters + one USB-C cable (SIM tool or paperclip backup). Everything else is optional.
Volume: Make Space on Purpose
In a 40L one-bag setup, your goal isn’t to crush everything—it’s to leave breathing room so your bag stays easy to live out of. If your zipper barely closes at home, you’re one snack run away from chaos on the road.
In my later tours, the “leave 10–15% empty” rule was the difference between calm mornings and constant repacking.
Hostel pillows vary widely. A small inflatable such as the Sea to Summit Aeros Ultralight gives you a consistent pillow without taking much packed space.
Space + access tricks
- Roll soft items (t-shirts, base layers); fold structured items (pants)
- Stuff compressible layers into gaps (but keep one “grab fast” pocket consistent)
- Socks inside shoes; small items filling dead space
- Cables inside electronics cases (one kit, not three)
- If you bring sandals, use them as “storage” in transit (socks, cables, or a tiny toiletry bag)
Bikepacking organization (cubes + dry bags)
Most generic packing cubes don’t nest well in frame/seat/handlebar bags. If you use a Tailfin-style rear pack, purpose-shaped cubes help prevent the end-of-day “yard sale.” For wet routes, a small roll-top dry bag is basically a waterproof packing cube for passport + electronics.
Seasonal Swapping
For routes crossing multiple climates, consider mailing bulky seasonal items ahead or home so your core kit stays stable.
One useful habit: repack once and intentionally leave 10–15% empty. That buffer is what keeps your kit livable.
Laundry: Pack to Your Wash Cycle
Frequent laundry transforms one-bag travel from “impossible” to surprisingly easy—especially the first time you realize your last clean socks are on your feet.
When I finally committed to a weekly wash day, I stopped carrying “backup” clothing entirely. The system got simpler overnight.
Bike sweat note: If you’re riding most days, plan a quick mid-week sink wash for base layers/socks—daily sweat buildup is real, and it’s the fastest way to keep your kit small without feeling gross.
Laundry plan (simple + repeatable)
- Weekly rhythm: Merino and quick-dry fabrics are popular because many people find they re-wear well; a rotation beats carrying duplicates “just in case.”
- Where it happens: hostels with machines, local laundromats (often cheapest), or hand washing in accommodations.
Soap selection (keep it simple): A small, concentrated soap that works for body + laundry keeps your kit lighter. If you hand-wash often, avoid heavily scented options and bring just enough for your wash rhythm.
One quick note on outdoor washing: avoid washing directly in waterways. If you’re hand-washing outside, use a container, keep soapy water well away from the source, and use a small amount of biodegradable soap—simple habits that keep places nicer for everyone. (For a quick primer, see the U.S. National Park Service’s Leave No Trace guidance.)
Hand Washing (Fast Version)
- Soak + agitate for a couple minutes
- Rinse thoroughly
- Roll in a towel to remove water
- Hang where there’s airflow
If laundry is your plan, pack like it: fewer duplicates, more repeatable layers.
Regional Swaps Without Growing the Kit
Your core framework stays consistent, but smart additions handle specific challenges. This is where you avoid buying random “solutions” mid-trip because the weather surprised you.
Tropical Additions
- Extra quick-dry underwear
- Stronger sunscreen
- Insect repellent
Mountain/Cold Additions
- Warmer sleeping bag
- Warm hat and gloves
- Thermal base layer
Urban vs. Rural Adjustments
- Urban: Nicer shoes, dressier shirt
- Rural: More robust gear, extra first aid supplies
Quick check: if your coldest nights dip below ~8°C, pick one warm layer you’ll wear daily and skip the “backup warmth” item.
What Changes When Your 40L is on a Bike
Reality check: Dedicated bikepackers usually carry the bulk in bike bags (frame/seat/handlebar) and avoid wearing a big backpack while riding. In this guide, the “40L challenge” is your travel baseline for hostels, buses, flights, and day-to-day life off the bike—then you shift weight into bike bags for ride days. The bikepacking bags system guide explains how to divide that load across frame, seat, and handlebar bags without wearing it on your back.
Optional: If your long-term travel includes time on two wheels, bike touring adds a few packing constraints most one-bag travelers never deal with: constant vibration, long hours of weather exposure, and fewer chances to rummage around. The fixes are simple—cushion electronics, waterproof the truly critical stuff, and keep your daily essentials reachable fast when you’re hungry and the sky is turning. For the sleep side of your bikepacking setup, the minimal bikepacking sleep system guide covers pad, bag, and shelter choices for 3-season tours.
For common trailside adjustments, the Crankbrothers M19 combines 19 functions in one compact package.
A compact all-rounder for common roadside adjustments
Minimum viable repair kit (tiny, but it saves rides):
- Multi-tool + tire levers + patches + quick link
- Inflation: mini pump or CO₂ inflator
- Tire system: tubeless plugs or 1 spare tube (swap based on your setup)
- Tire boot for a tubed fallback (sidewall insurance) + a couple zip ties / a short wrap of tape
Optional tiny extras (only if you actually use them): a long-handle spoon for pot meals (see the bikepacking cooking system guide for full stove and pot setup) , and Voile straps for securing odd loads or quick fixes.
Vibration Protection 🚴♂️
The Problem: Constant road vibration can damage electronics and loosen everything.
The Solution:
- Wrap electronics in clothing for cushioning
- Use packing cubes to reduce internal movement
- Quick daily check of zippers and closures
Weatherproof What Cannot Get Wet
The Problem: Your bag faces direct rain, sun, and wind for hours daily.
The Solution:
- Waterproof stuff sacks for critical items
- Keep electronics double-protected
- Put “need fast” items in an easy-access pocket
If you’re riding day after day in strong sun, durability matters—prioritize materials that don’t degrade quickly and keep anything heat-sensitive out of direct exposure.
Keep Daily Essentials Reachable
The Problem: You can’t dig through your bag every hour like a backpacker—especially in rain, on a roadside, or when you’re trying to roll out quickly in the morning.
The Fix:
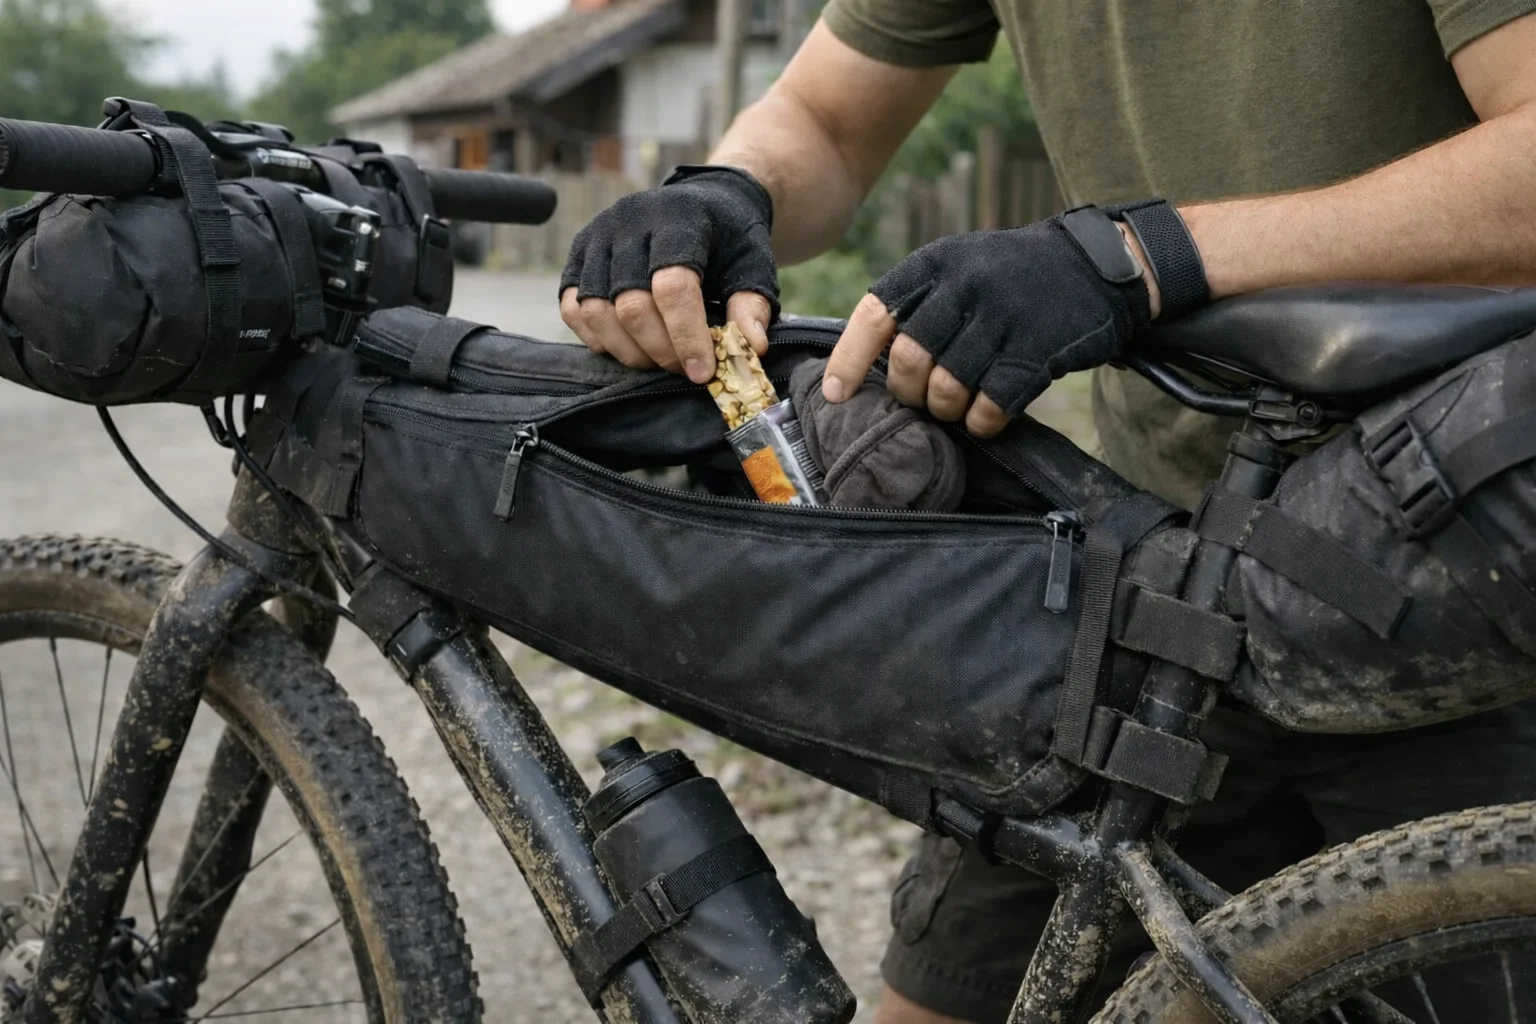
- Keep a tiny “daily grab kit” (snacks, rain layer, power, lip balm, sunscreen) in one consistent pocket
- Pack in reverse order: what you need first goes on top; what you need last goes deeper
Keep Heavy Items Low and Centered
The Problem: Poor packing affects bike handling and your comfort.
The Solution:
- Heavy items low and centered
- Balance left-right weight distribution
Micro-action: Pick three “must-reach-fast” items (snacks, rain layer, power). Pack them where you can grab them in under 10 seconds.
Common Mistakes That Blow Your 40L Limit
These are the traps that look harmless at home—and then feel ridiculous when you’re lugging them up stairs in a humid city.
- The “just in case” trap: every low-probability item adds weight and bulk.
- Duplicate functions: when two items do the same job, keep the better one.
- Ignoring local availability: don’t carry basics you can replace easily on the road.
No Inflation / No Tire Plan (Bikepacking Edition)
This is the fastest way to turn a minor puncture into an all-day ordeal. If you carry a repair kit, carry the ability to re-inflate and a plan for your tire system (tubeless plugs or a spare tube + a tire boot for the tubed fallback). The bikepacking repair kit checklist covers exactly what to carry for tubes, tubeless, and multi-week tours.
Overpacking Electronics
This sneaks up fast: an extra charger “just in case,” a second battery pack, too many cables, and suddenly you’ve got a tangled tech pouch that eats space. Keep one clean charging kit and delete the rest.
Micro-action: Lay out every cable you packed and cut half—most people don’t need backups of backups.
If you’re still over capacity, start by cutting duplicates and single-use items (extra shoes, backup jackets, bulky towels, gadget sprawl), then swap to multi-use pieces.
Test Your 40L Setup Before You Leave
The Overnight Test
Pack everything and live out of your bag for a weekend. You’ll spot problems fast—like digging for a charger, or realizing you packed three “nice shirts” and zero comfortable ones.
- What you actually use
- What’s missing
- What’s unnecessary
The Weight Reality Check
Carry your packed bag for 2–3 hours. If it feels heavy fresh, it’ll feel worse on a long travel day.
The Access Test
Practice getting to items you’ll need daily. If it takes more than 30 seconds to reach essentials, reorganize.
Bike shake + ride test (worth doing once)
Load your setup and do a 30–60 minute ride. You’ll catch the stuff that only shows up on the bike: rubbing straps, rattling electronics, hard-to-reach rain gear, and what you thought was “secure” but isn’t.
Quick test: if you can’t grab your charger in 15 seconds, change one pocket or one pouch layout today.
If you’re using this as a checklist, do the overnight test first—it’s the fastest way to learn how to pack for long-term travel without carrying dead weight.
Carry-On, Documents, and Small Security Habits
If you fly even once, remember airlines can enforce size/weight rules differently. Keep a tiny “documents” pouch (passport, cards, cash, SIM tool) and a digital backup of key docs (stored securely) so you’re not scrambling if something goes missing. And for crowded transit: keep one pocket “clean” (nothing valuable), and keep essentials zipped and close to your body. For hostel stays, either use lockers or add a tiny lock if your route calls for it.
Plan Where You’ll Replace Worn Gear
- Shoes can wear out quickly on long trips—plan for replacement
- Socks and base layers may need swapping over time
- Electronics can fail anywhere—know your local backup plan
Plan Climate Swaps in Advance
- Research seasonal patterns along your route
- Time arrivals for favorable weather
- Plan gear swaps at major cities
Write one simple “replacement plan” note: where you’ll buy shoes/socks if yours dies mid-trip (city, marketplace, or a known chain). It’s boring—until it saves you.
40L Packing Questions, Answered
Your 40L Packing Plan
Long-term packing isn’t about suffering or chasing the smallest possible kit. It’s about removing daily friction: faster mornings, easier repacking, and fewer “where is that cable?” moments.
- Use the table as your baseline. Keep the items that match your real route, and handle climate or activity changes as swaps rather than additions.
- Test it before the trip. Live out of the bag for a weekend. Move frequently used items to easier pockets, remove any layer you never wear, and keep only one item when two do the same job.
If your route includes time on two wheels, continue with the full bikepacking gear setup—or use the beginner bikepacking guide if you’re starting from zero.
A good 40L kit is not the smallest one. It is the one you can carry, find, repack, and adapt without thinking about it all day.
This guide is for general education, not personalized advice. What you need can vary by destination, climate, airline rules, and personal health needs. If you’re unsure about medications, safety, or any travel-specific risks, consider speaking with a qualified professional. Your situation may differ, so adjust the framework to fit your trip.